'%20d='M0%208a8%208%200%200%201%208-8h24a8%208%200%200%201%208%208v24a8%208%200%200%201-8%208H8a8%208%200%200%201-8-8V8Z'/%3e%3cpath%20fill='%23fff'%20d='M32.576%206C12.293%206%208.776%2025.887%207.424%2034H9.1c.45-2.977%203.493-14.748%2010.899-20.287%200%200-5.633%206.976-6.572%2015.051%203.426-.652%2013.845-3.372%2016.056-12.927l-3.84-.61c1.352-1.351%204.909-5.17%206.931-9.226V6Z'/%3e%3cdefs%3e%3clinearGradient%20id='reapit-lettings__a'%20x1='20.702'%20x2='20.702'%20y1='.351'%20y2='31.228'%20gradientUnits='userSpaceOnUse'%3e%3cstop%20stop-color='%235573FD'/%3e%3cstop%20offset='.575'%20stop-color='%234E56EA'/%3e%3c/linearGradient%3e%3c/defs%3e%3c/svg%3e)
How to Setup Entry Notices
This article will run through how to setup entry notices in Reapit Lettings. The processes in this article include: How to Enable Entry Notices How to Manage Electronic Signature for Entry Notice
How to Setup Entry Notices
This article will run through how to setup entry notices in Reapit Lettings.
The processes in this article include:
- How to Enable Entry Notices
- How to Manage Electronic Signature for Entry Notice
How to Enable Entry Notices
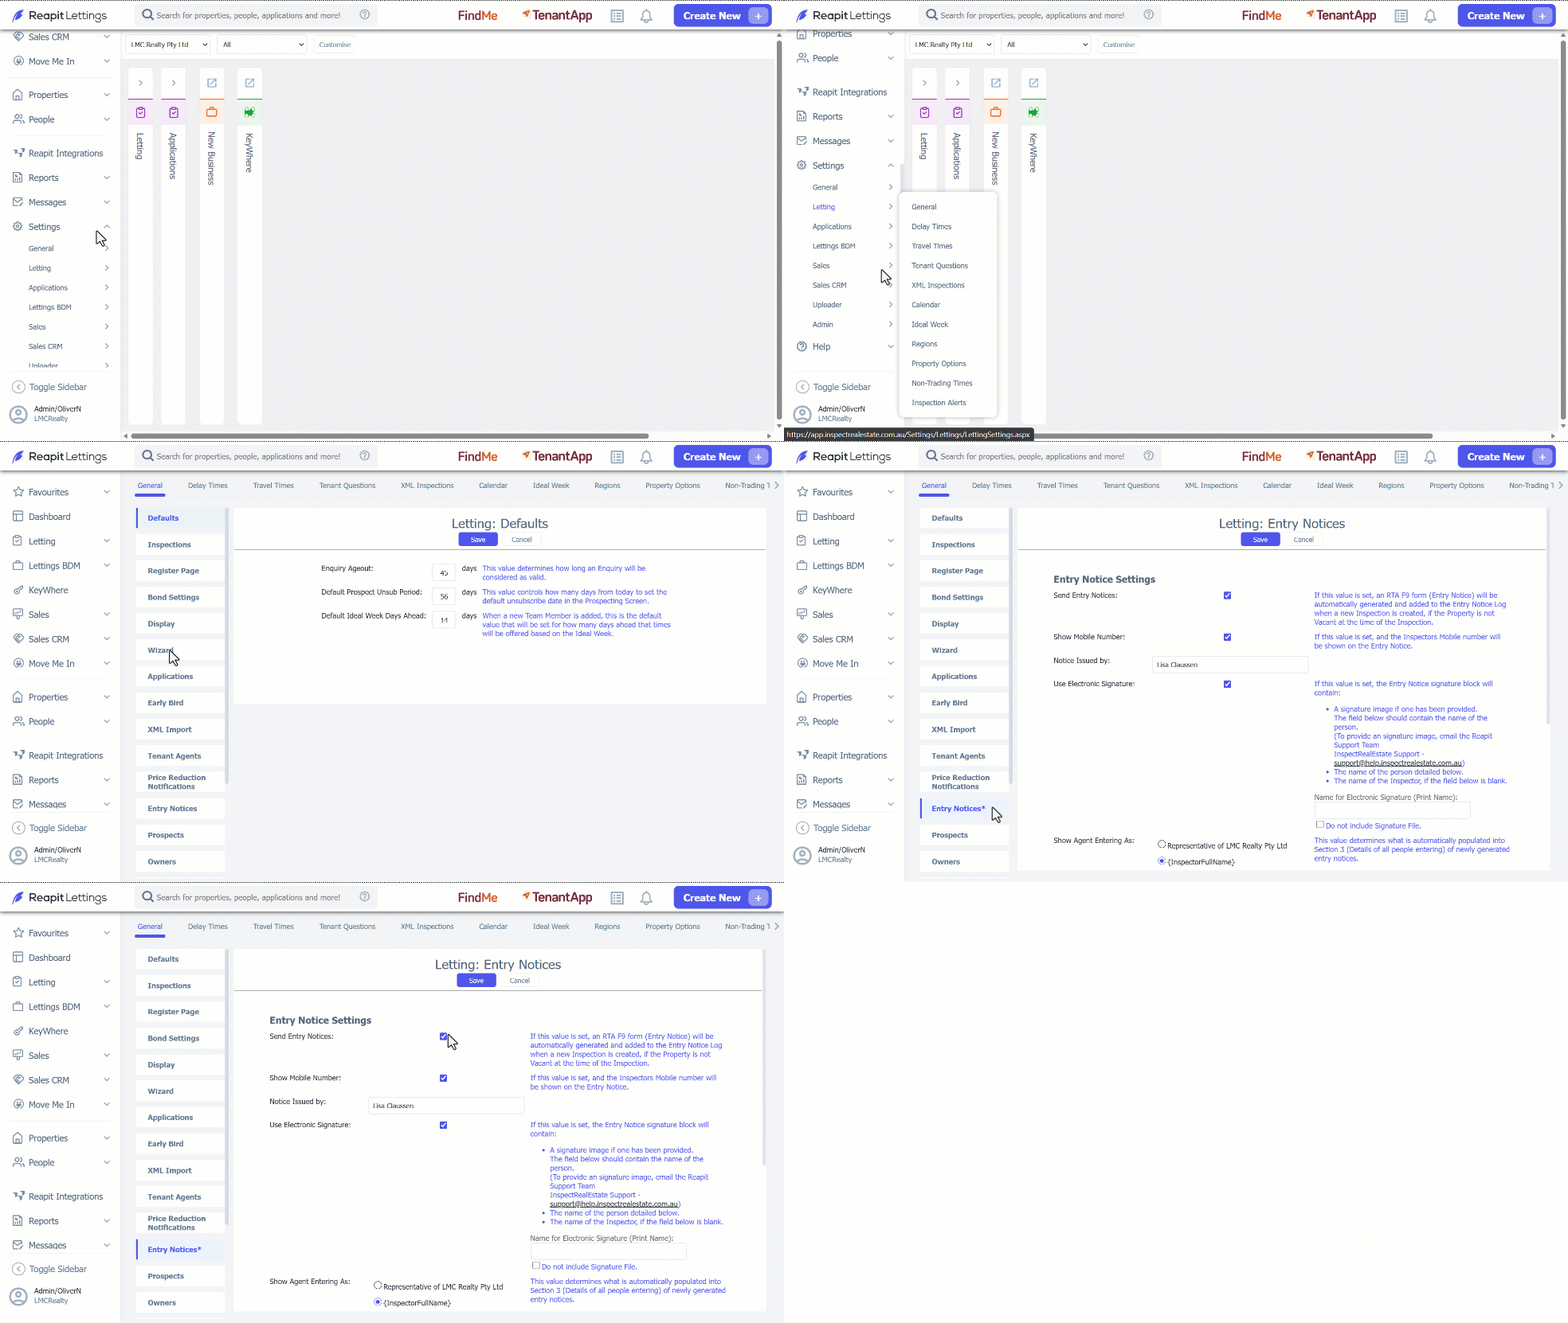
- Click on Settings. 2. Click on Letting. 3. Select General. 4. Navigate to Entry Notices. 5. Tick the Send Entry Notices checkbox. 6. Click on Save.
How to Manage Electronic Signature for Entry Notice
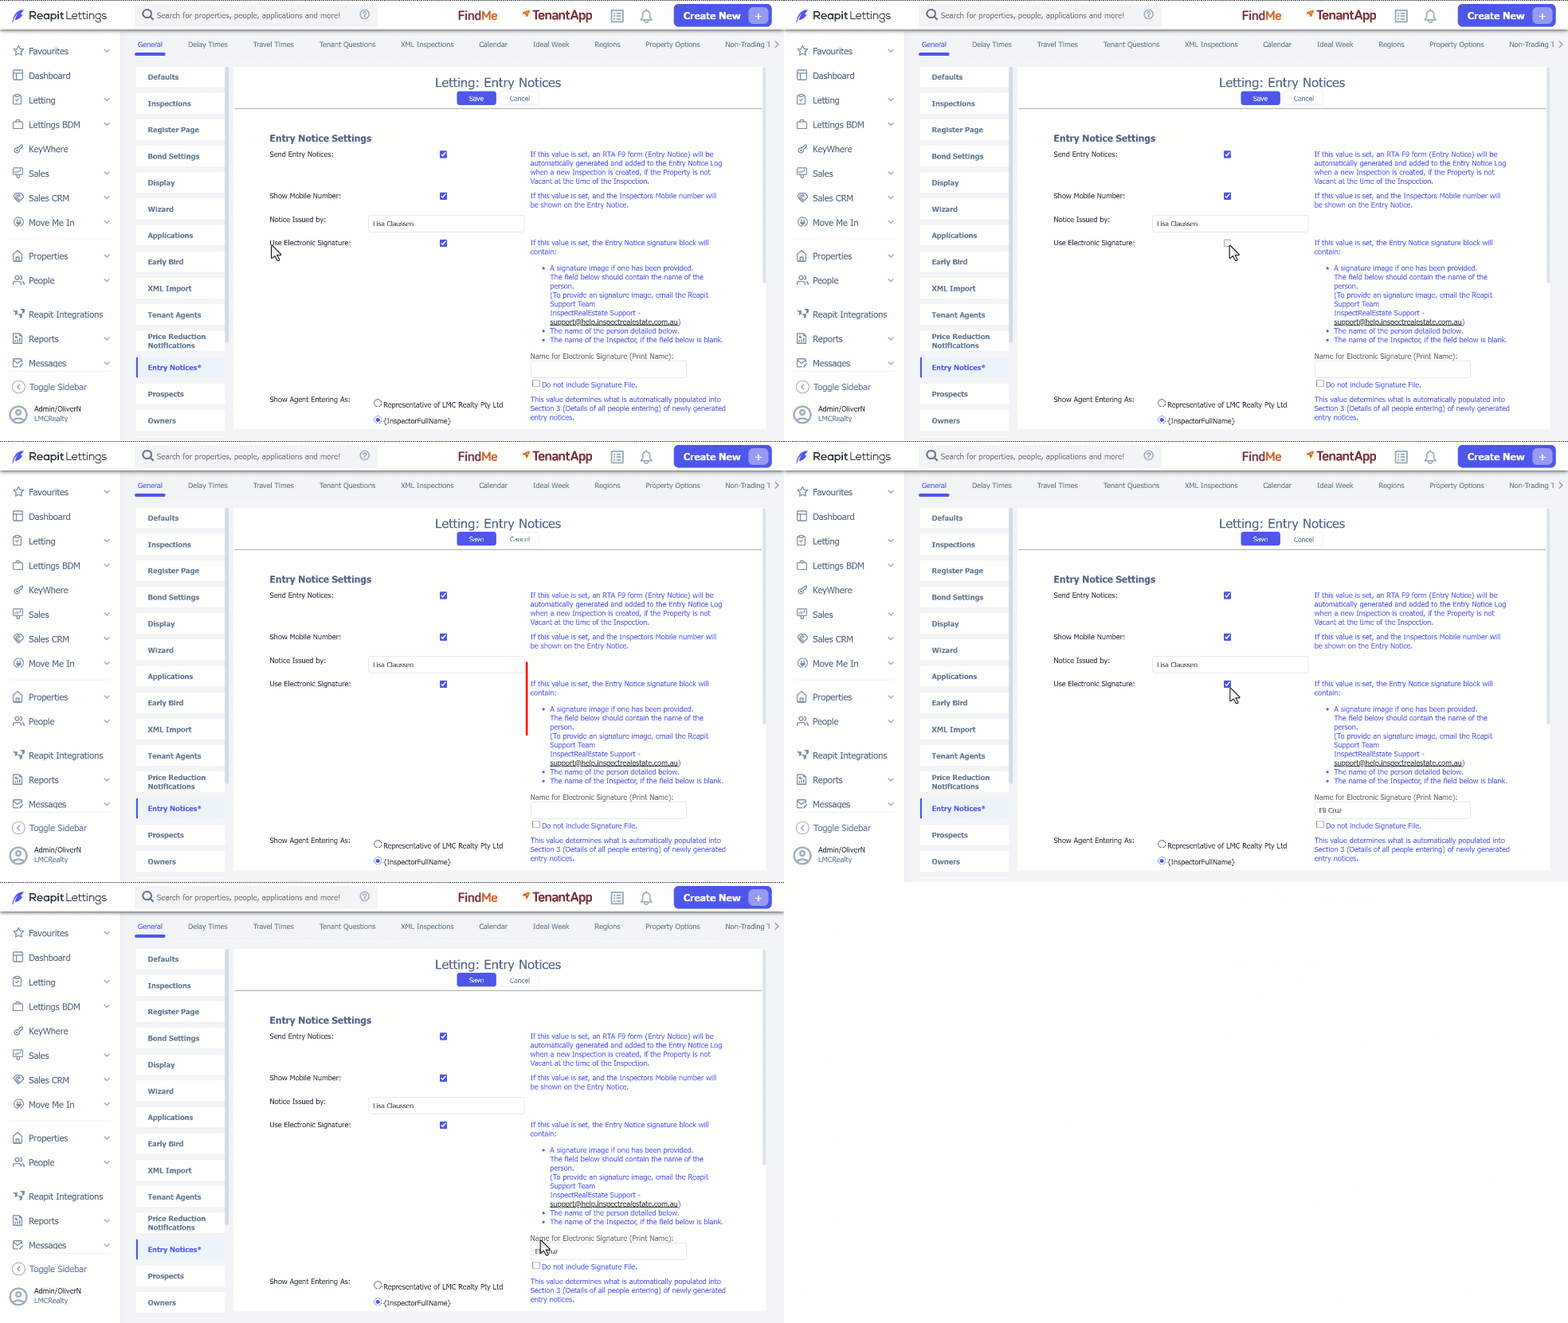
- To exclude a signature from the notice, uncheck the Use Electronic Signature box. In this case, you will be required to manually print and sign the notice.
- To include a system-generated signature, check the Use Electronic Signature box.
- To upload an image of your office's signature, email the support team at lettingssupportanz@reapit.com, who will assist with attaching the image.
- If you prefer not to upload an image, the system will insert the inspector's name in the signature box for all entry notices.
- Alternatively, you can refrain from uploading an image but enter an electronic signature name. Navigate to Name for Electronic Signature (Print Name) section and enter the name. The system will utilise this name in the signature box for all generated entry notices.
- Click on Save.