'%20d='M0%208a8%208%200%200%201%208-8h24a8%208%200%200%201%208%208v24a8%208%200%200%201-8%208H8a8%208%200%200%201-8-8V8Z'/%3e%3cpath%20fill='%23fff'%20d='M32.576%206C12.293%206%208.776%2025.887%207.424%2034H9.1c.45-2.977%203.493-14.748%2010.899-20.287%200%200-5.633%206.976-6.572%2015.051%203.426-.652%2013.845-3.372%2016.056-12.927l-3.84-.61c1.352-1.351%204.909-5.17%206.931-9.226V6Z'/%3e%3cdefs%3e%3clinearGradient%20id='reapit-lettings__a'%20x1='20.702'%20x2='20.702'%20y1='.351'%20y2='31.228'%20gradientUnits='userSpaceOnUse'%3e%3cstop%20stop-color='%235573FD'/%3e%3cstop%20offset='.575'%20stop-color='%234E56EA'/%3e%3c/linearGradient%3e%3c/defs%3e%3c/svg%3e)
Getting Started as a New User
This article will show how to manage your account in Reapit Lettings as a new user.
As a newly set-up user in Reapit Lettings, we want to ensure you have all the necessary resources and information to get started securely and effectively.
The processes in this article include:
- Accessing the Reapit Lettings Interface
- Troubleshooting Login Issues
- Accessing Help Centre and The Reapit Learning Academy
Accessing the Reapit Lettings Interface
1. Navigate the Reapit Lettings Website
- Go to http://www.inspectrealestate.com.au
- Click Agent Login button located in the top right corner of the page.

2. Login Details
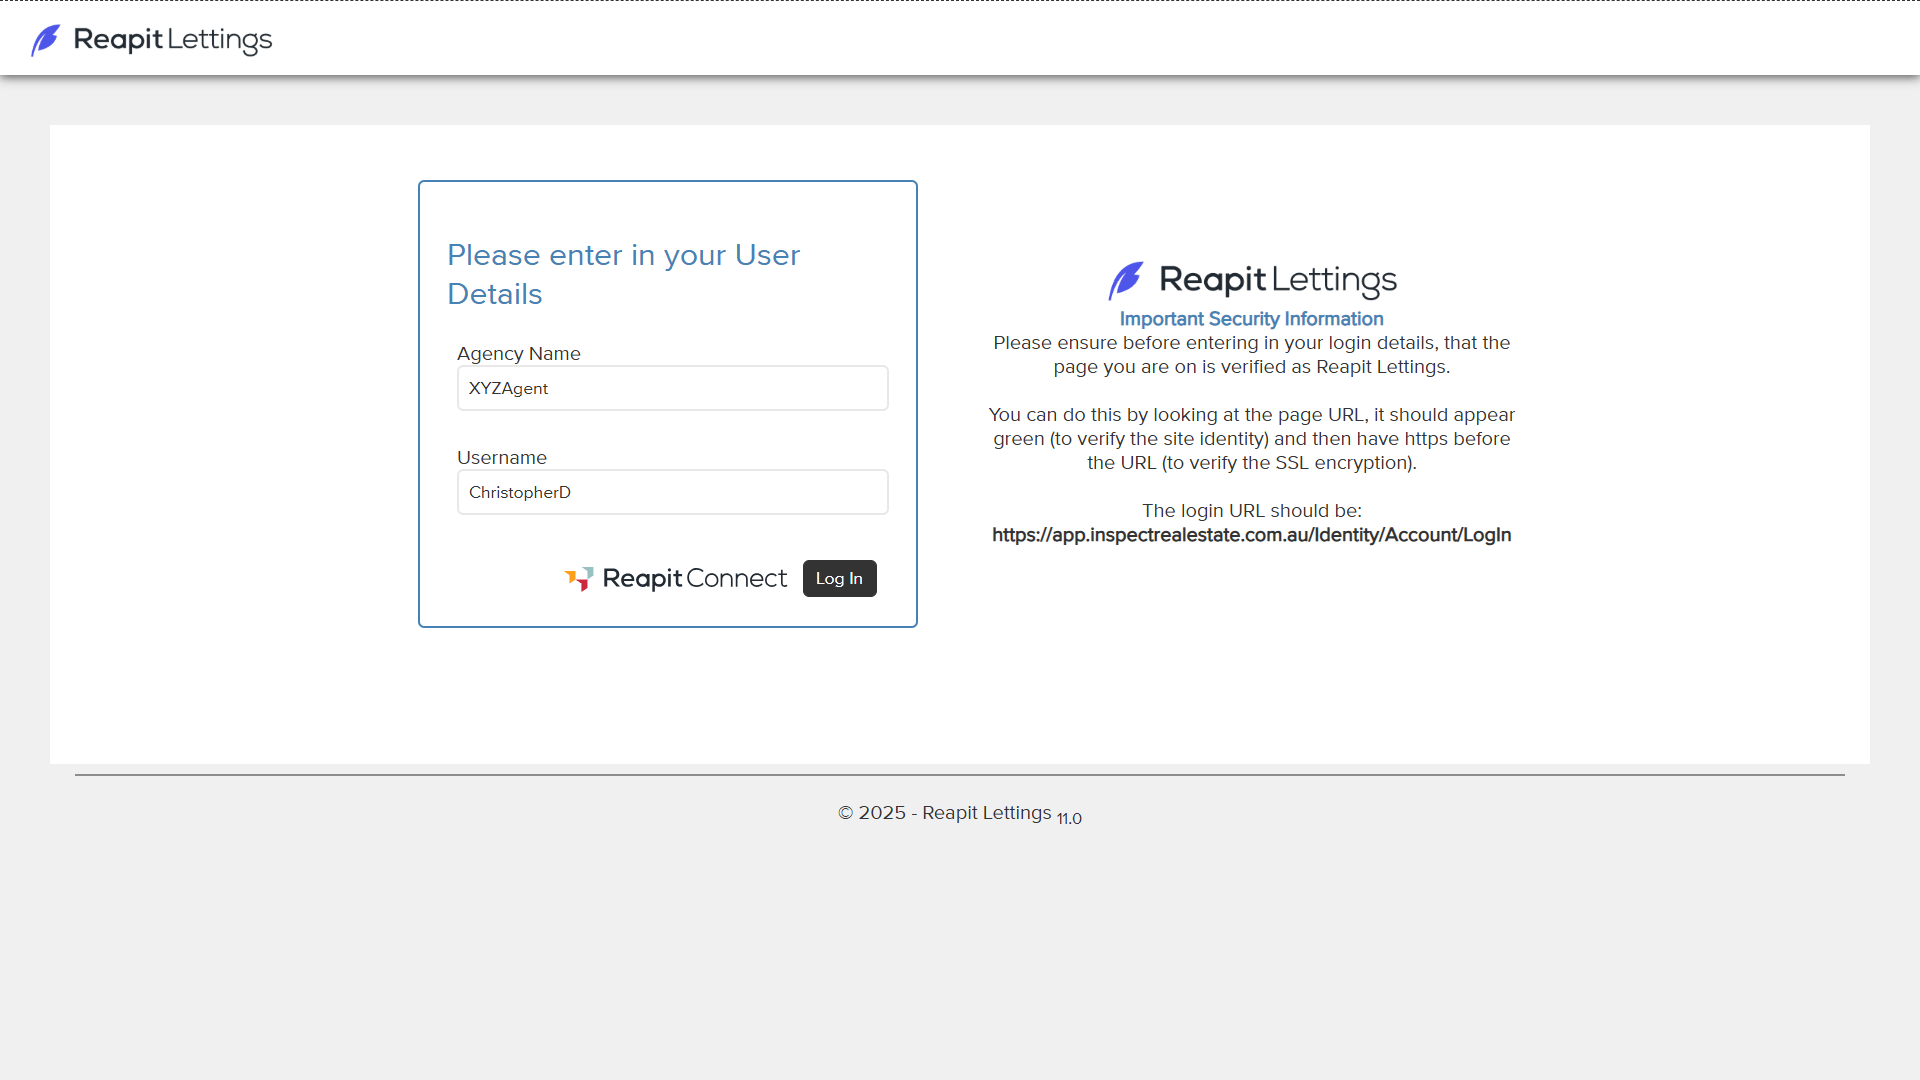
On the login screen, enter your credentials as provided in the email sent to you. Your details will include:
Agency Name
Username
Click Login.
If this is your first time logging in, you will be prompted to change your password.
Password Update
- Update your password as required.
- A verification code will be sent to your registered mobile number via SMS.
4. Verification Process
- Enter the received verification code in the designated box.
- You will then be directed to your default screen.
5. Three-Factor Authentication
Some users will receive an additional email as part of our three-factor authentication process. Follow these steps:
- Click the provided link to log in from the same device you used for the previous steps.
- Note that this link is single-use. If you click it again, it will loop you back to the SMS verification step.
By following these instructions, you will successfully log into your Reapit Lettings account.
Troubleshooting Login Issues
If you encounter login issues, the following steps can help you resolve common problems.
For issues beyond the scope of this document, please navigate to the 'Help Menu' and visit the 'Contact Us' section for further assistance.
Incorrect or Forgotten Password
- If you receive the message "Invalid login attempt," this means that the details are incorrect. Ensure that you have entered the correct details and that the Caps Lock is not on. A common issue is an unintended space at the end of the Agency Name or Username.
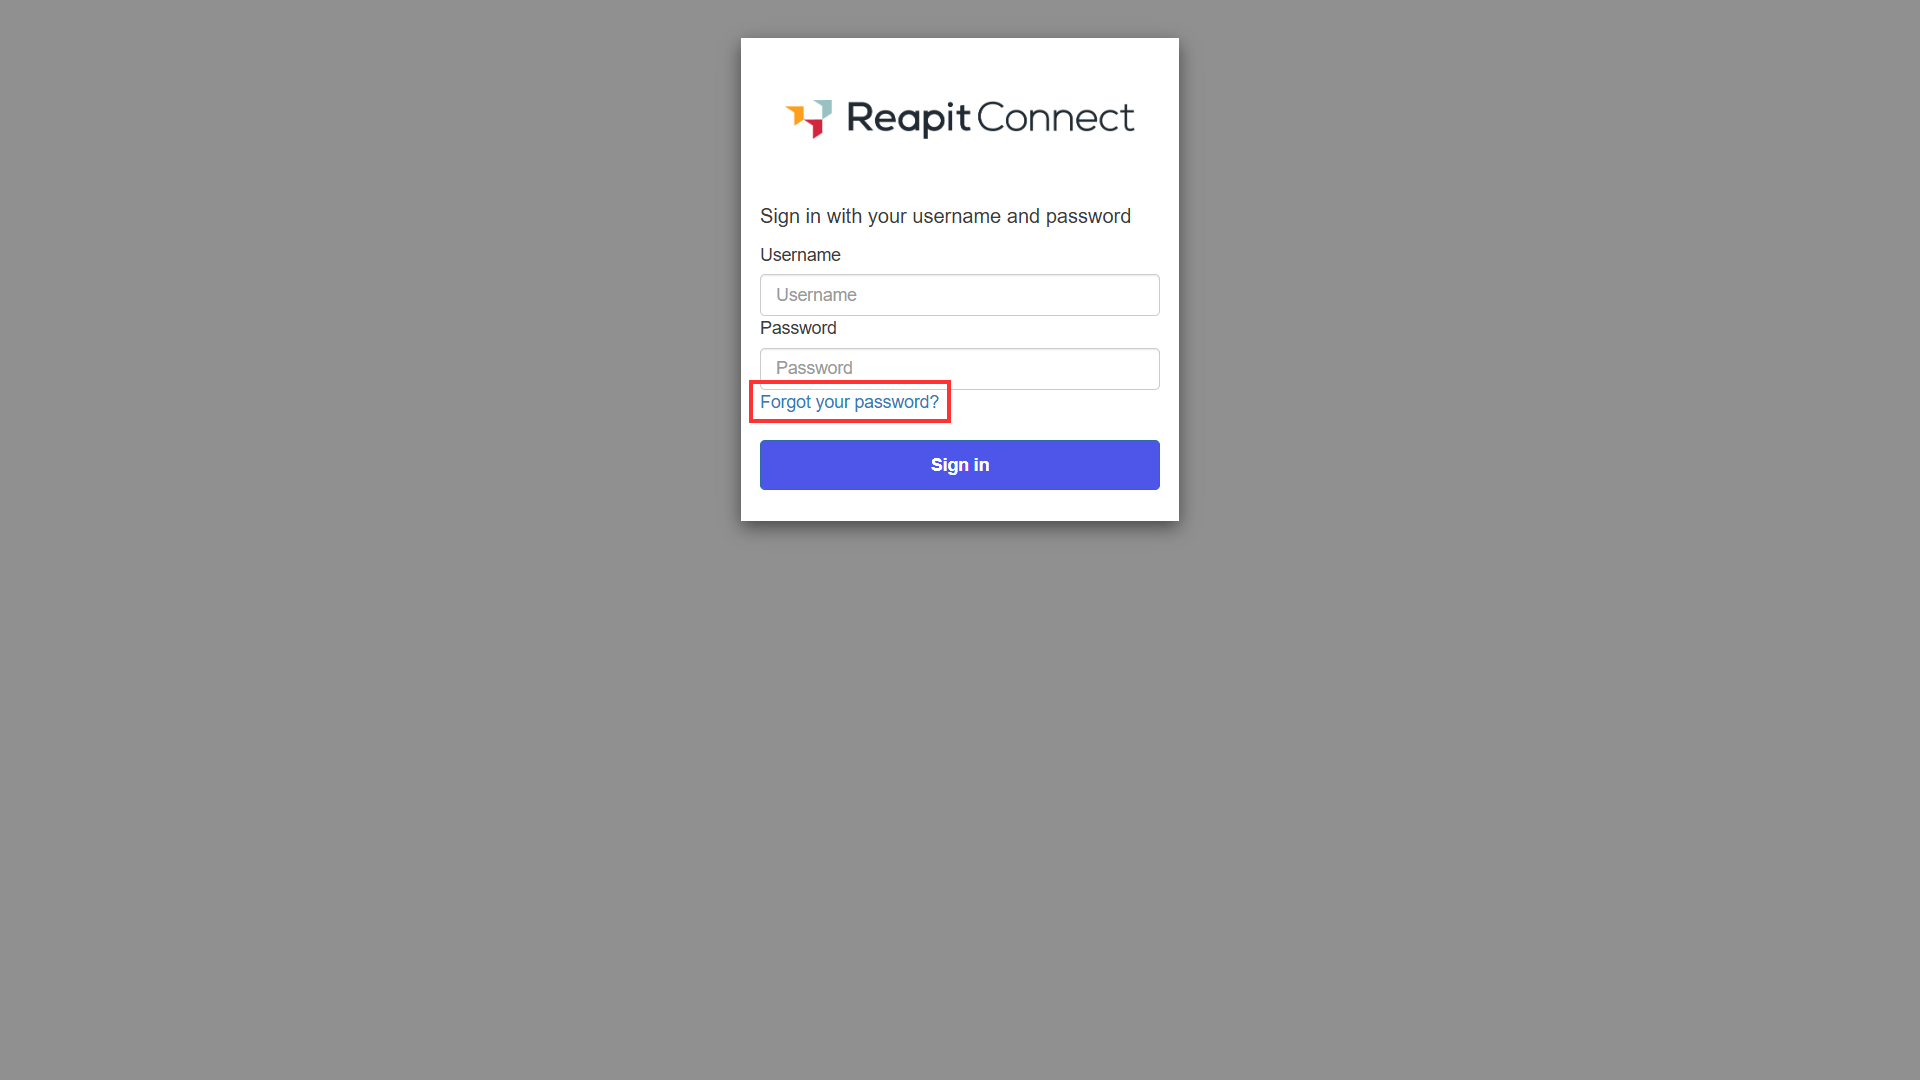
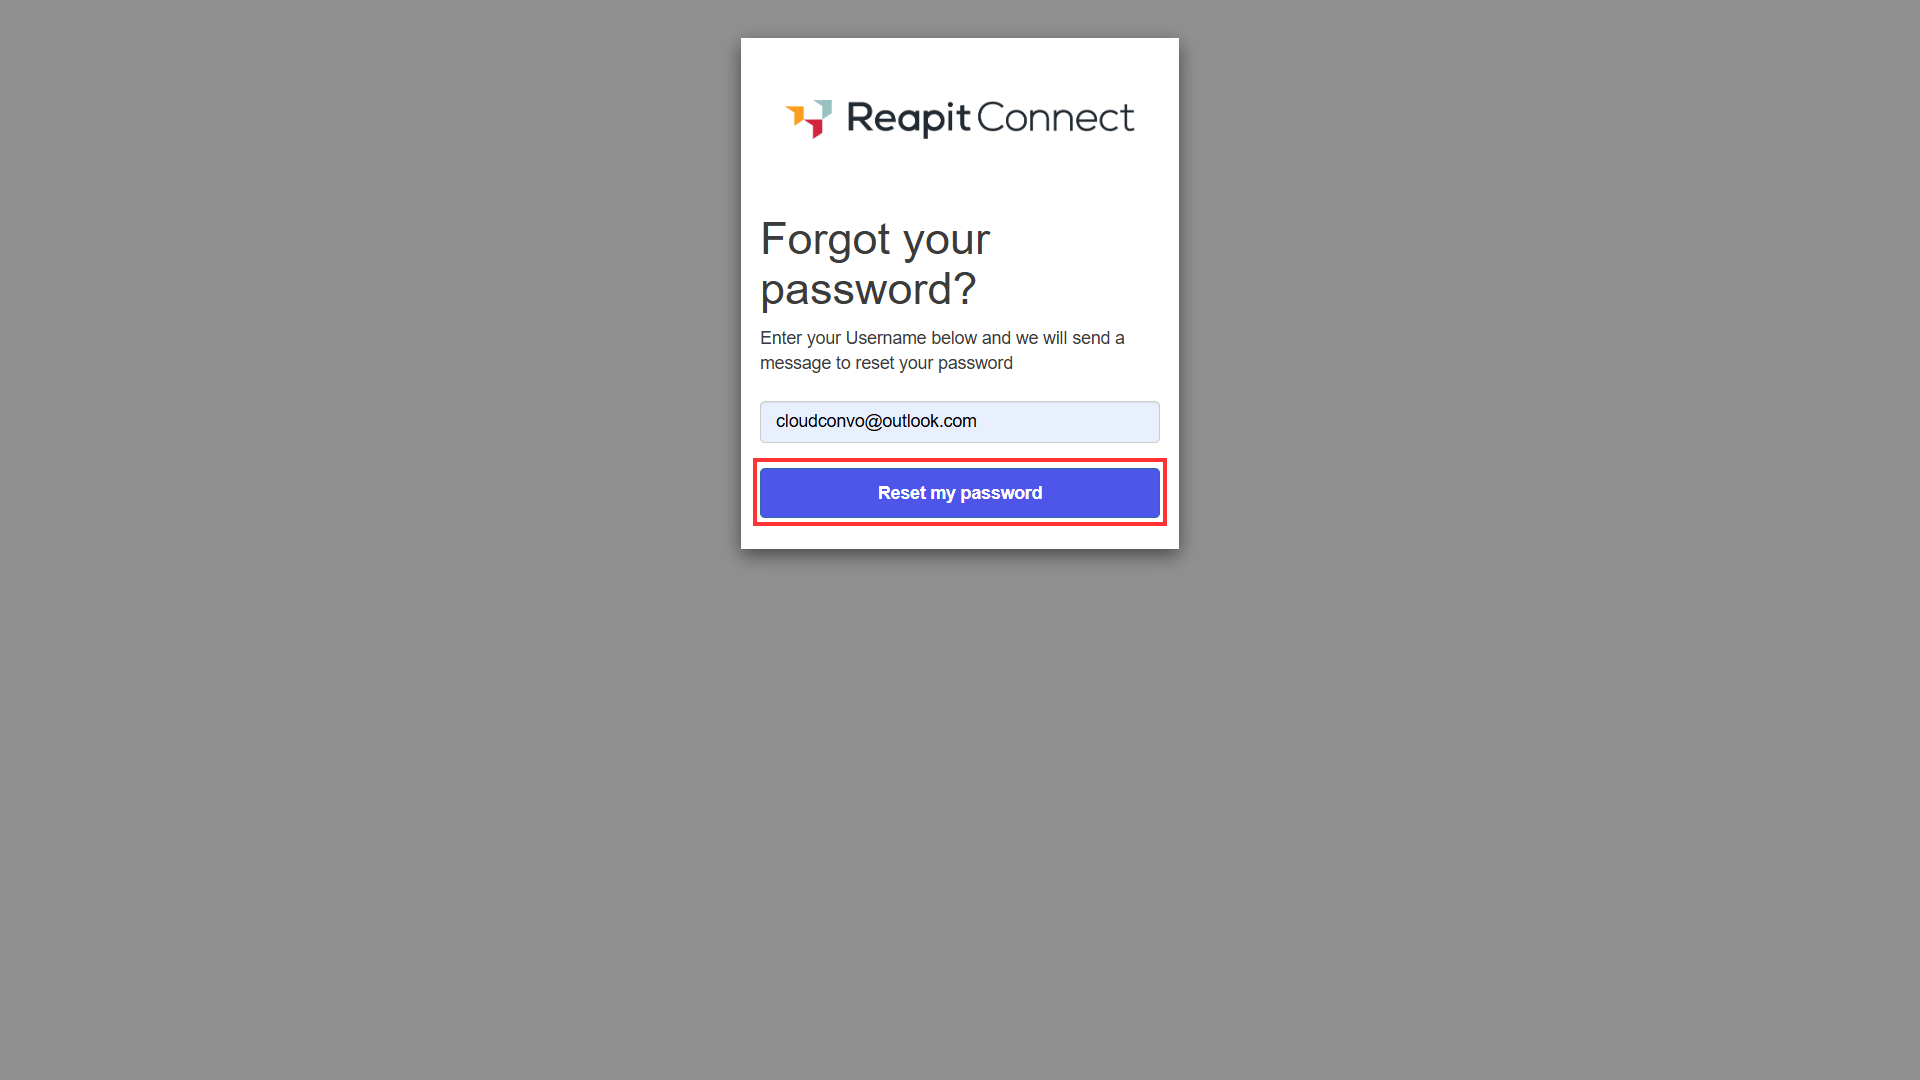
- If you are sure your details are correct and the error persists, click the “Forgotten Password?” link below the password field to reset your password.
Account Locked
- Diamond users and above can identify locked accounts, marked by a “#” next to the username in Settings > Admin > Manage Users.
- If an account is locked due to five unsuccessful login attempts, the user should reset their password using the “Forgotten Password?” link. This will also unlock the account.
- To manually unlock an account, select the account and click “Undo Lockout”.
Temporary Password Expired
- A temporary password sent via email is valid for only two hours. If this password expires, request a new one by following the password reset process again.
Verification Code Issues
- When logging in from a new device, a 6-digit verification code will be sent via SMS to your registered mobile number as part of our two-step authentication process.
- If you do not receive the SMS, verify with the Diamond user in your office that the correct mobile number is assigned to your account.
- If issues persist, contact your Account Manager for assistance.
- Note that two-step verification is generally required only the first time you log in or when authorisation expires (approximately every 30 days).
Additional Notes
- Using In-Private or Incognito browsing windows can cause login issues as they do not store the information required to stay logged in. Expect to verify your identity each time you log in using these modes.
By following these guidelines, you can effectively troubleshoot and resolve common login issues. For further assistance, please reach out to your Account Manager.
Accessing Help Centre and the Reapit Learning Academy
For further assistance and to enhance your familiarity with the system:
- When logged into Reapit Lettings, you can access our Knowledge Base through the Help Menu. It provides comprehensive guides and support resources.
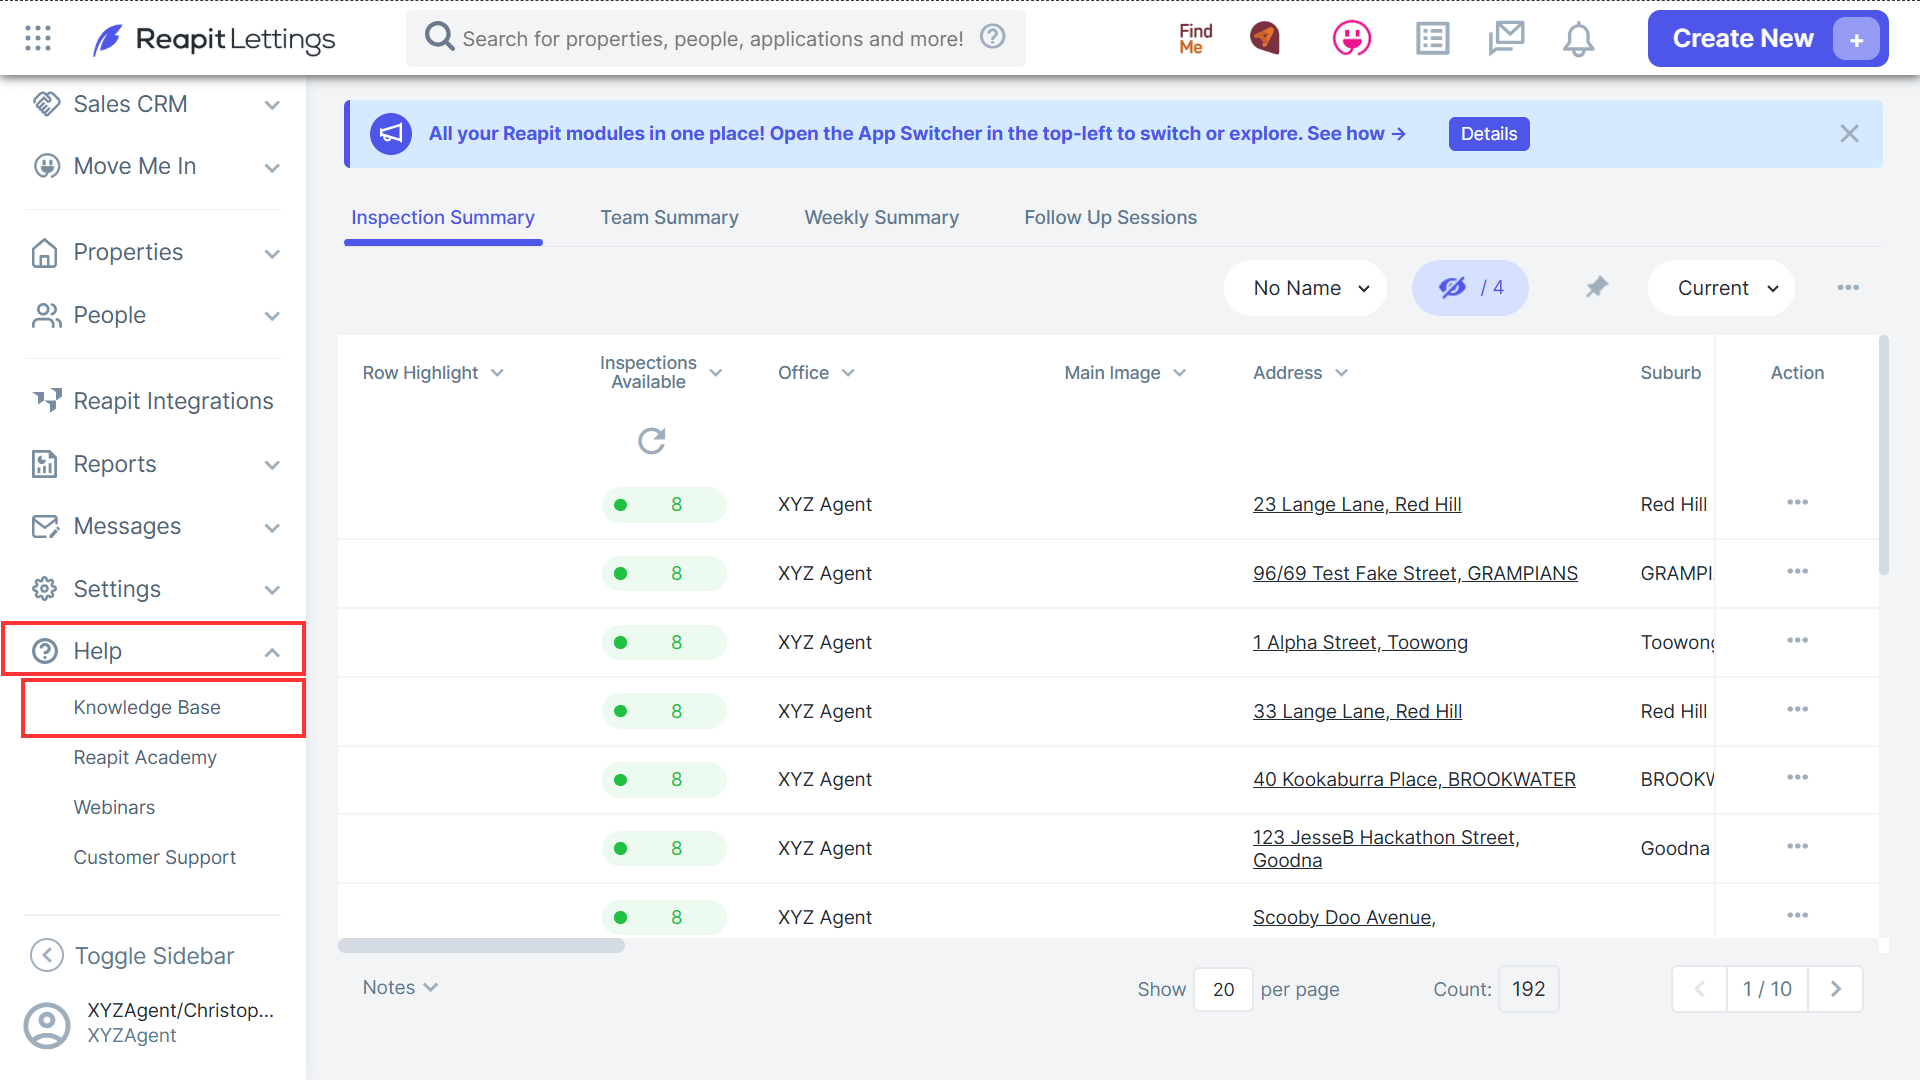
Note: You can also access the Reapit Lettings Help Centre at https://help.inspectre.com.au/
- Access the Reapit Academy for comprehensive training and resources to maximise your use of Reapit Lettings. Once logged into Reapit Lettings, navigate to the help menu and select Reapit Academy.
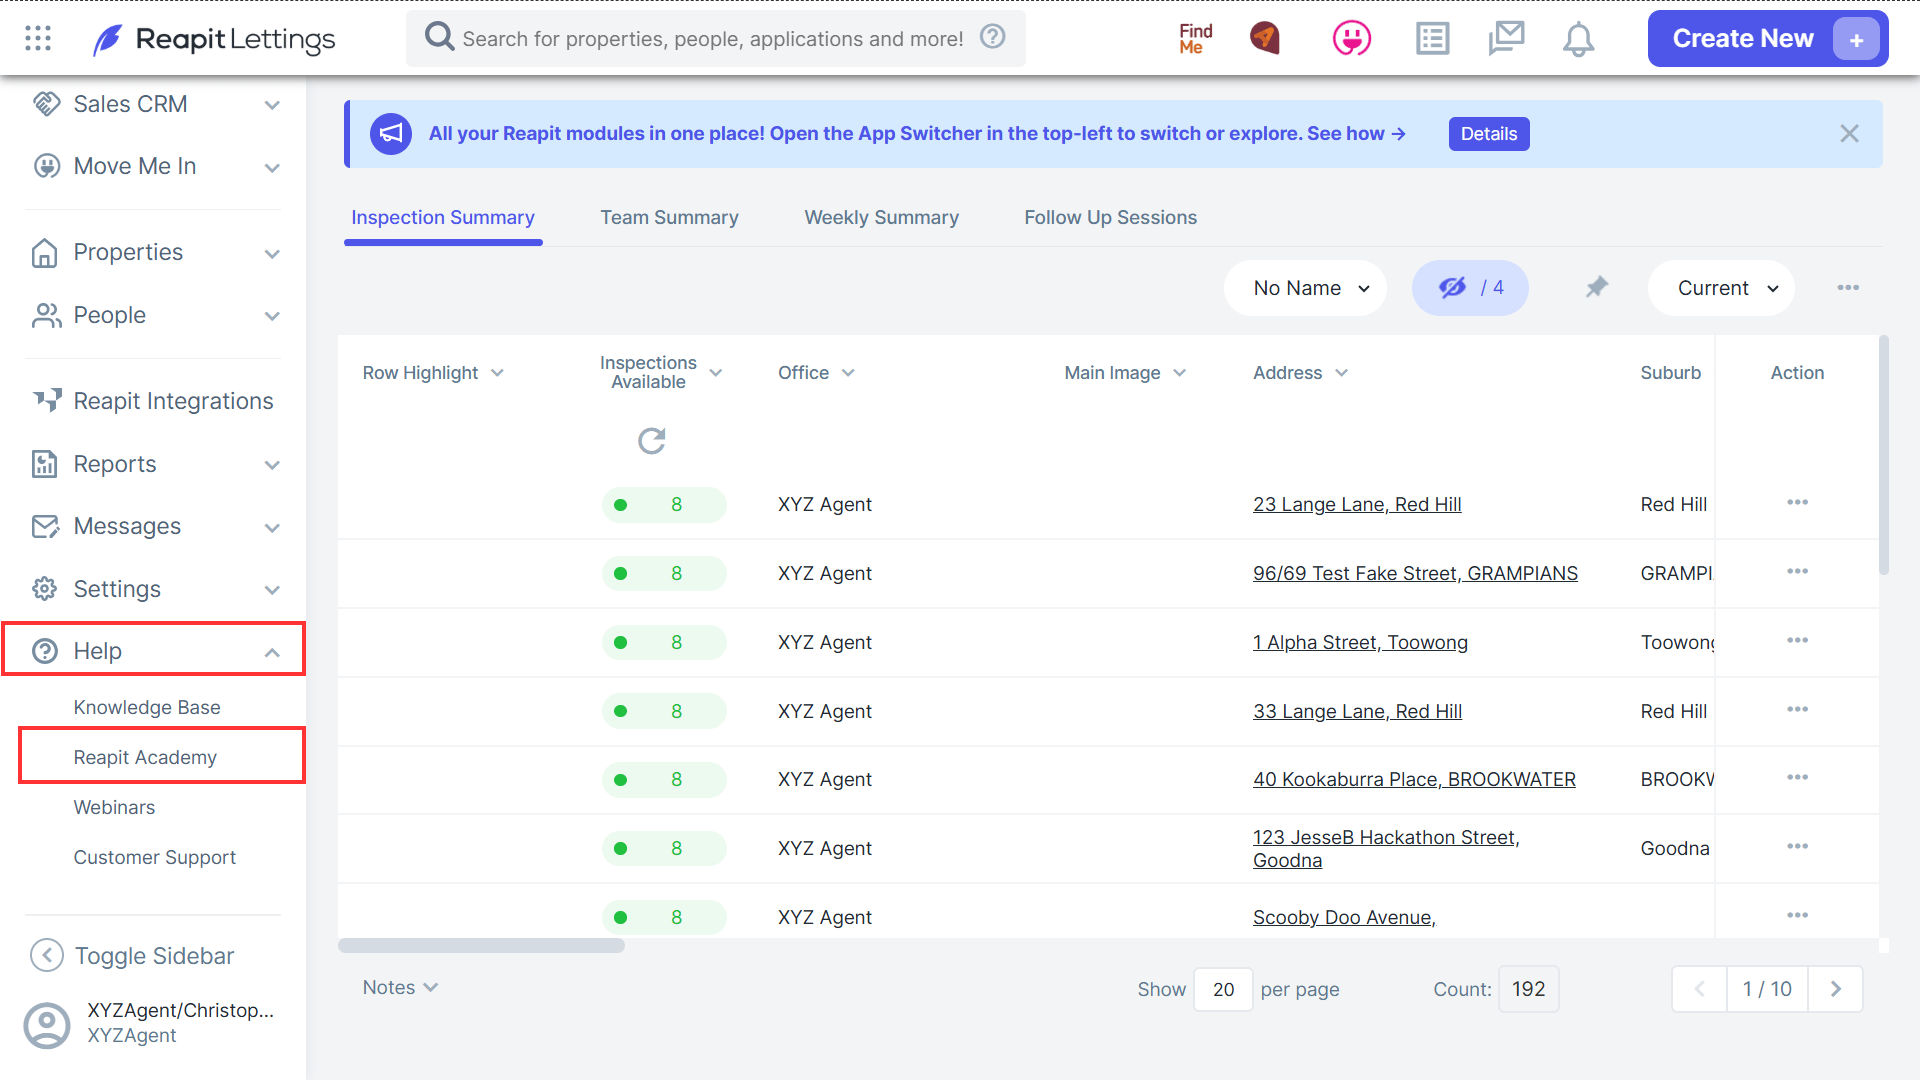
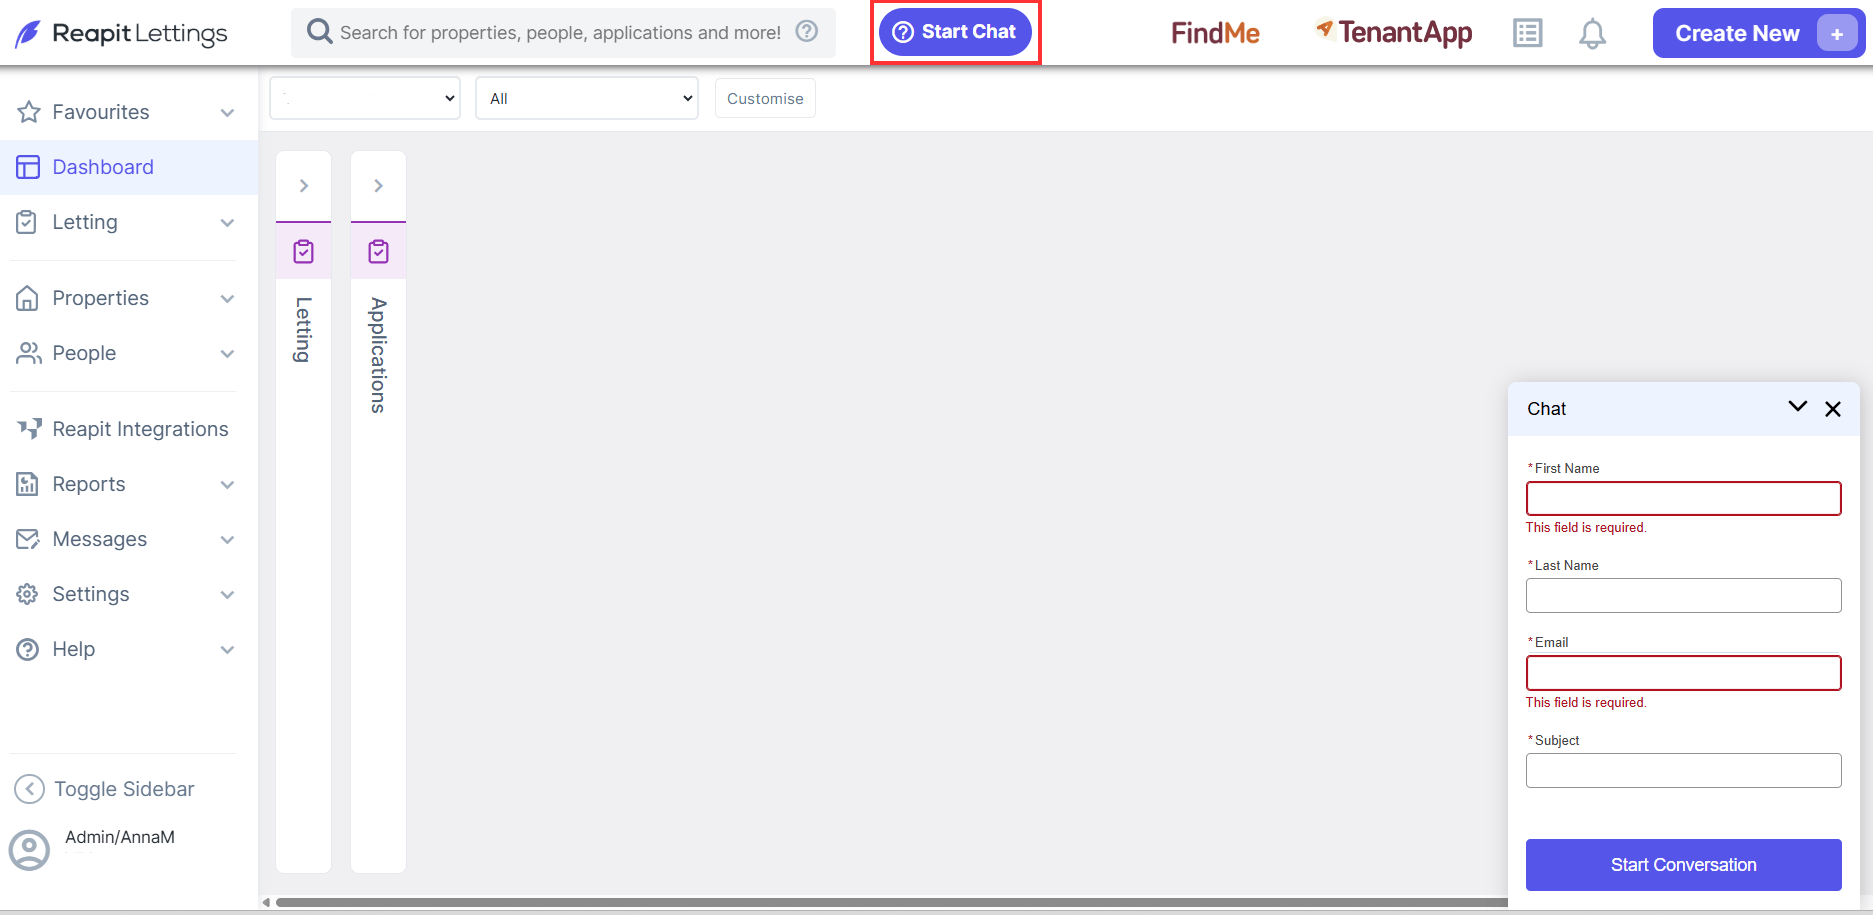
Please review these resources carefully to ensure a smooth start. For any further assistance or questions, feel free to contact our support team at lettingssupportanz@reapit.com. Additionally, you can access live chat support through the Start Chat button located at the top of the page.