'%20d='M0%208a8%208%200%200%201%208-8h24a8%208%200%200%201%208%208v24a8%208%200%200%201-8%208H8a8%208%200%200%201-8-8V8Z'/%3e%3cpath%20fill='%23fff'%20d='M8.375%2013v14L20.5%2034l12.124-7v-7.737l-1.687-.975-2.806-1.62-1.082-.624v4.83l-.002%204.83H13.95V16.07l3.275-1.89%202.192-1.265%201.082-.625%203.275%201.877%202.192%201.256%201.083.62V9.782L20.5%206%208.376%2013Z'/%3e%3cdefs%3e%3clinearGradient%20id='reapit-pm__a'%20x1='20.702'%20x2='20.702'%20y1='.351'%20y2='31.228'%20gradientUnits='userSpaceOnUse'%3e%3cstop%20stop-color='%235573FD'/%3e%3cstop%20offset='.575'%20stop-color='%234E56EA'/%3e%3c/linearGradient%3e%3c/defs%3e%3c/svg%3e)
Adding and Managing Properties
This article will give you a detailed guide of the property page. This will include how to create a property and change the owner within Reapit PM.
Overview
Adding and Managing Properties
This article will give you a detailed guide of the property page. This will include how to create a property and change the owner within Reapit PM.
The processes in this article include:
- Introduction to the Property Page
- Creating a Property
Introduction to the Property Page
The property page is your starting point for everything related to managing your property. It provides quick and easy access to your property, tenancy and owner details as well as key actions and information for workflows and other information all in one place.
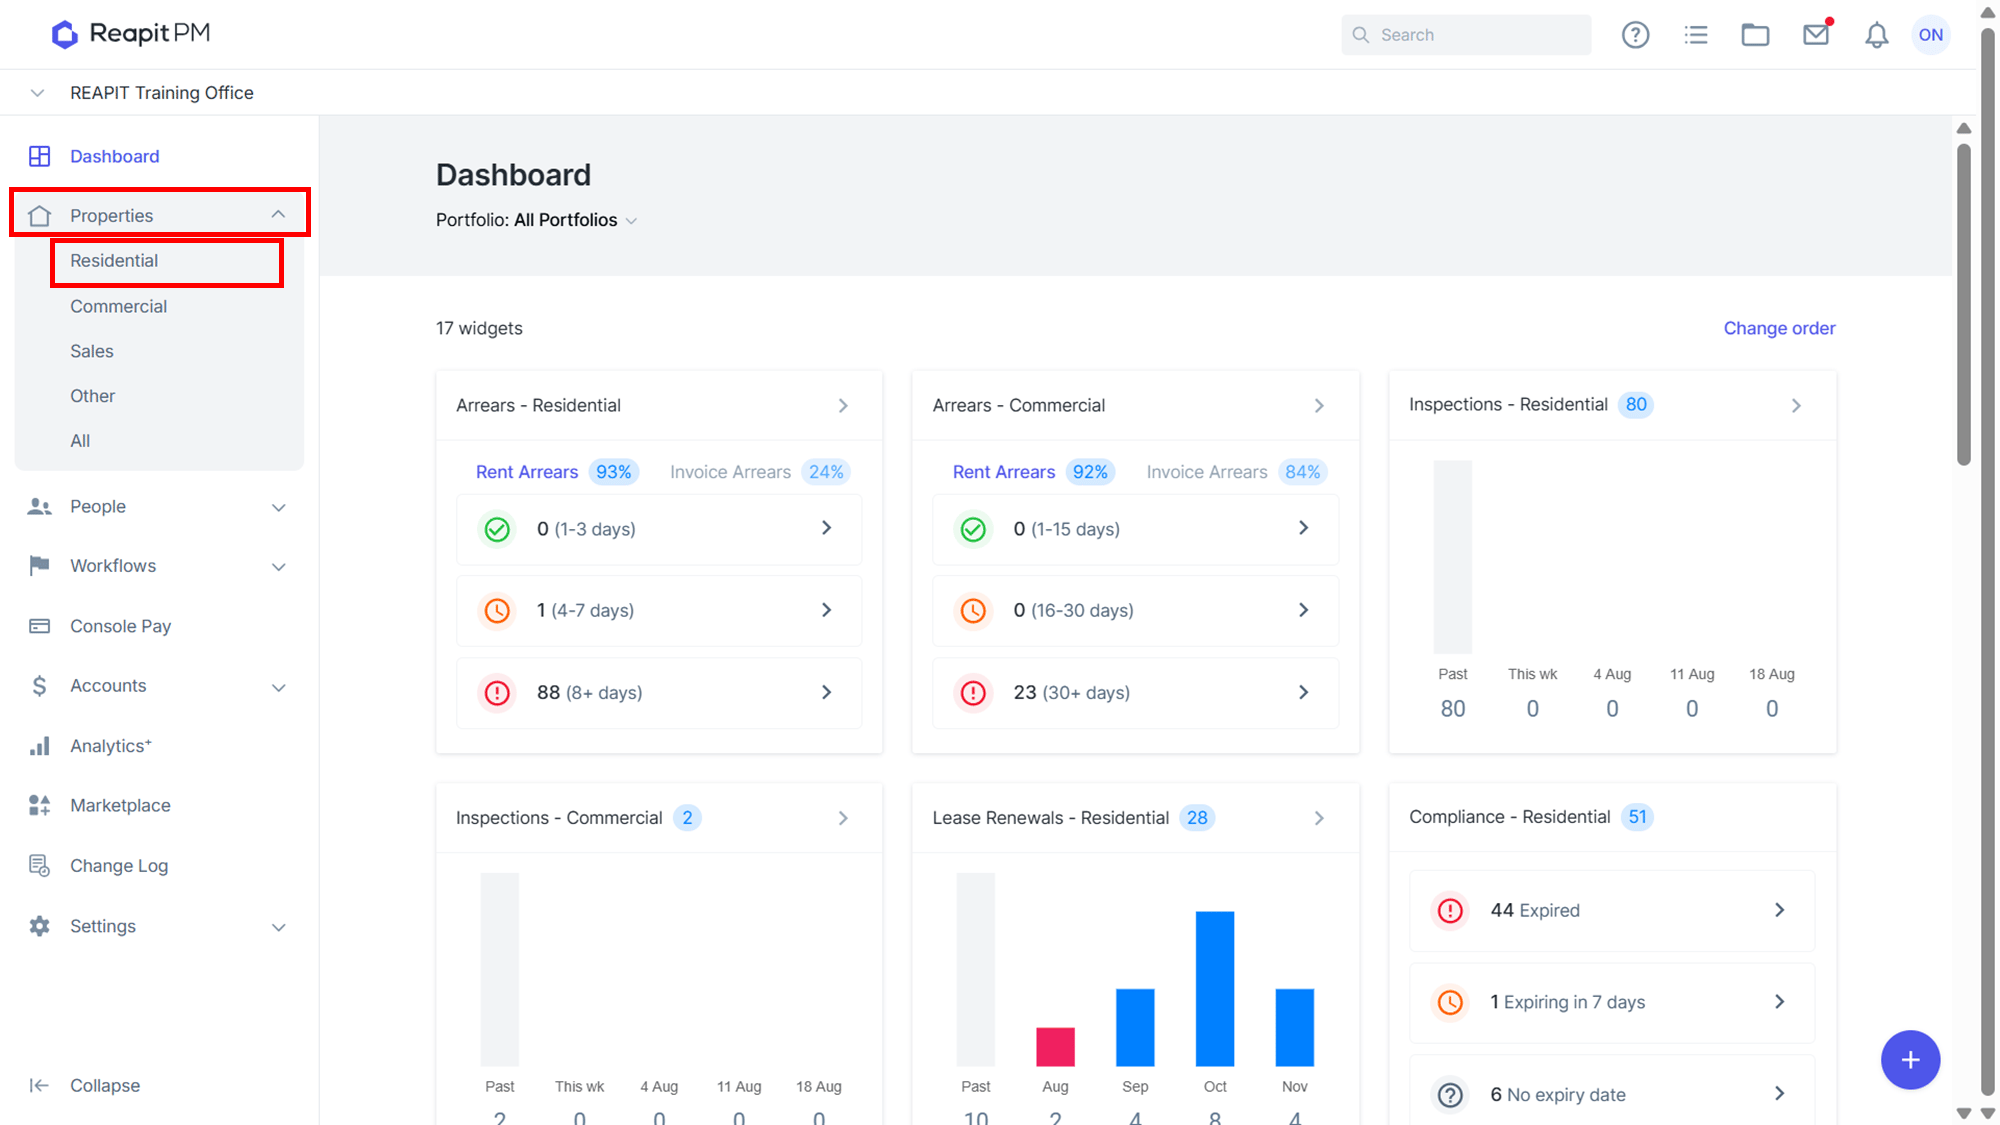
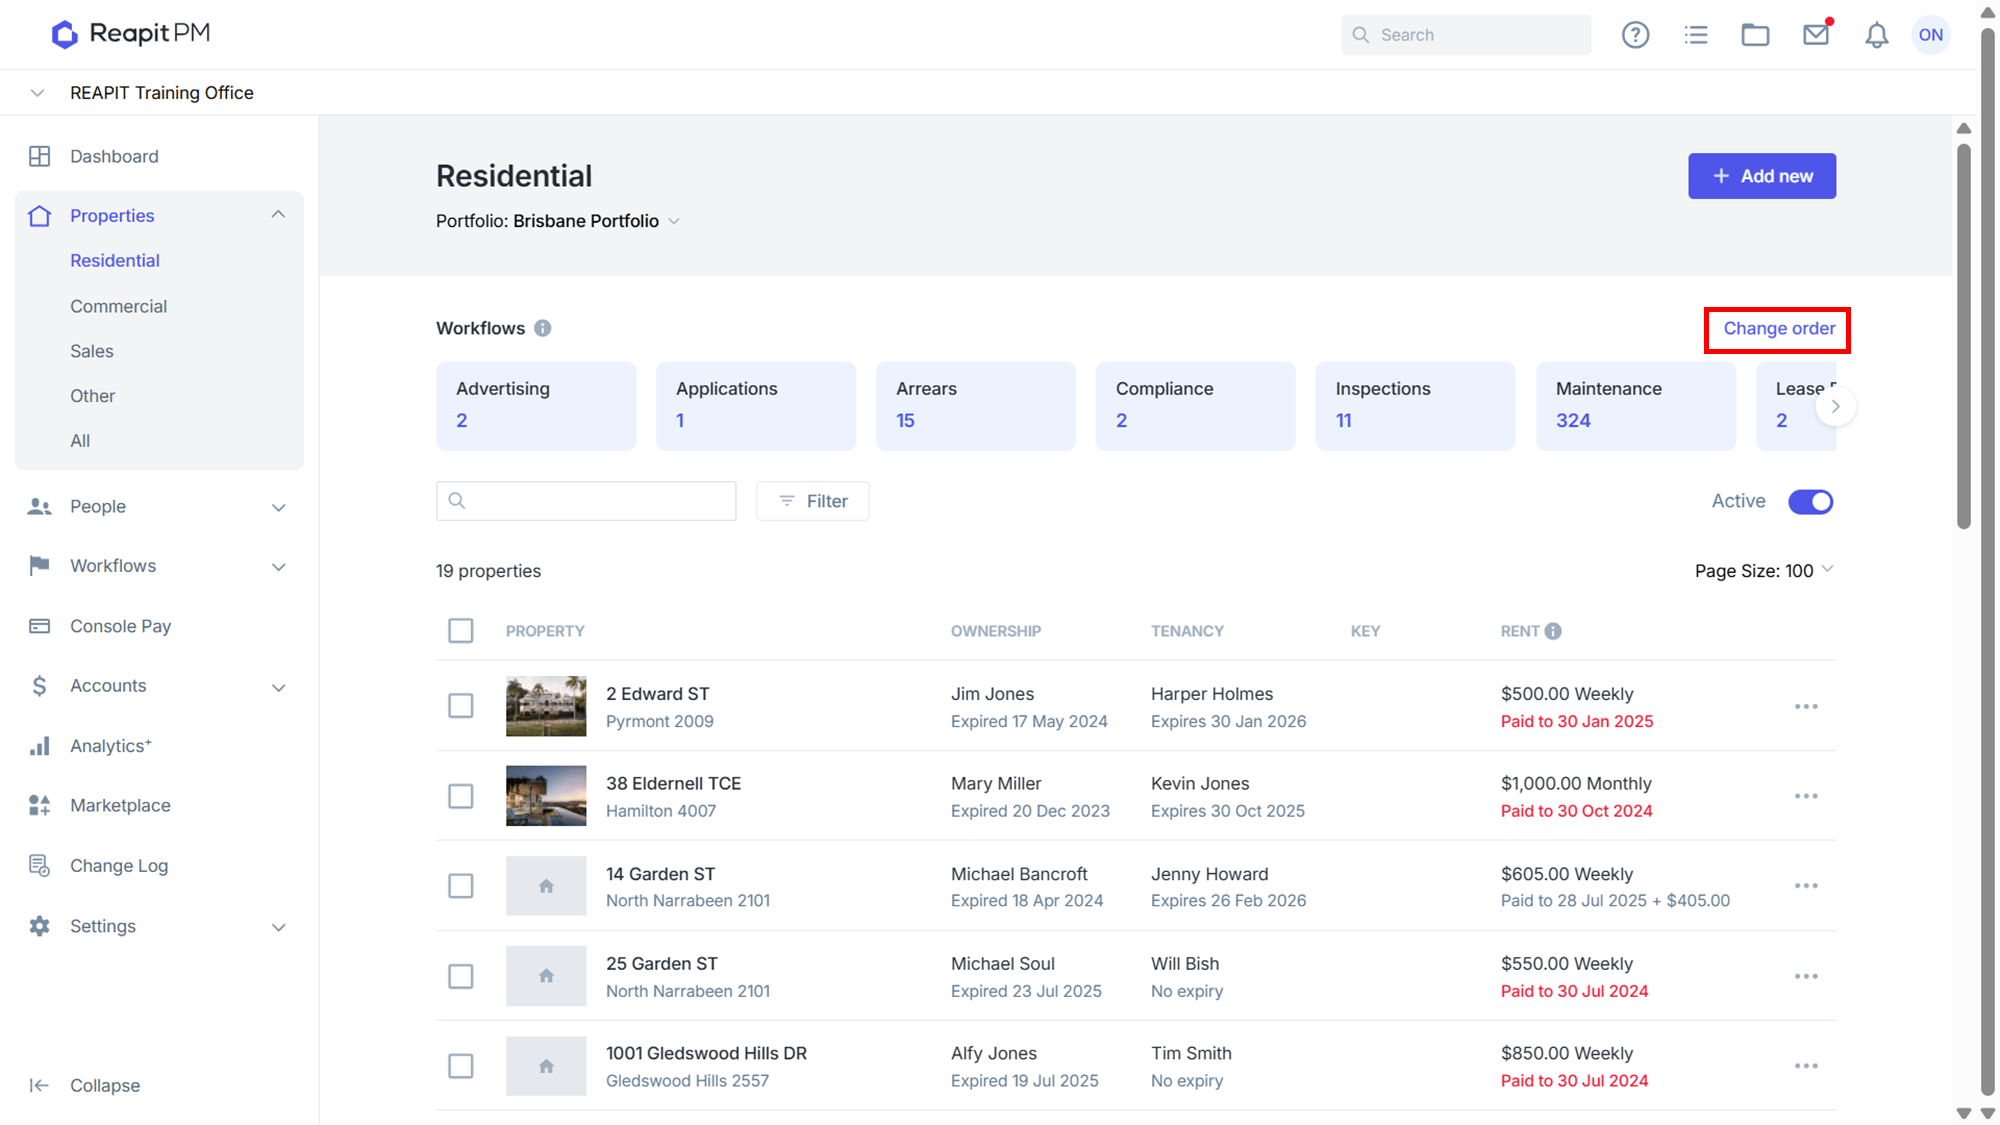
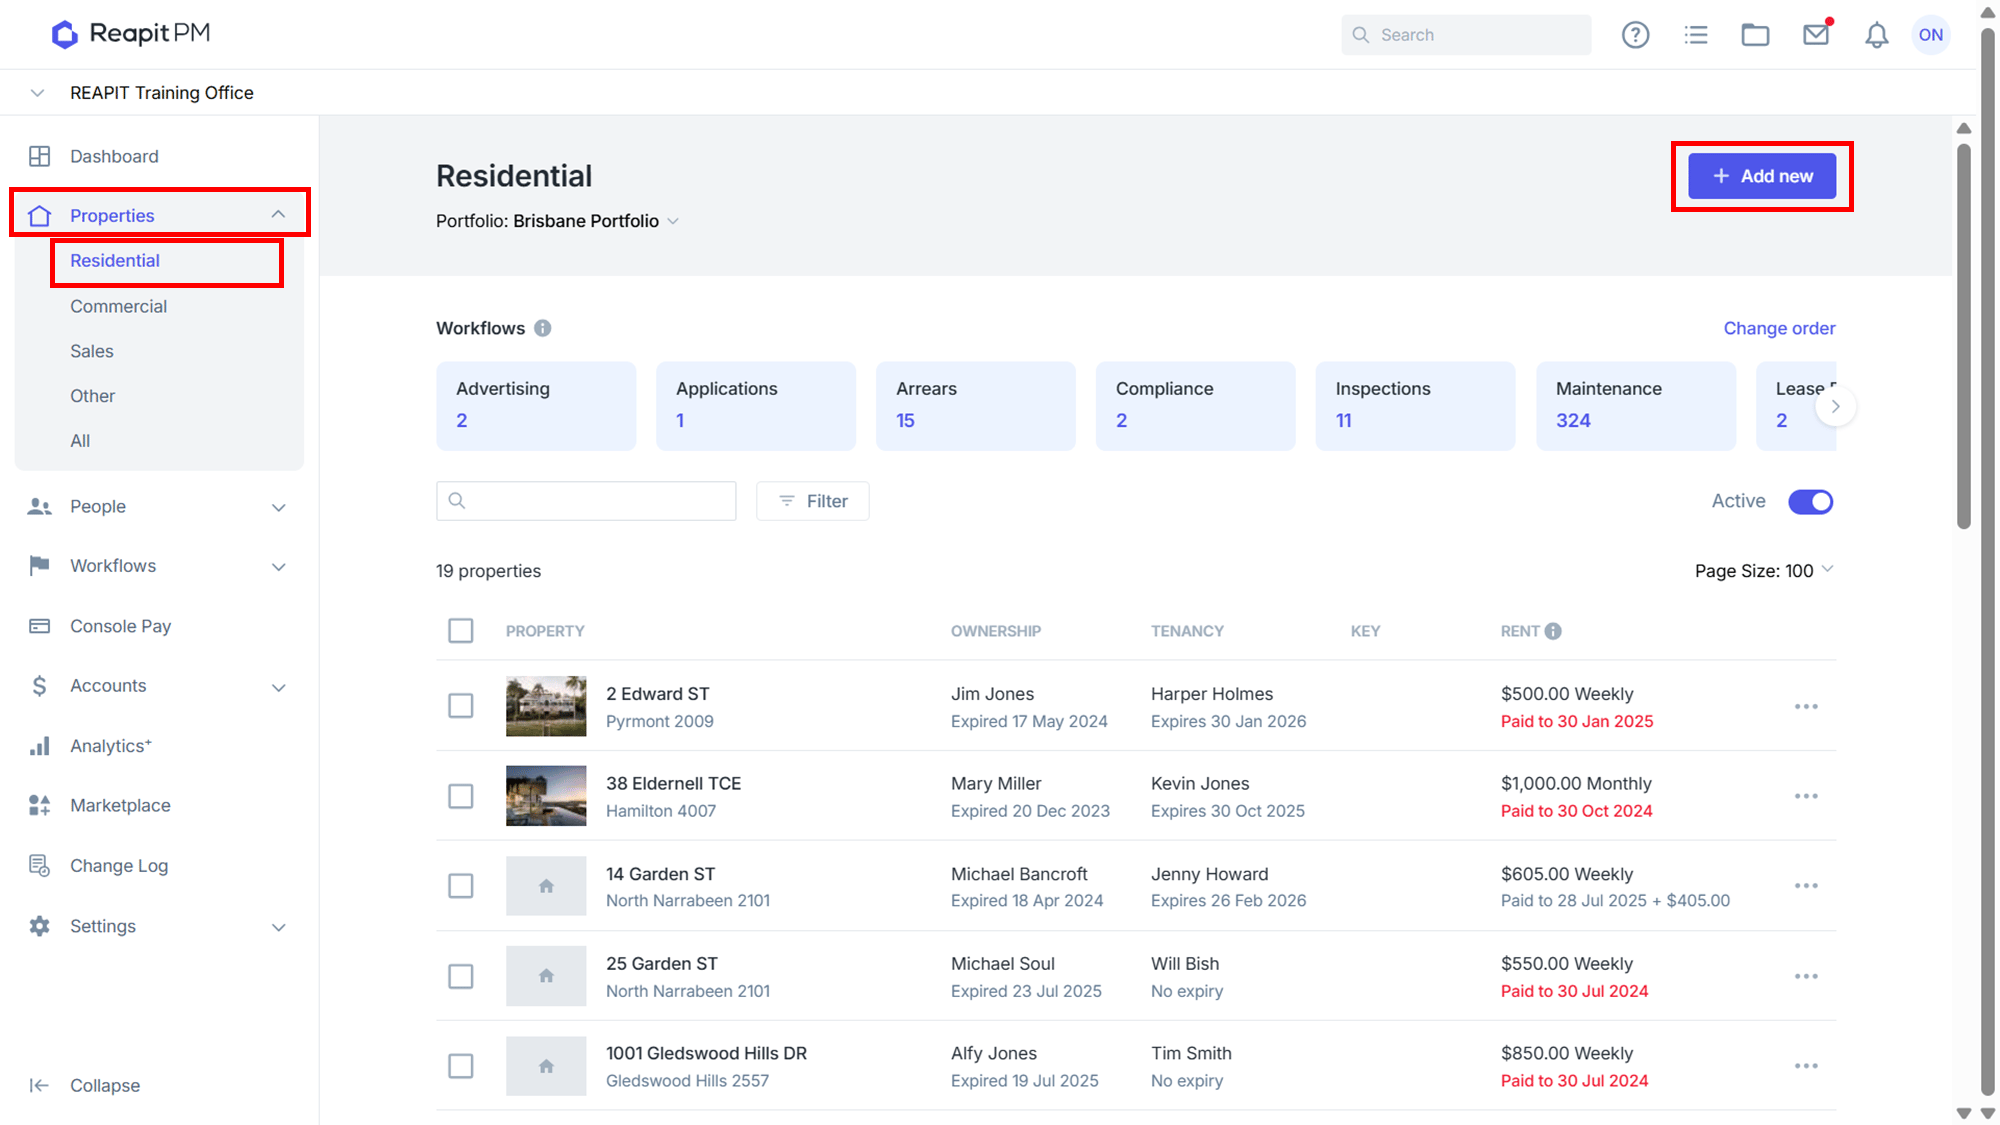
- Navigate to Properties > Residential.
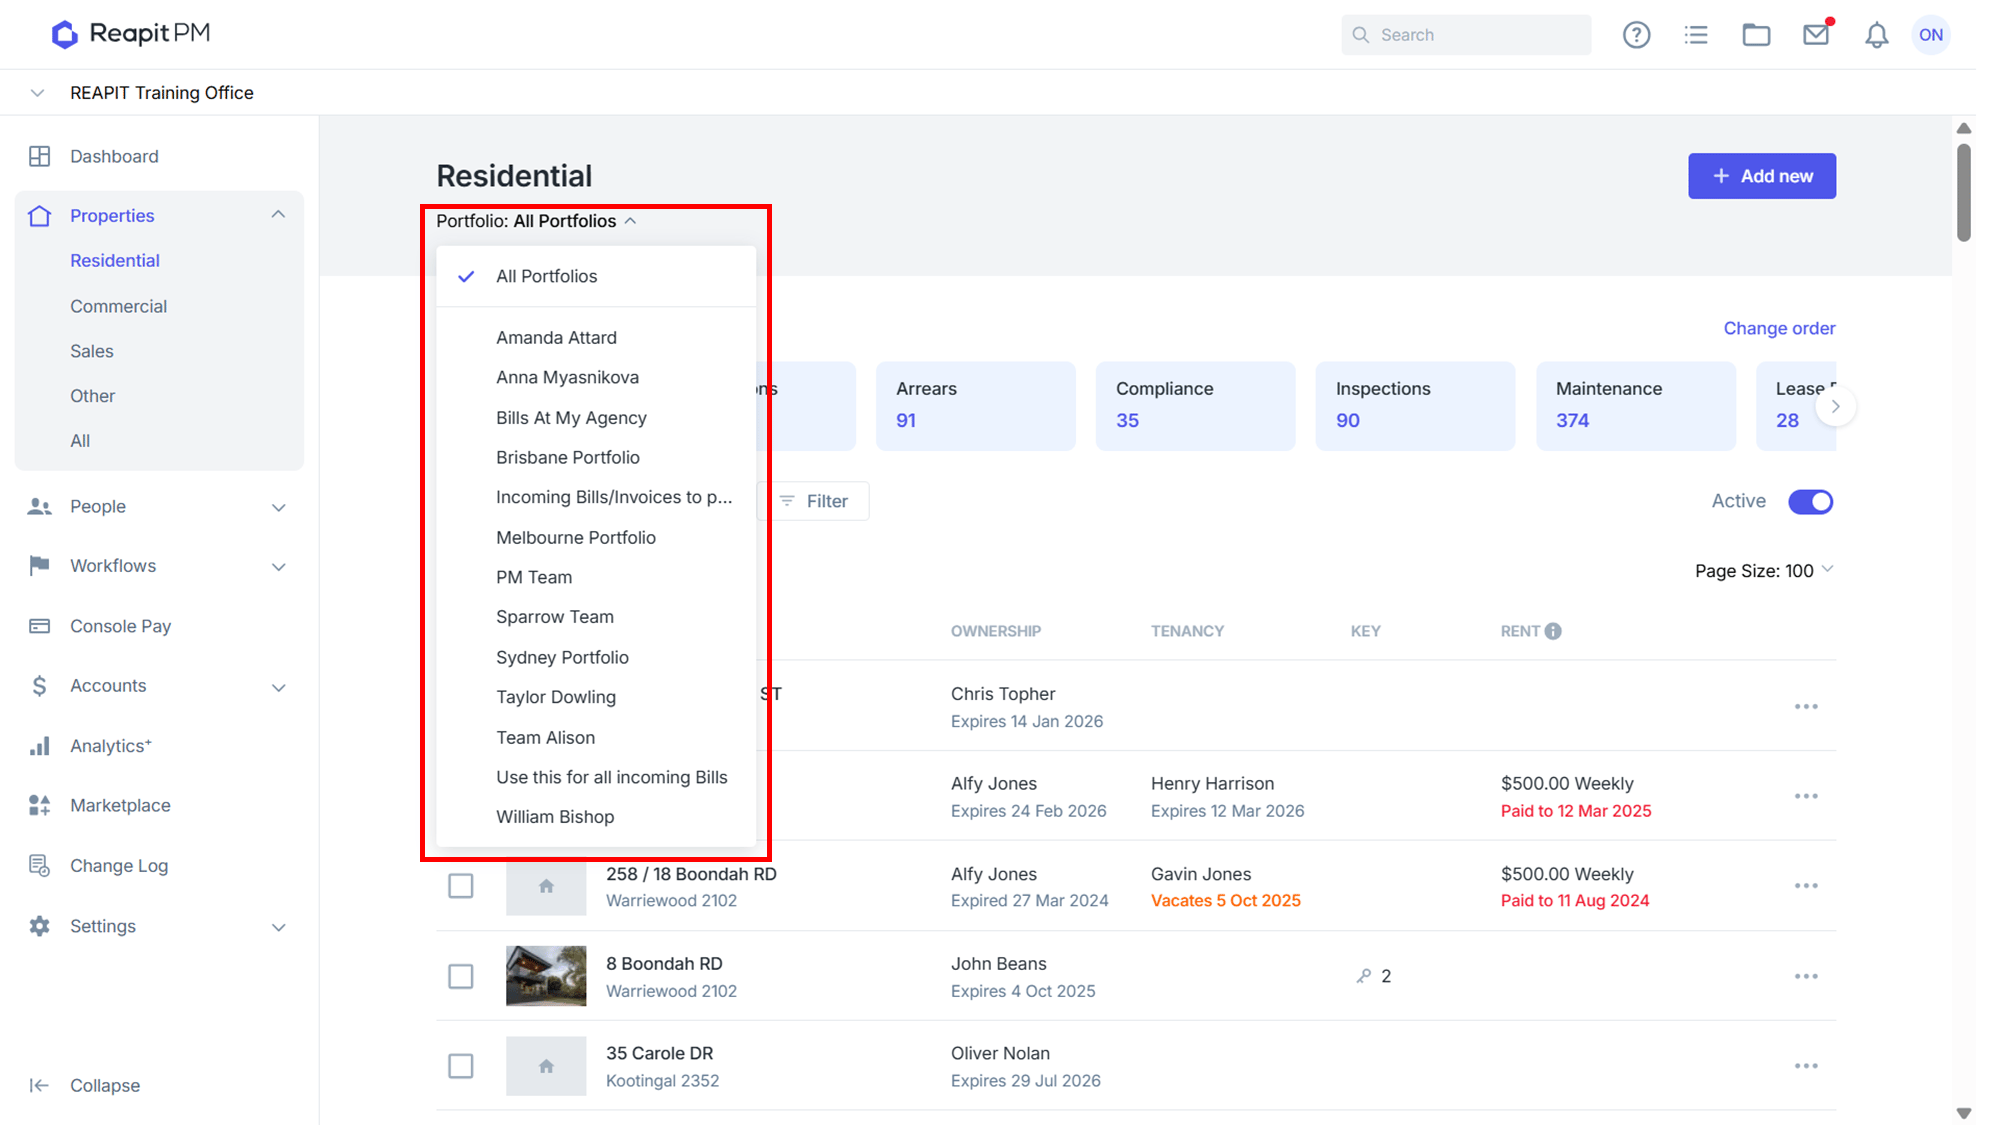
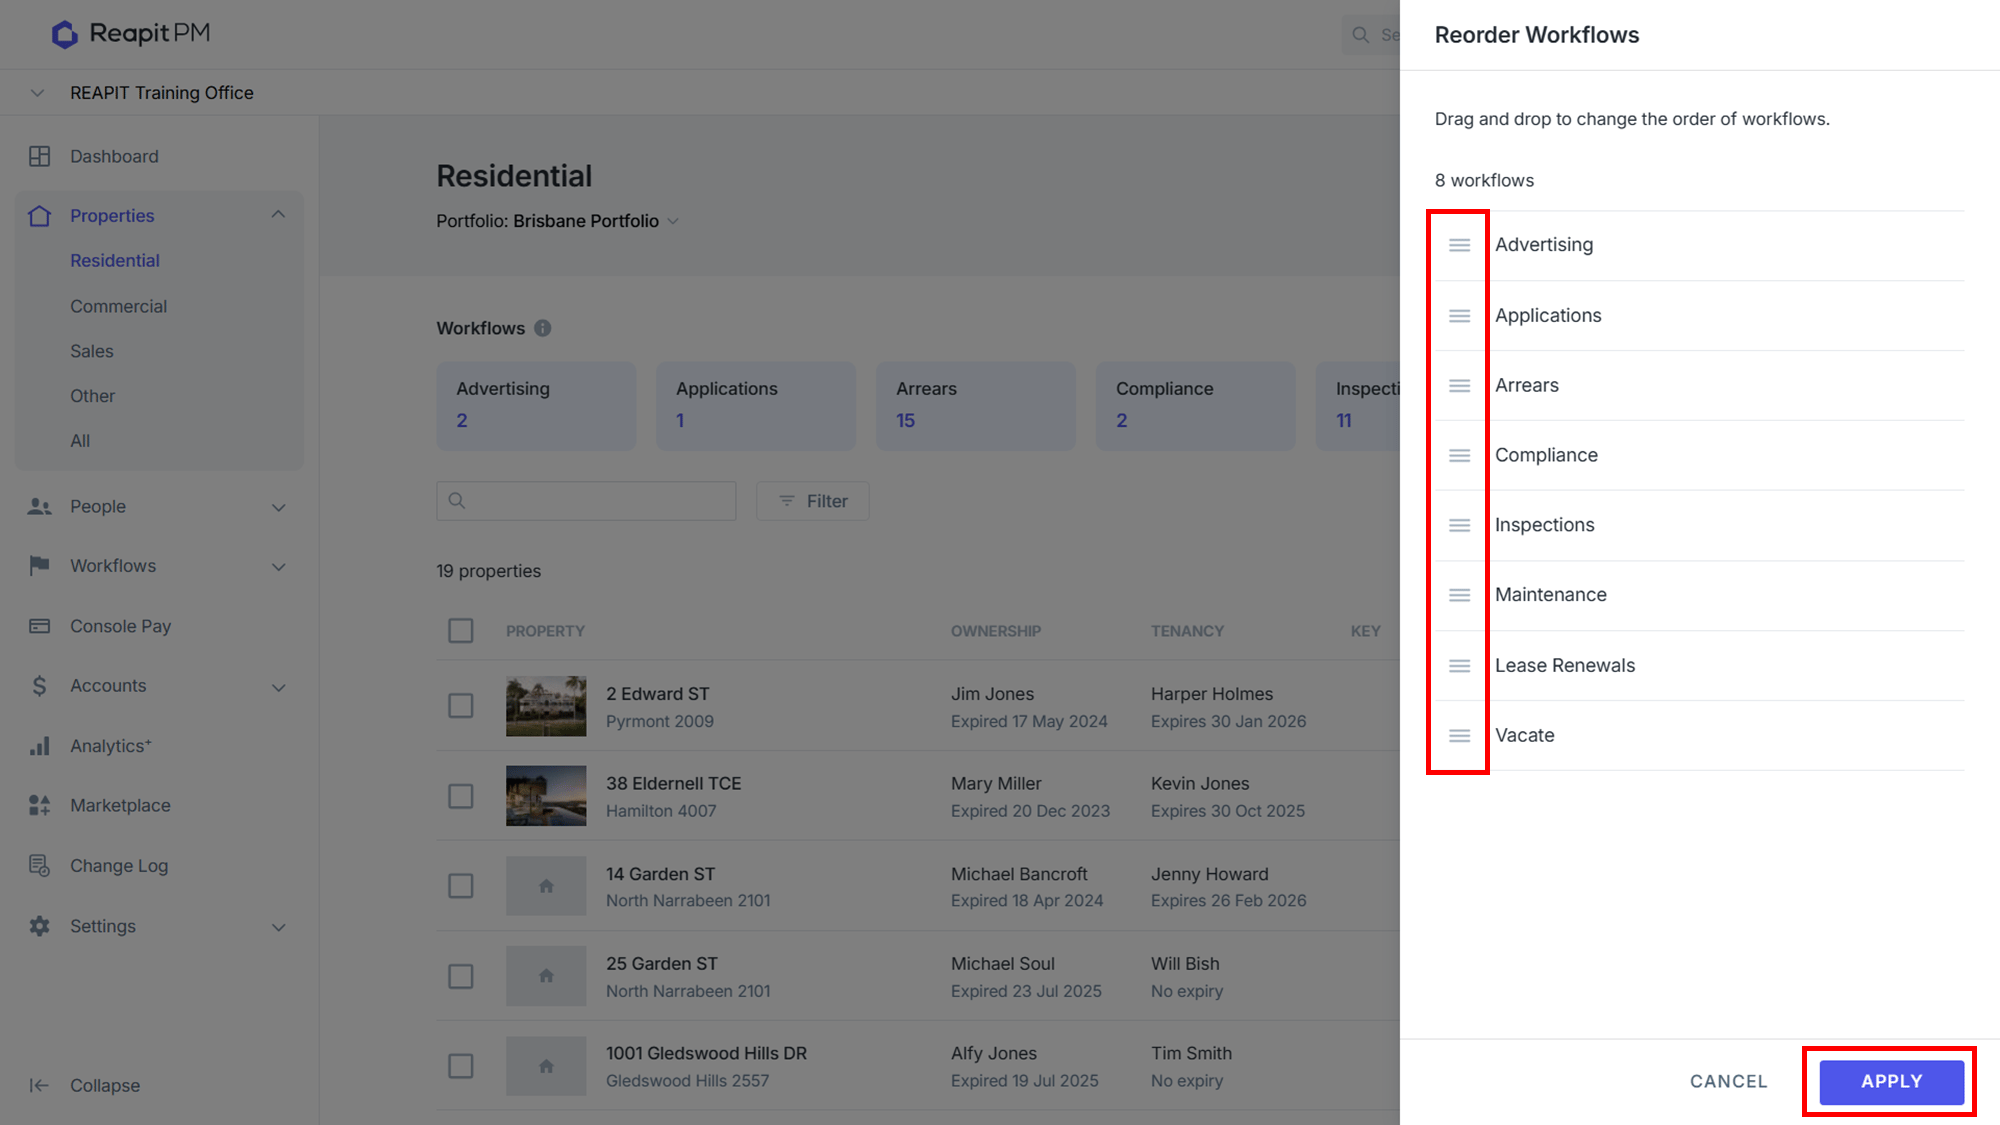
Select Change Order to rearrange your Workflows.
This will lead you to the workflow draw. Drag and drop to change the order of the workflows. Select Apply once you have finished.
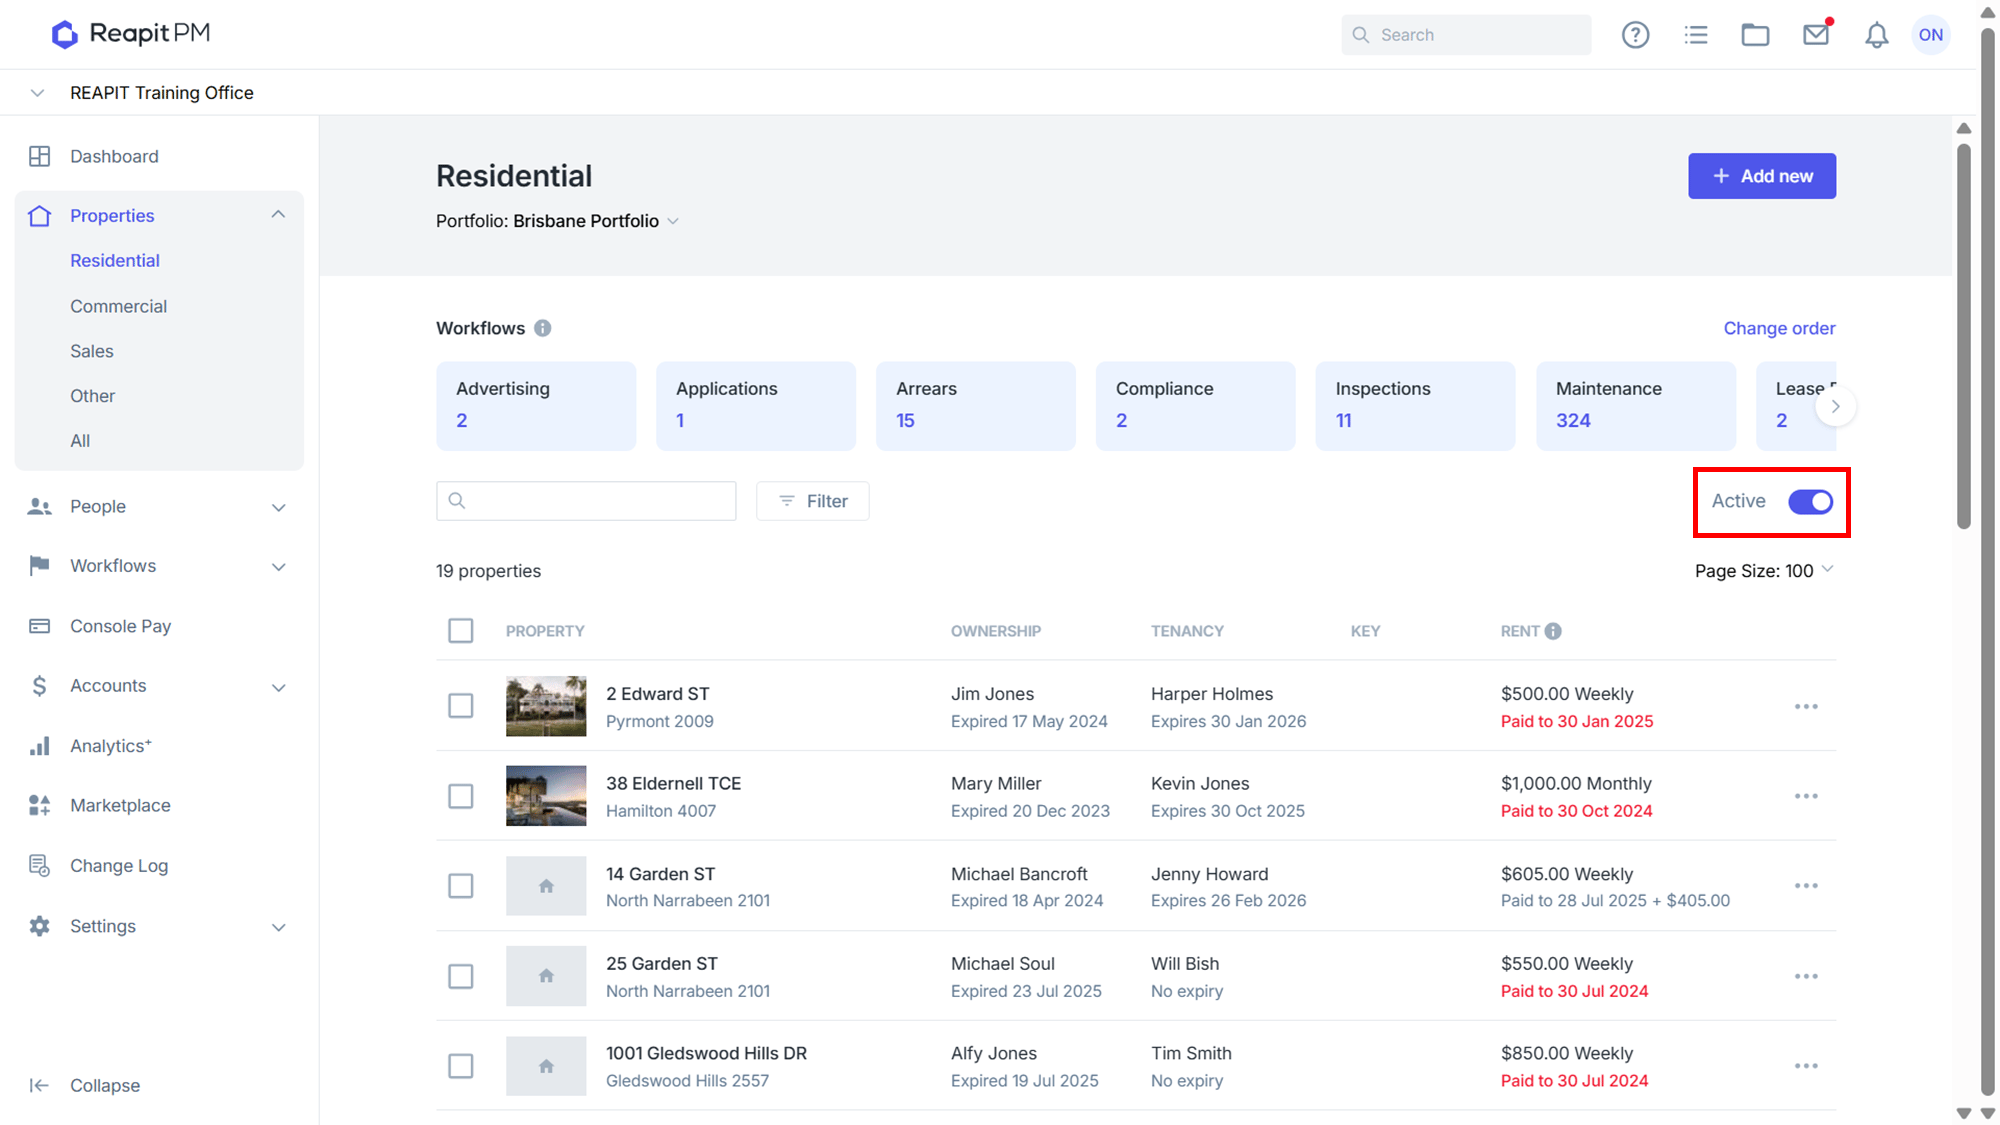
Toggle to access inactive / active properties as appropriate.
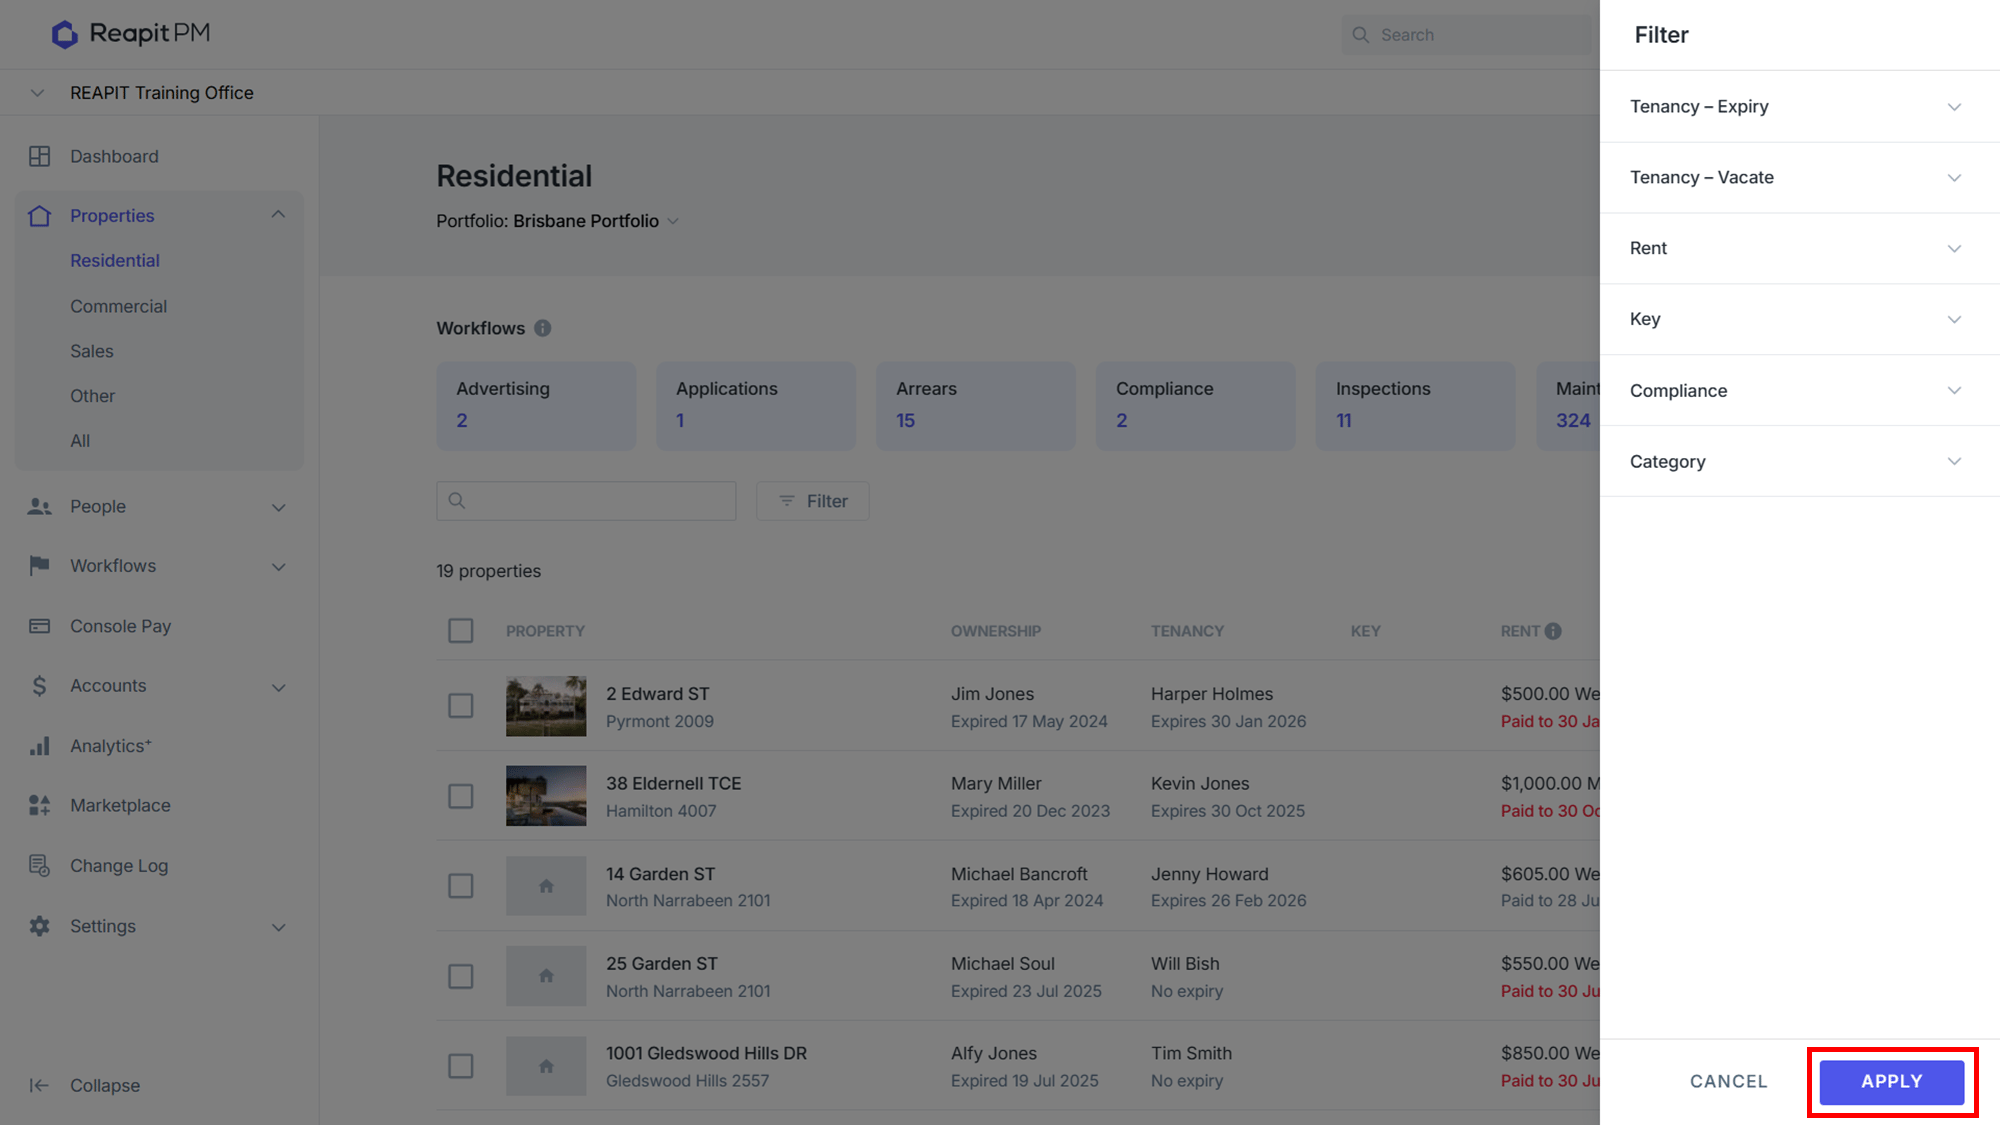
Select Filter.
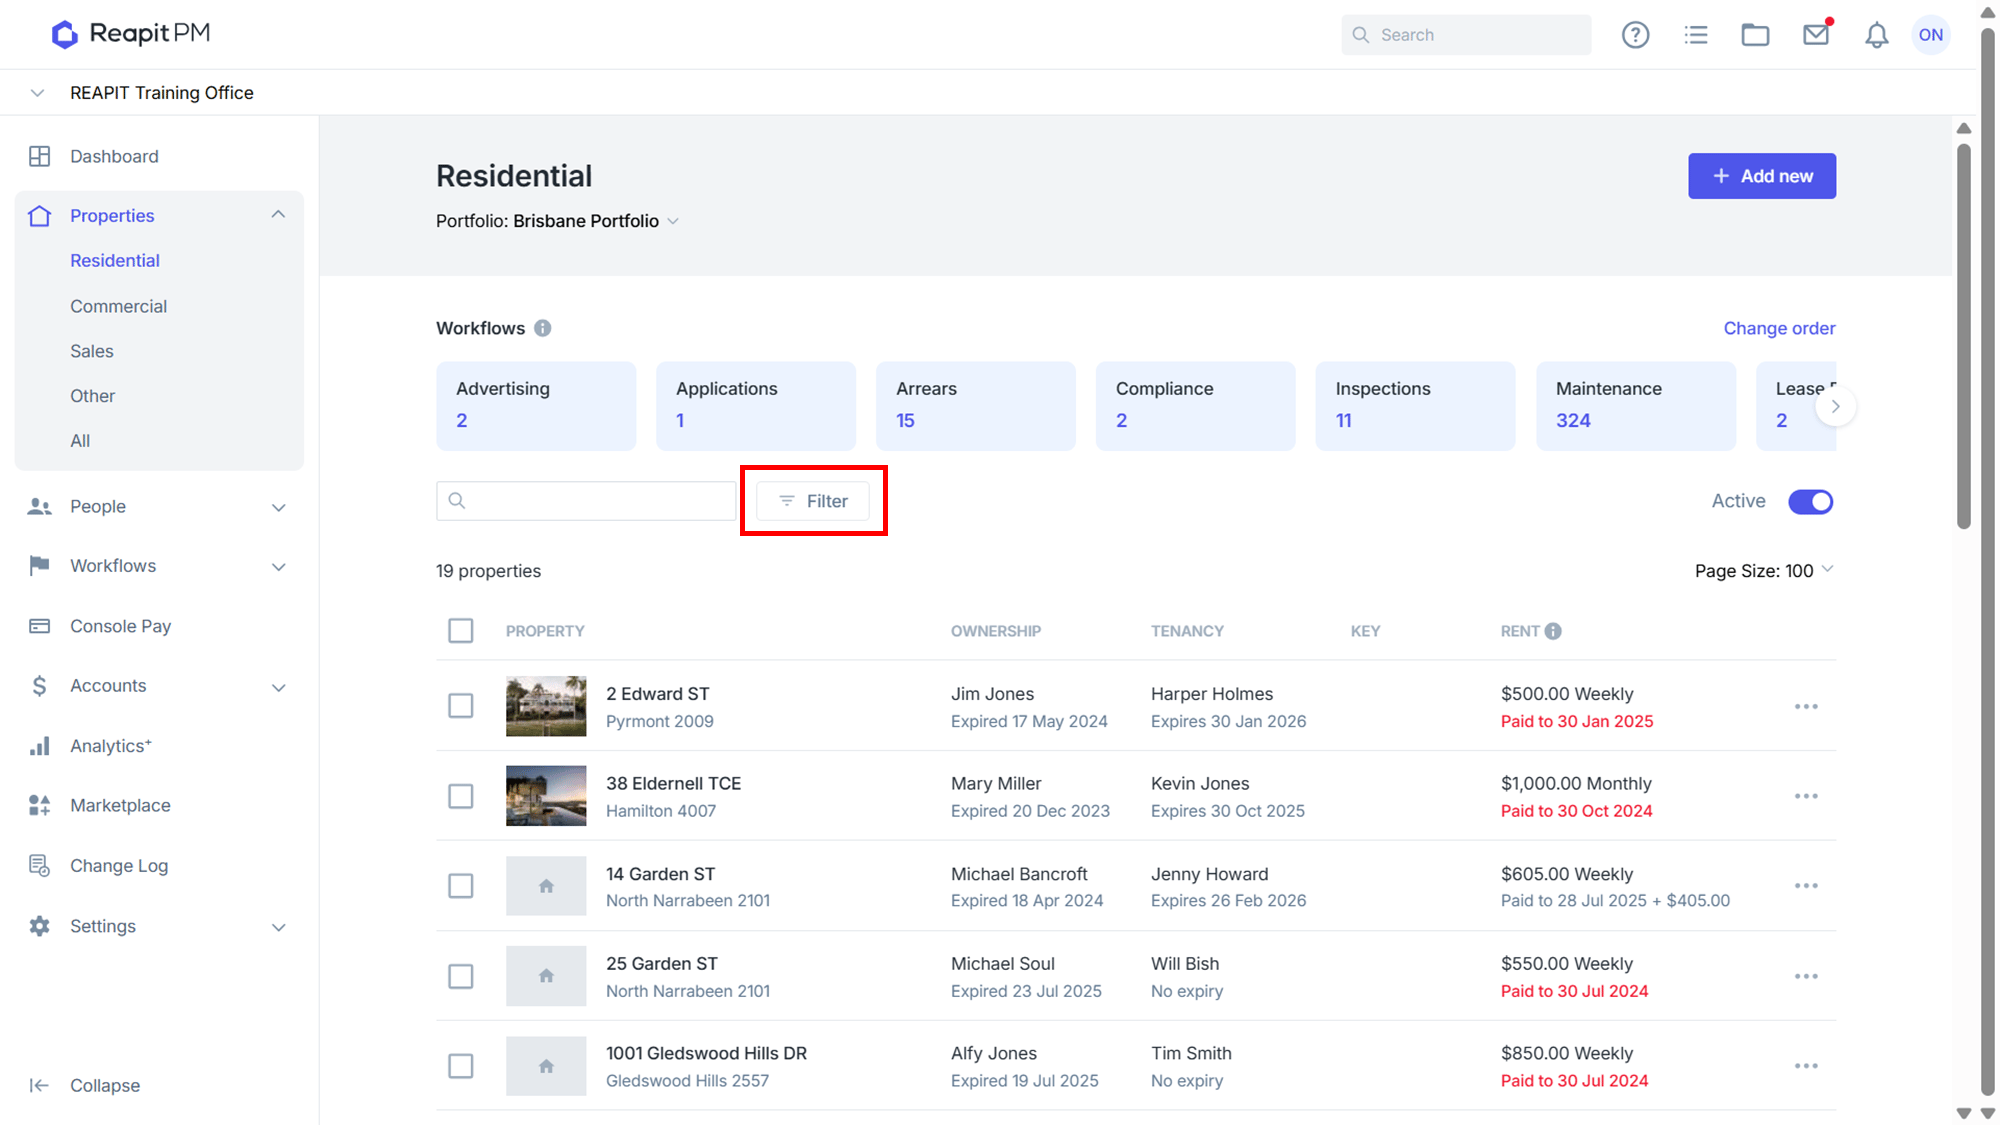
- Filter accordingly then select Apply.
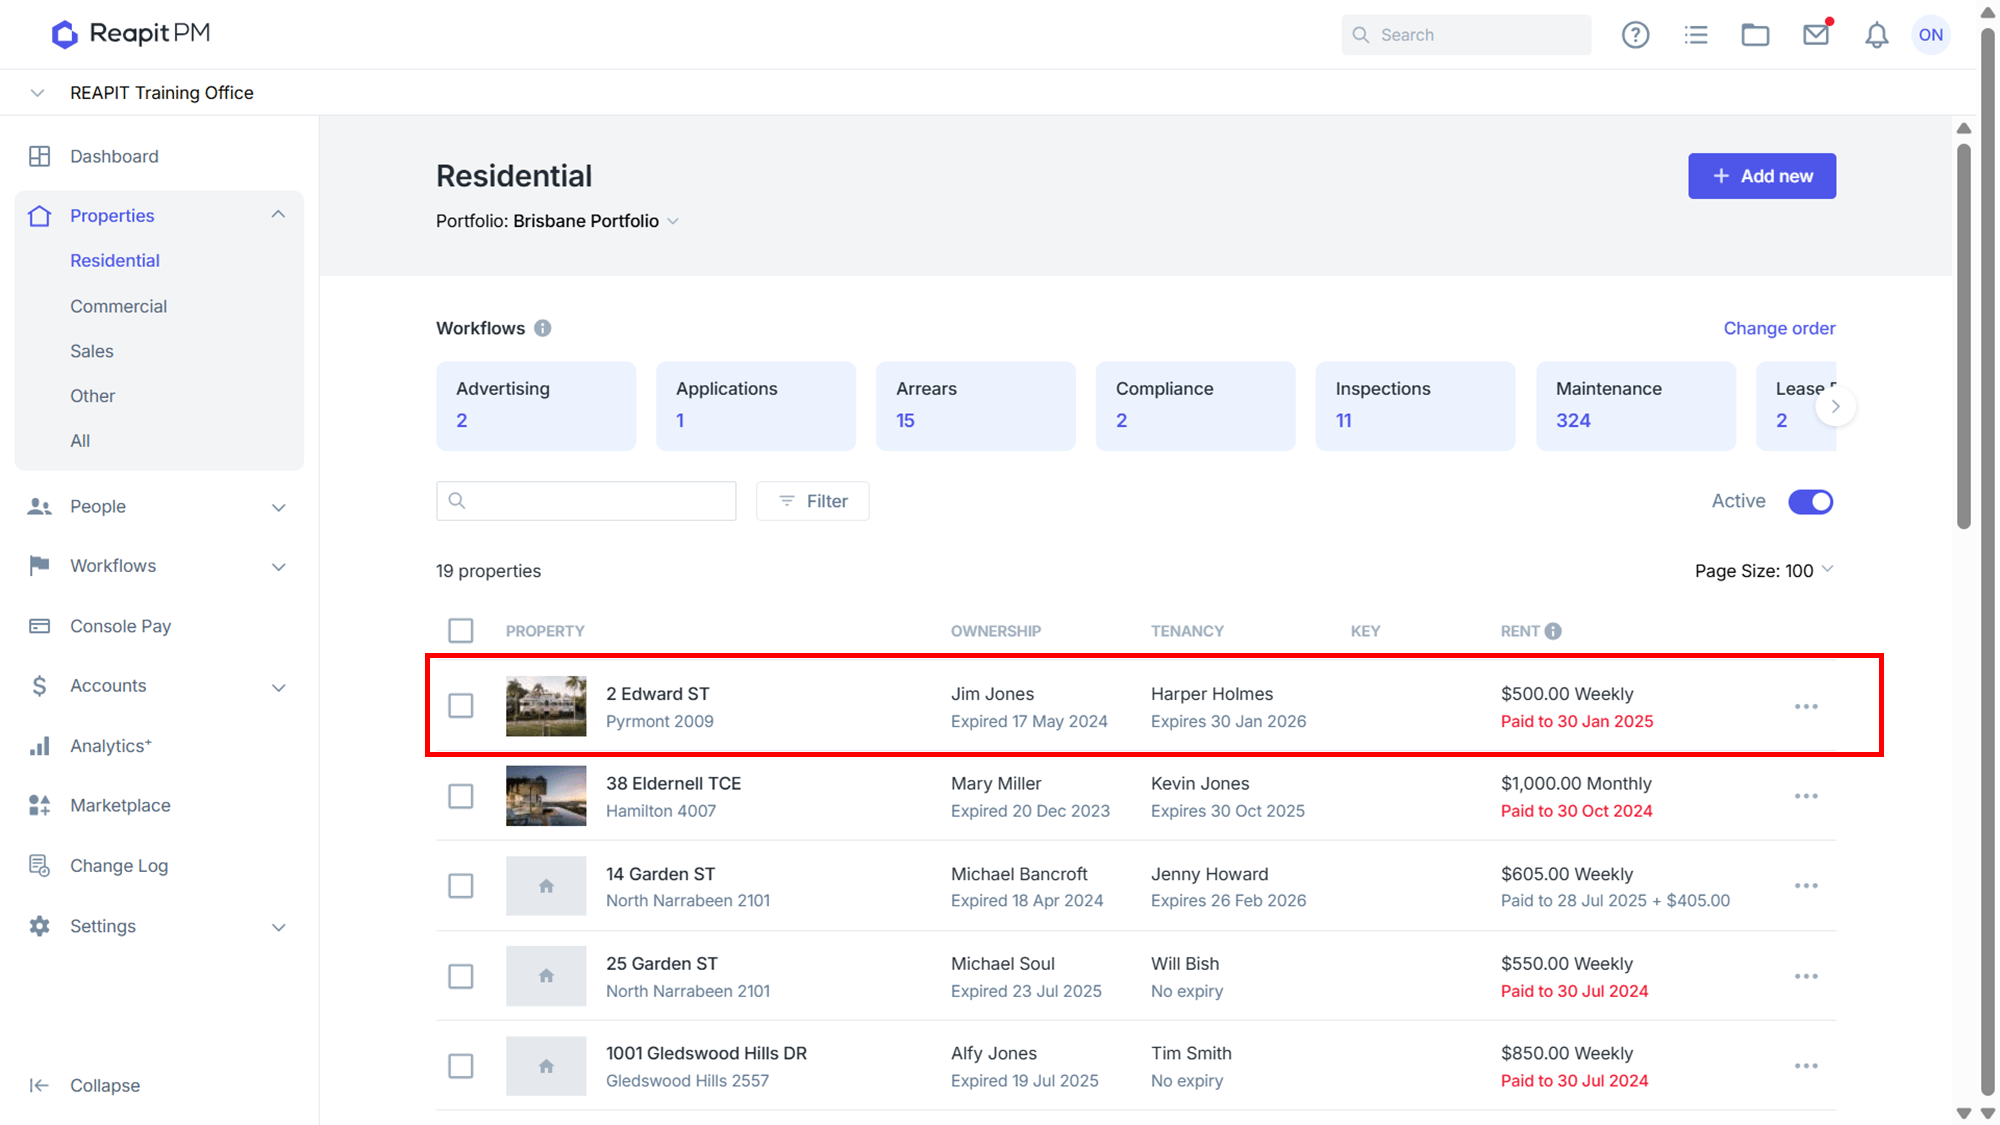
- Select a property to display the details.
Creating a Property
- Navigate to the main menu. Select Properties > Residential > Add New.
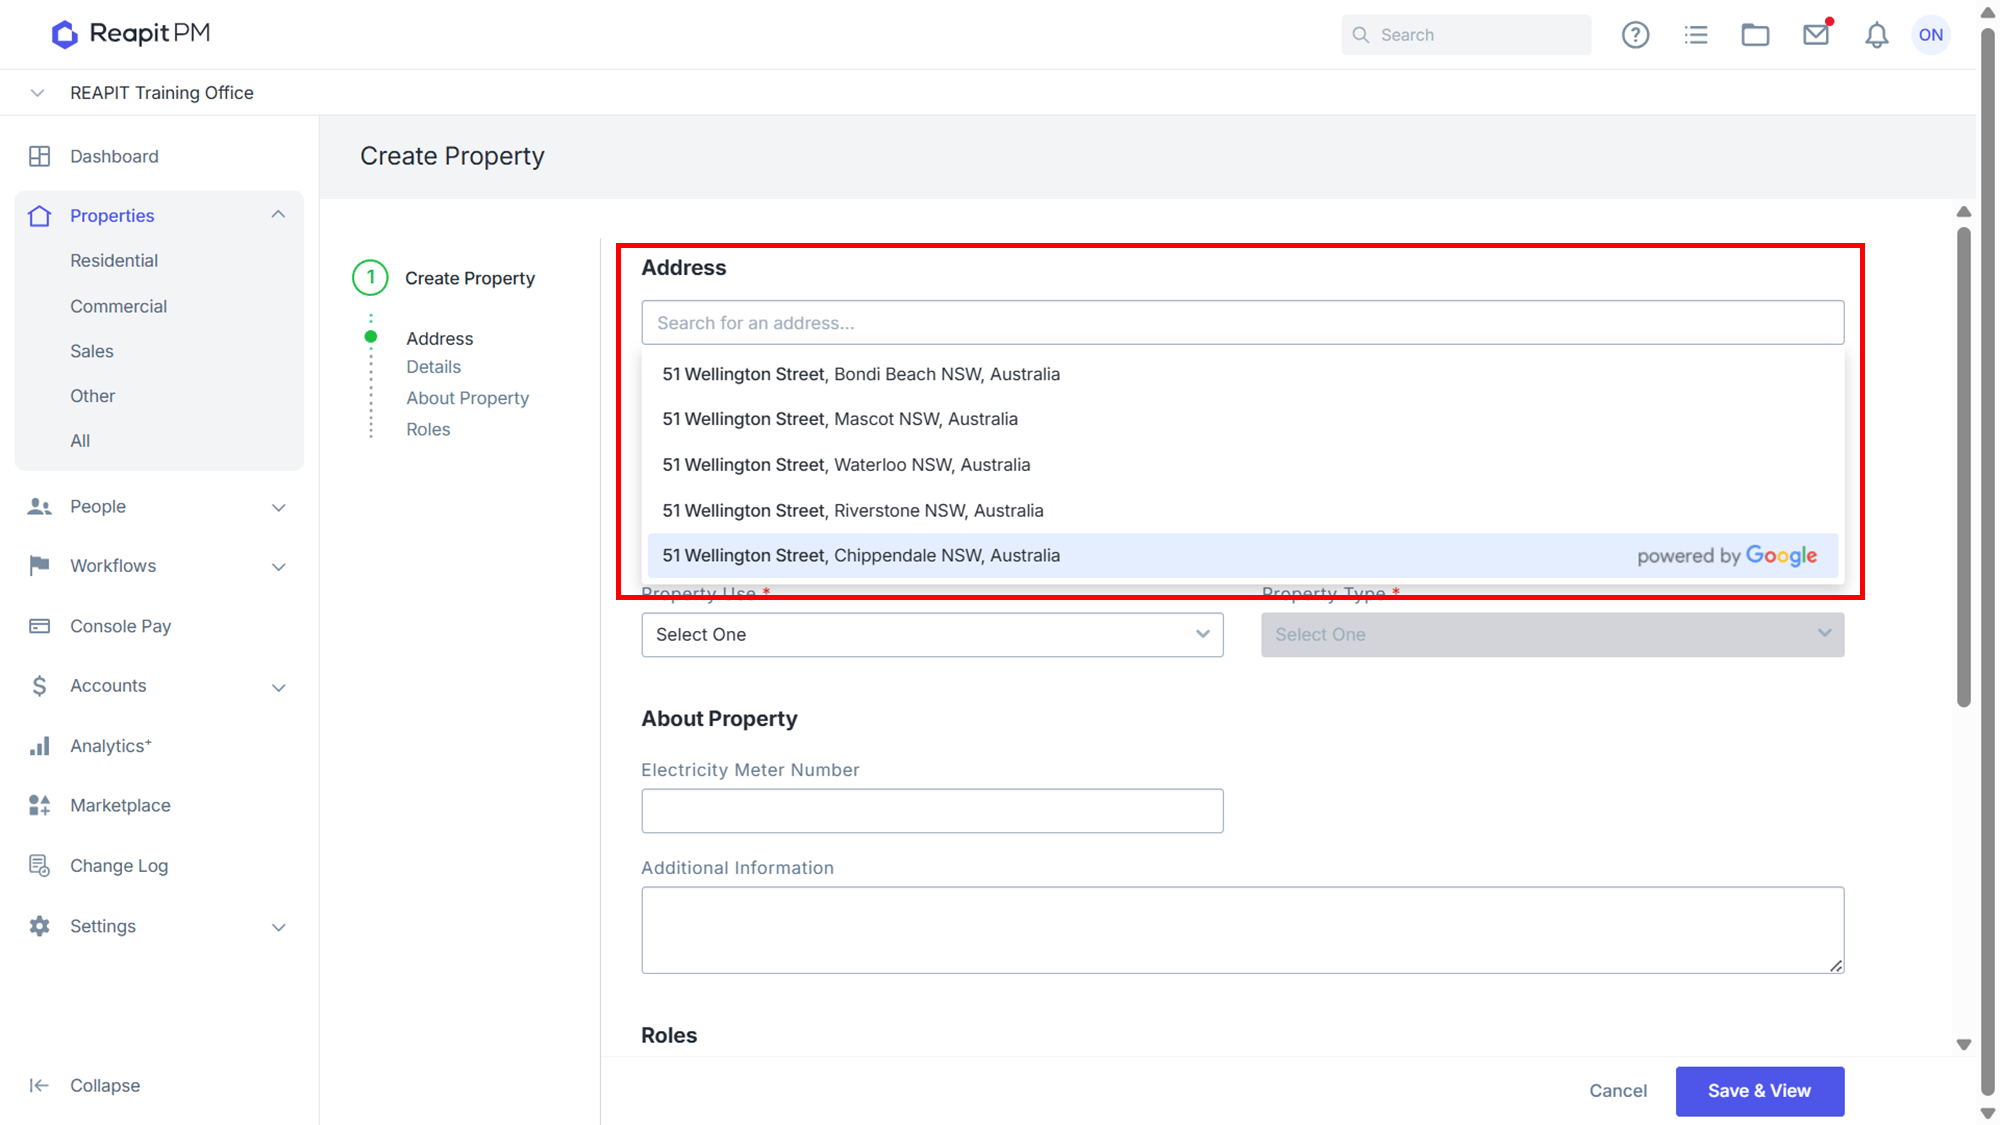
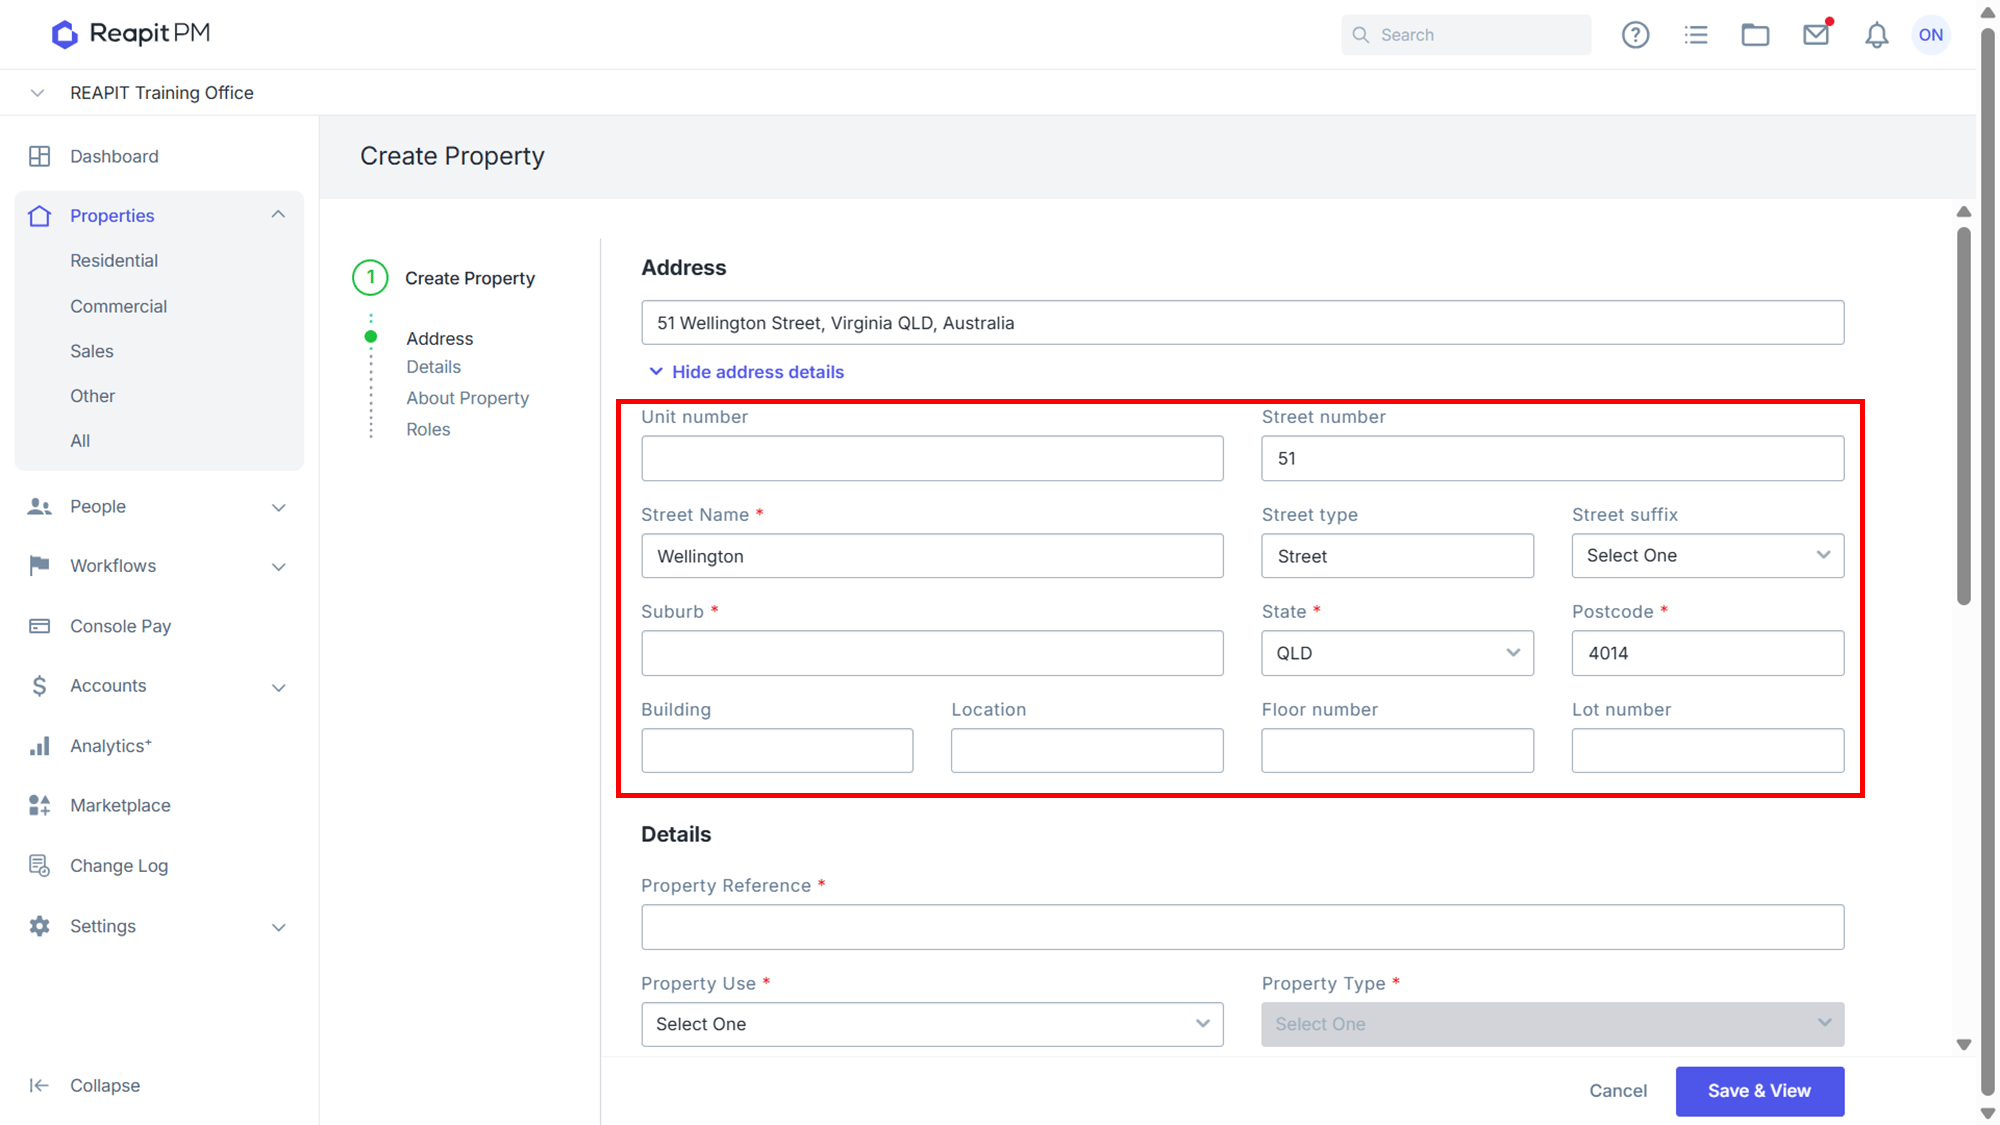
- Enter the Address. **Note: ****This will validate in google maps & will populate additional fields once selected.
- Complete the rest of the address field details such as unit number, building, location, floor number or lot number if this information is available.
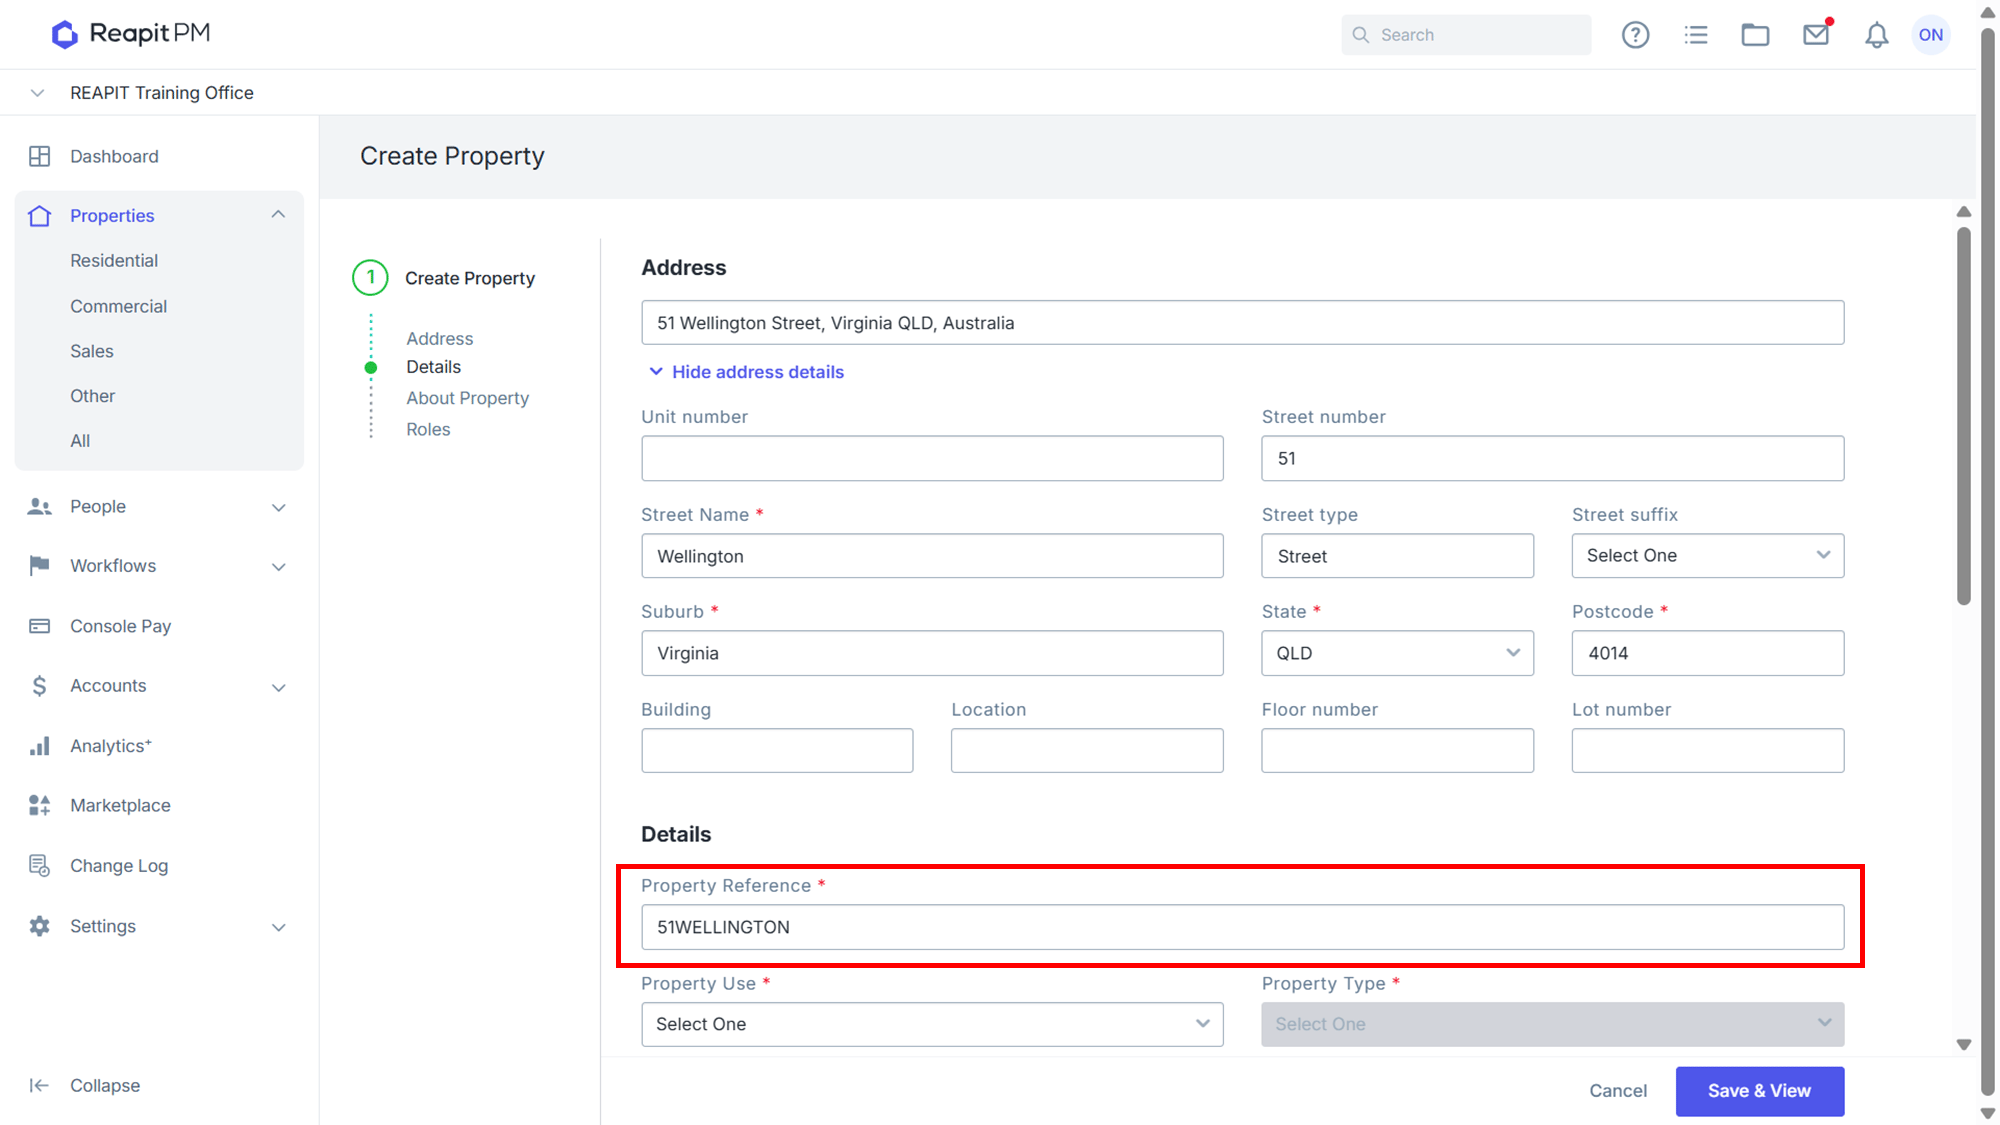
- Enter the Property Reference.
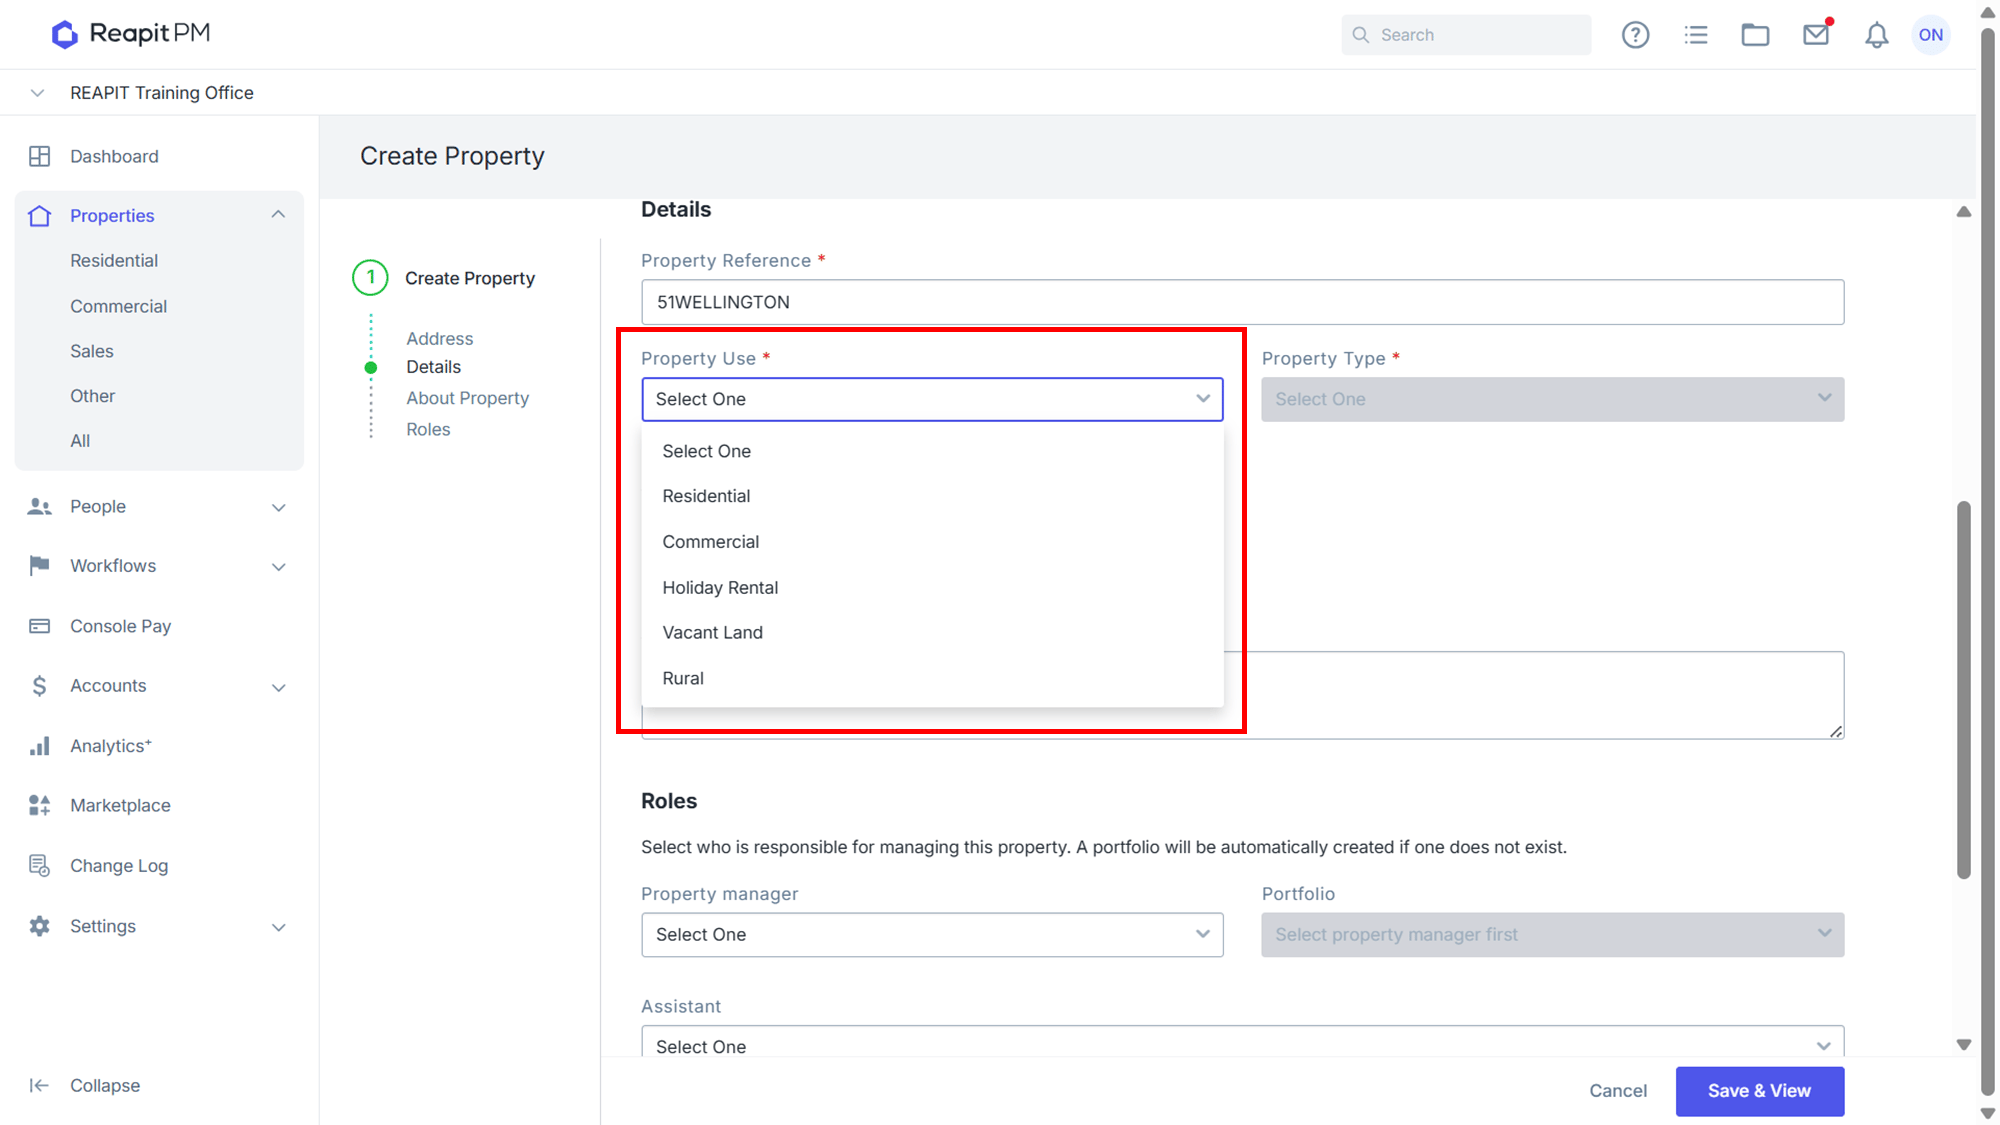
- Select the Property Use from the drop down box.
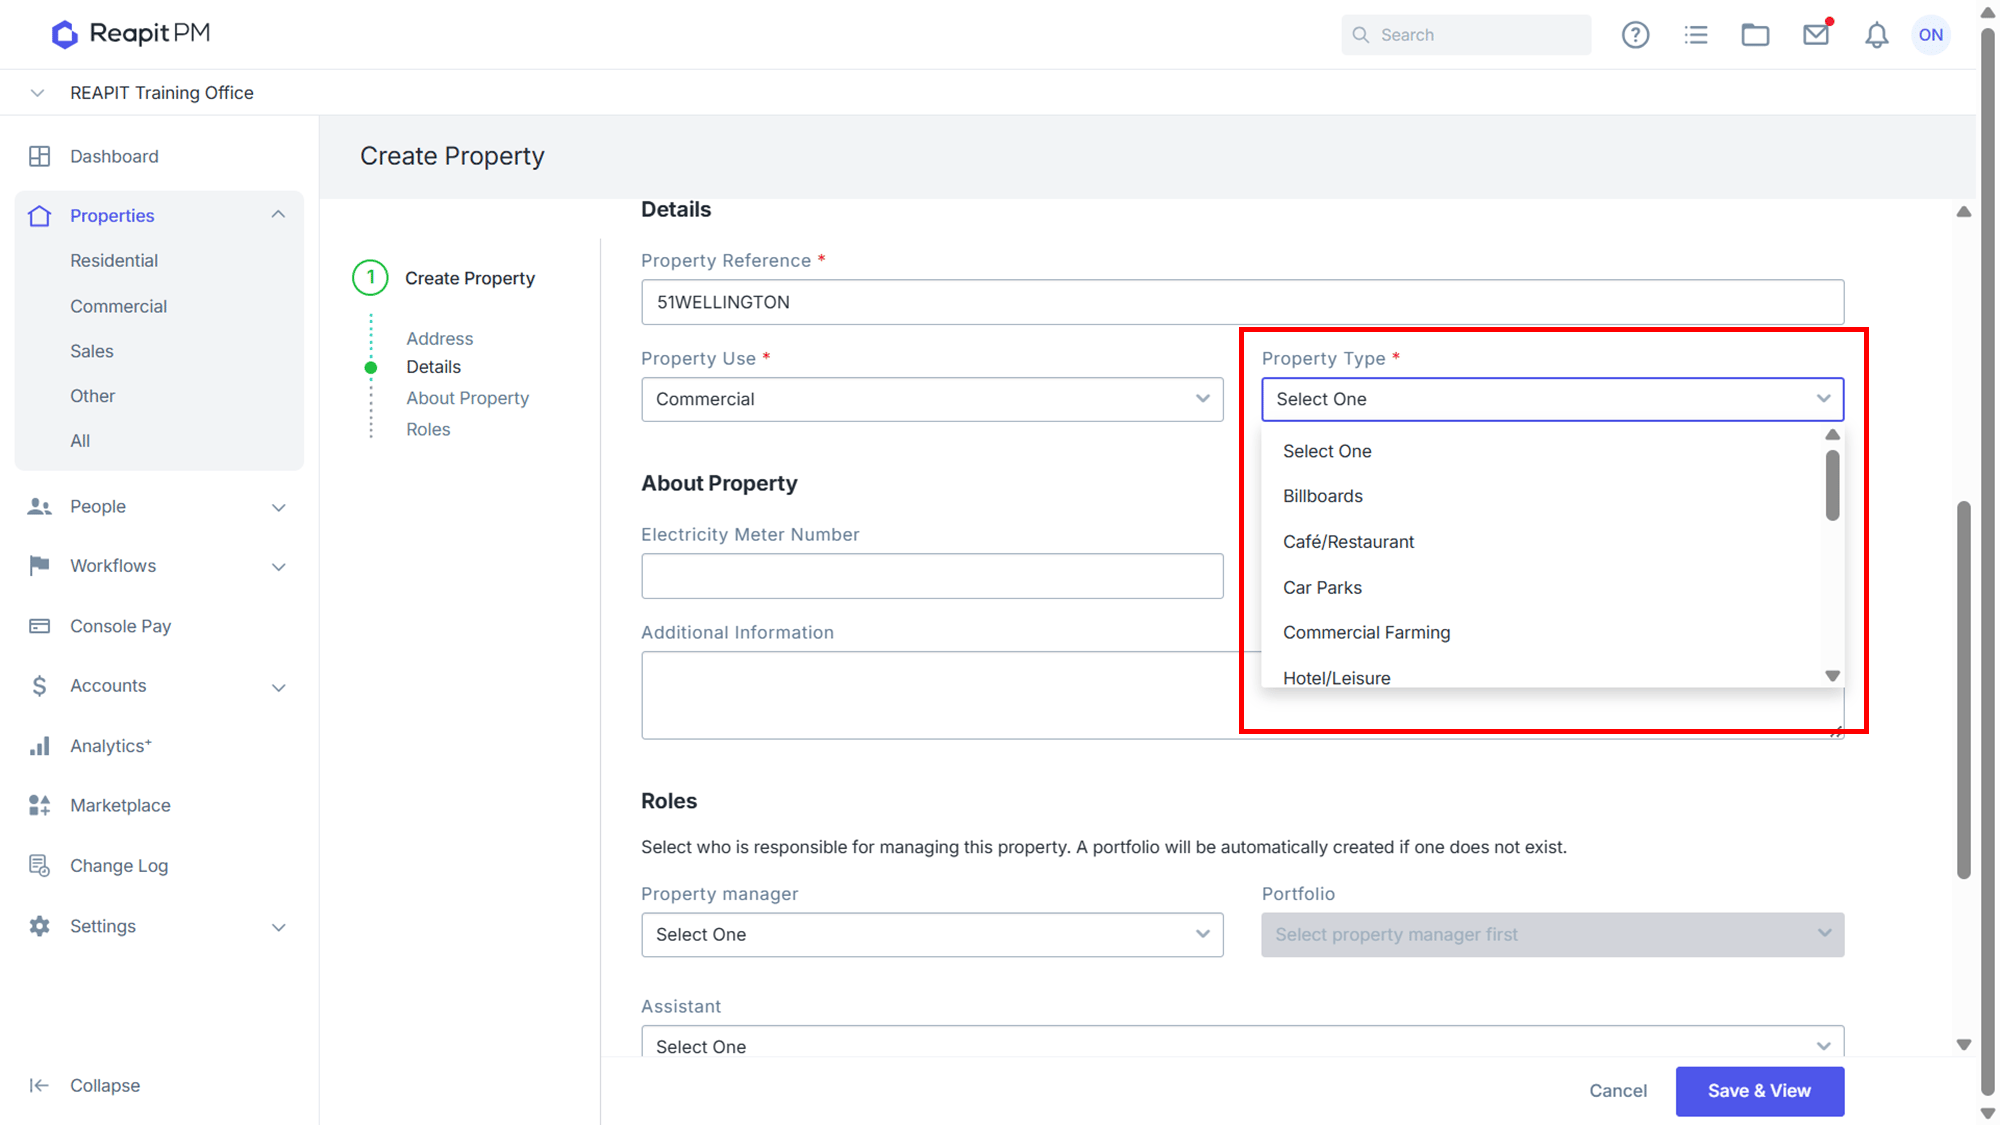
- Select the Property Type from the drop down box. Enter any additional info about the property.
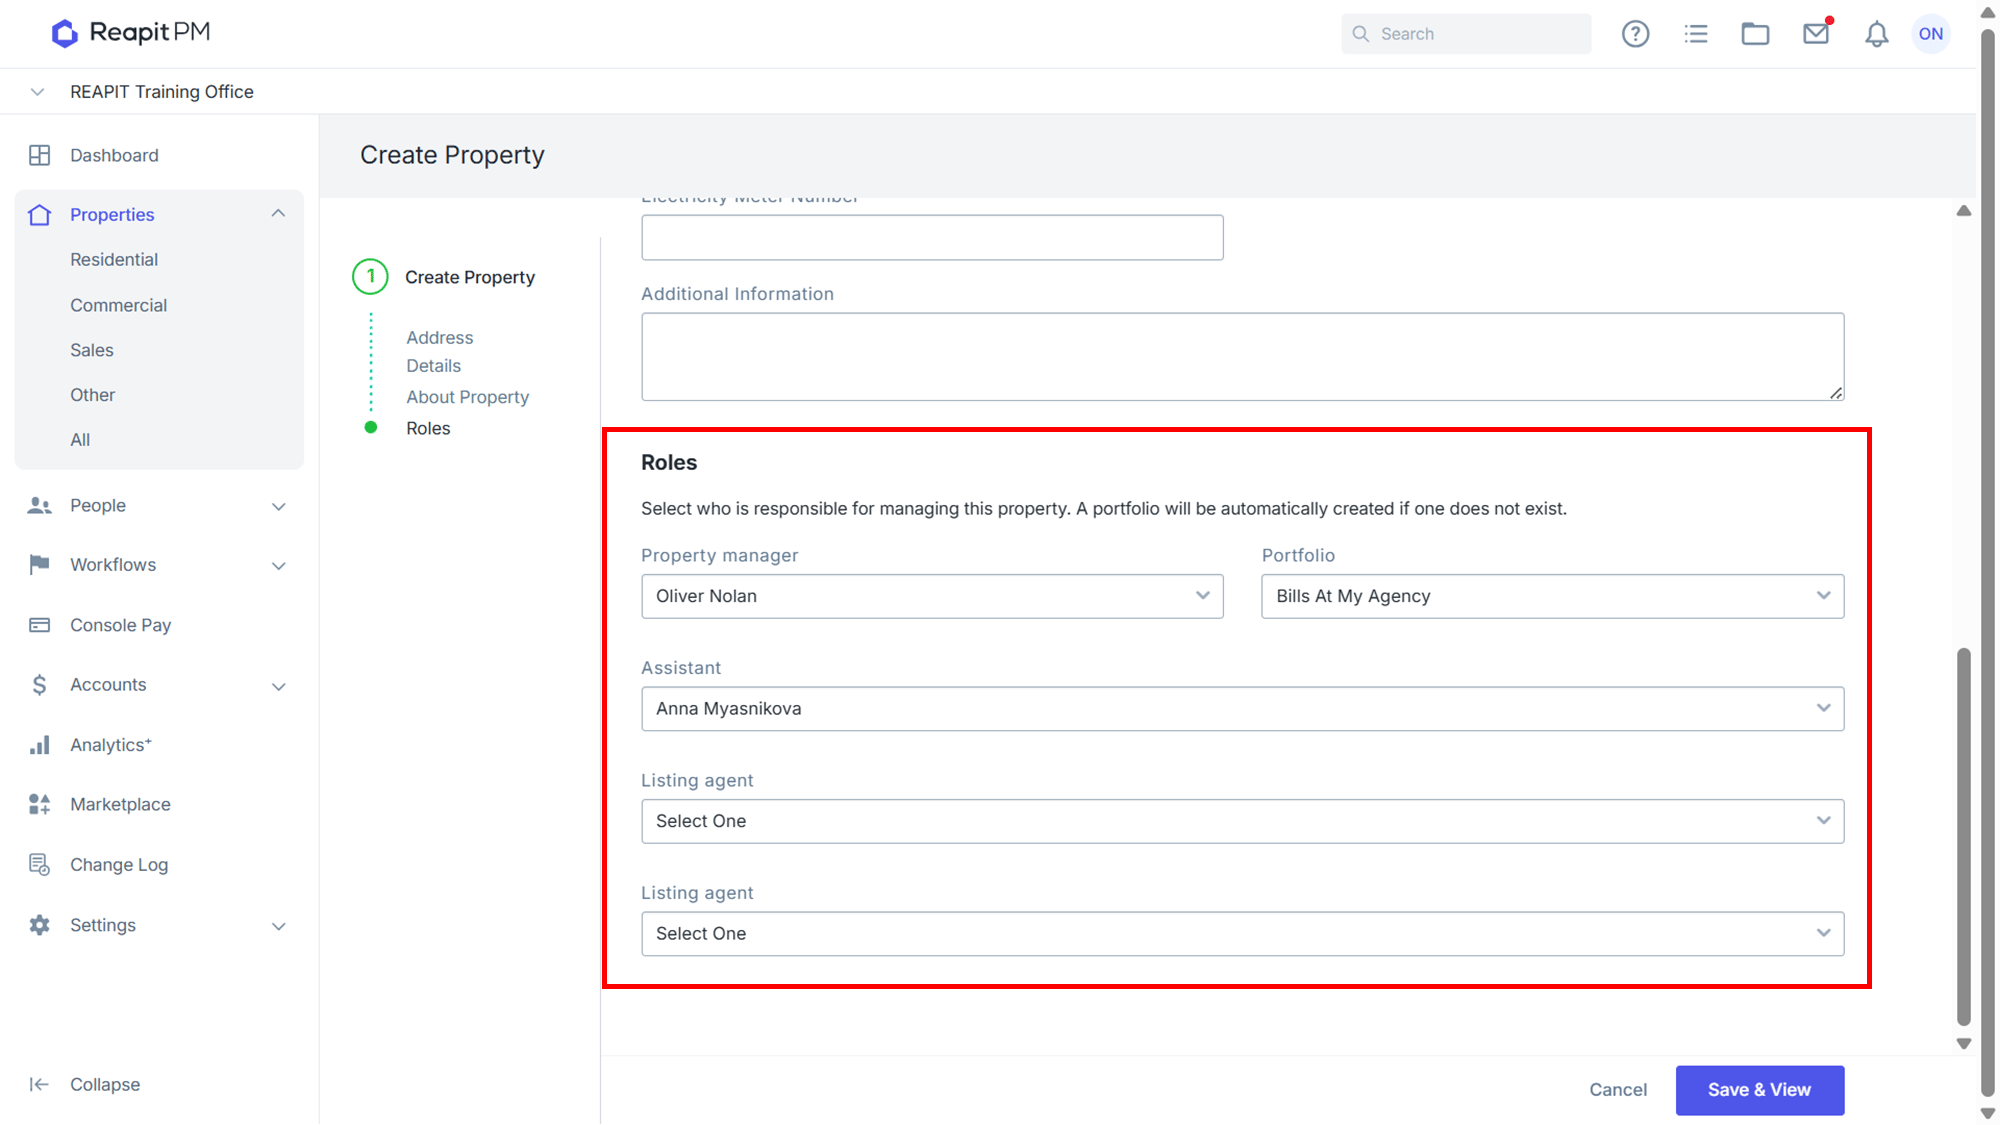
- Complete the Roles section. Before selecting a Portfolio, you will need to ensure you select the relevant Property Manager.
Your property is successfully created when you see a green banner appear on the top right corner.
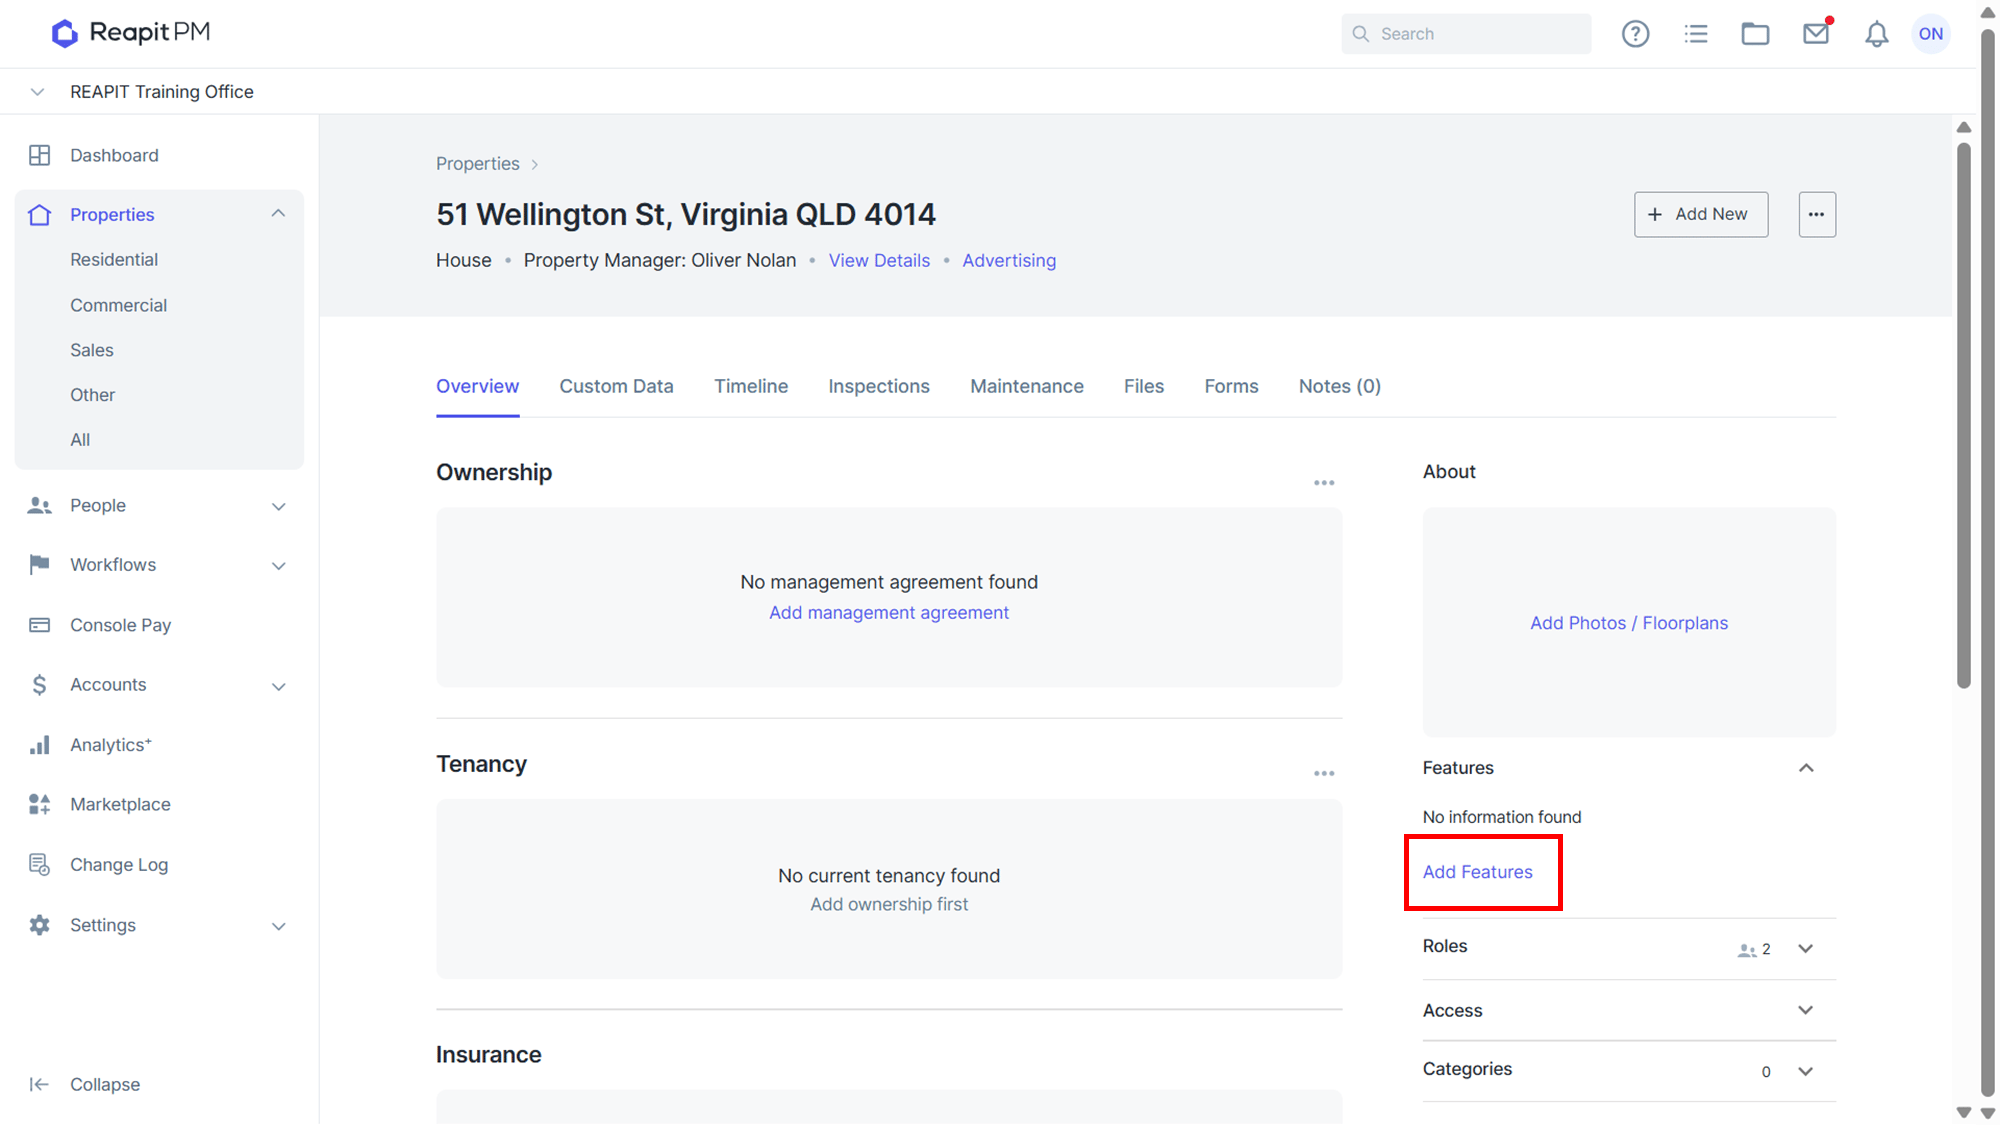
Click on Add Features to add property details and features, as this will assist when you advertise the property.
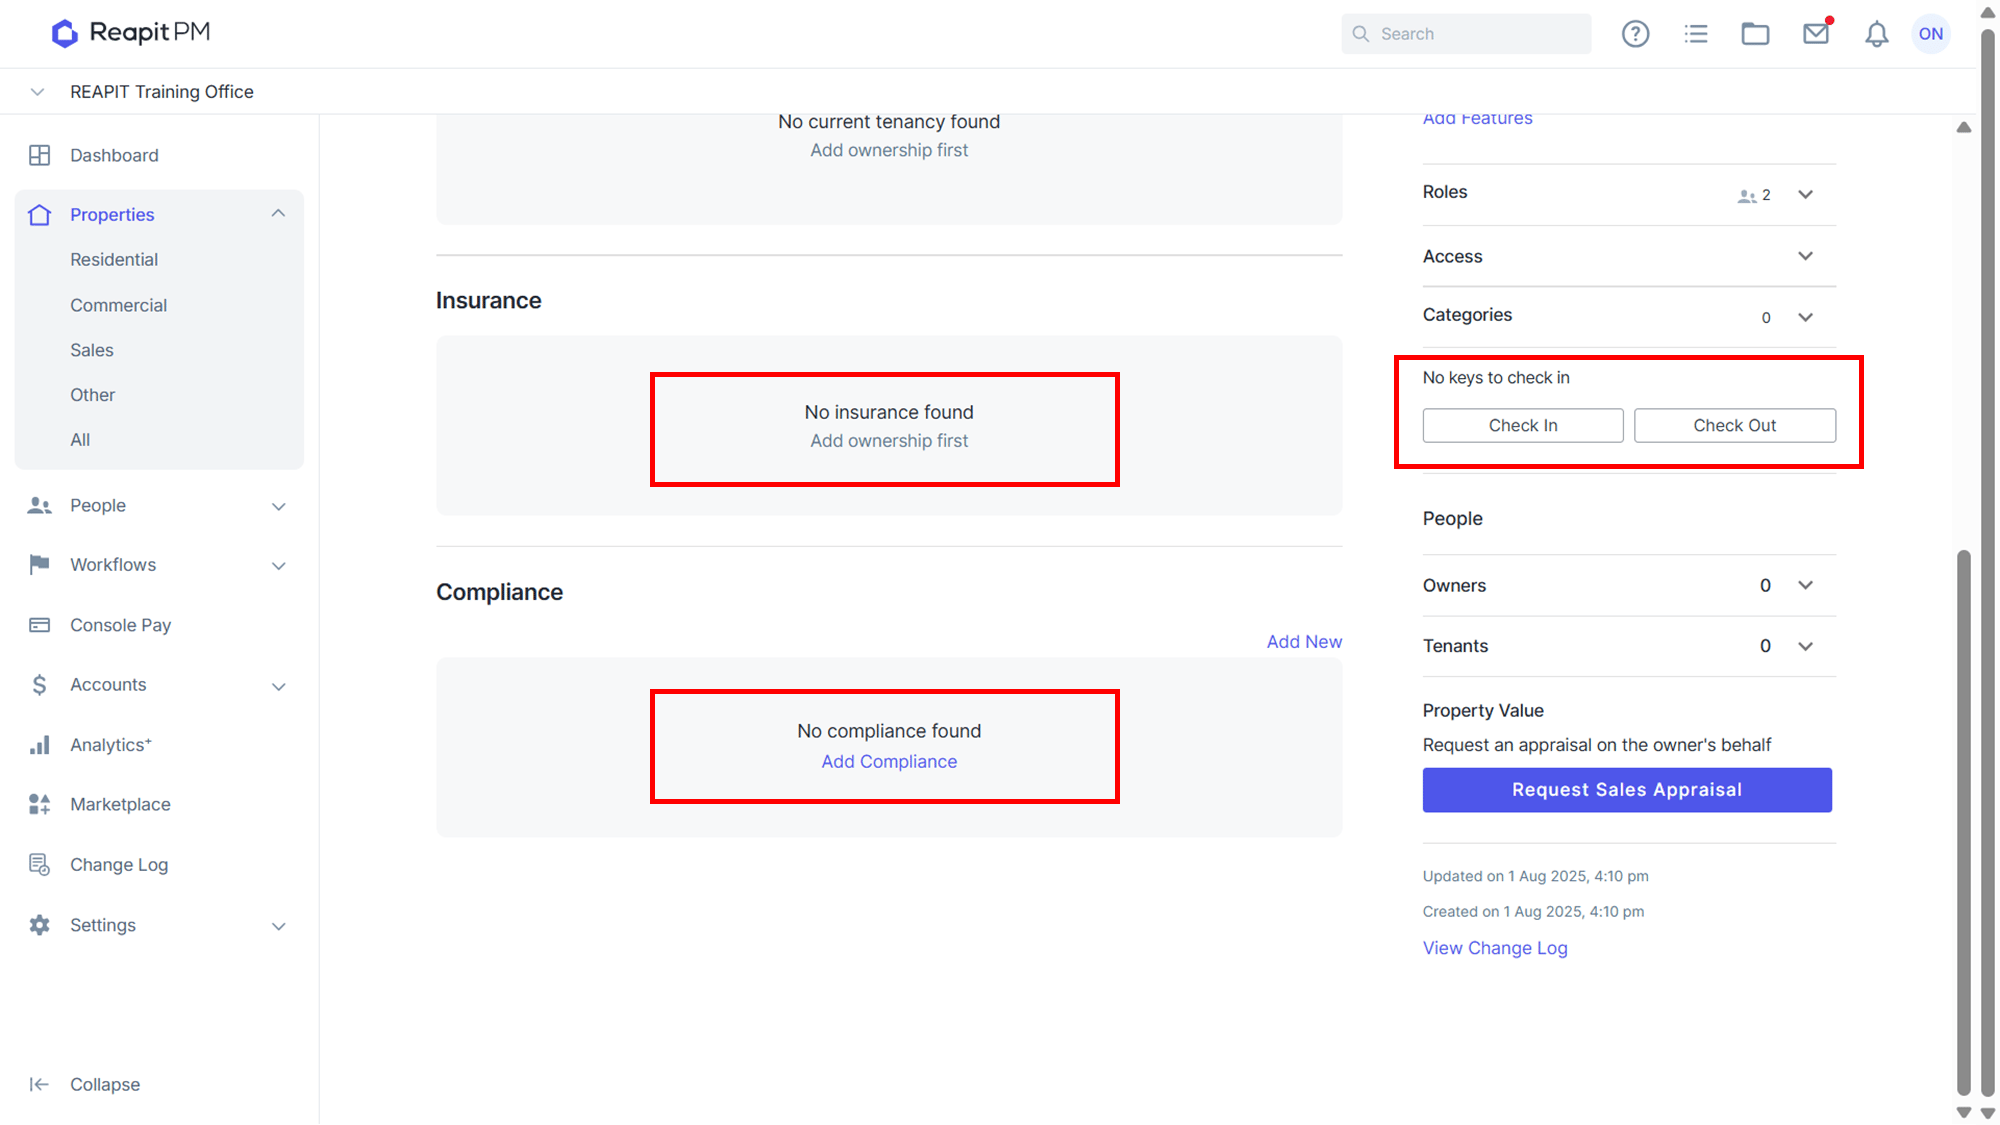
You will also be able to add your owners, tenants, insurance, and compliance info as well as check-in and check-out keys from your property screen as well.
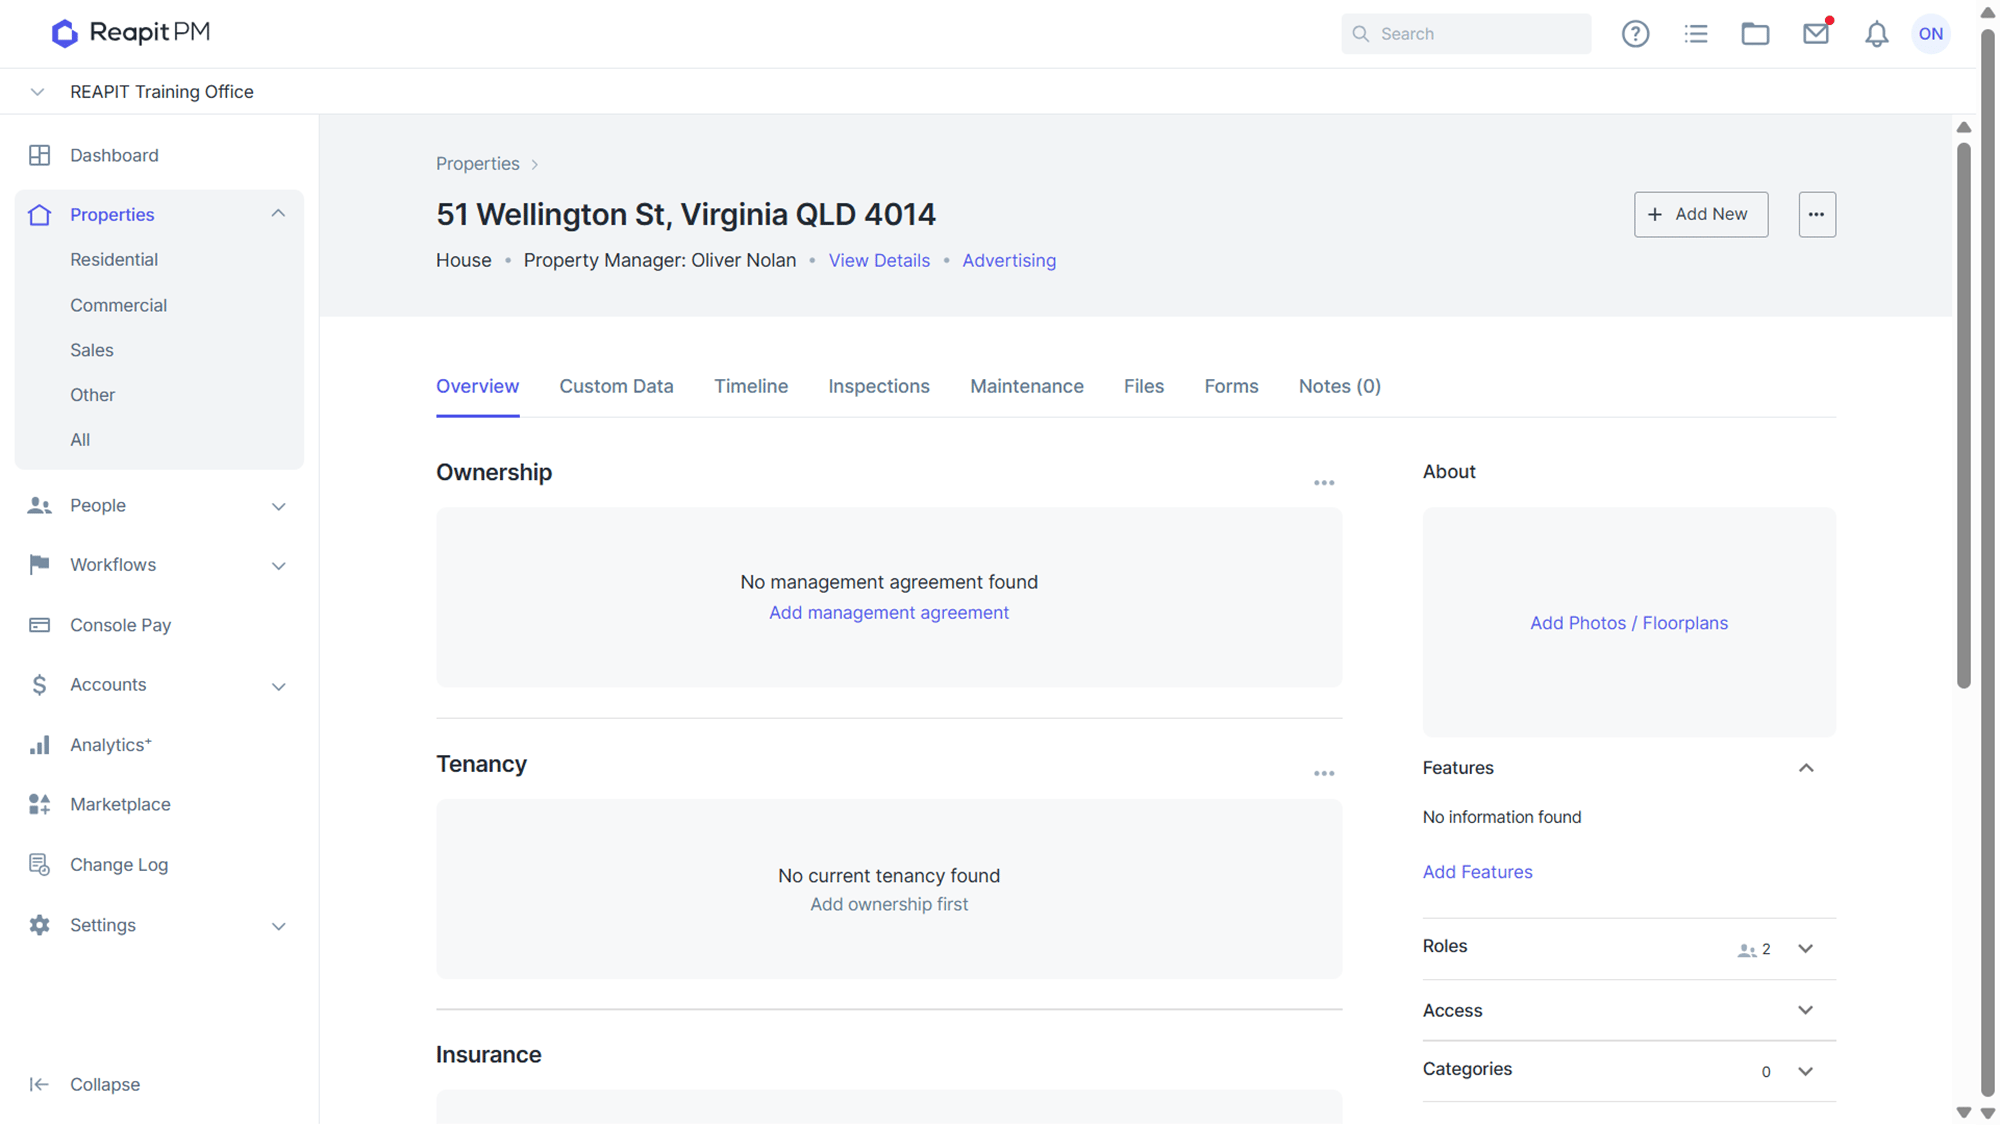
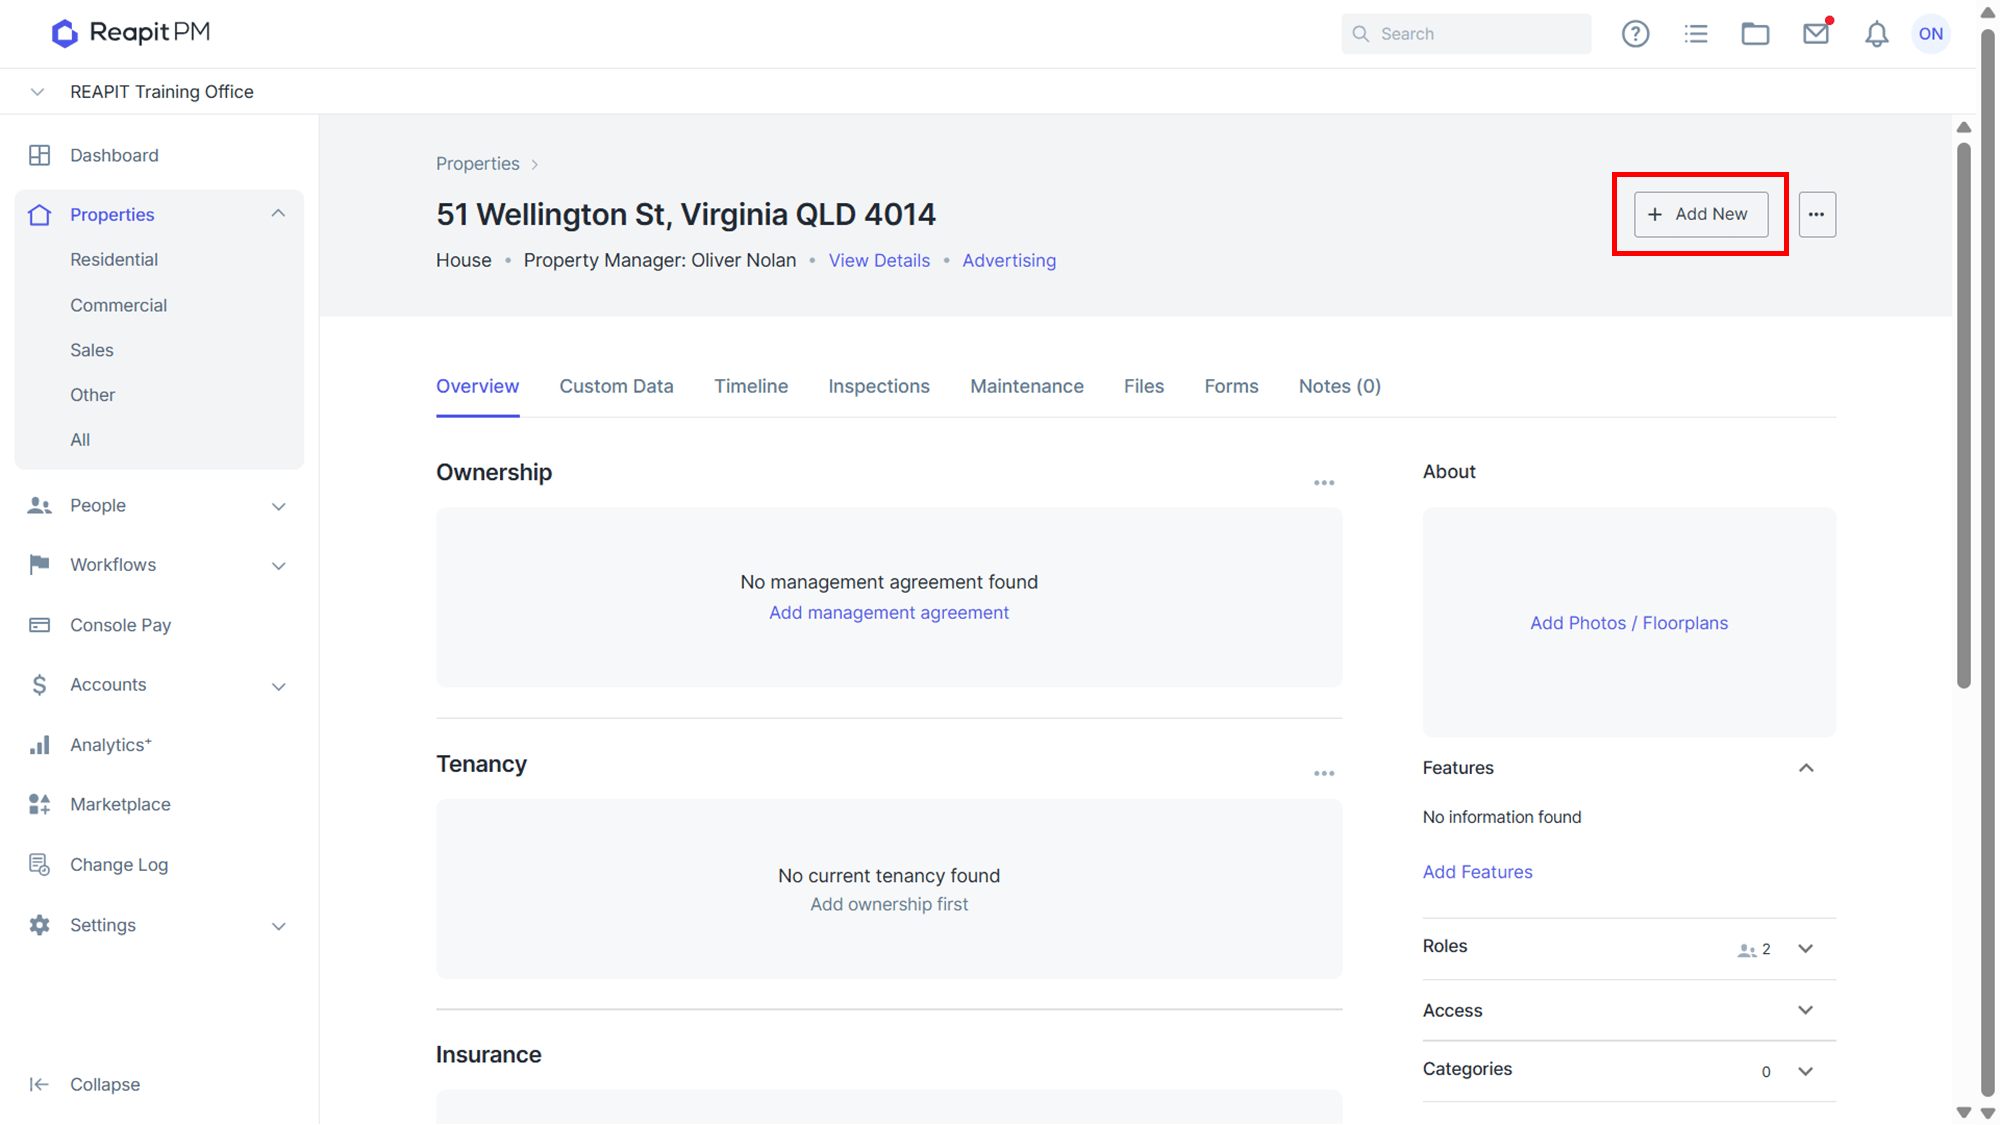
- Navigate to the top and click on + Add New. Here you will be able to add notes, files, maintenance, compliance and inspections for this property.
- Select the 3-dot icon. Here you will be able to edit or make the property inactive by selecting “Edit Property” or “Make Inactive”.
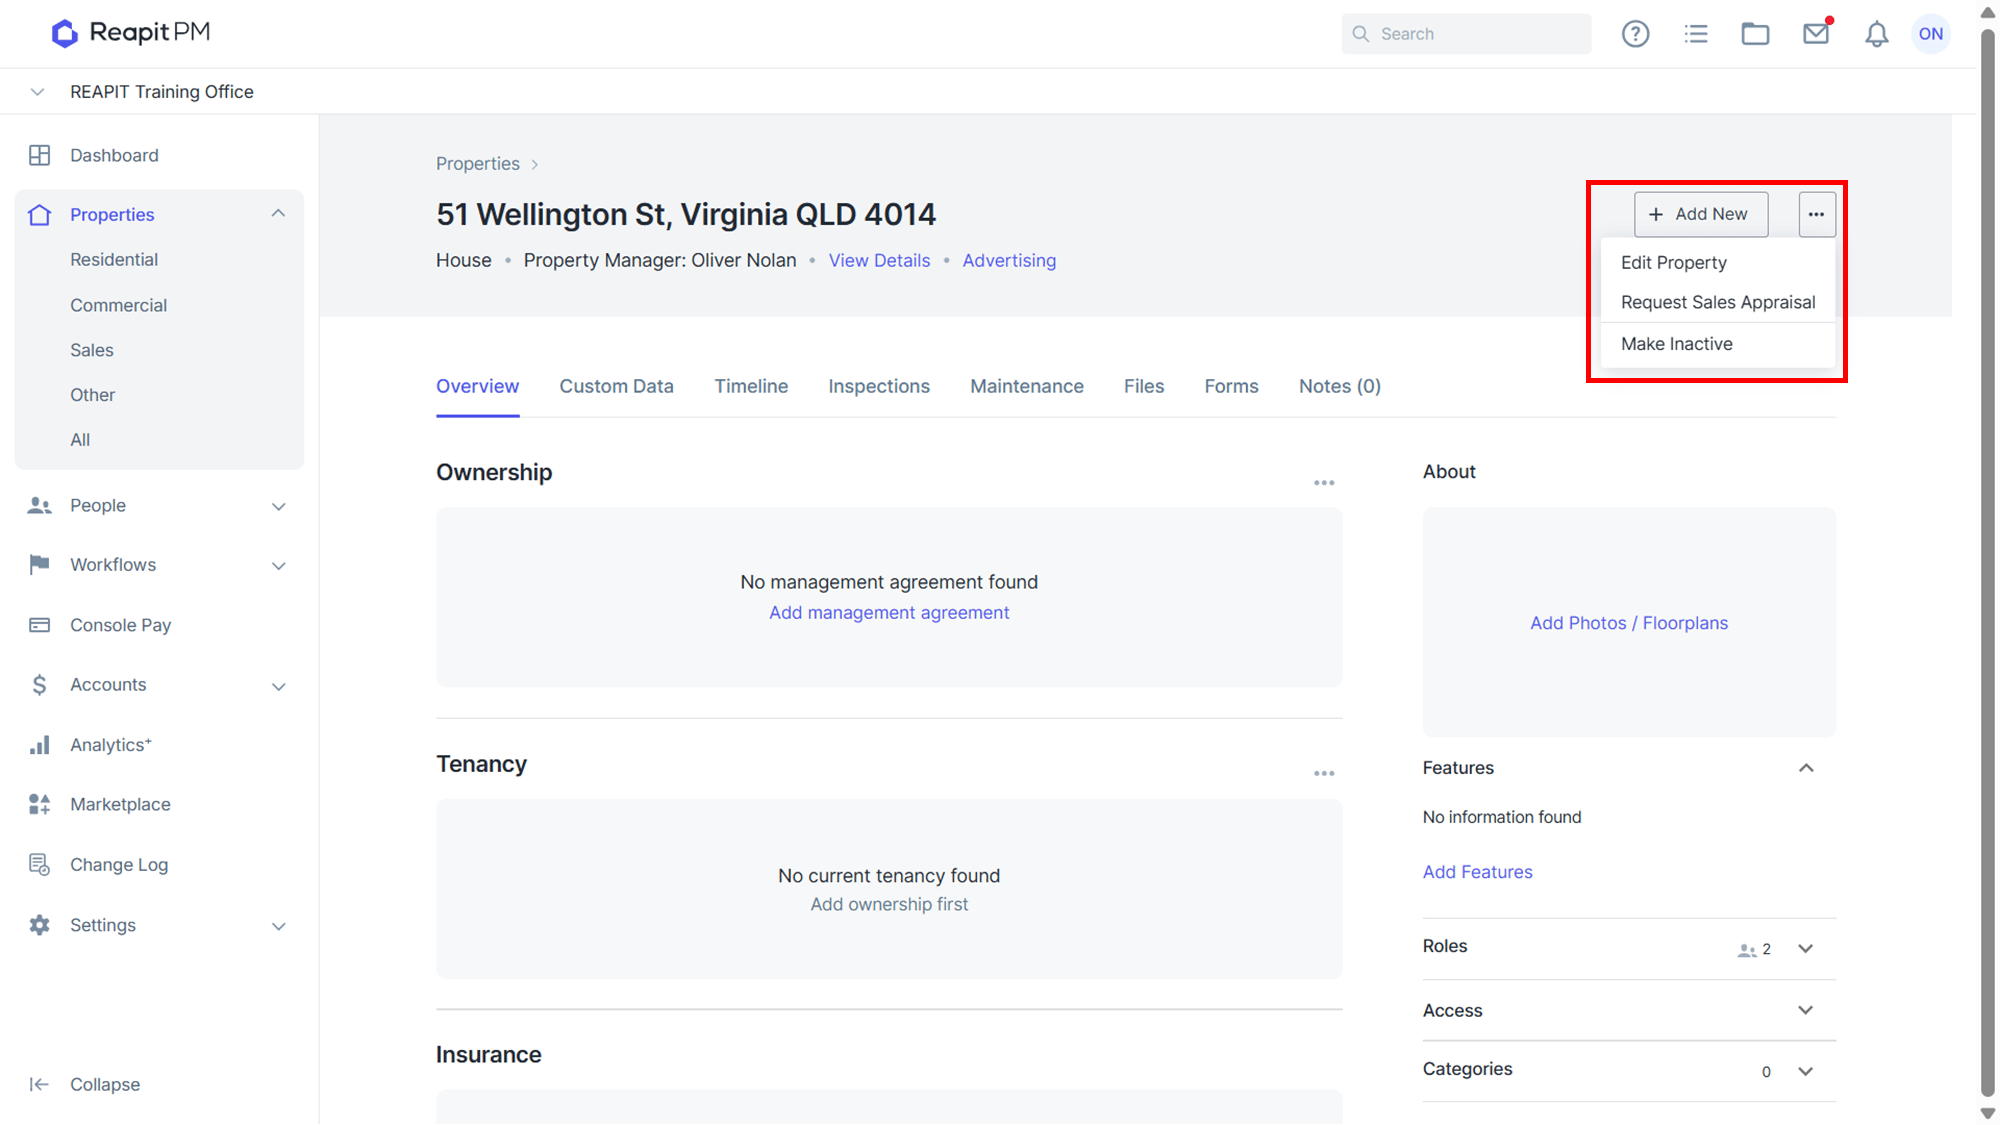
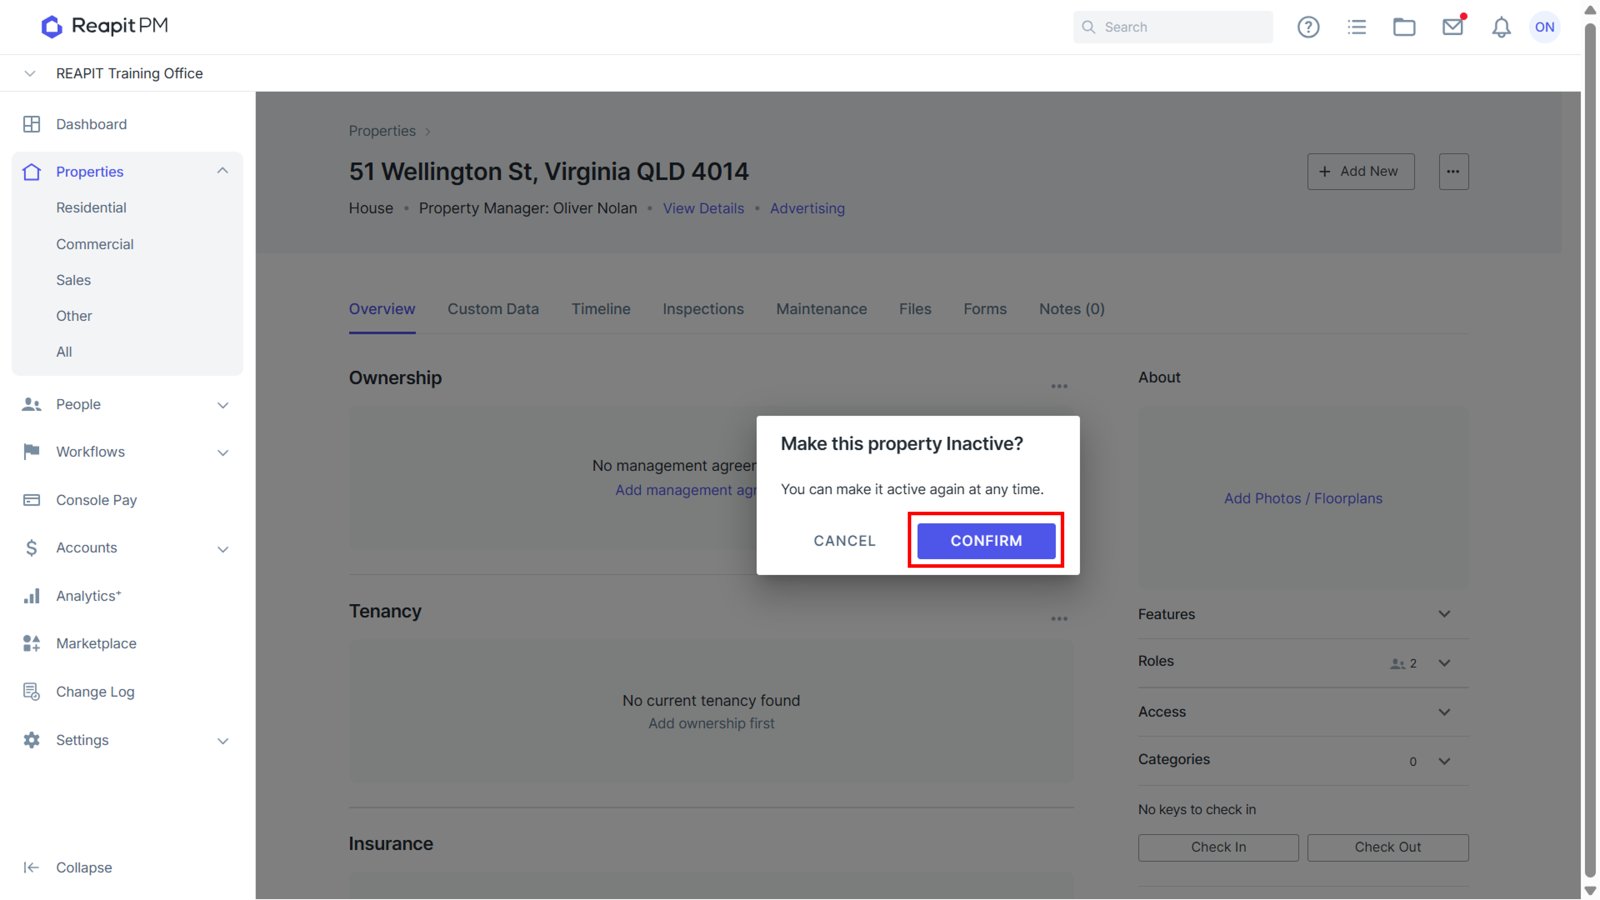
- If you do Select Make Inactive. Simply select Confirm.
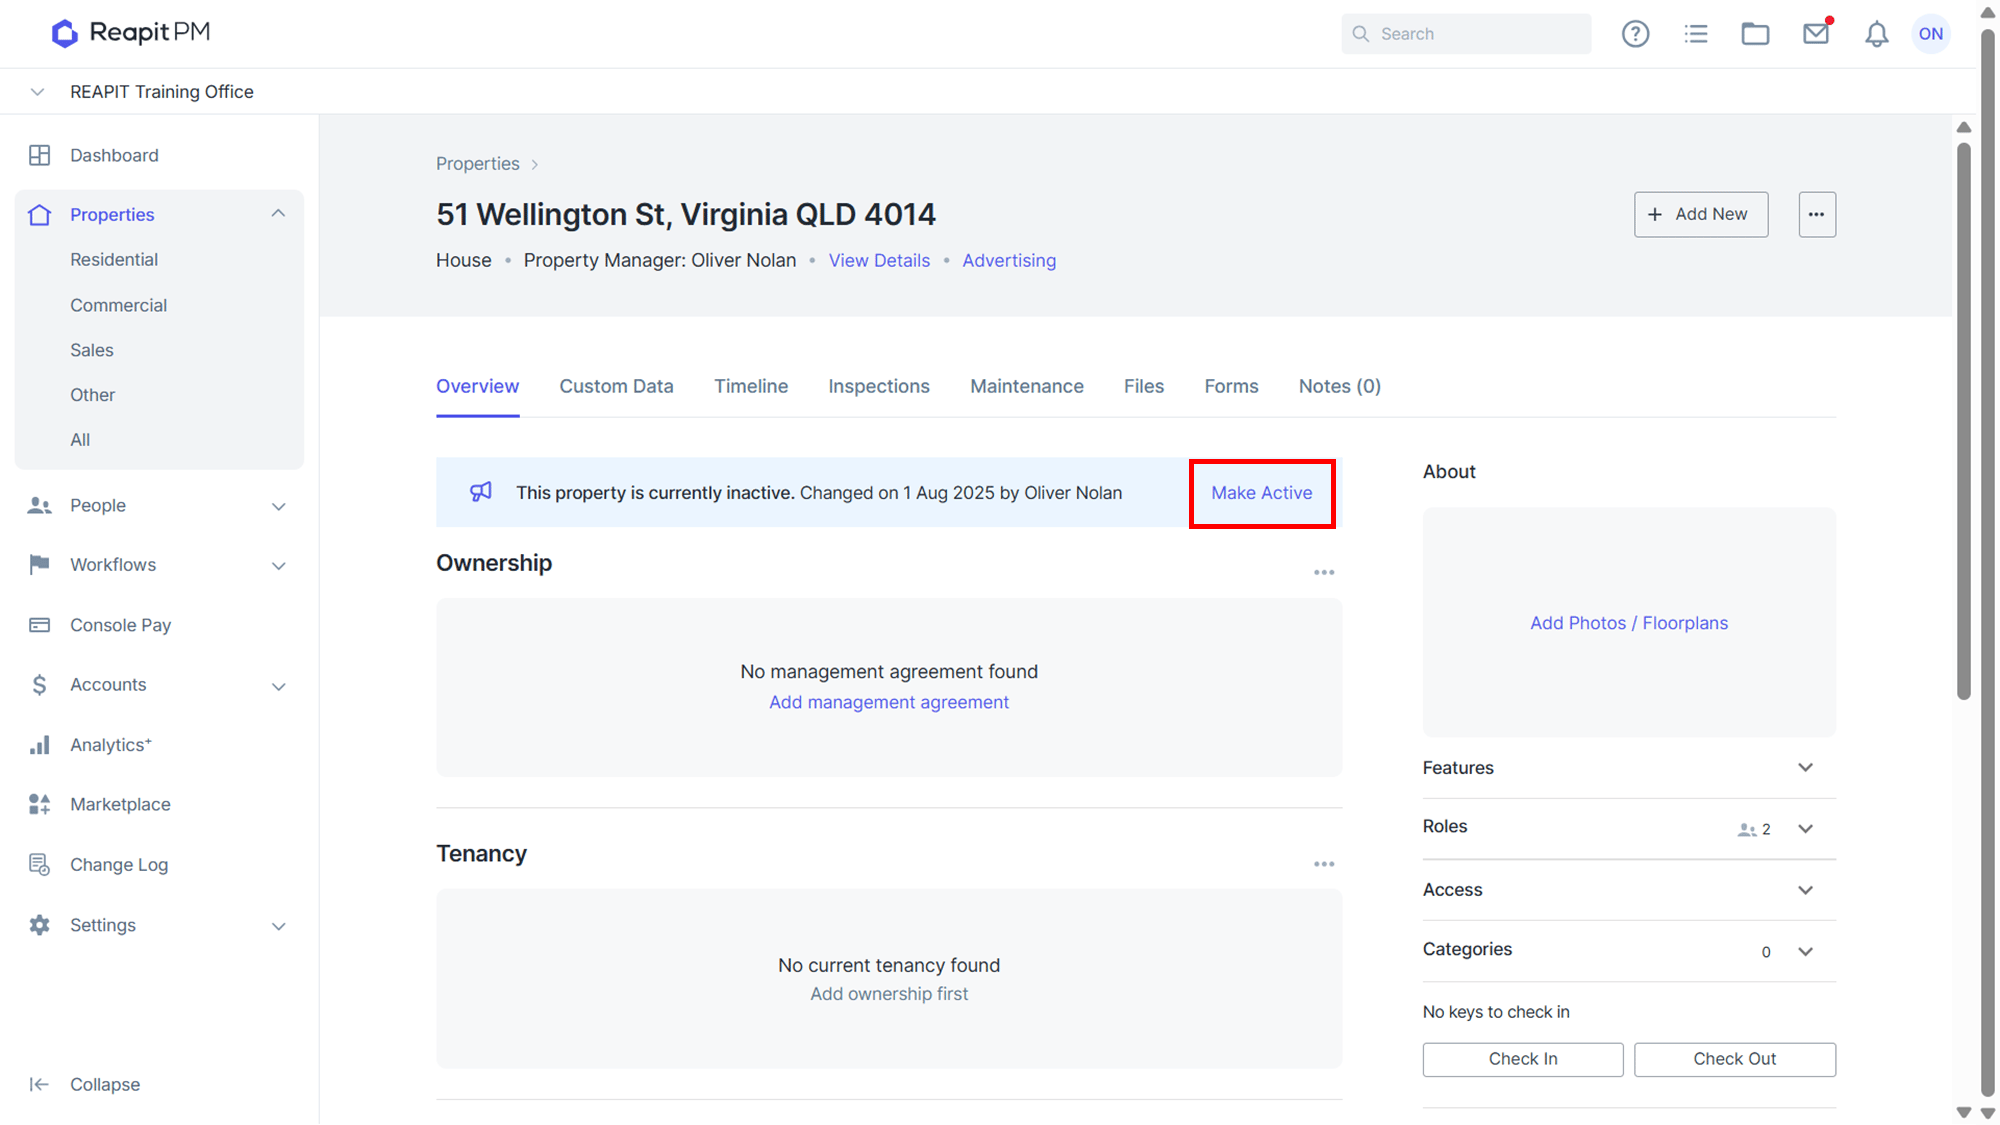
- You can make the property active again by selecting Make Active then Confirm.