'%20d='M0%208a8%208%200%200%201%208-8h24a8%208%200%200%201%208%208v24a8%208%200%200%201-8%208H8a8%208%200%200%201-8-8V8Z'/%3e%3cpath%20fill='%23fff'%20d='M8.375%2013v14L20.5%2034l12.124-7v-7.737l-1.687-.975-2.806-1.62-1.082-.624v4.83l-.002%204.83H13.95V16.07l3.275-1.89%202.192-1.265%201.082-.625%203.275%201.877%202.192%201.256%201.083.62V9.782L20.5%206%208.376%2013Z'/%3e%3cdefs%3e%3clinearGradient%20id='reapit-pm__a'%20x1='20.702'%20x2='20.702'%20y1='.351'%20y2='31.228'%20gradientUnits='userSpaceOnUse'%3e%3cstop%20stop-color='%235573FD'/%3e%3cstop%20offset='.575'%20stop-color='%234E56EA'/%3e%3c/linearGradient%3e%3c/defs%3e%3c/svg%3e)
Adding, Editing and Deleting Notes
This article will show you how to add, edit and delete as well as audit notes in Reapit PM. The processes in this article include: How to Add a Note How to Edit a Note How to Delete a Note Audit of Edited and Deleted Notes
Overview
Adding, Editing and Deleting Notes
This article will show you how to add, edit and delete as well as audit notes in Reapit PM.
The processes in this article include:
- How to Add a Note
- How to Edit a Note
- How to Delete a Note
- Audit of Edited and Deleted Notes
How to Add a Note
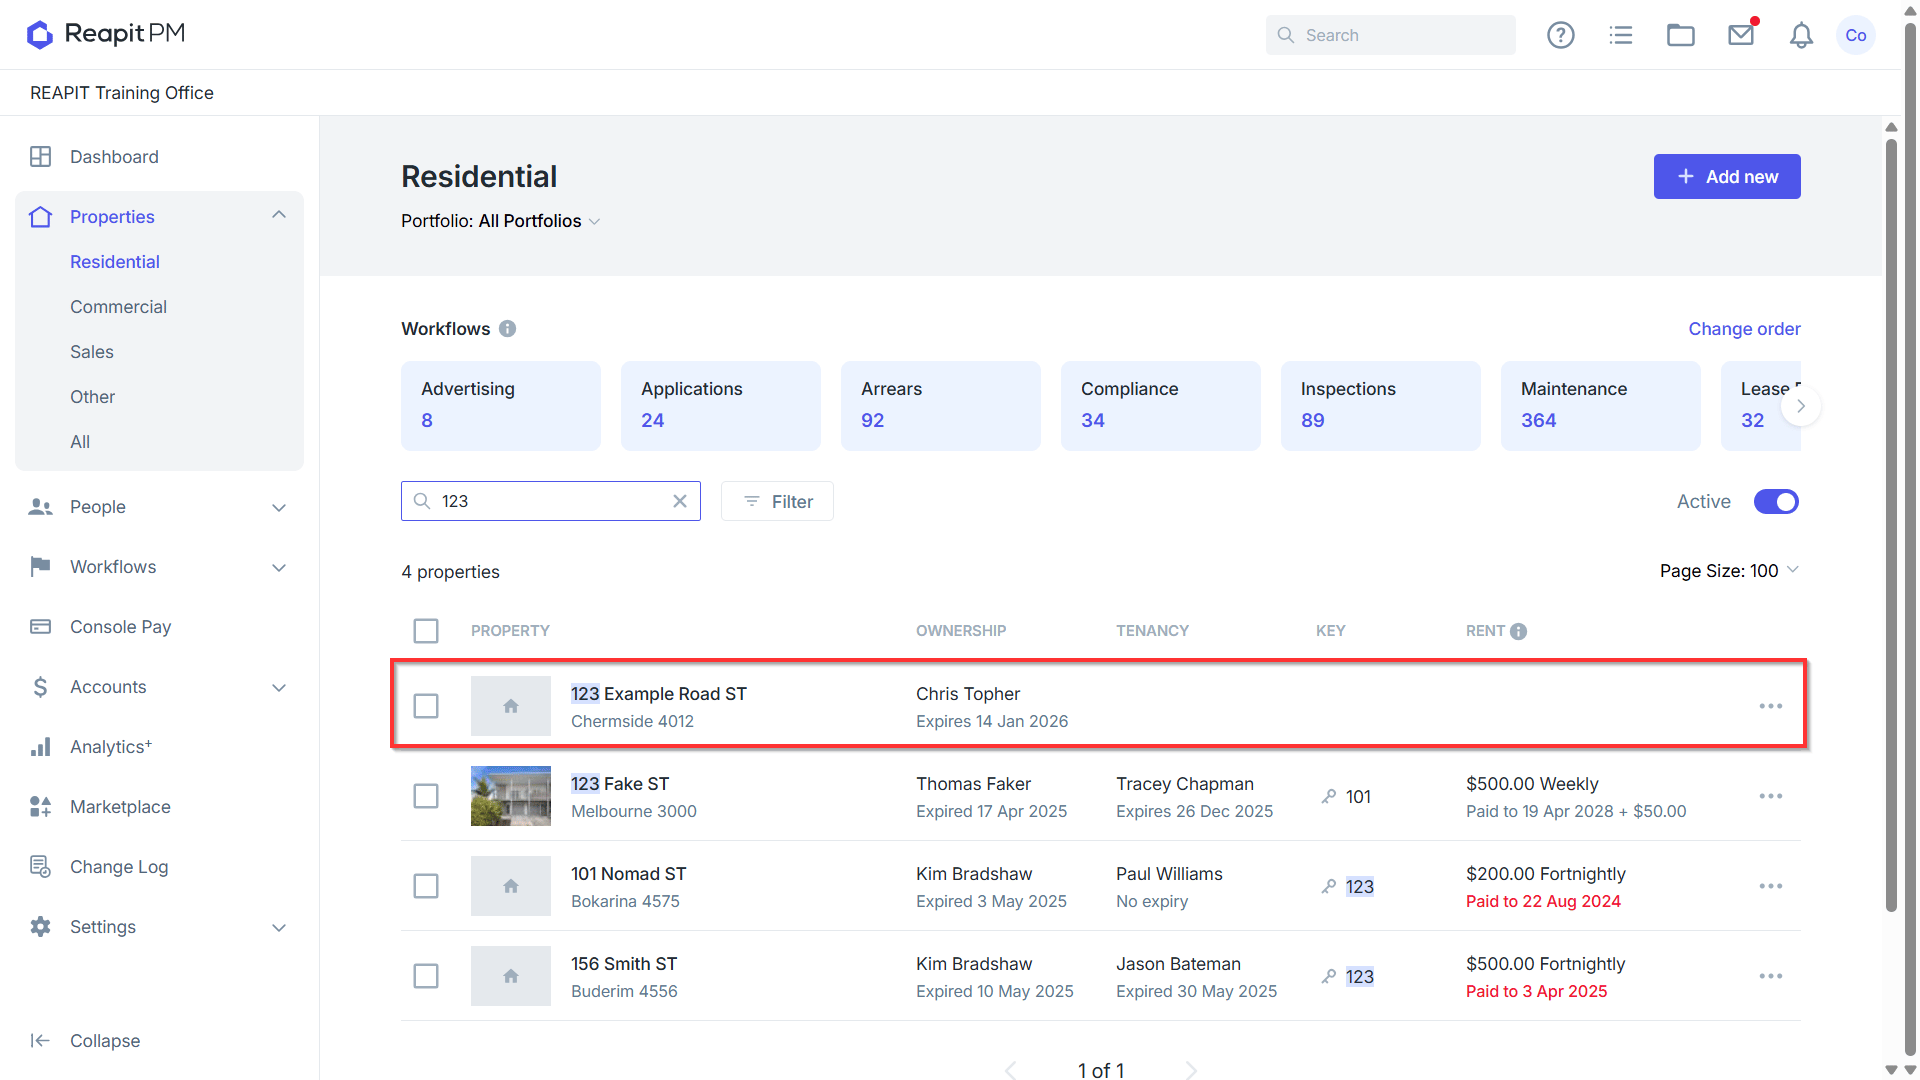
- Navigate to the note against the relevant property, Contact, Creditor, Owner or Tenant.
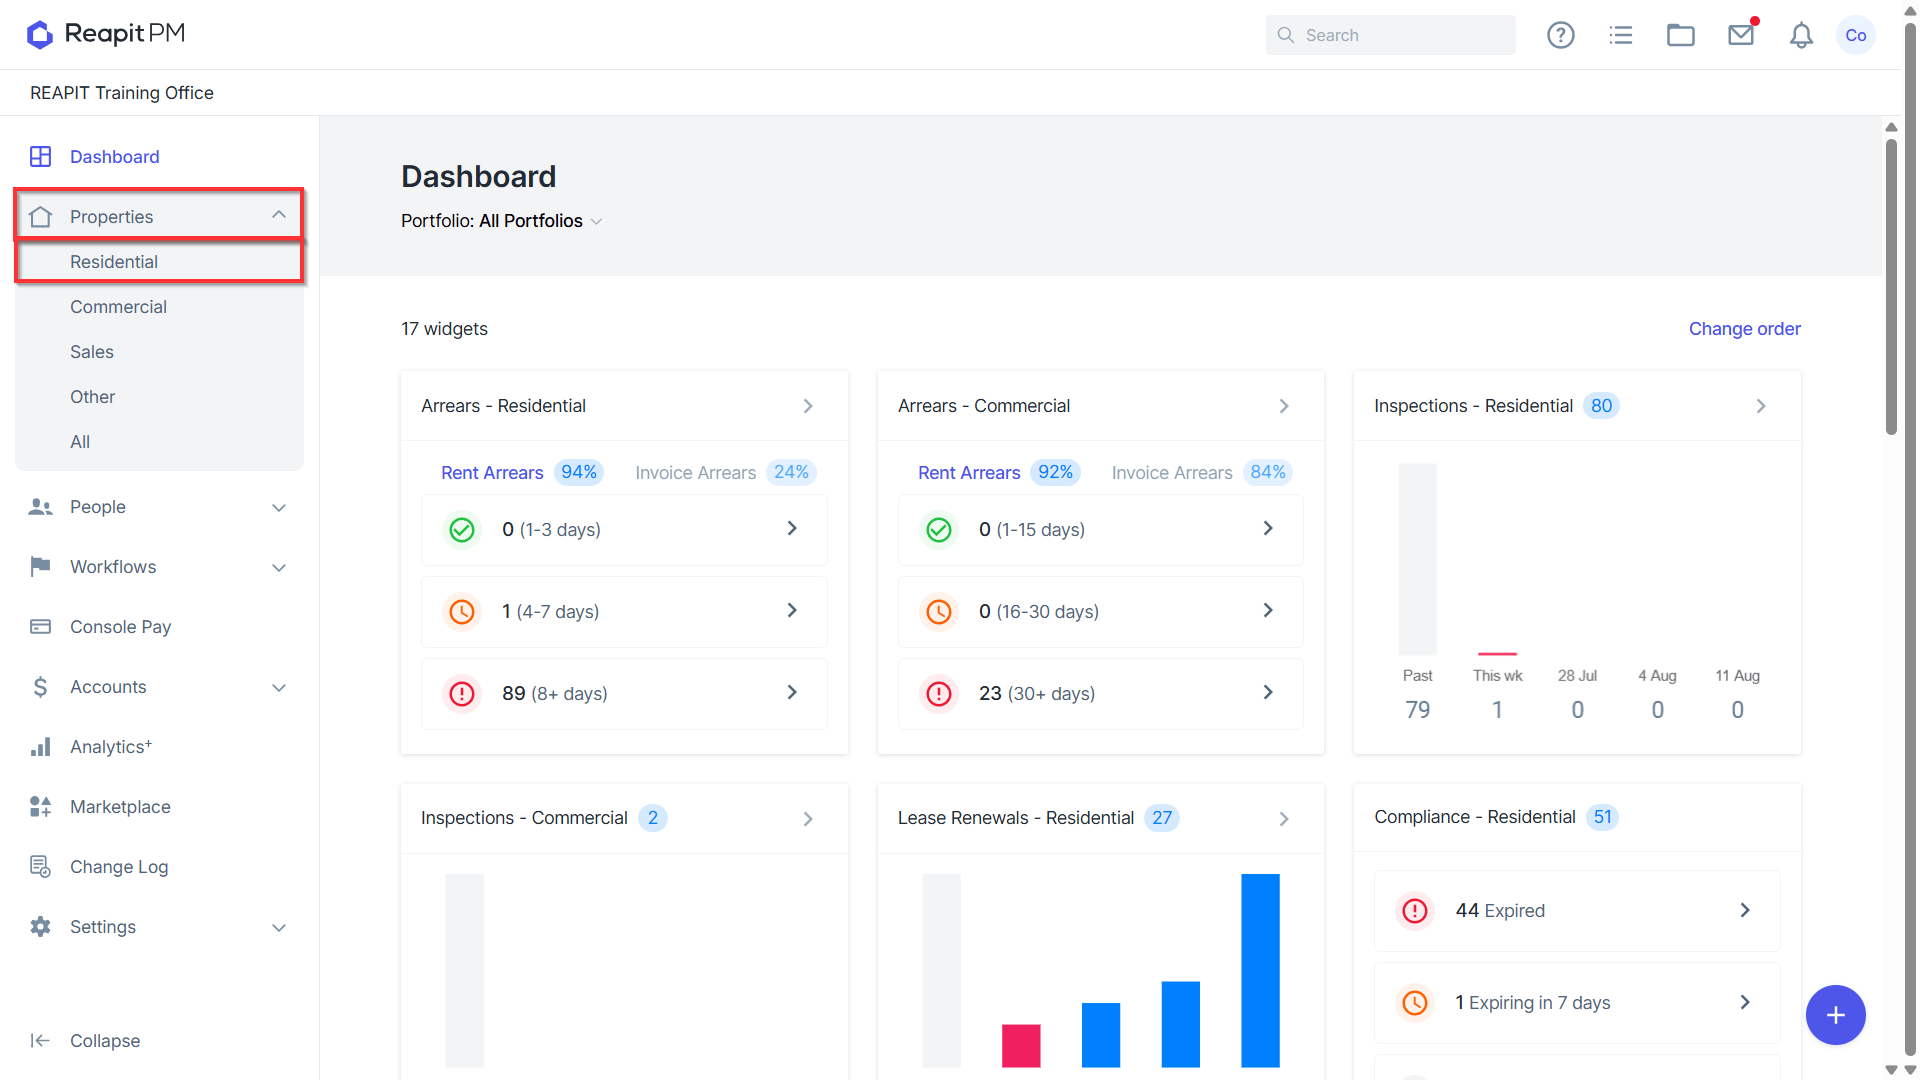
- Select and Select the relevant Property.
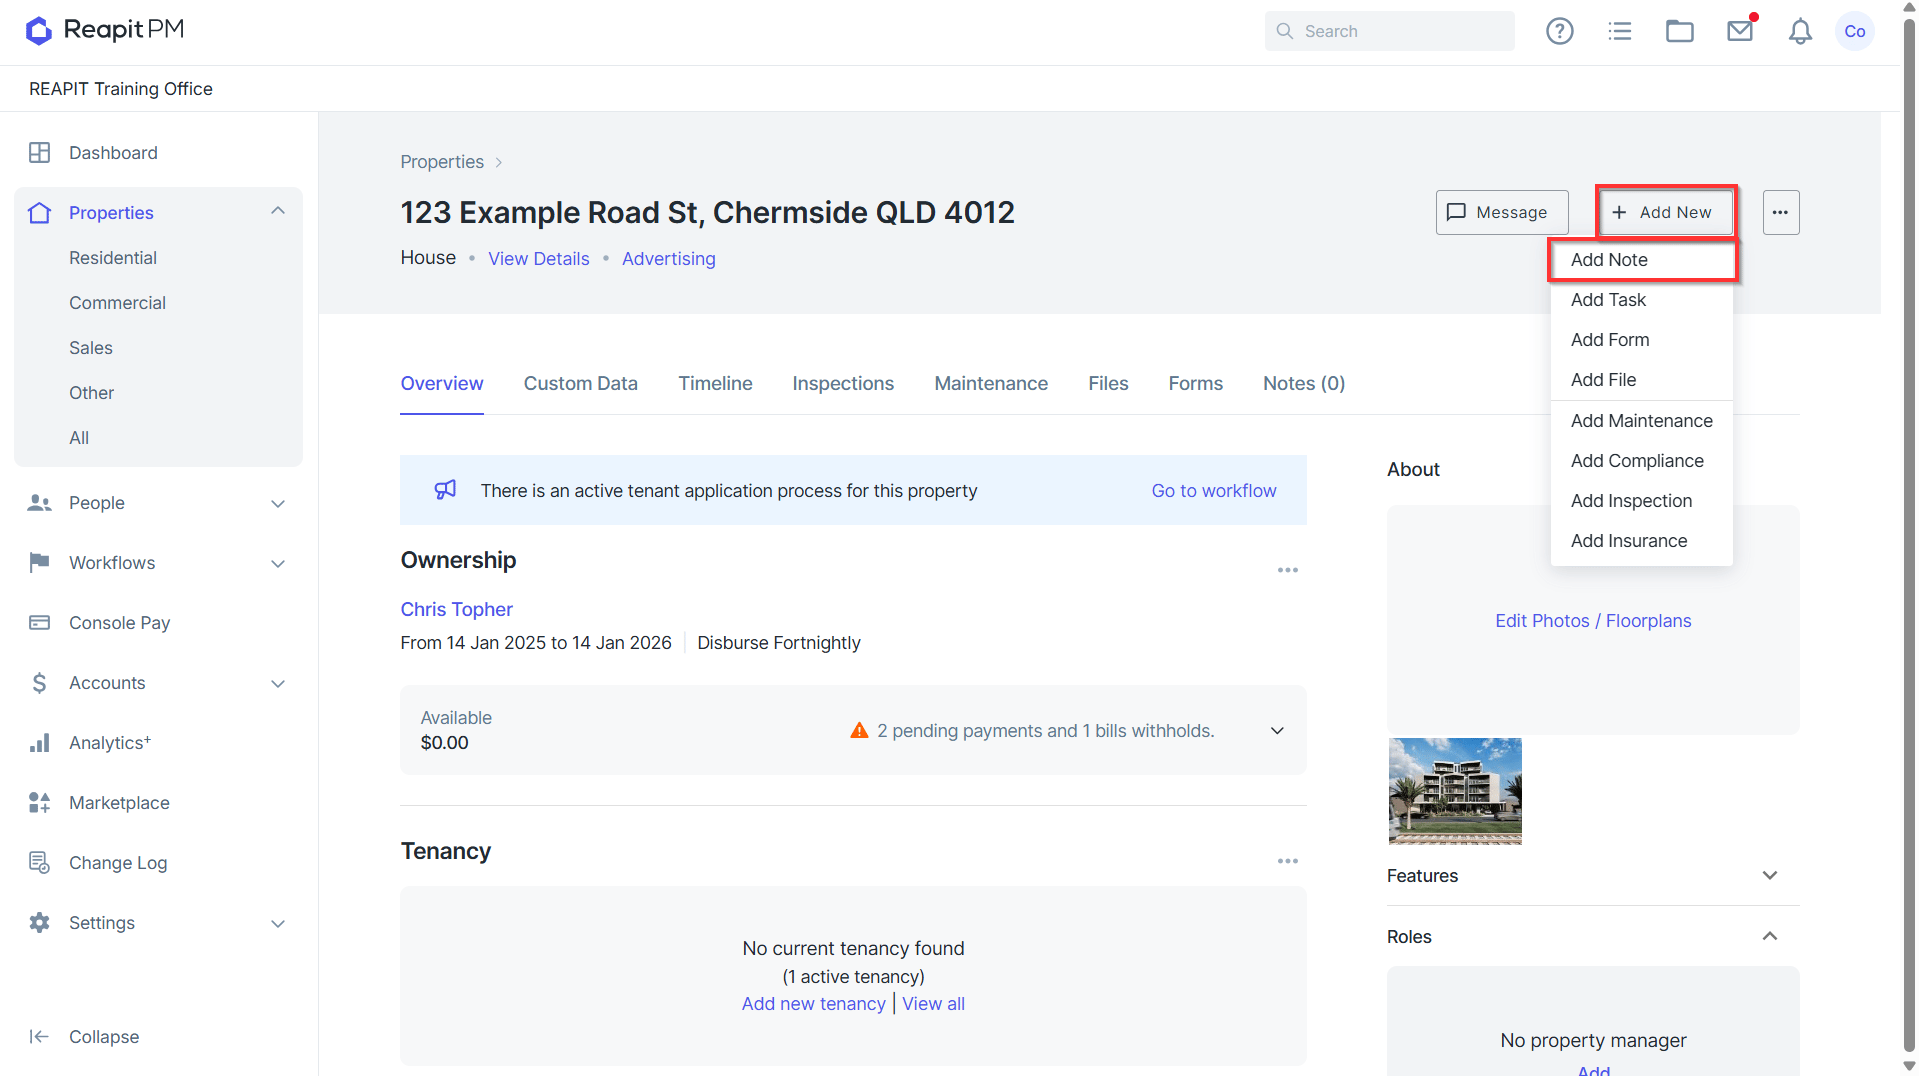
- Click Add New Note.
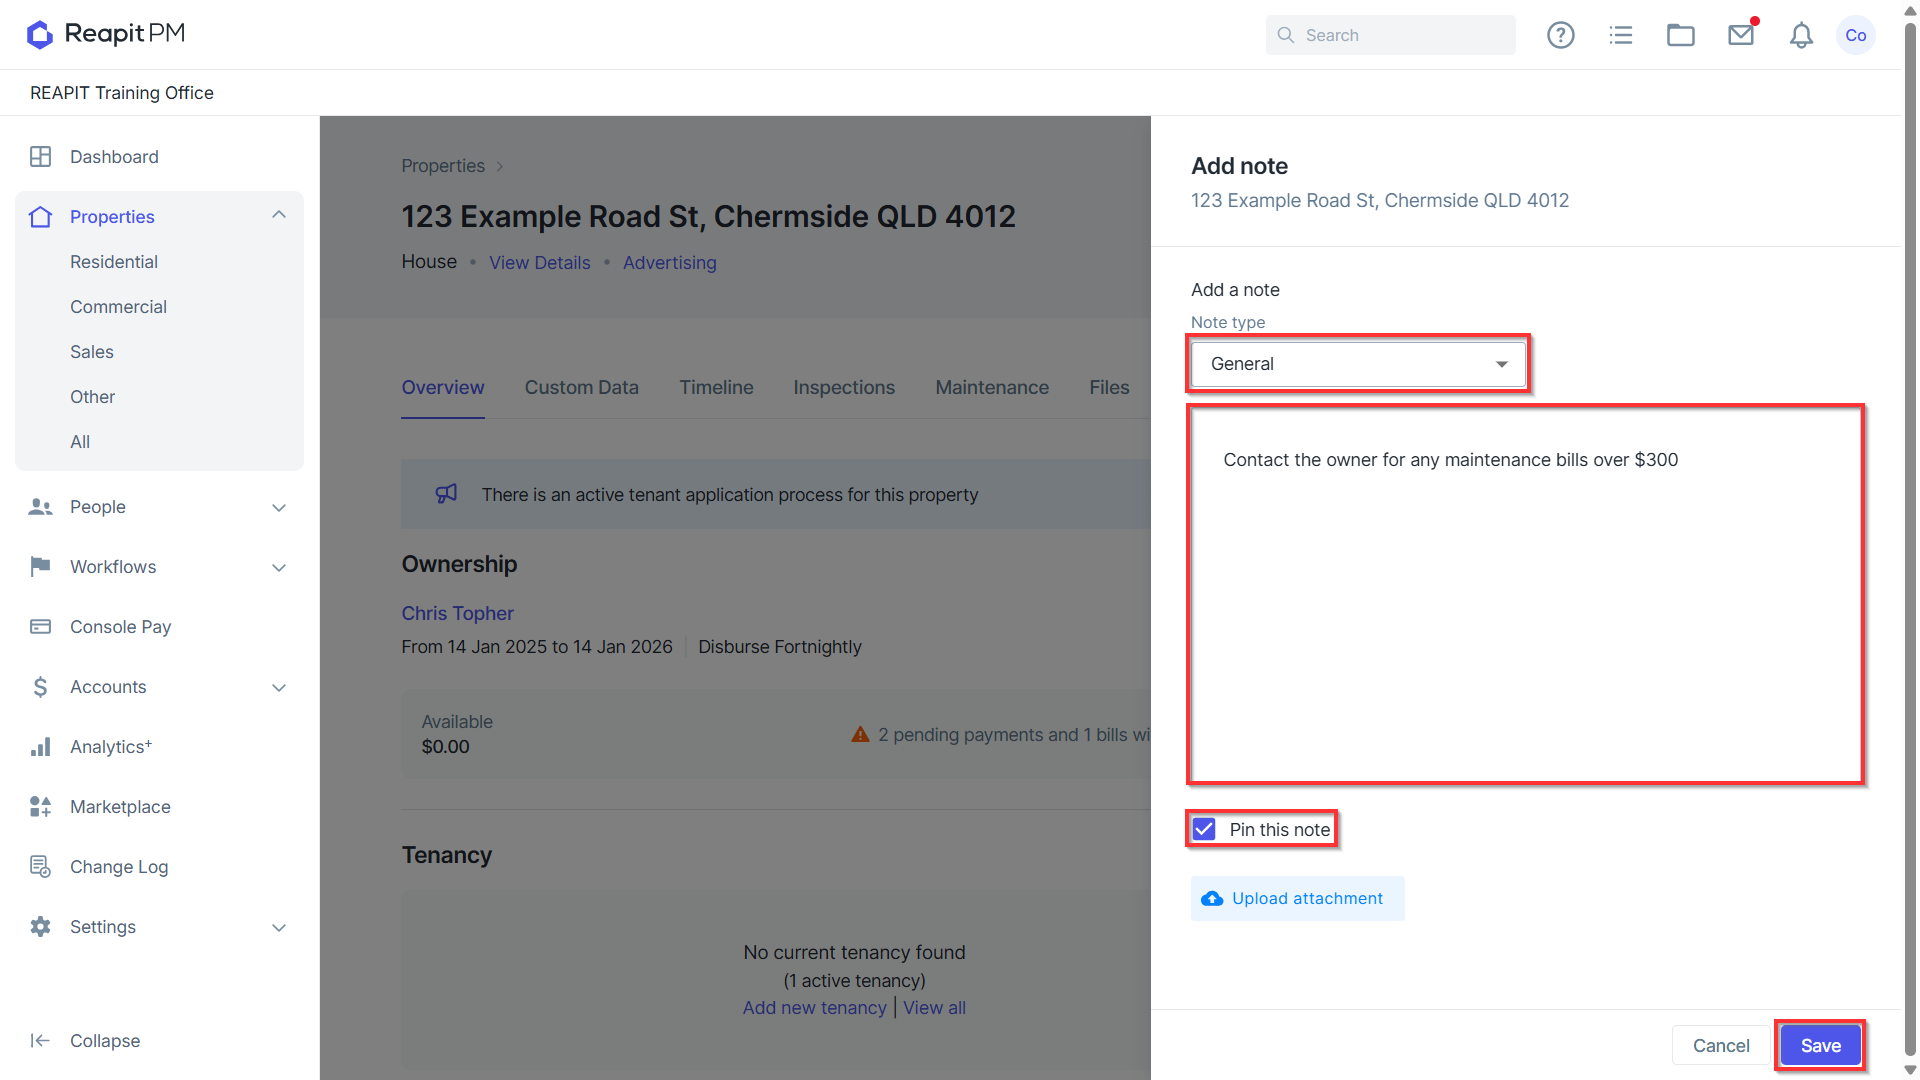
- Select the note type, add a note, pin the note if required and upload any attachments if necessary. Click Save.
How to Edit a Note
- Navigate to the note against the relevant property, Contact, Creditor, Owner or Tenant.
- Select and Select the relevant Property.
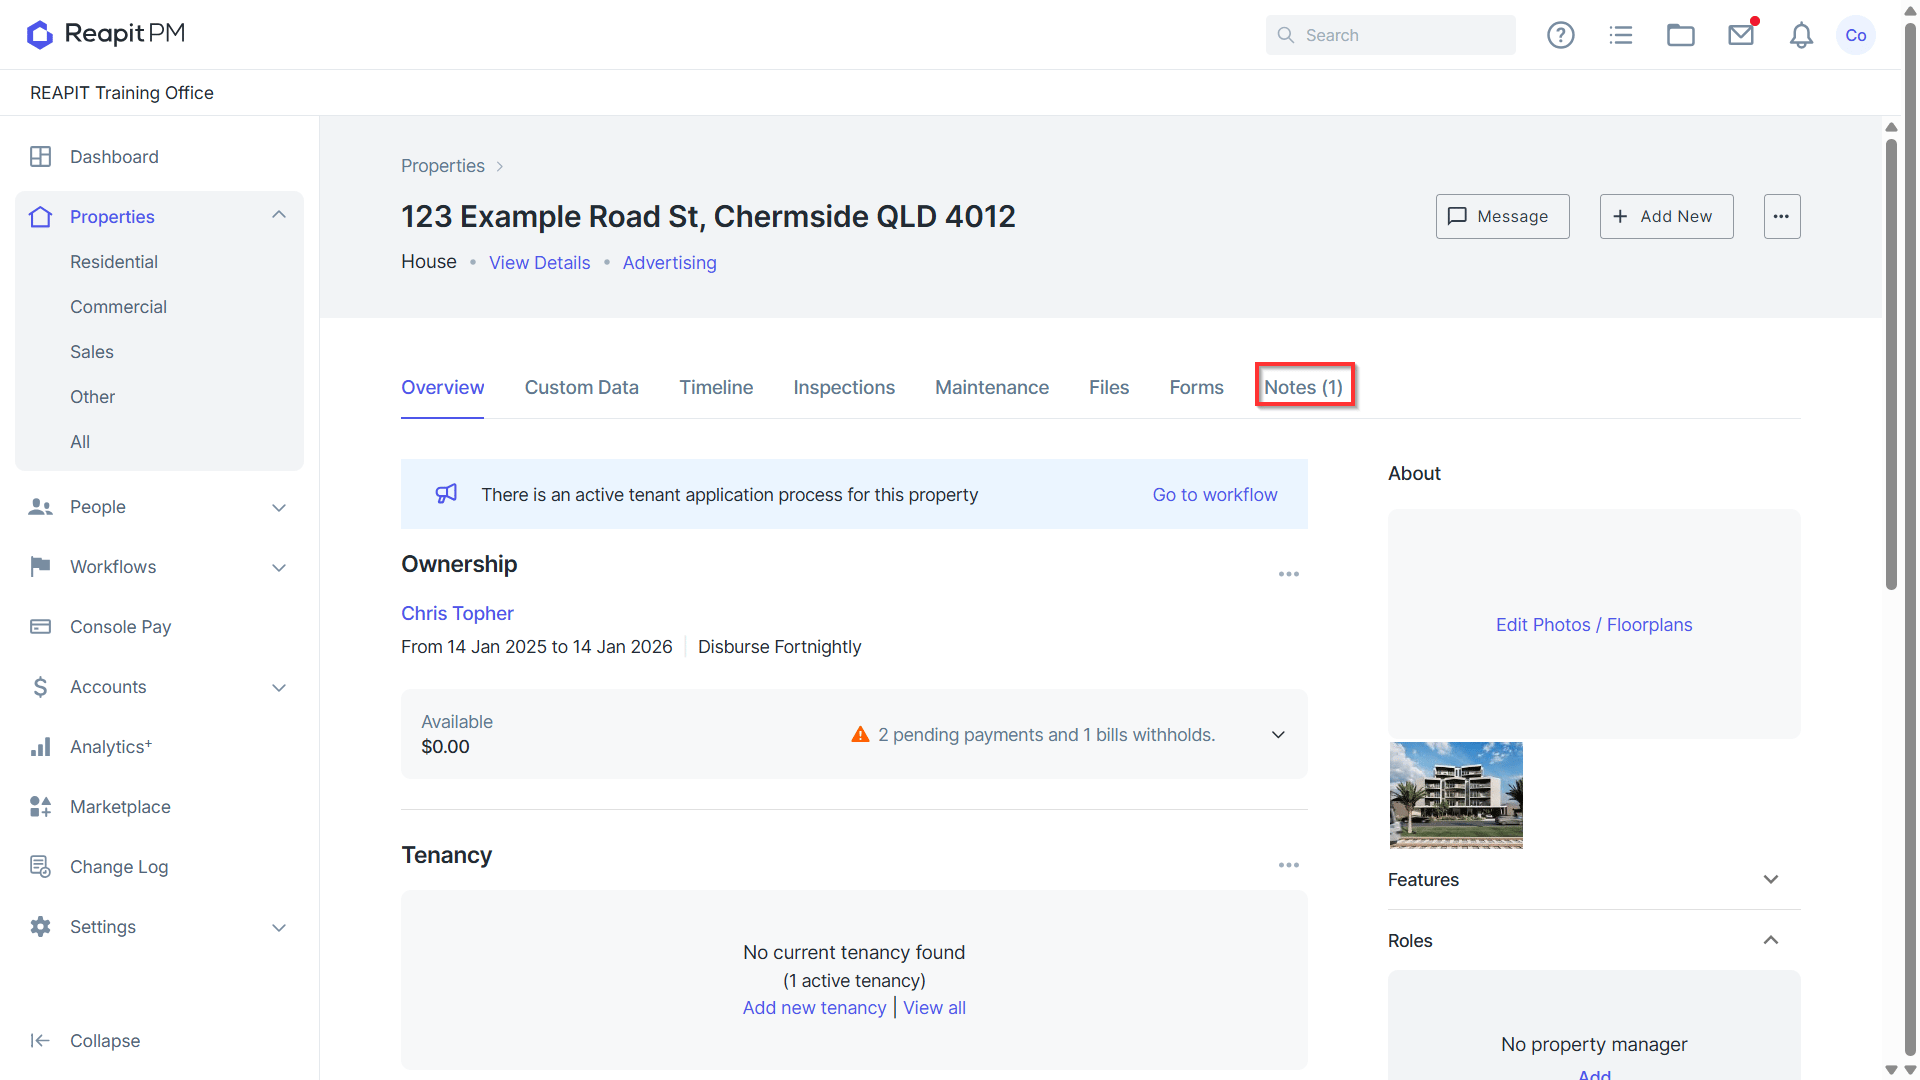
- Click Notes.
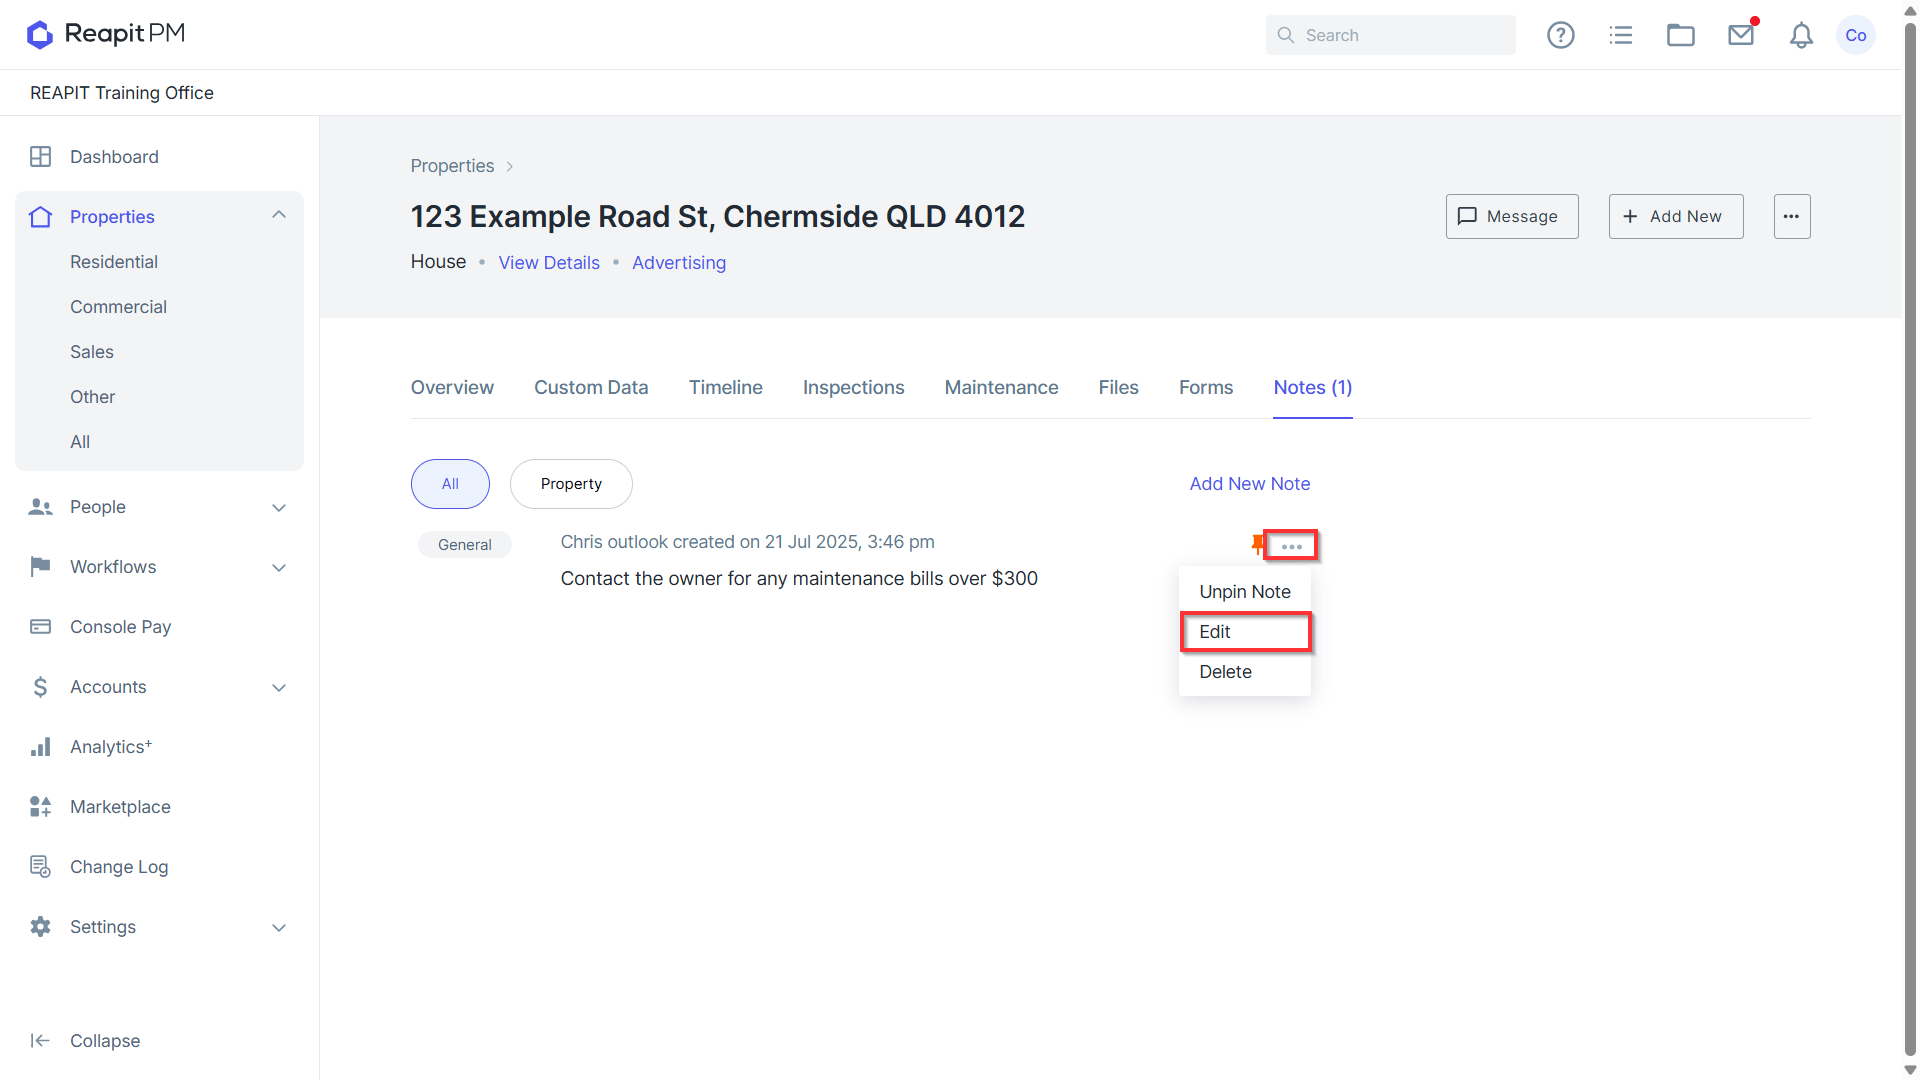
- Click on the three dots.
- Click Edit.
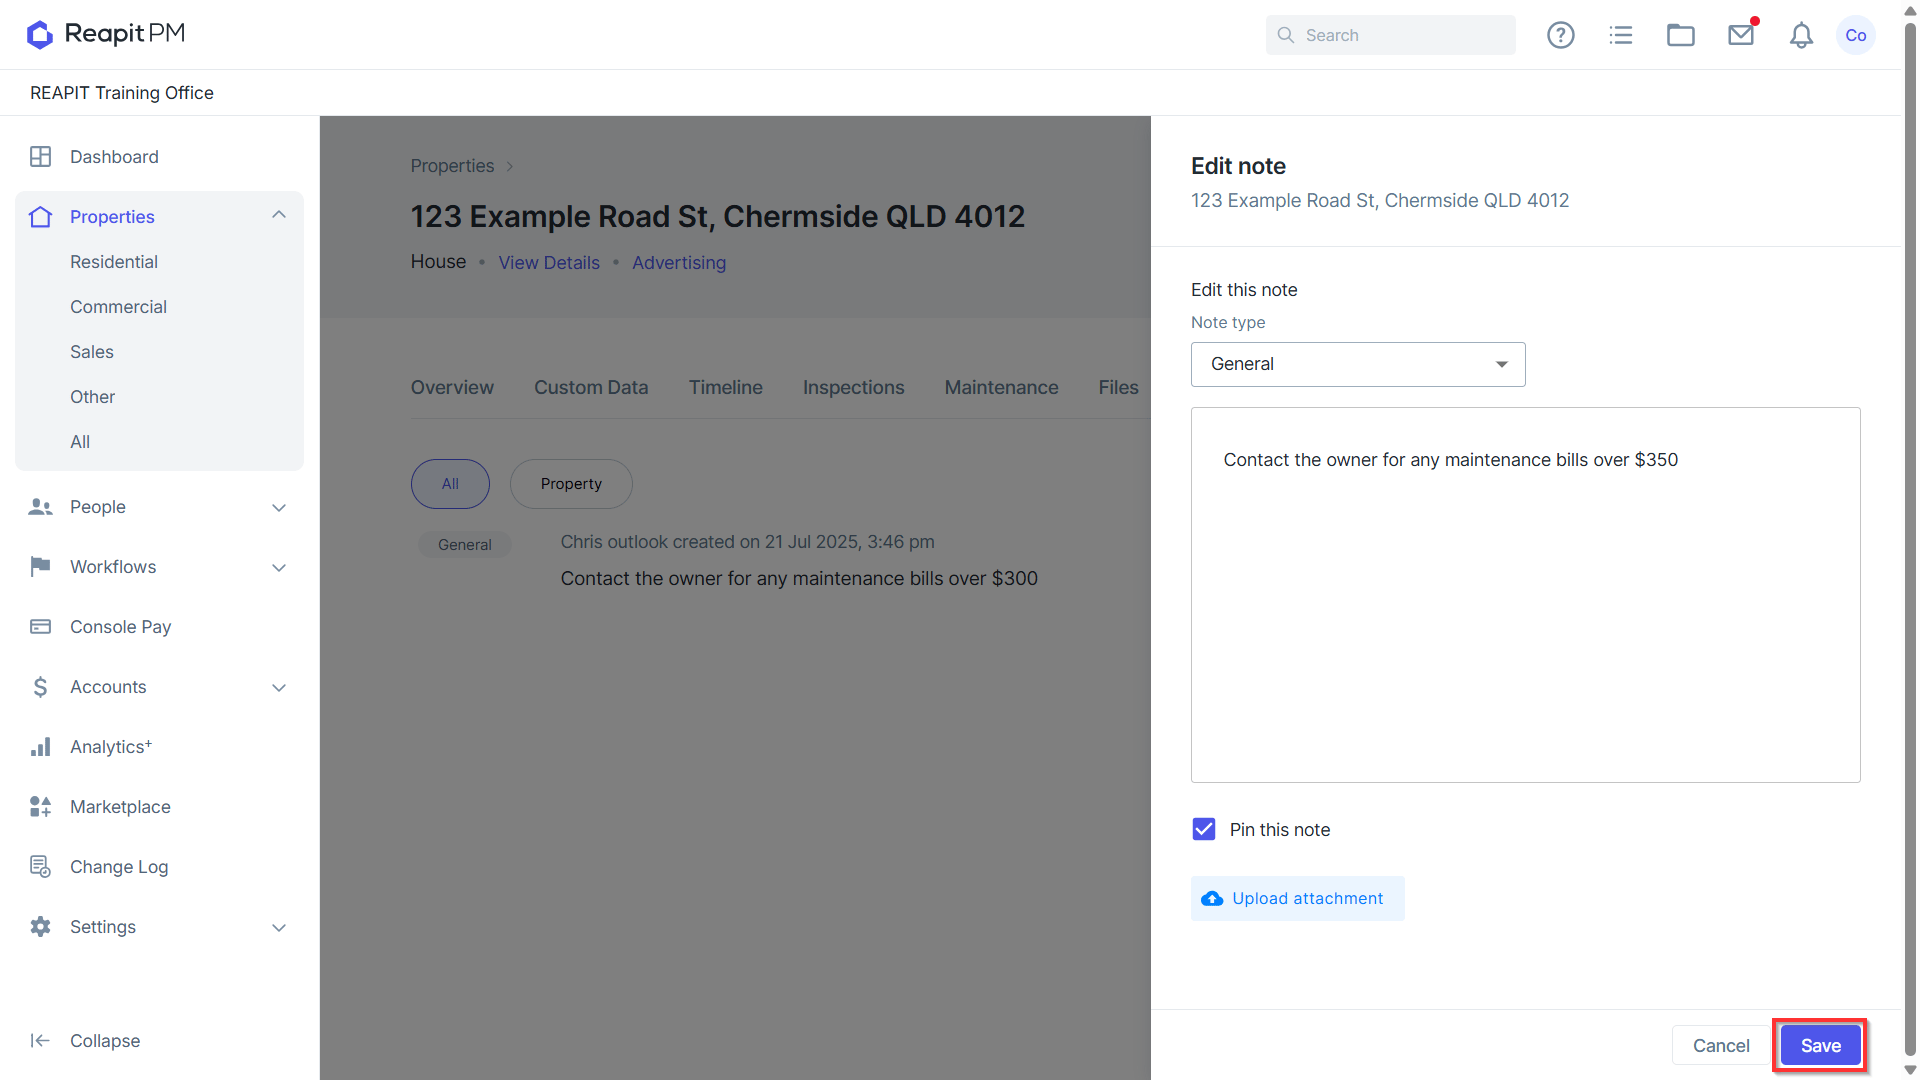
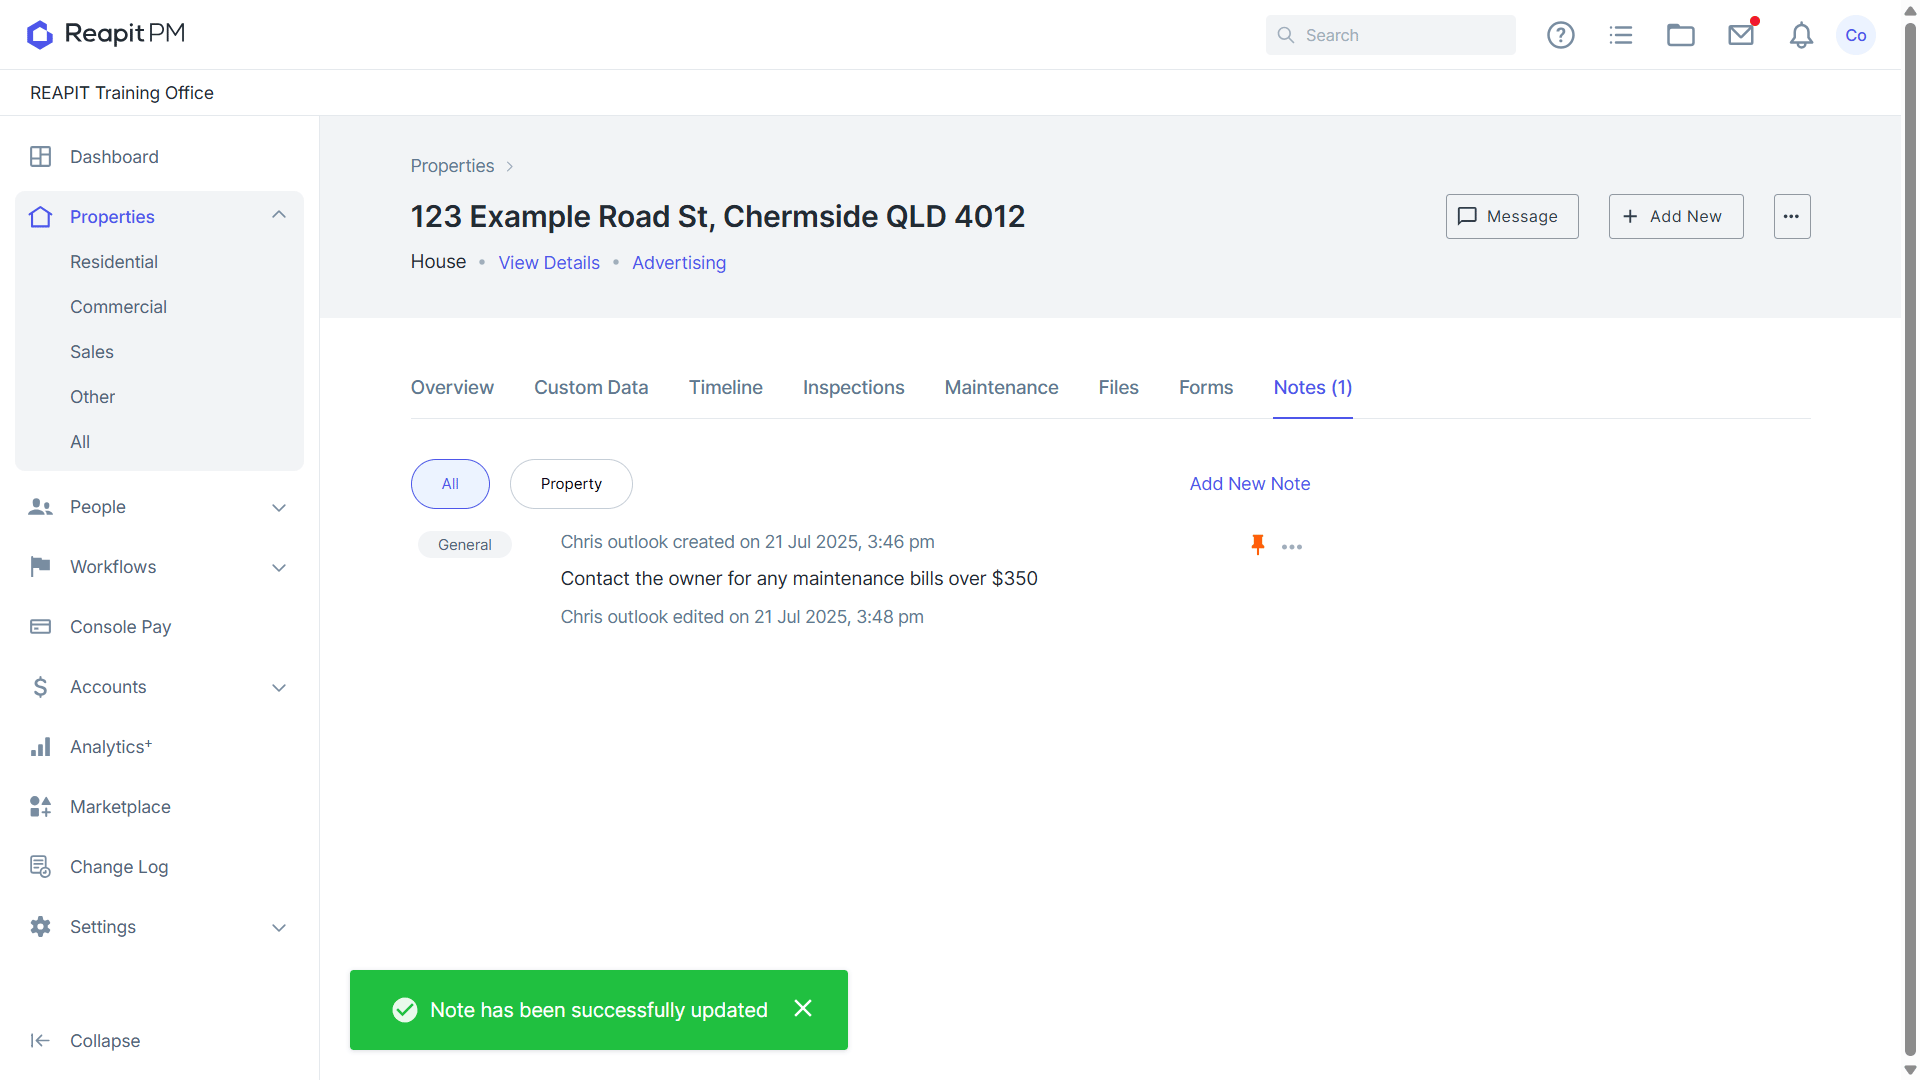
- Enter any changes, click Save.
- A confirmation message will be shown and the change recorded in the change log. The last edited user will be shown on the note.
How to Delete a Note
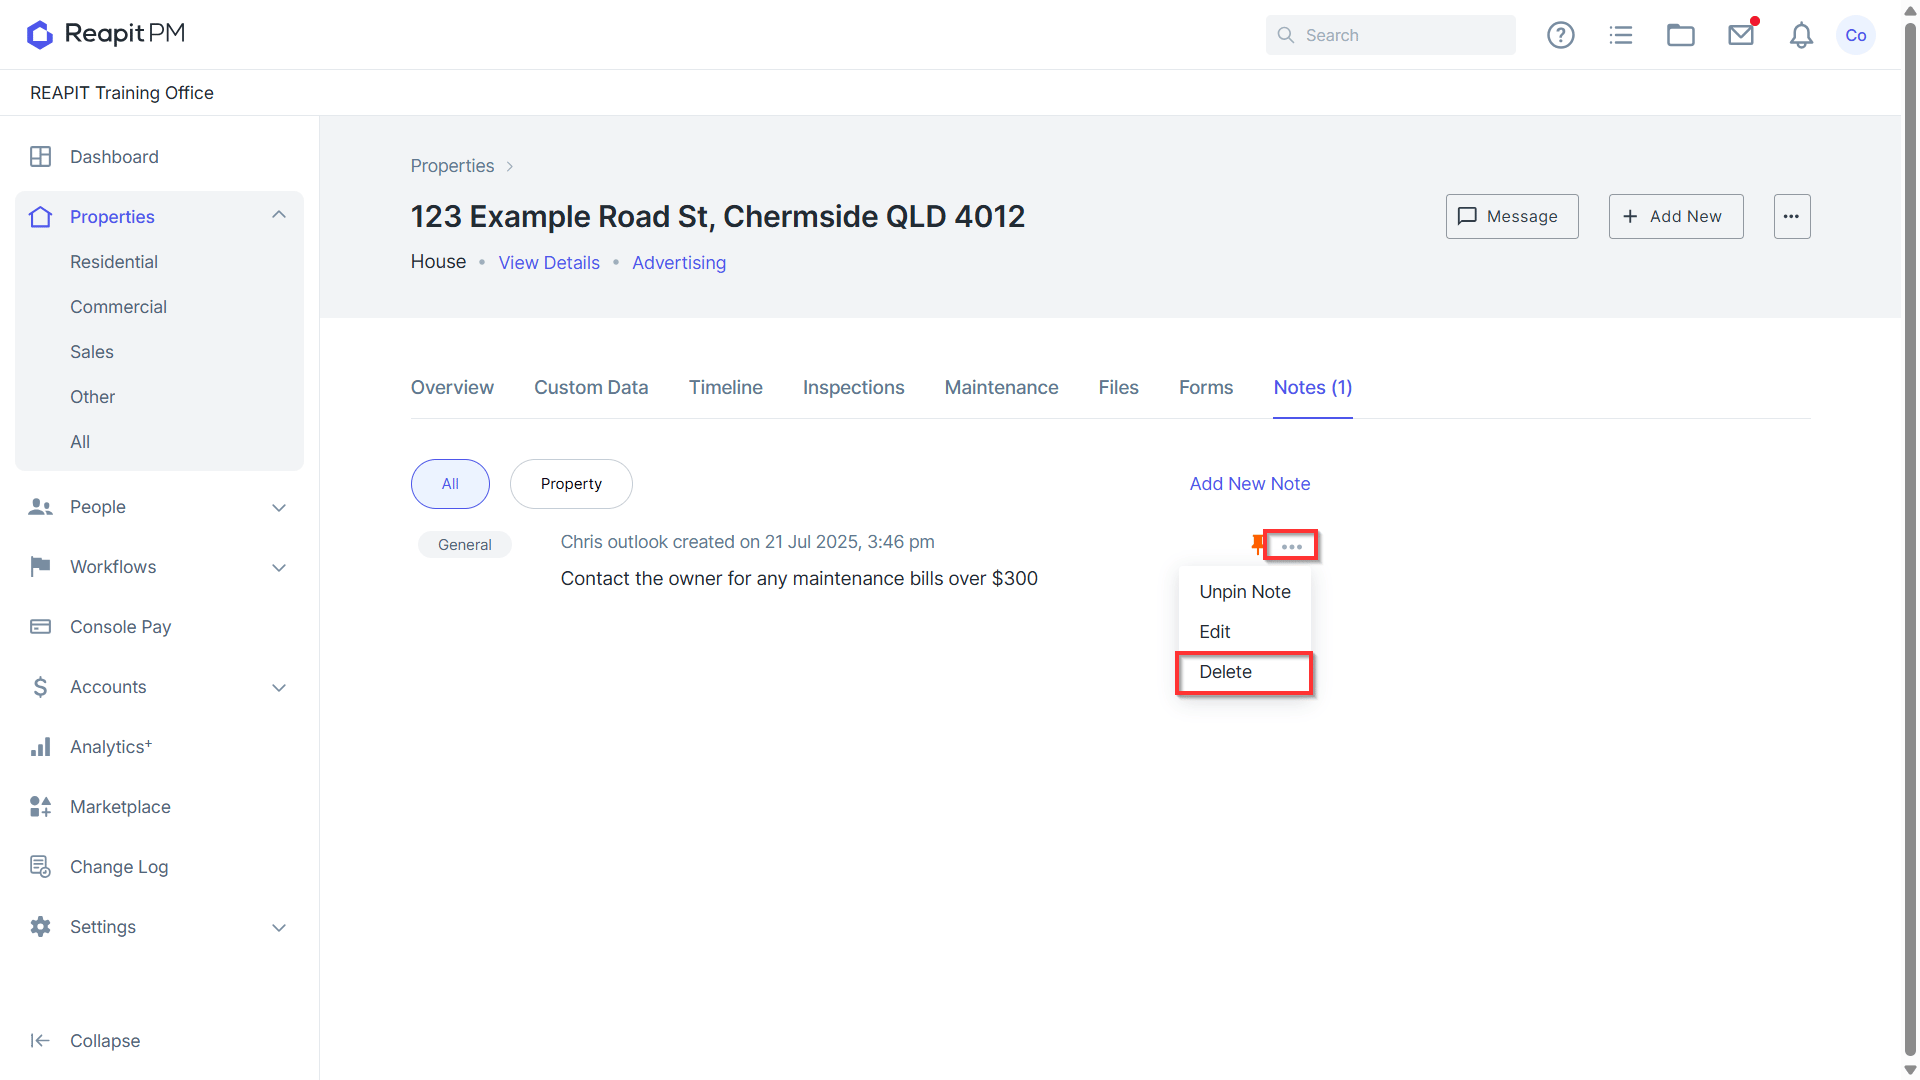
- Click on the three dots.
- Click Delete.
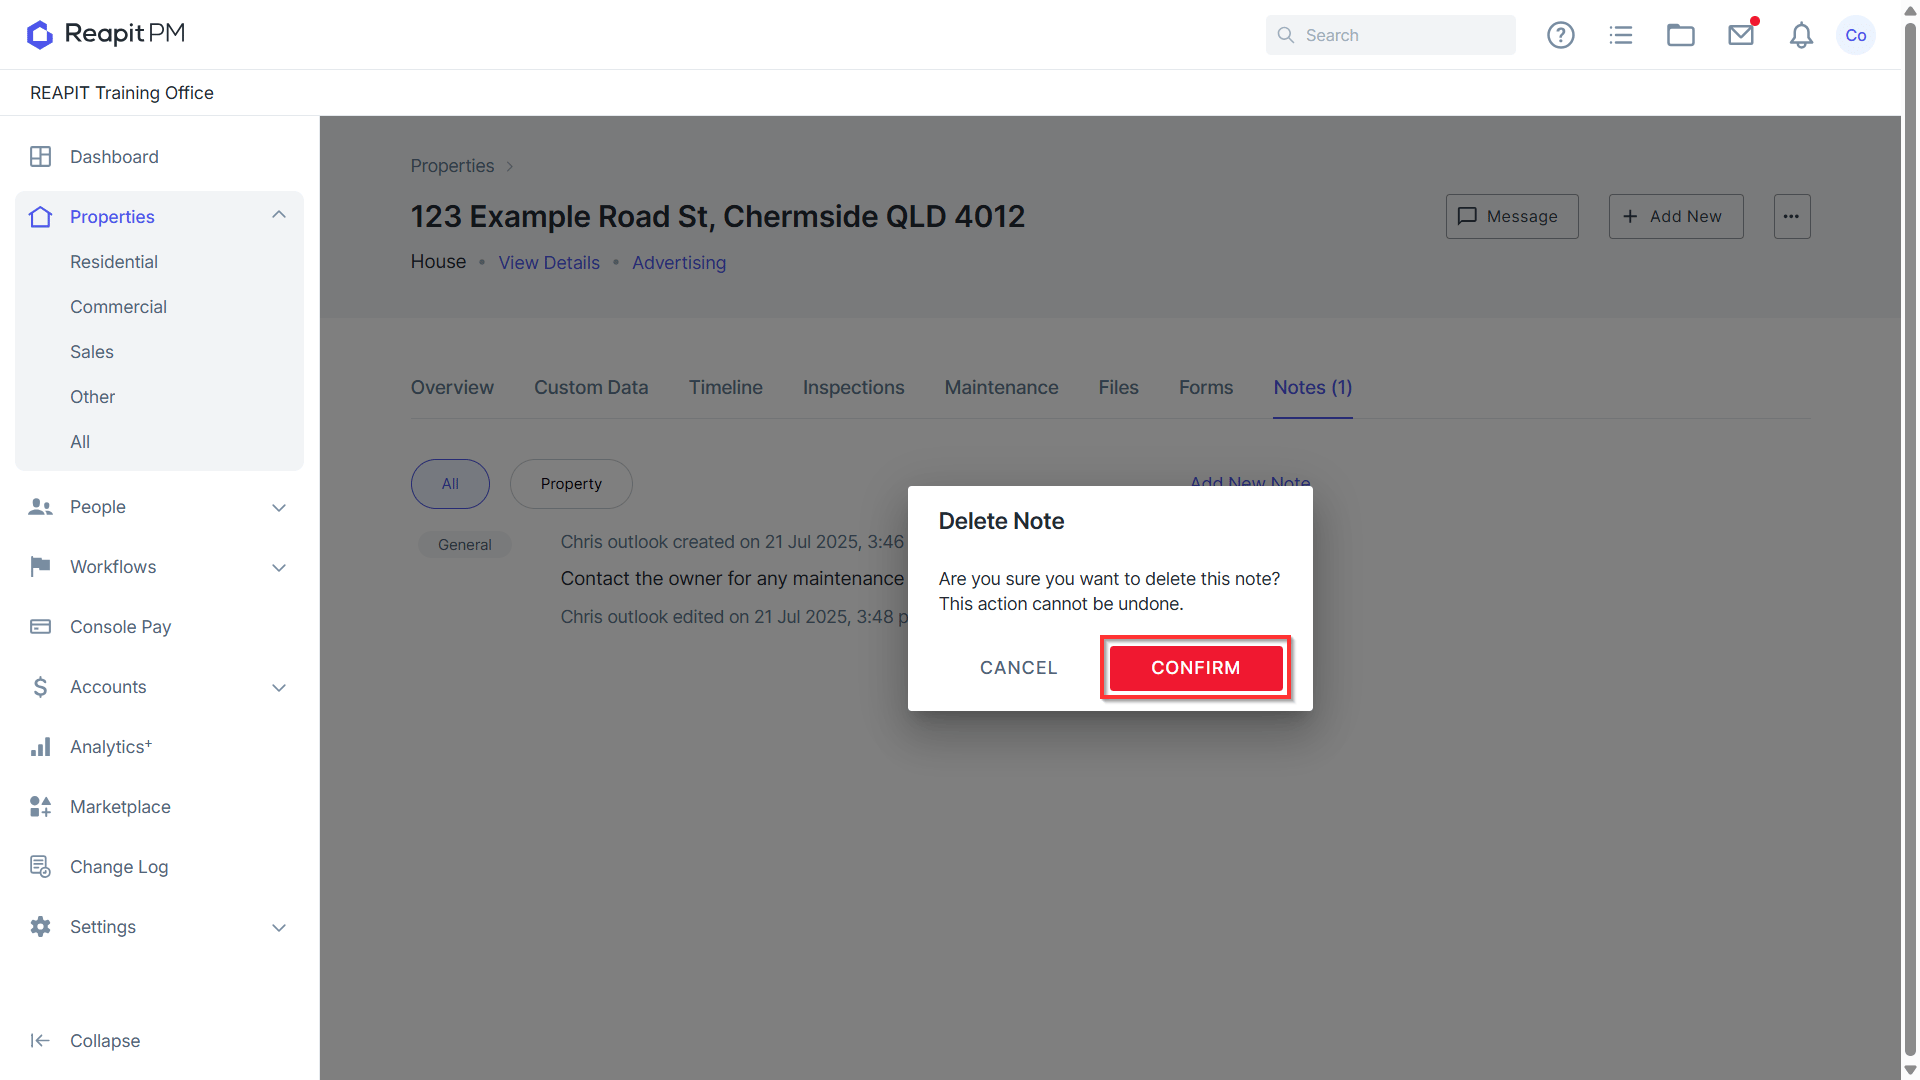
- Click Confirm to delete the note.
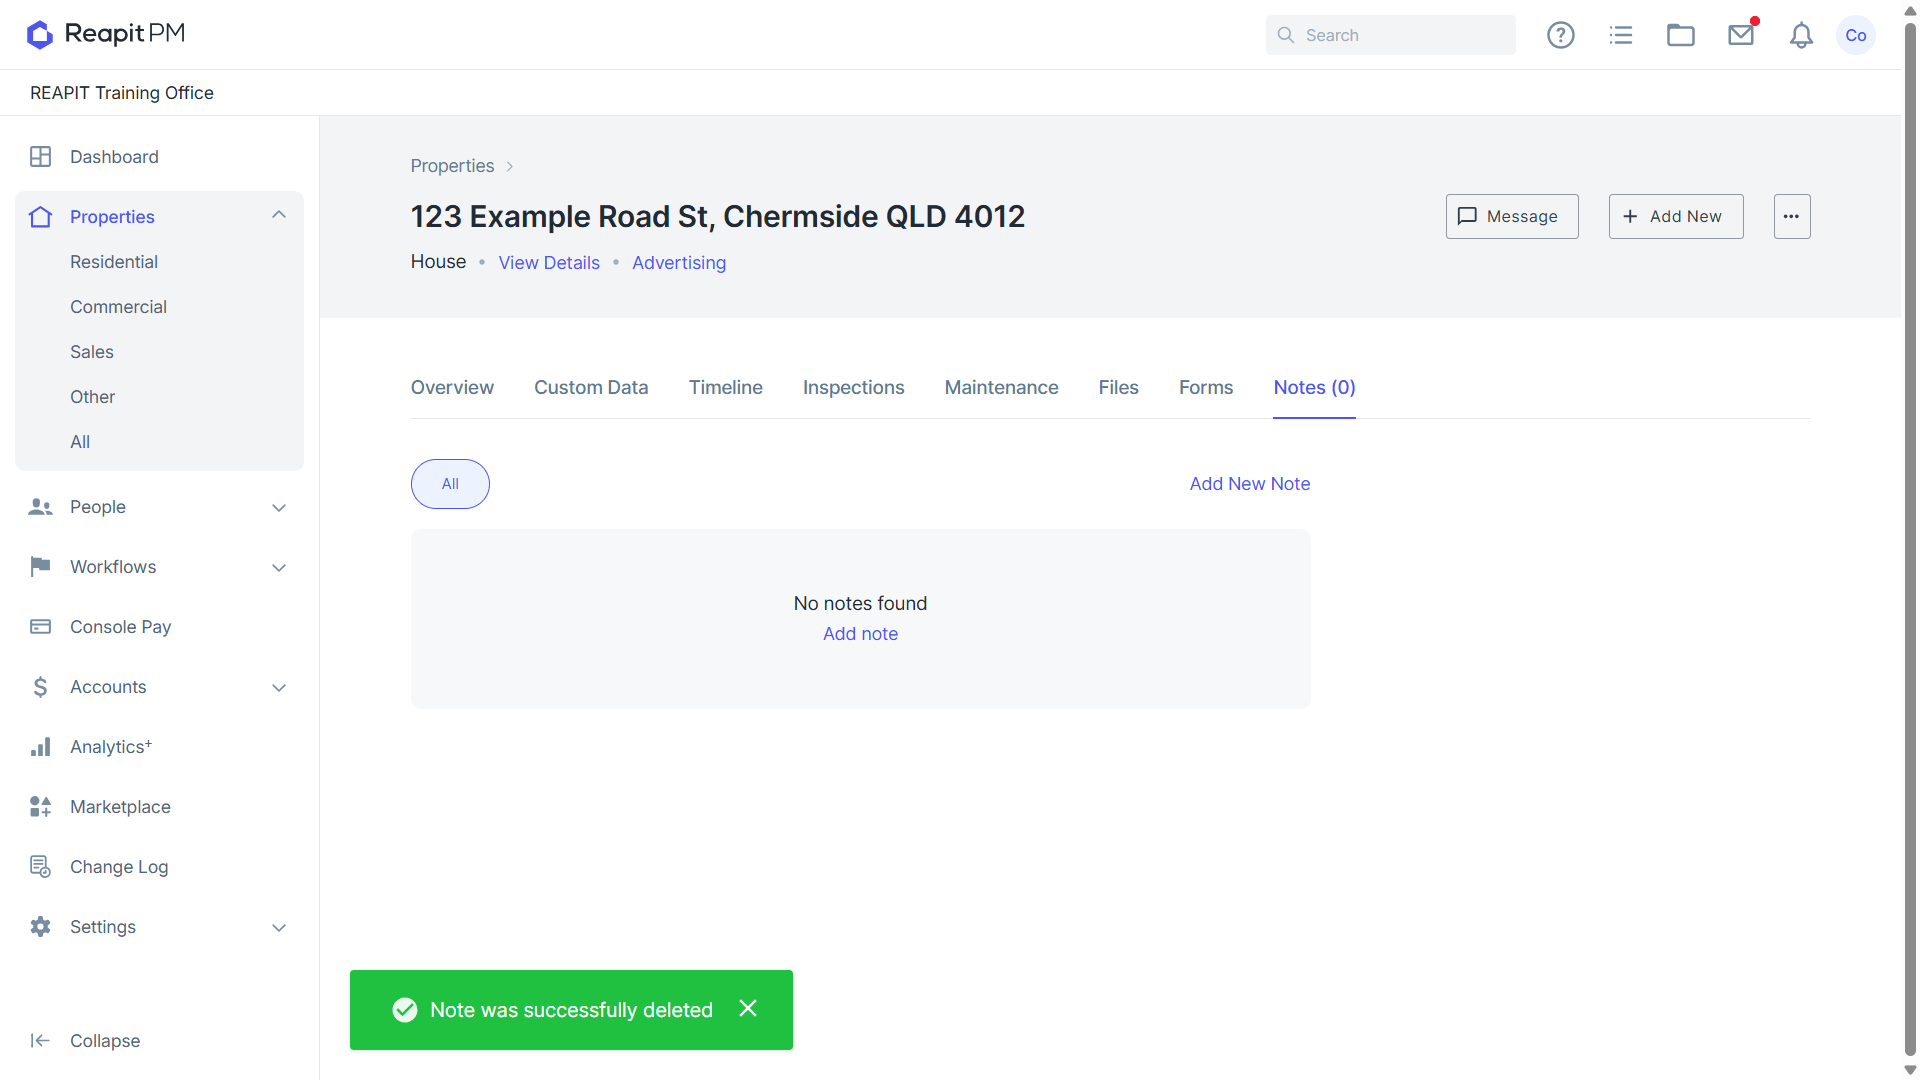
- A confirmation message will be shown and the change recorded in the change log.
Audit of Edited and Deleted Notes
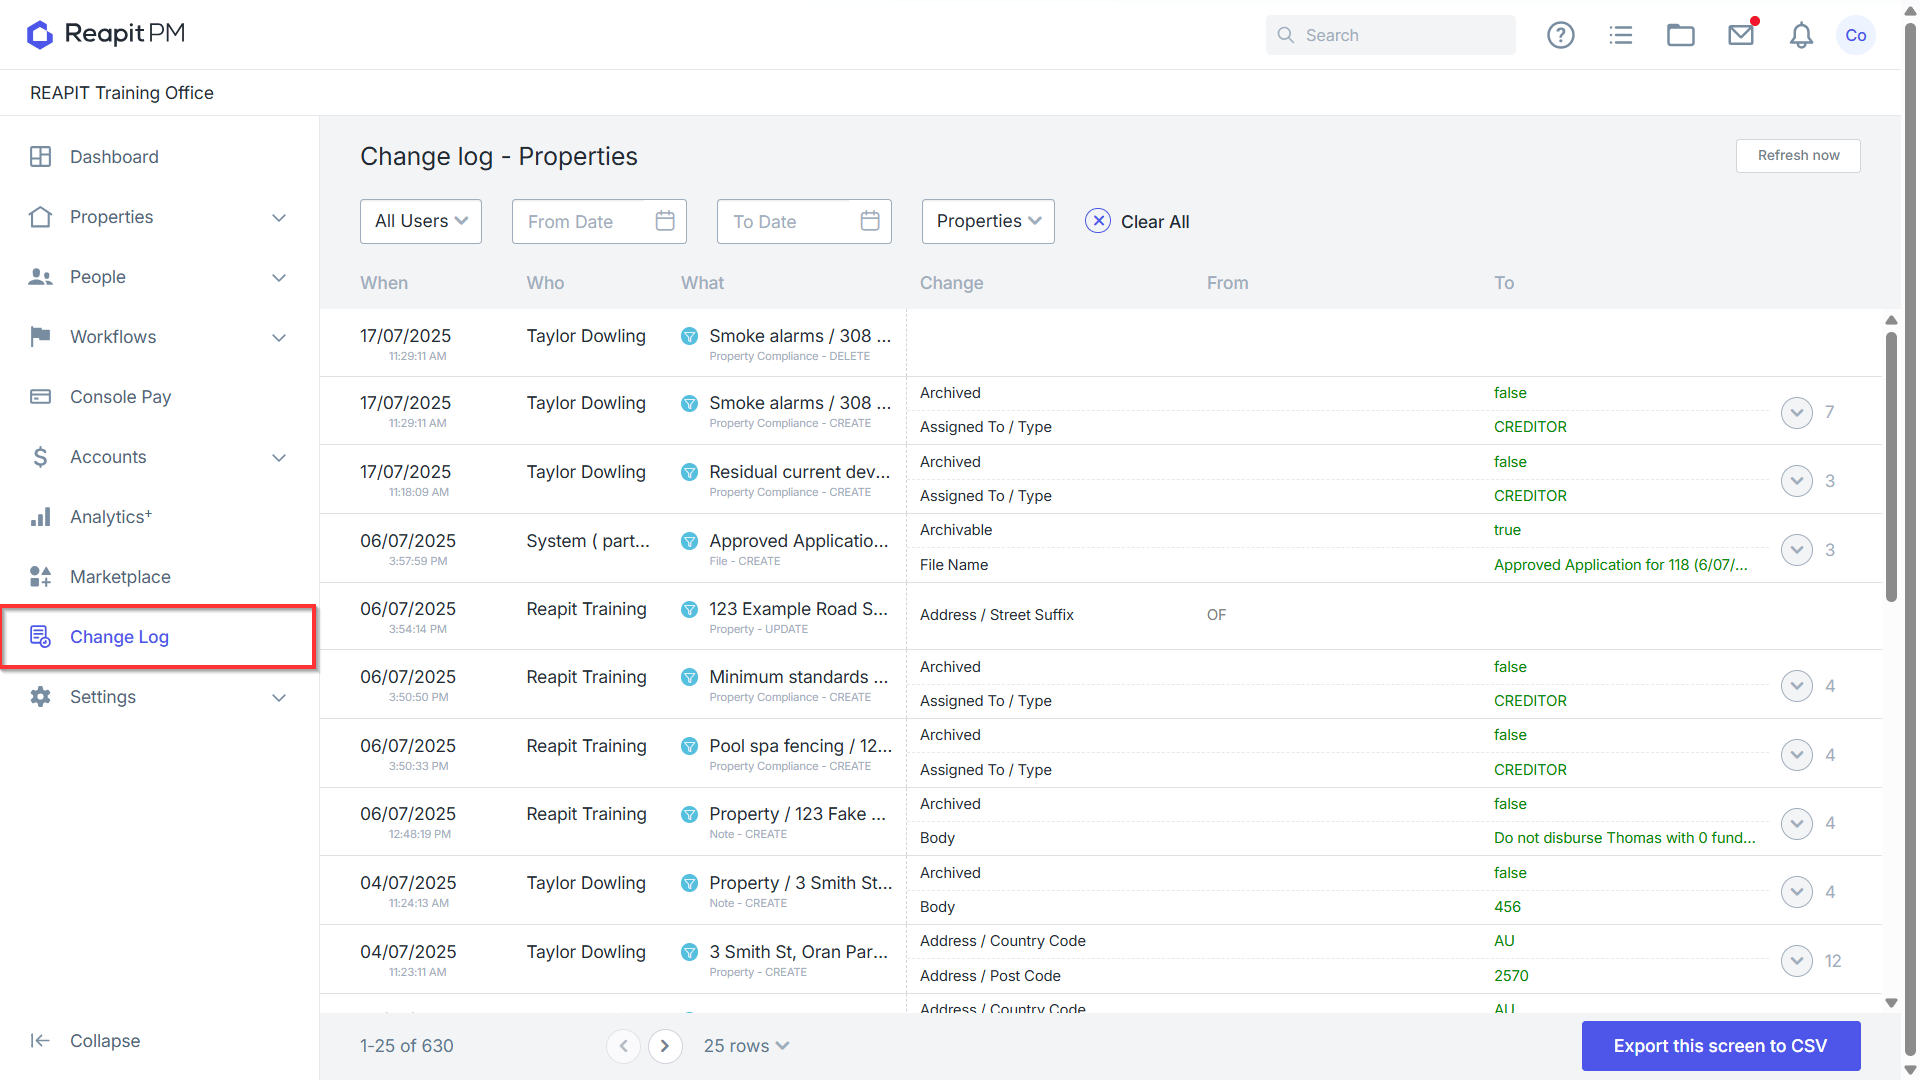
- Creating, editing, and deleting a note will be saved in the Change Log that is available to users with Office Administrator access.
Note: The delete note change is called “Archive” in the change log. You can see in the image the contents of the deleted message in the previous changelog entry.
- Navigate to the drawer on the left hand side and click Change Log.