'%20d='M0%208a8%208%200%200%201%208-8h24a8%208%200%200%201%208%208v24a8%208%200%200%201-8%208H8a8%208%200%200%201-8-8V8Z'/%3e%3cpath%20fill='%23fff'%20d='M8.375%2013v14L20.5%2034l12.124-7v-7.737l-1.687-.975-2.806-1.62-1.082-.624v4.83l-.002%204.83H13.95V16.07l3.275-1.89%202.192-1.265%201.082-.625%203.275%201.877%202.192%201.256%201.083.62V9.782L20.5%206%208.376%2013Z'/%3e%3cdefs%3e%3clinearGradient%20id='reapit-pm__a'%20x1='20.702'%20x2='20.702'%20y1='.351'%20y2='31.228'%20gradientUnits='userSpaceOnUse'%3e%3cstop%20stop-color='%235573FD'/%3e%3cstop%20offset='.575'%20stop-color='%234E56EA'/%3e%3c/linearGradient%3e%3c/defs%3e%3c/svg%3e)
All Clear Integration
This article will cover enabling the All Clear integration and the data that is shared in Reapit PM.
The processes in this article include:
- Activating the All Clear Integration
- Using the All Clear Integration
- Data Syncing - What is Shared
Activating the All Clear Integration
- Click on Marketplace.
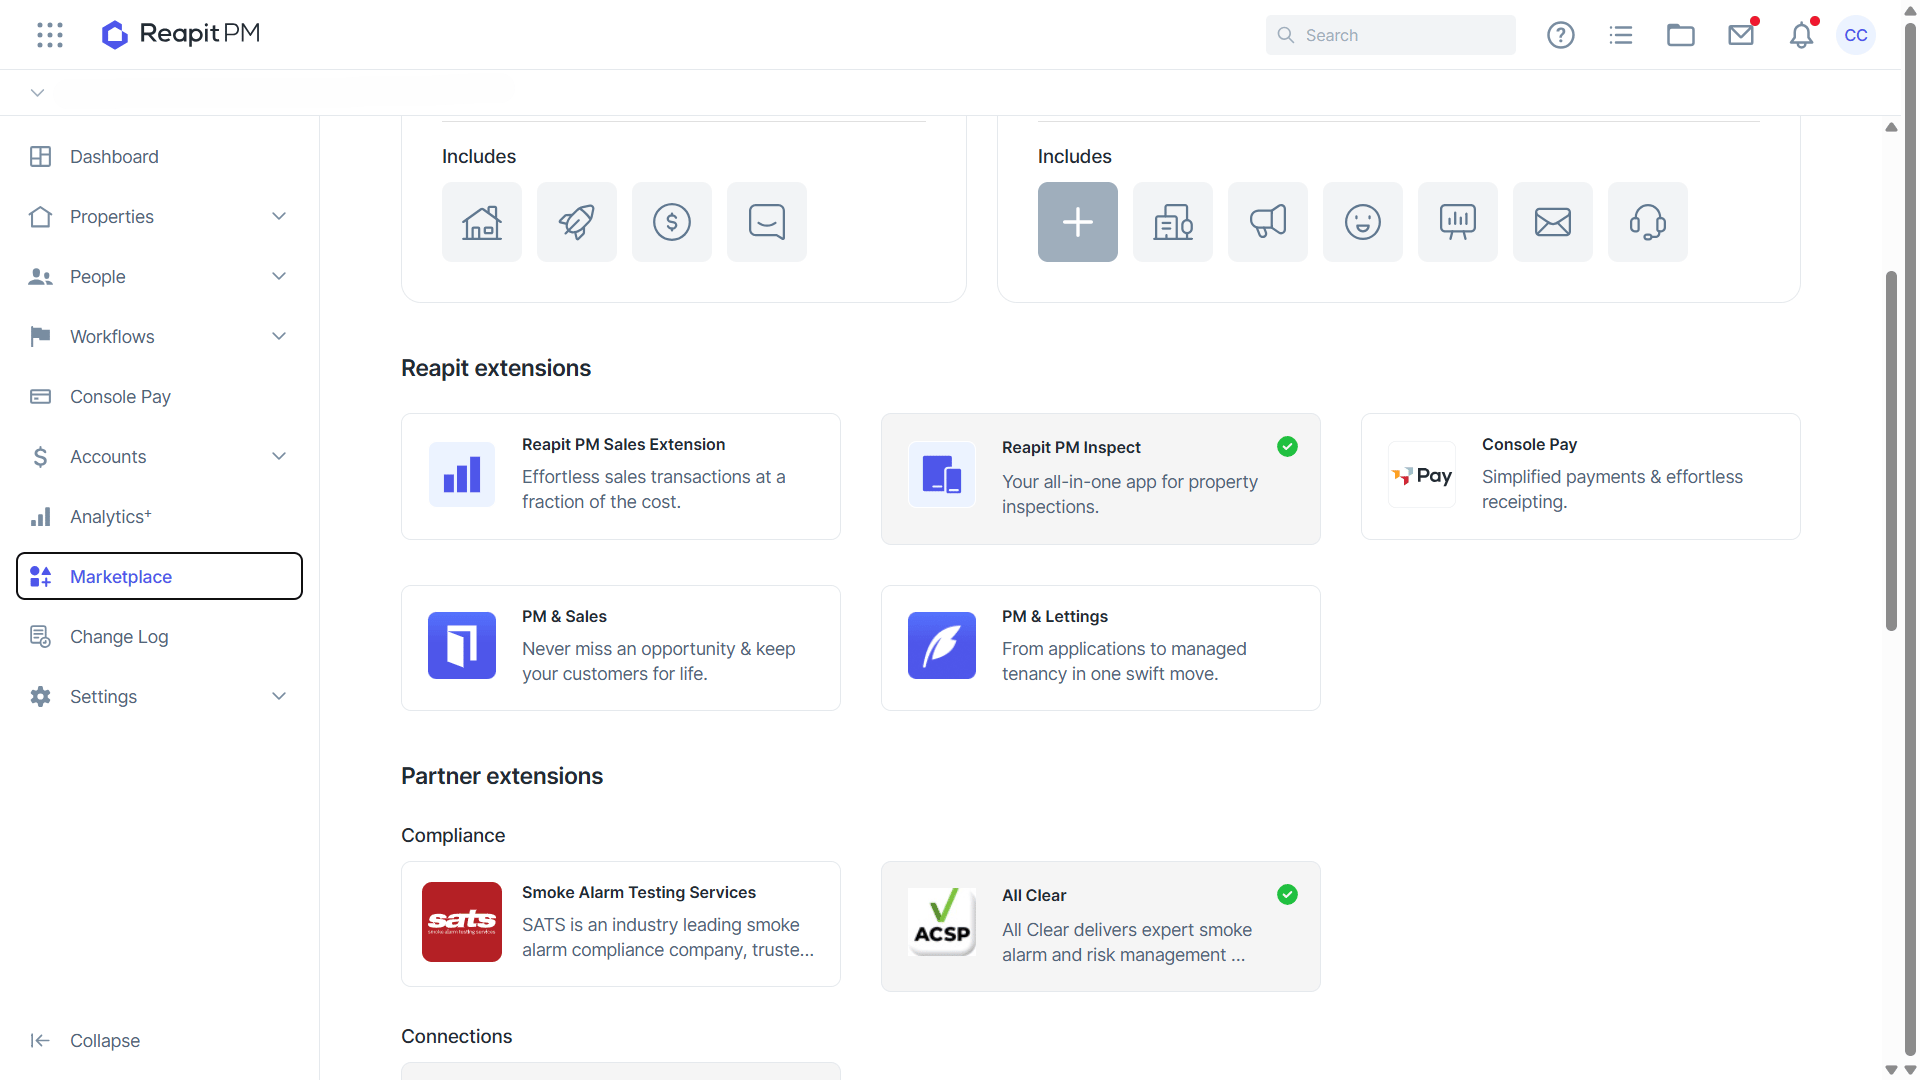
- Navigate to Maintenance and select All Clear.
- Click Add to Reapit PM.
- Select if you are a New or Existing Client. Click Next.
- Select Copy key to clipboard. Click Next.
- Wait for an All Clear representative to contact you to enable the activation.
- On successful activation, the All Clear tile will show with a green check mark.
Using the All Clear Integration
Search and select the Property file.
Click Add New.
Click on the compliance item from the drop-down.
Select the required compliance type
Click on the assigned drop-down.
Click on Integration Partner.
From the integration partner drop-down, select All Clear.
Enter the required compliance information
Click Save.
All Clear will action and process the compliance request, and once completed, issue a certificate. An invoice will also be generated and sent through to the bills screen for payment.
Data Syncing - What is Shared
Once activated, the following data will sync using the flow below:
| Sync Flow | Sync Data |
| Reapit PM to All Clear |
|
| Reapit PM to All Clear |
|
| All Clear to Reapit PM |
|
Note: Only data relevant to the property associated with the compliance item will be shared through the integration sync.