'%20d='M0%208a8%208%200%200%201%208-8h24a8%208%200%200%201%208%208v24a8%208%200%200%201-8%208H8a8%208%200%200%201-8-8V8Z'/%3e%3cpath%20fill='%23fff'%20d='M8.375%2013v14L20.5%2034l12.124-7v-7.737l-1.687-.975-2.806-1.62-1.082-.624v4.83l-.002%204.83H13.95V16.07l3.275-1.89%202.192-1.265%201.082-.625%203.275%201.877%202.192%201.256%201.083.62V9.782L20.5%206%208.376%2013Z'/%3e%3cdefs%3e%3clinearGradient%20id='reapit-pm__a'%20x1='20.702'%20x2='20.702'%20y1='.351'%20y2='31.228'%20gradientUnits='userSpaceOnUse'%3e%3cstop%20stop-color='%235573FD'/%3e%3cstop%20offset='.575'%20stop-color='%234E56EA'/%3e%3c/linearGradient%3e%3c/defs%3e%3c/svg%3e)
Custom Data
Custom data in Reapit PM allows you to add any fields to your Contacts, Properties, Sales, Owners, Tenants & Creditors, so that you can record all information relevant to those entities and your business needs.
Overview
Custom Data
Custom data in Reapit PM allows you to add any fields to your Contacts, Properties, Sales, Owners, Tenants & Creditors, so that you can record all information relevant to those entities and your business needs.
Custom data can be set up by any Office Administrator user in settings.
All fields set up will then be visible against your Contacts, Properties, Sales, Owners, Tenants & Creditor files.
Data added to any individual file is then exclusive to that file and can be exported into a .csv file for reporting purposes.
Configuring Custom Data
Custom data can be set up for all entities - Contacts, Properties, Sales, Owners, Tenants, and Creditors.
- To configure custom data against your entities, go to Settings > Custom Data.
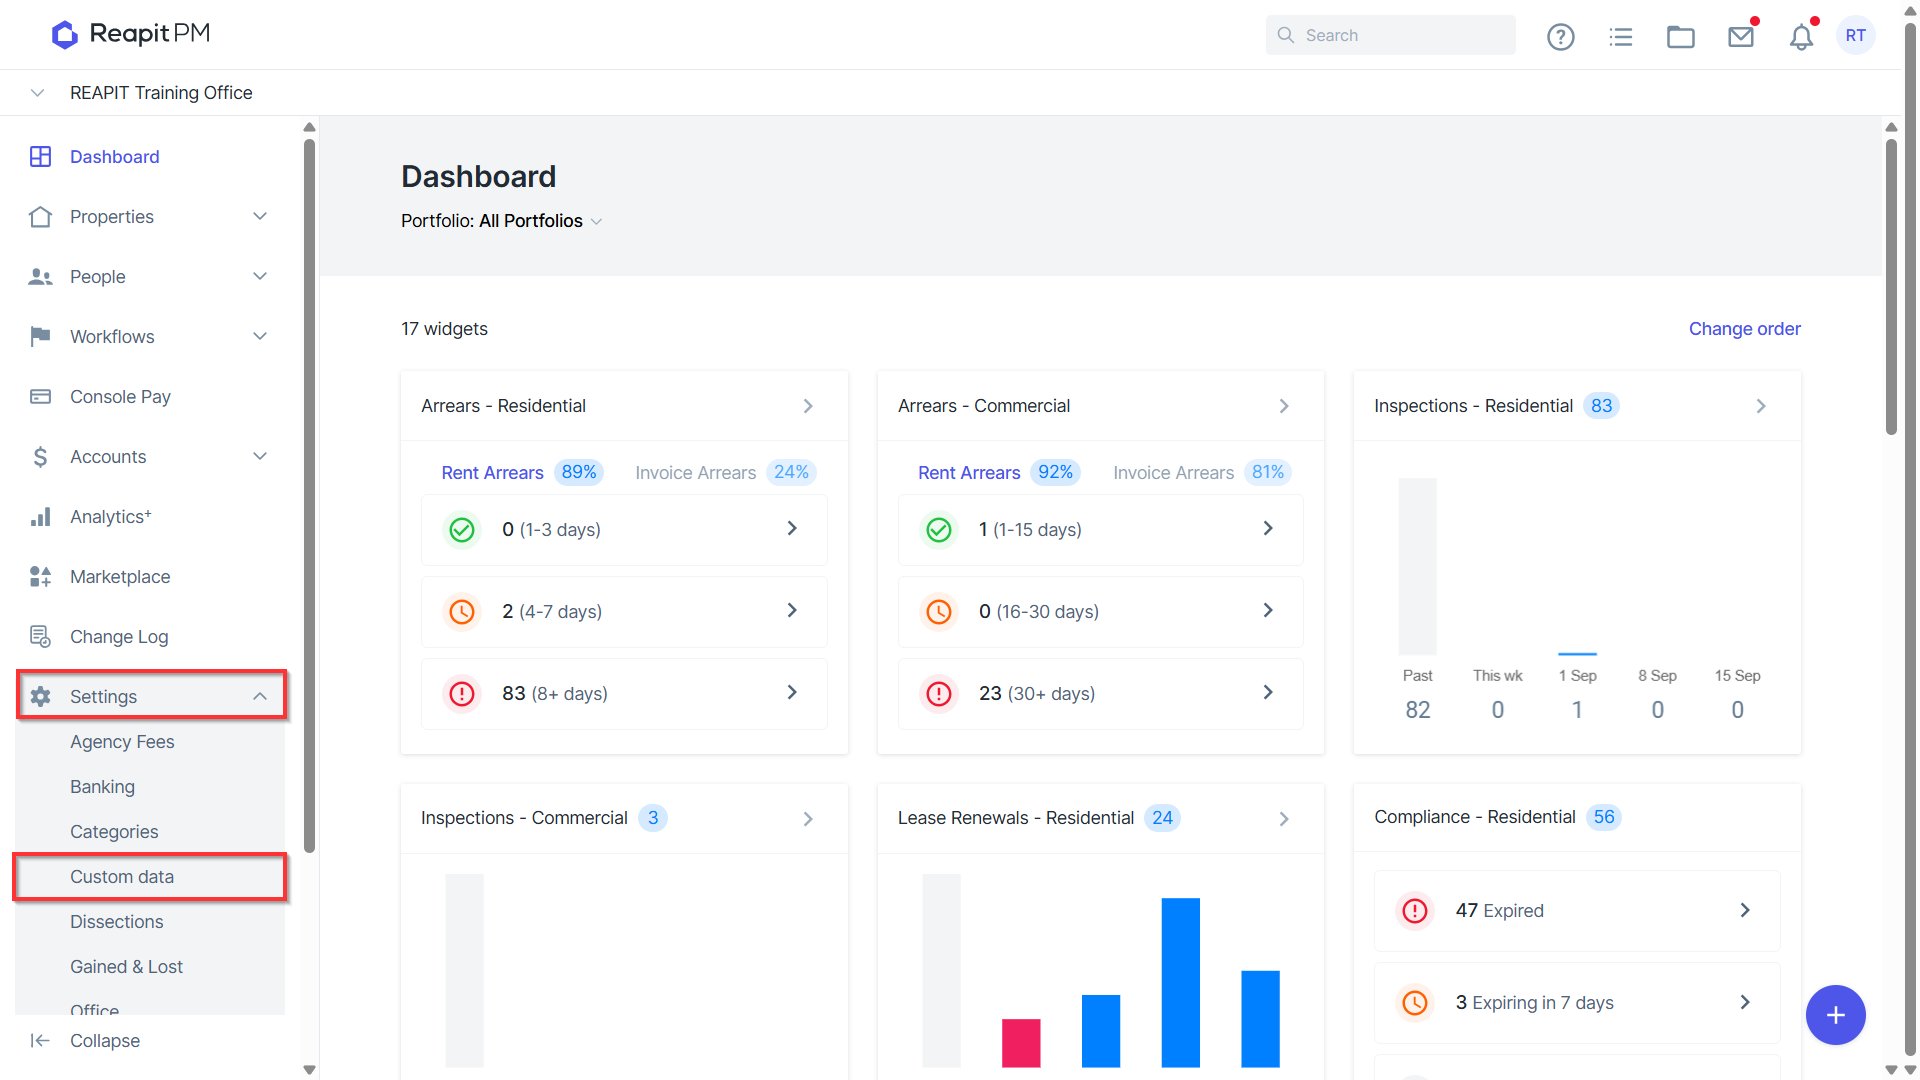
- Select the relevant Entity tab and select Add Section.
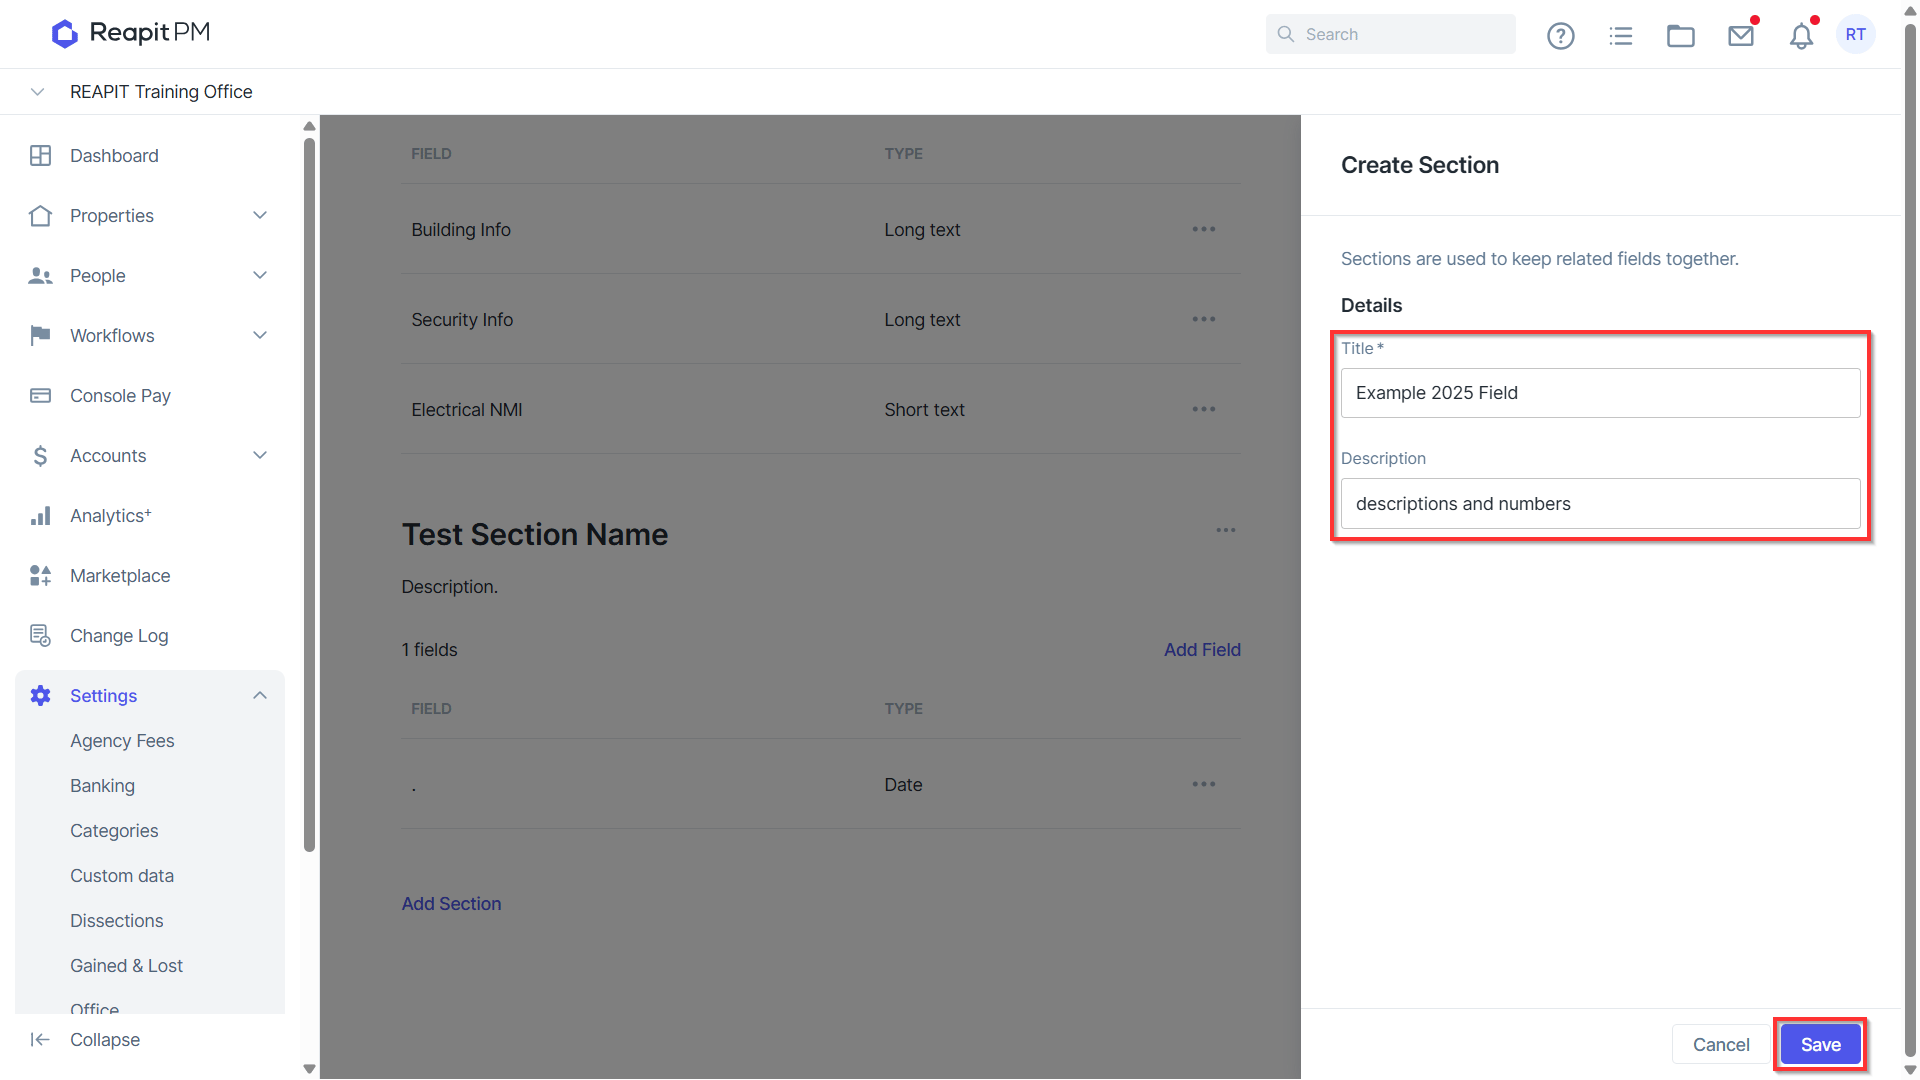
Sections allow you to group like fields together, for example, all fields you want to collect under “ Personal Details “.
- Give the Section a label and add a description that helps users identify what the information is for, and select Save.
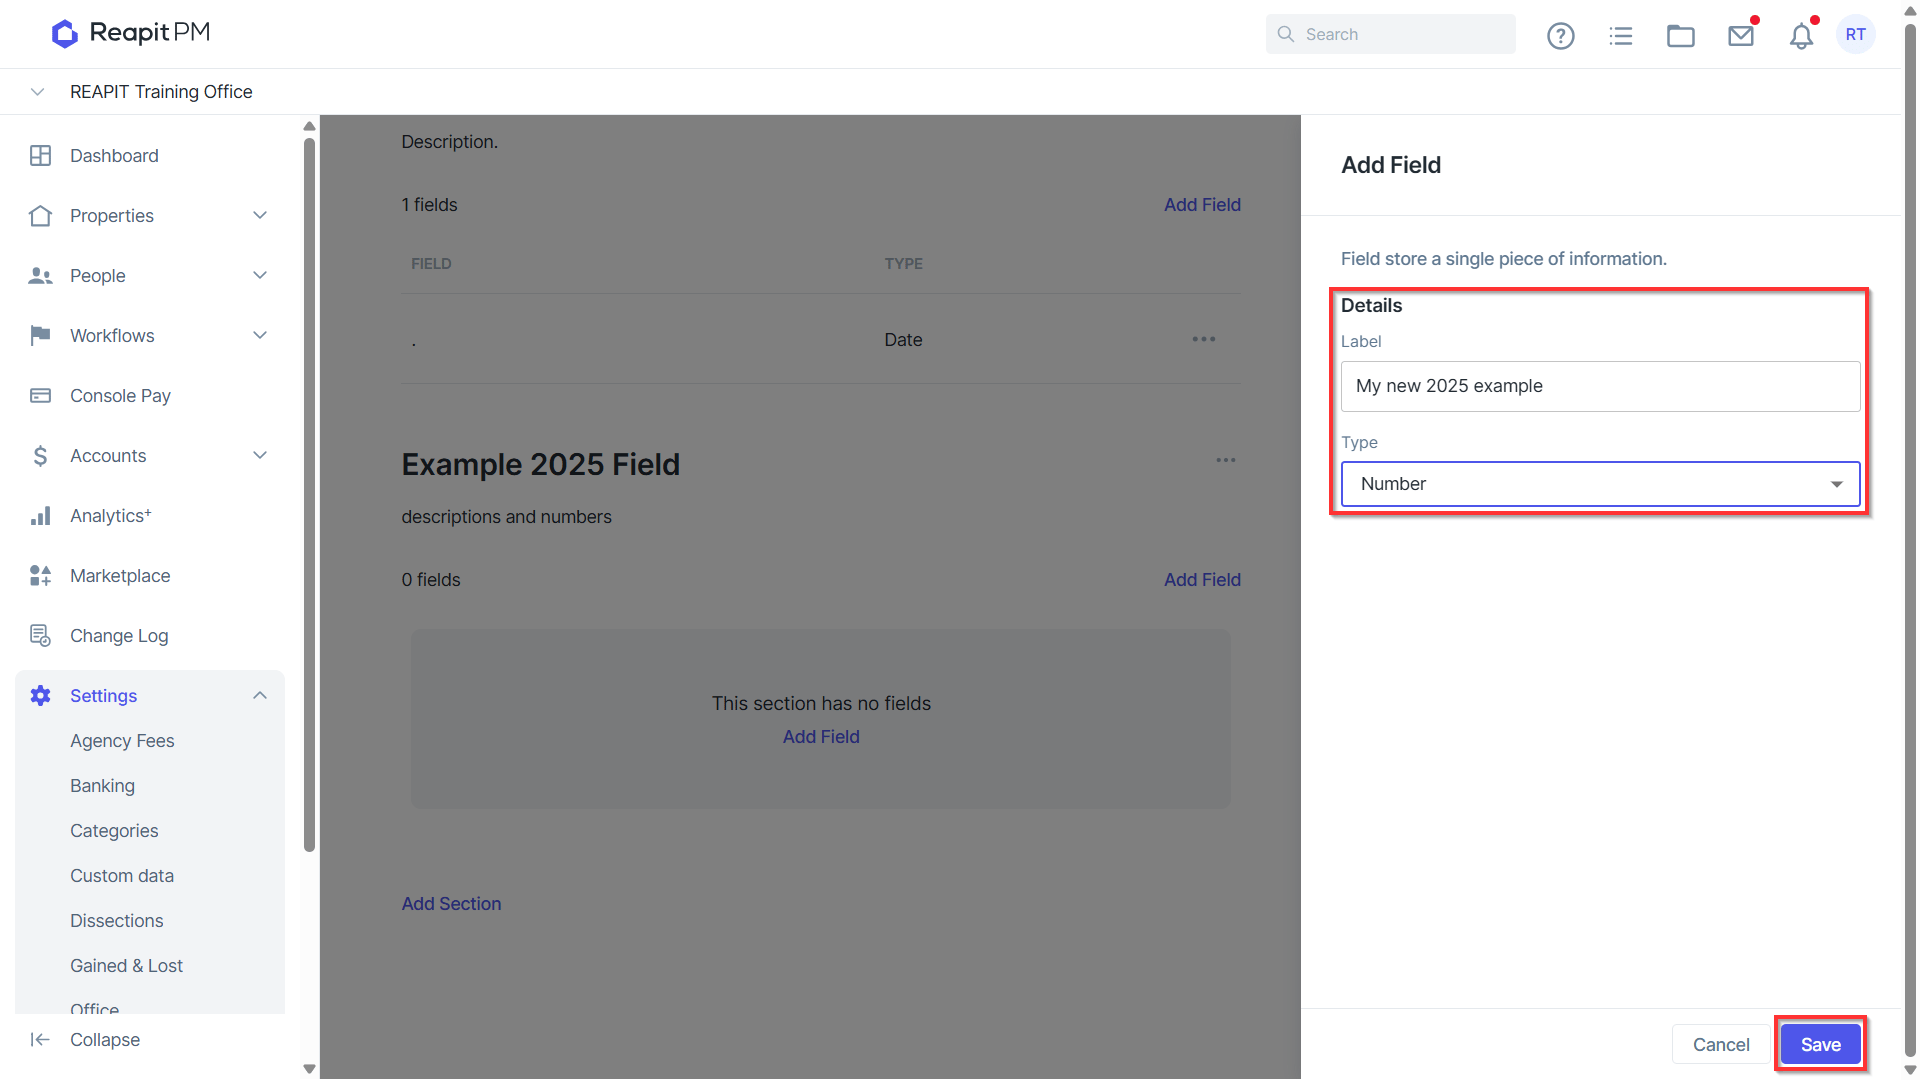
- To add fields to the Section select Add Field.
Add a label to name the field, and then choose the field type, select Save.
Fields allow many Types of data to be stored - available fields to choose from are:
- Short Text
- Long Text
- Currency
- Number
- Date
- Yes/No Question
- Selection
Once a field is entered against a Section, repeat the above steps for as many sections and fields are required against each entity.
Permission to View and Enter Custom Data
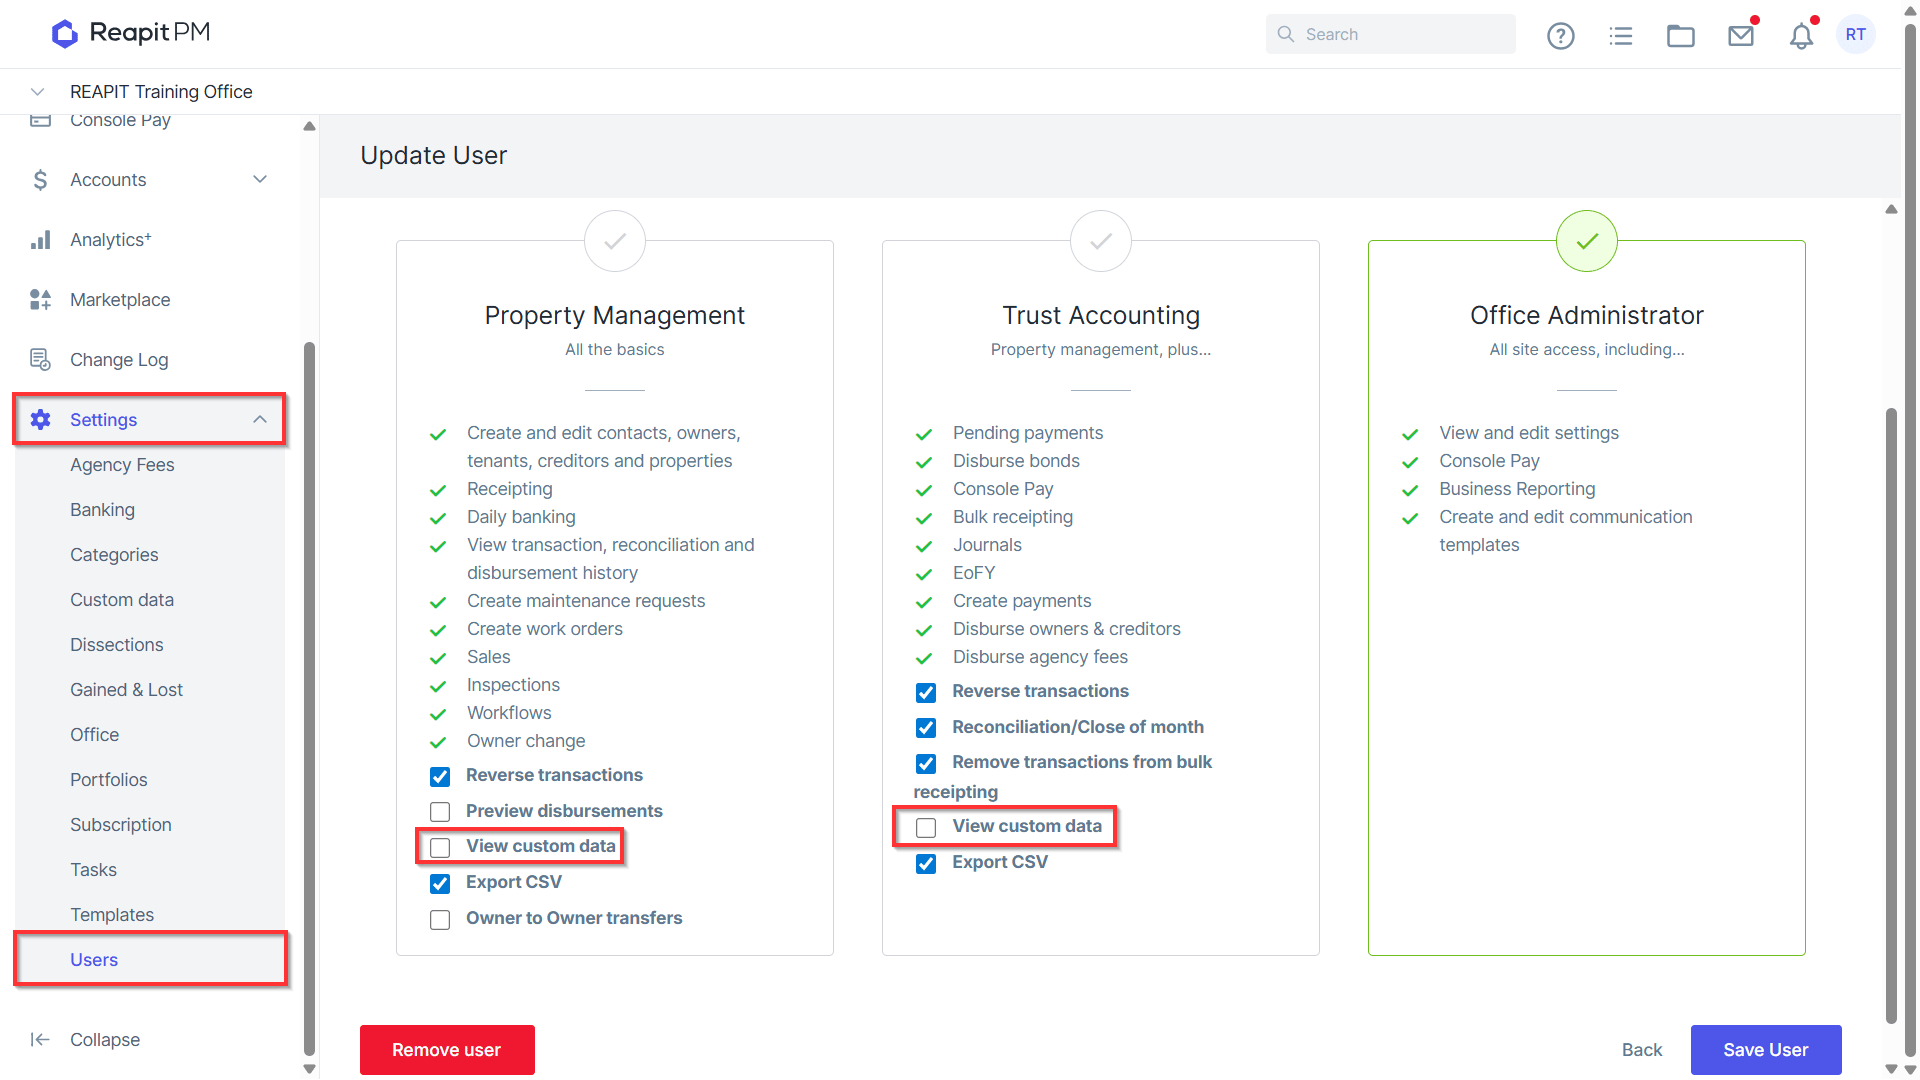
Default permissions for Property Management and Trust Accounting users does not allow the ability to view and enter custom data.
This is because some custom data that clients store is sensitive and you may only want certain staff to view it.
- User with Office Administrator permission can go to Settings > User > Edit to turn on / off this permission to view and edit.
View and Enter Custom Data Against Entities
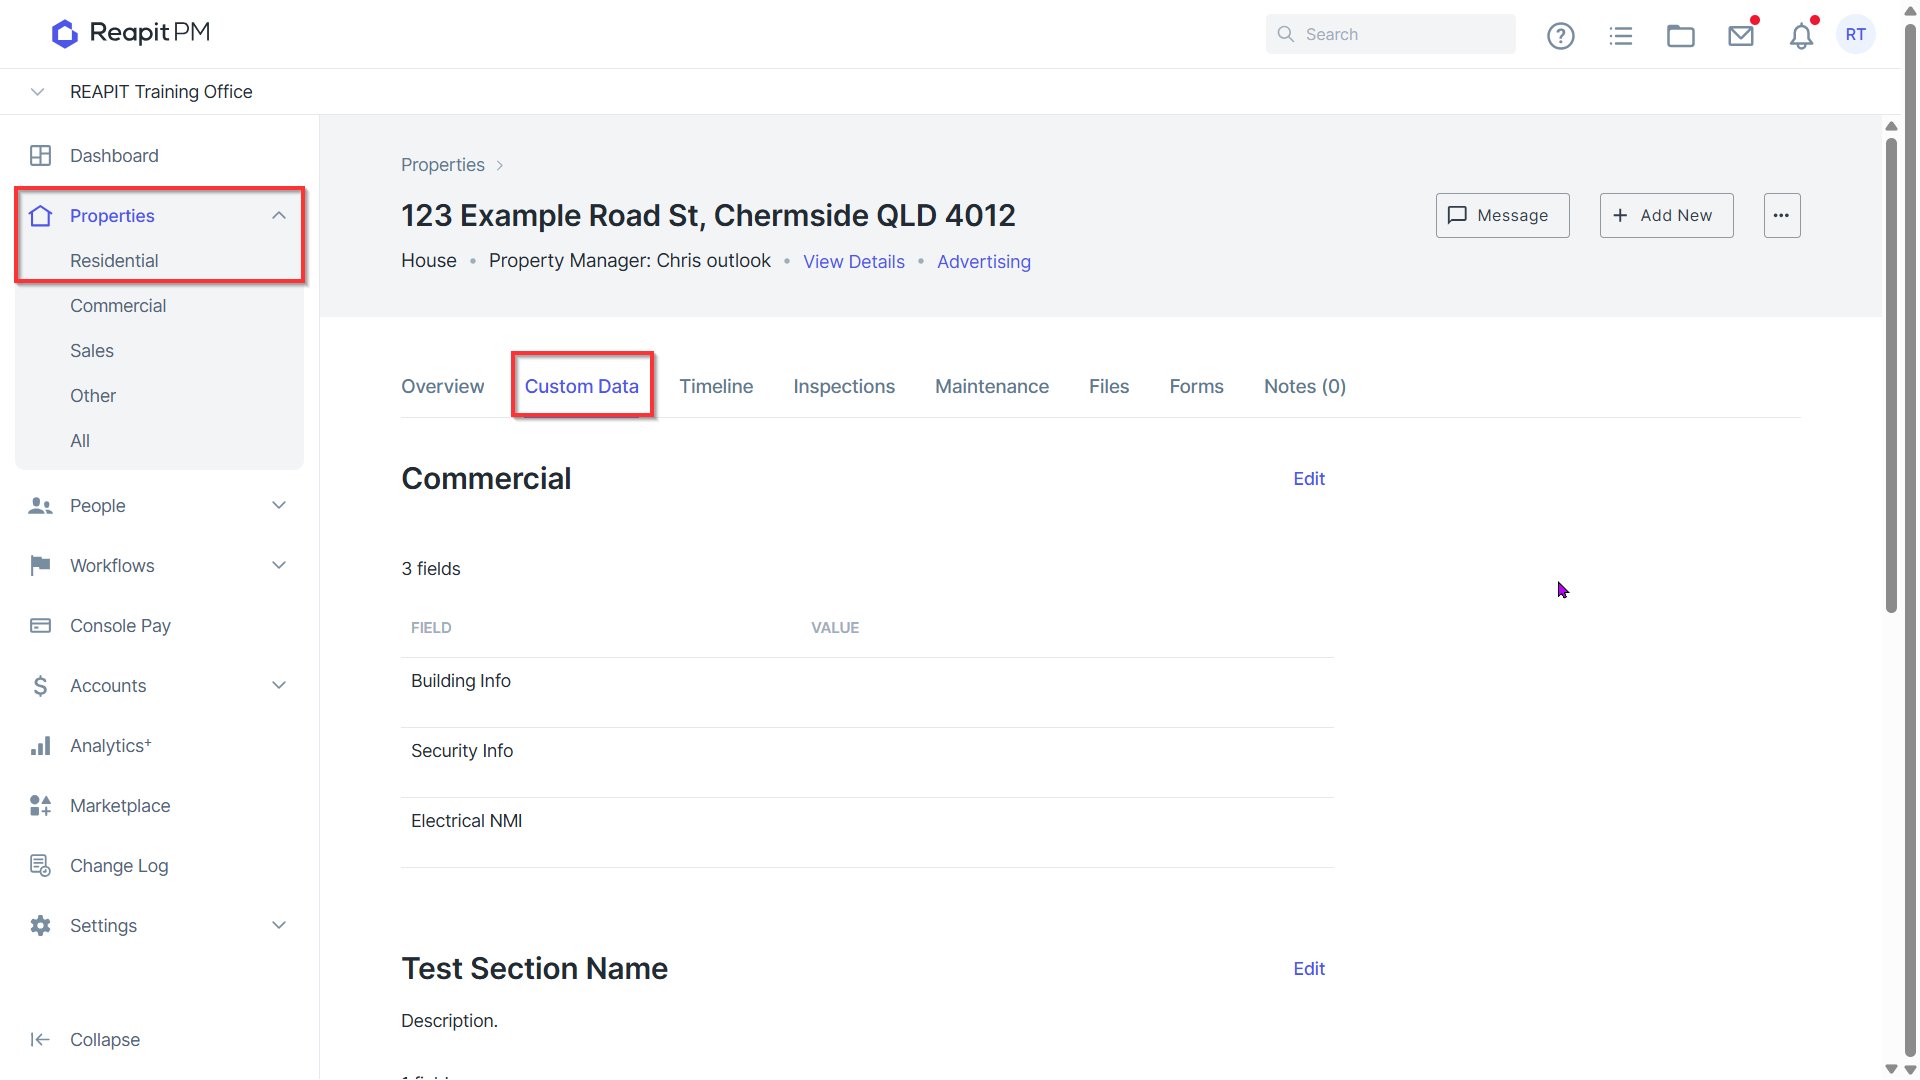
All sections and fields created in Custom data will appear in the correct entity tabs - Contacts, Property, Sales, Owner, Tenants and Creditors.
- Open the relevant entity e.g. Contact, and select the Custom Data tab.
- Select Edit to open the fields, you can then enter all information in this drawer.
In the case of fields that have Options - Leaving an option blank will then assume this is ‘Nul’ for information applicable to specific clients
- Once all data has been entered, Save.
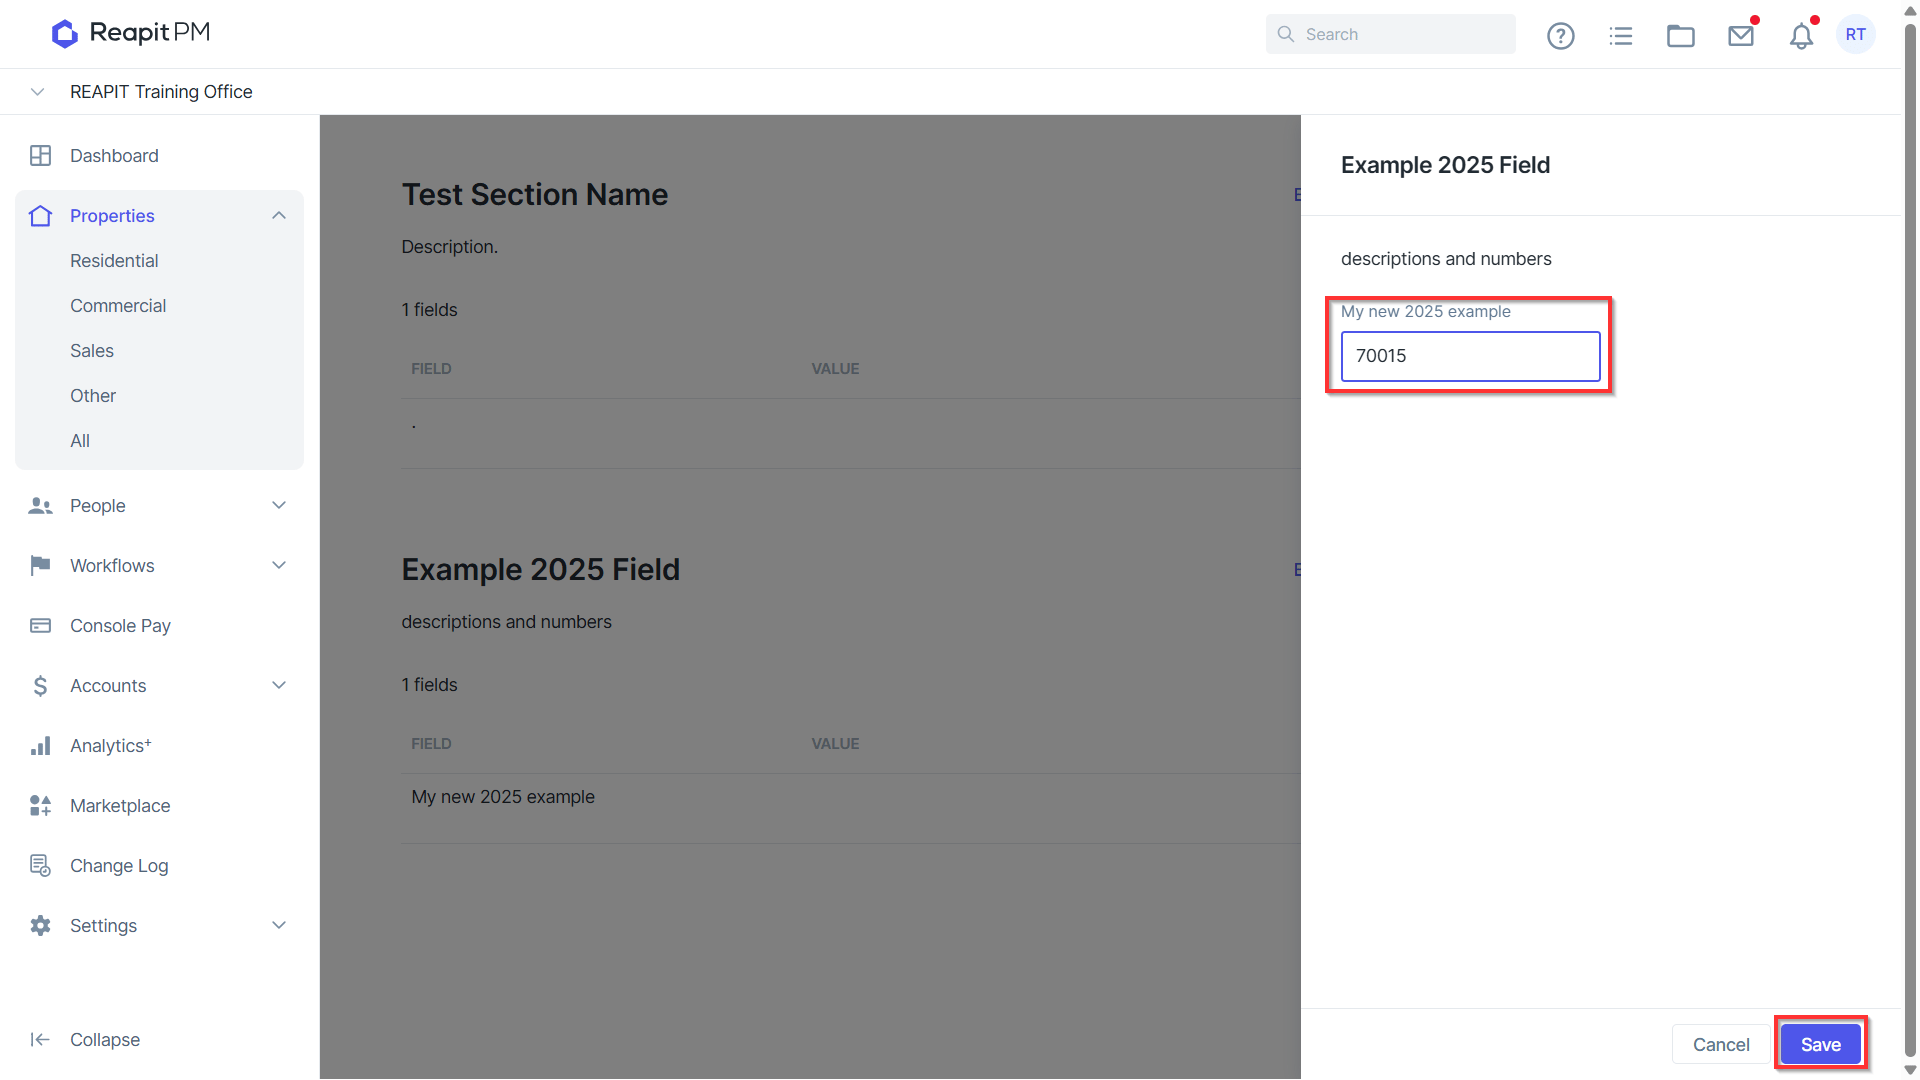
Note: Custom data will be visible against each file and can be edited from this same page.
Exporting Custom Data
Contact List
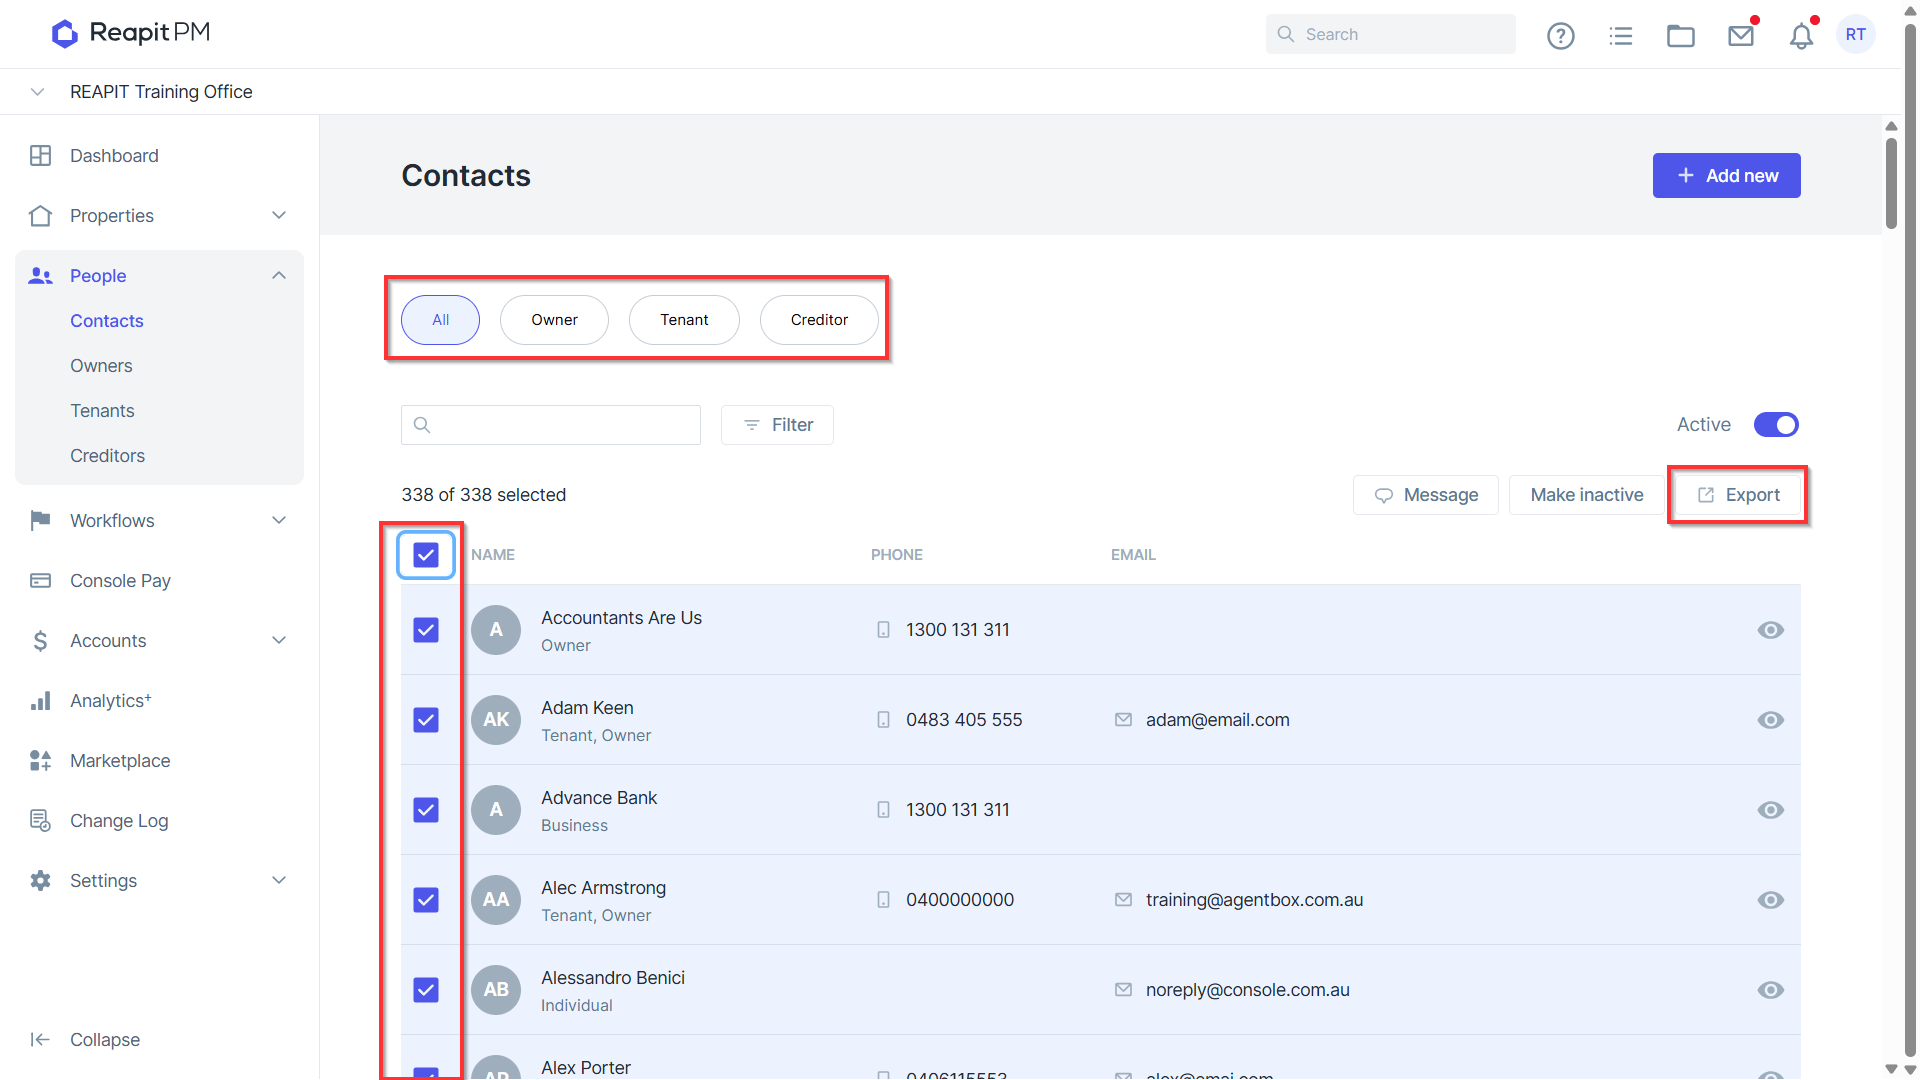
- From the contact list select one or more contacts you wish to export and select Export.
From the Contacts list, you can filter by All, Owners, Tenant and Creditor before exporting to csv.
Property List
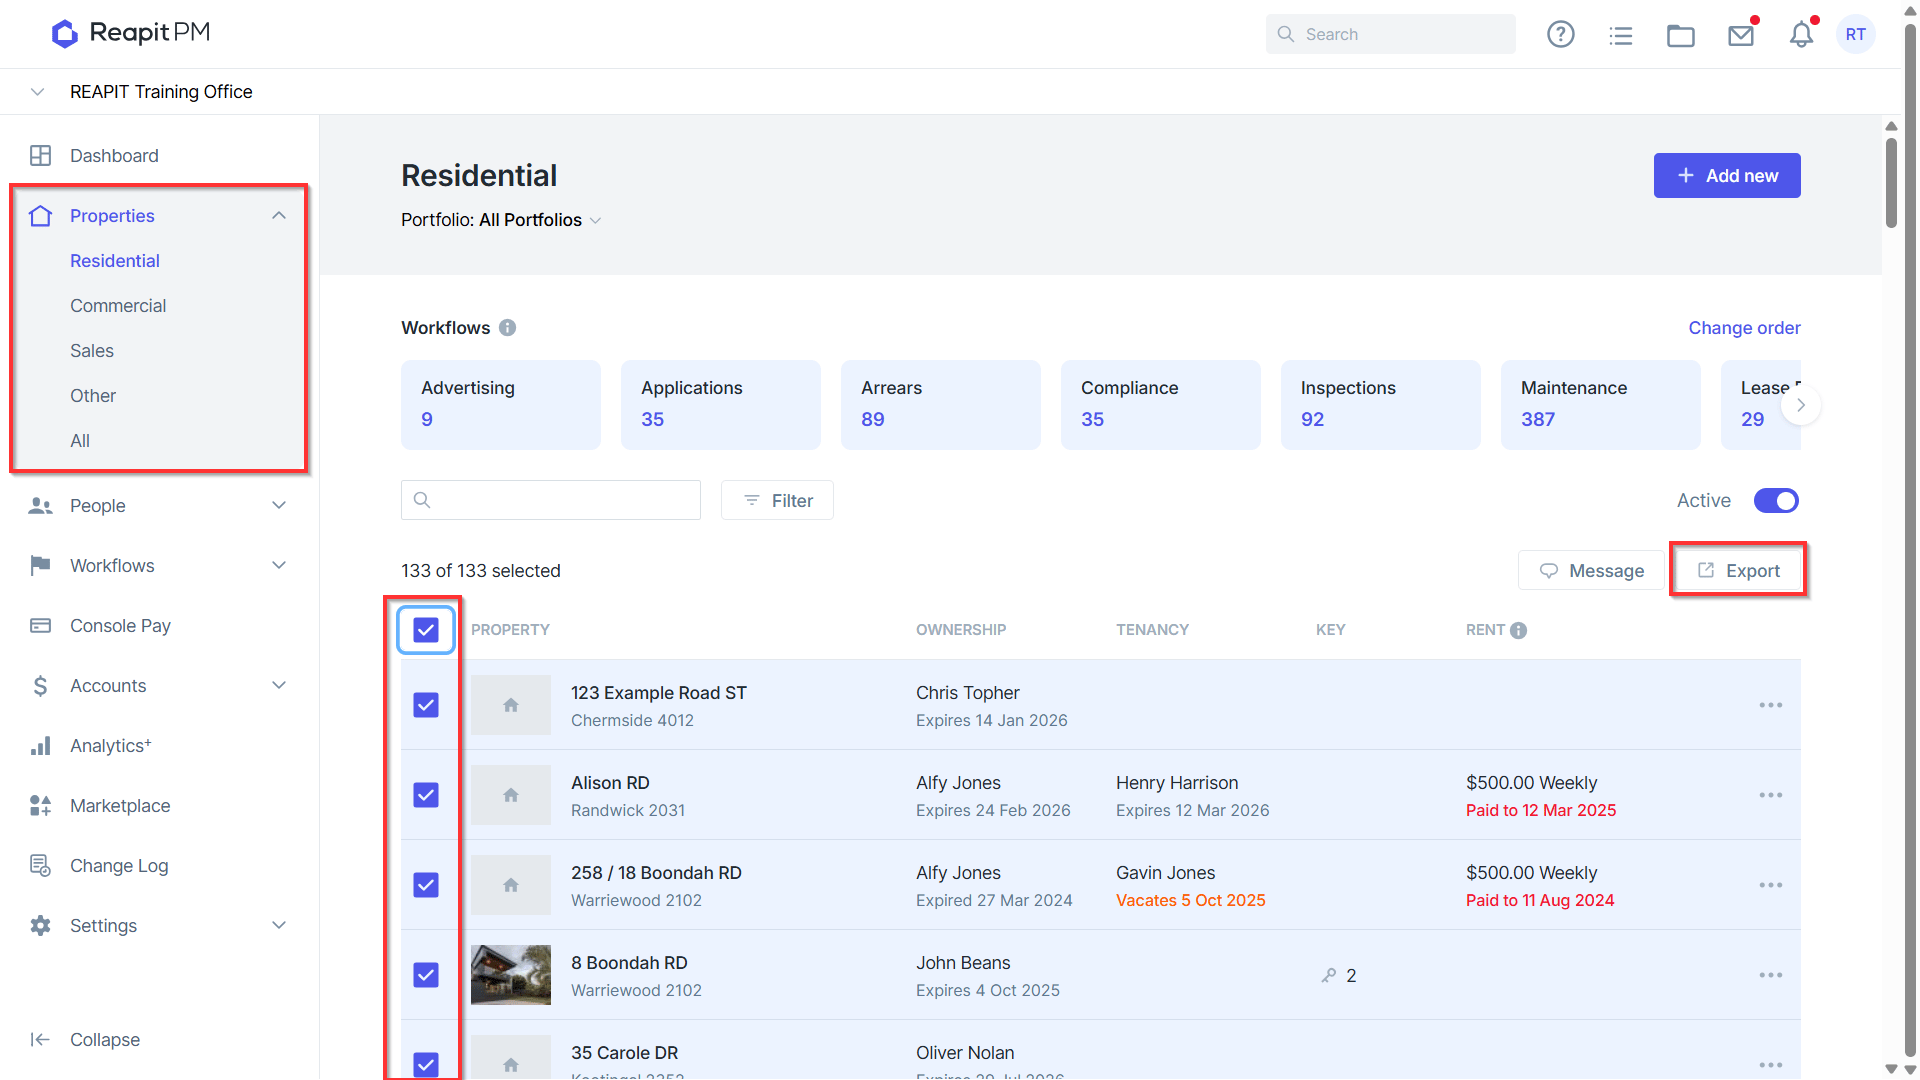
- From the Residential, Commercial or Other property list, select multiple or all properties.
Once selected the Export Icon will appear for download.
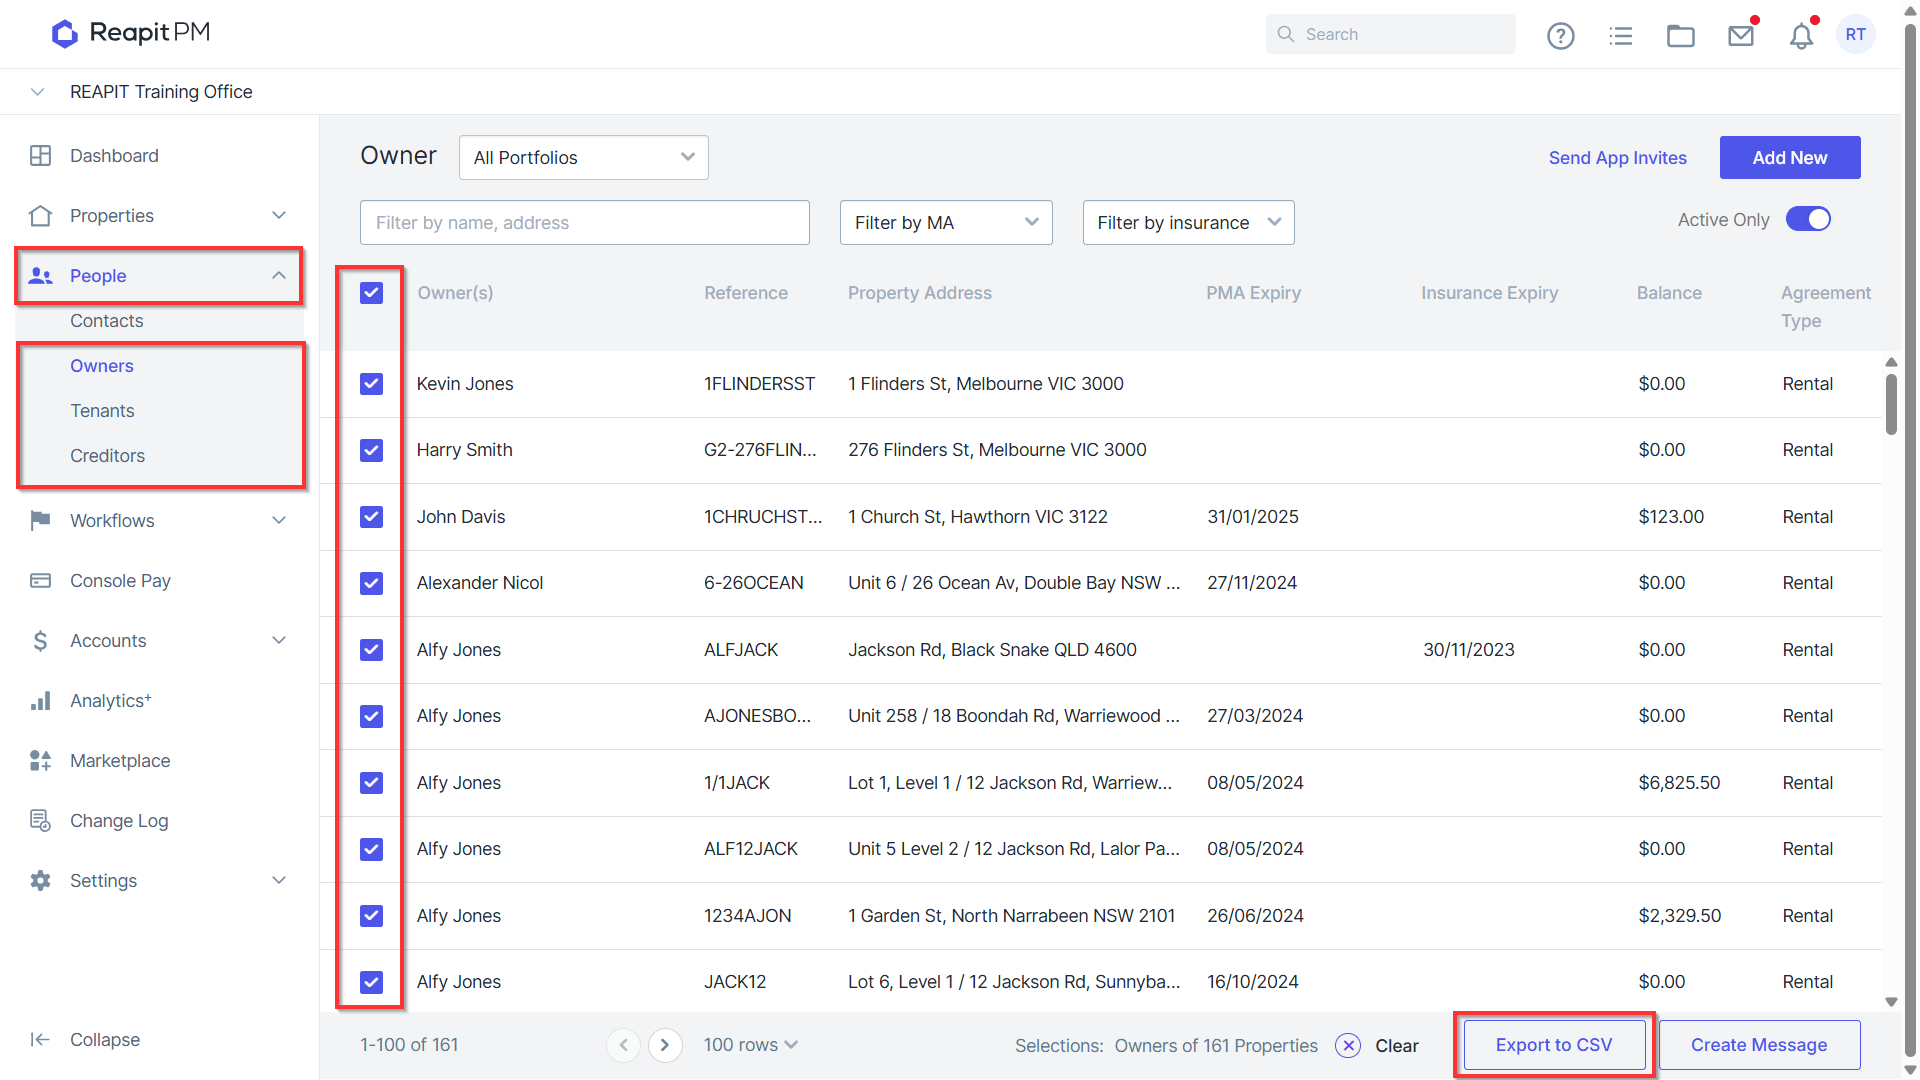
Owners, Tenant and Creditor List
- Tick one or more and select Export to CSV.