This article will guide you through accessing Reapit PM with Reapit Connect. The process in this article include: Signing into Reapit PM using Reapit Connect Inviting a New User to Access Reapit PM with Reapit Connect Managing MFA (Multi Factor Authentication) in Reapit PM with Reapit Connect
Overview
Reapit Connect and Reapit PM
This article will guide you through accessing Reapit PM with Reapit Connect.
Note: Some of these features are still in beta and may not appear or function the same in current offices.
For additional information regarding managing and editing user profiles, please see - Inviting and Setting up Users
The process in this article include:
- Signing into Reapit PM using Reapit Connect - Computer & Mobile Device
- Inviting a New User to Access Reapit PM with Reapit Connect
- Managing MFA (Multi Factor Authentication) in Reapit PM with Reapit Connect
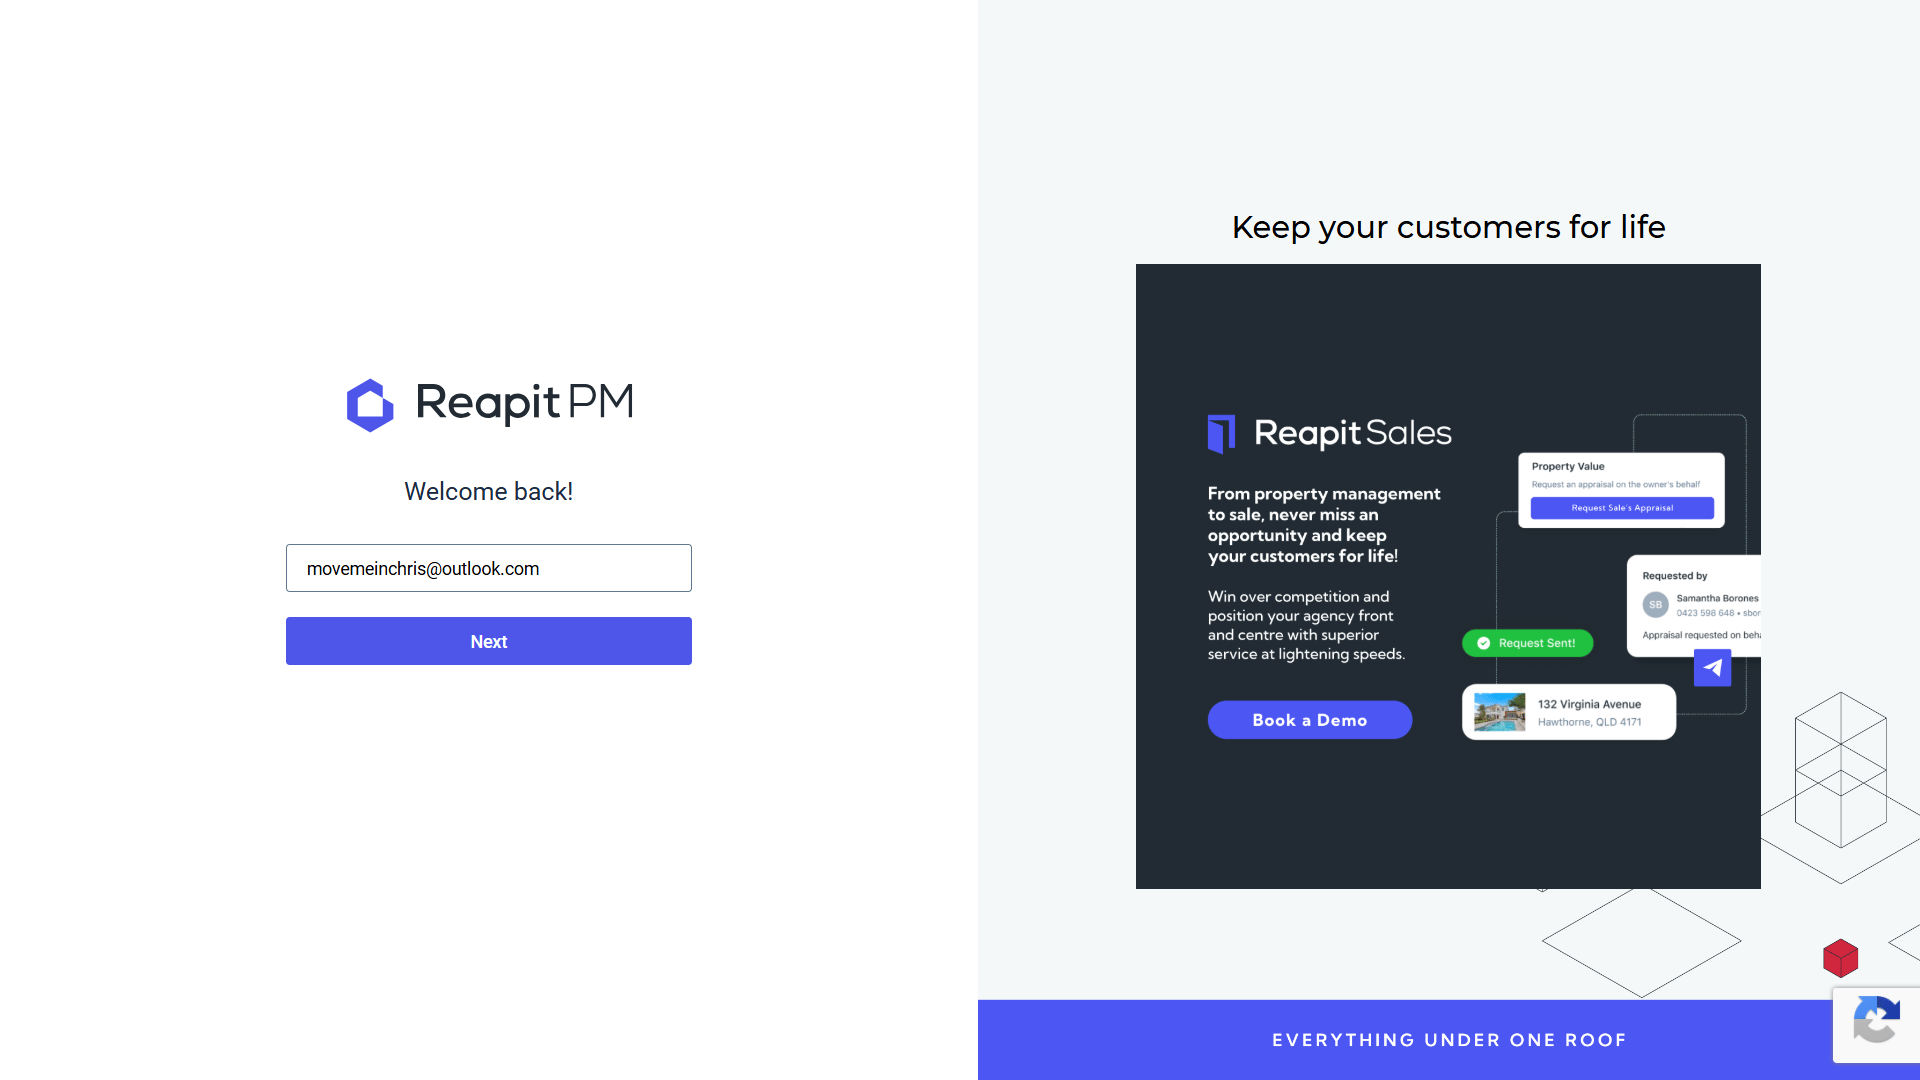
Signing into Reapit PM using Reapit Connect- Computer & Mobile Device Note: The process below applies to both signing in via a computer (Step 5) and mobile device (Step 6). 1. From the Reapit PM login page, enter your username in the email address field.
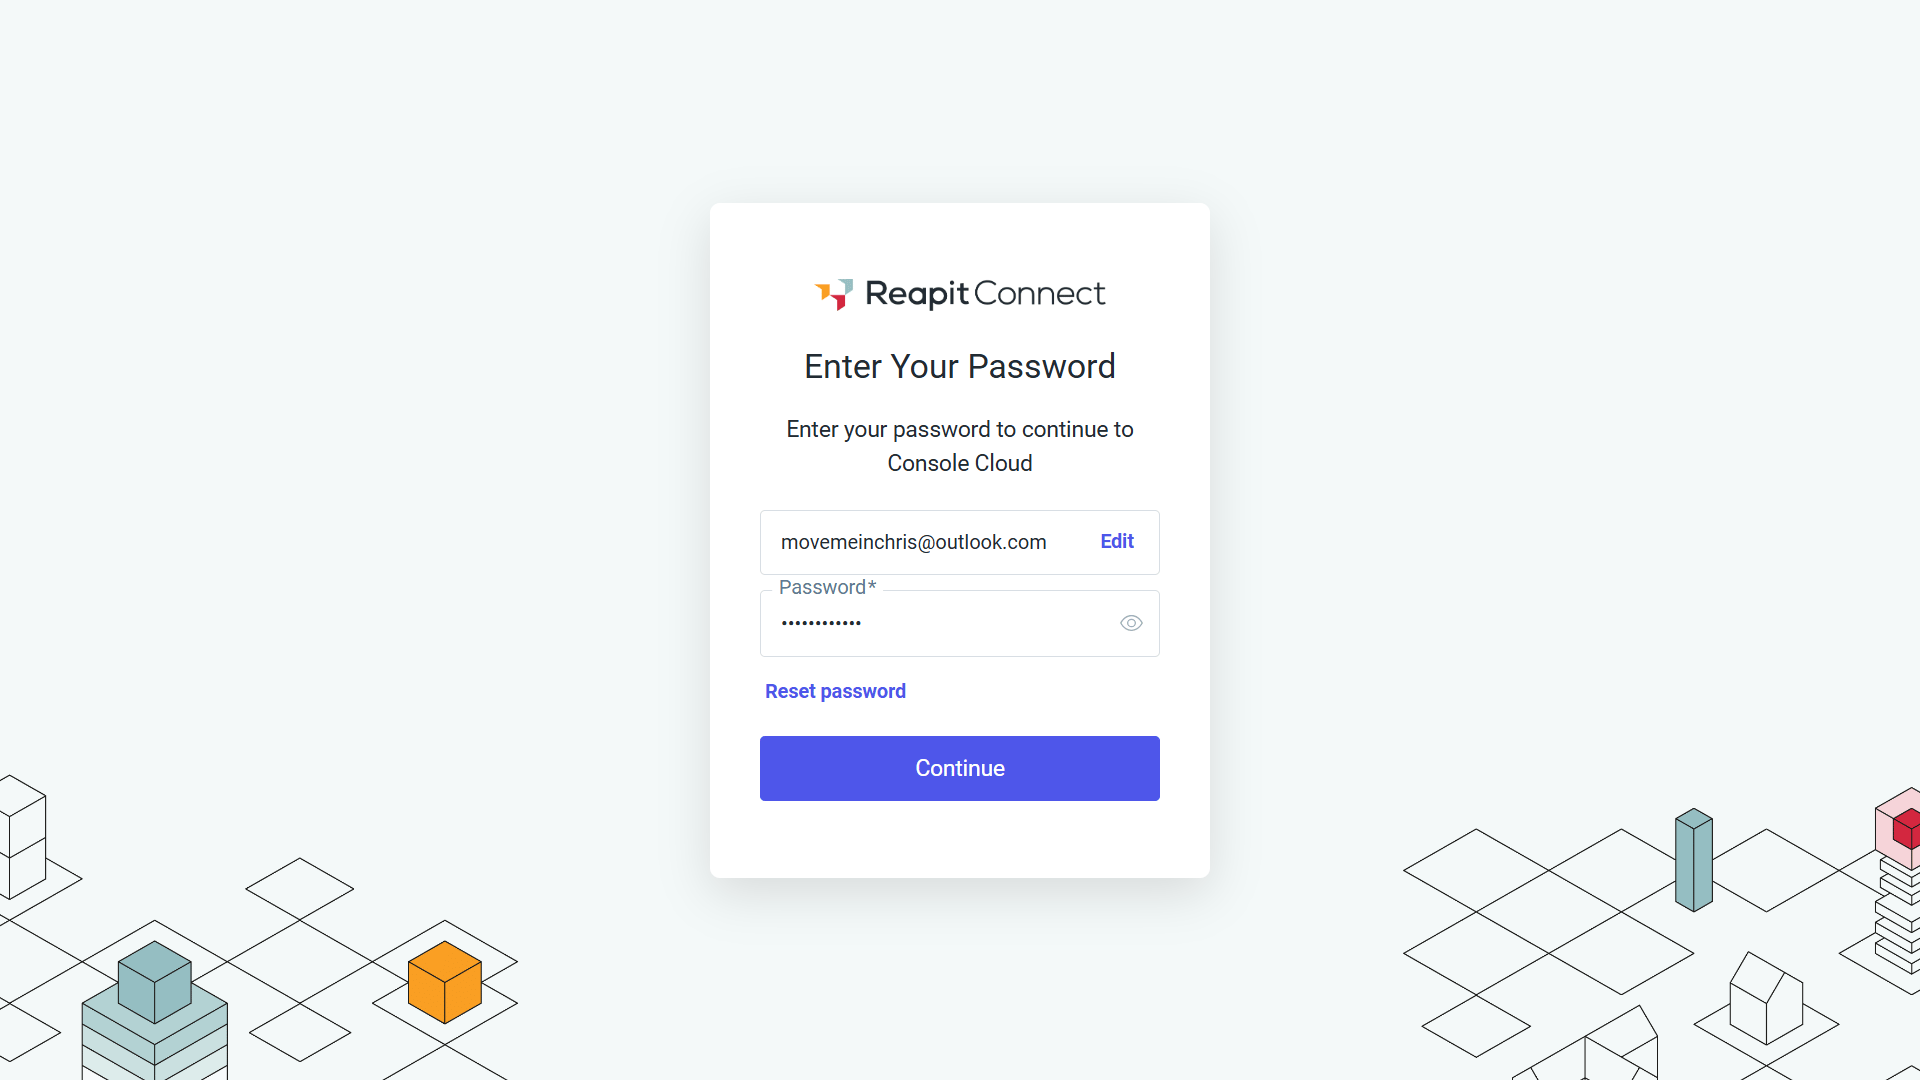
 2. Enter your password and click Continue.
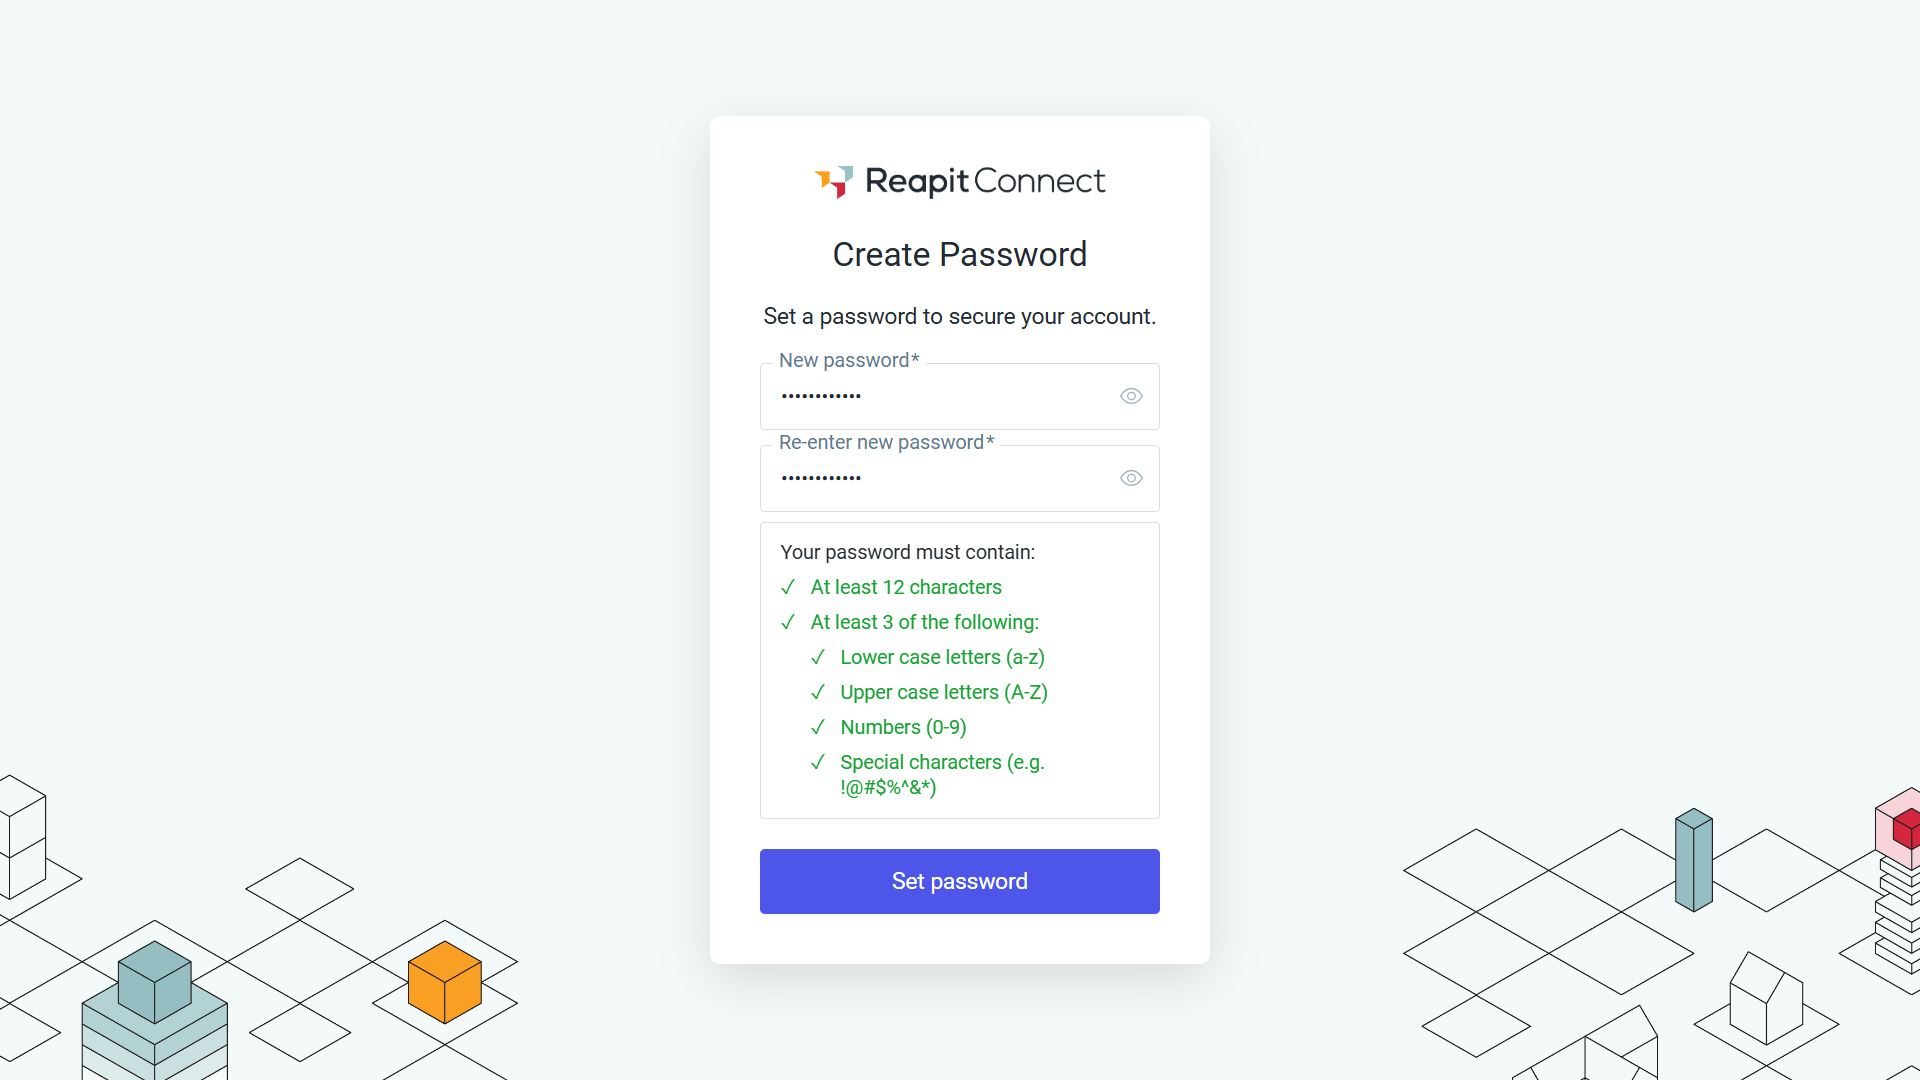
  3. You will now be prompted to create a new password. Your password must meet the requirements; otherwise, you will not be able to proceed. Click Set Password to ****complete the process.
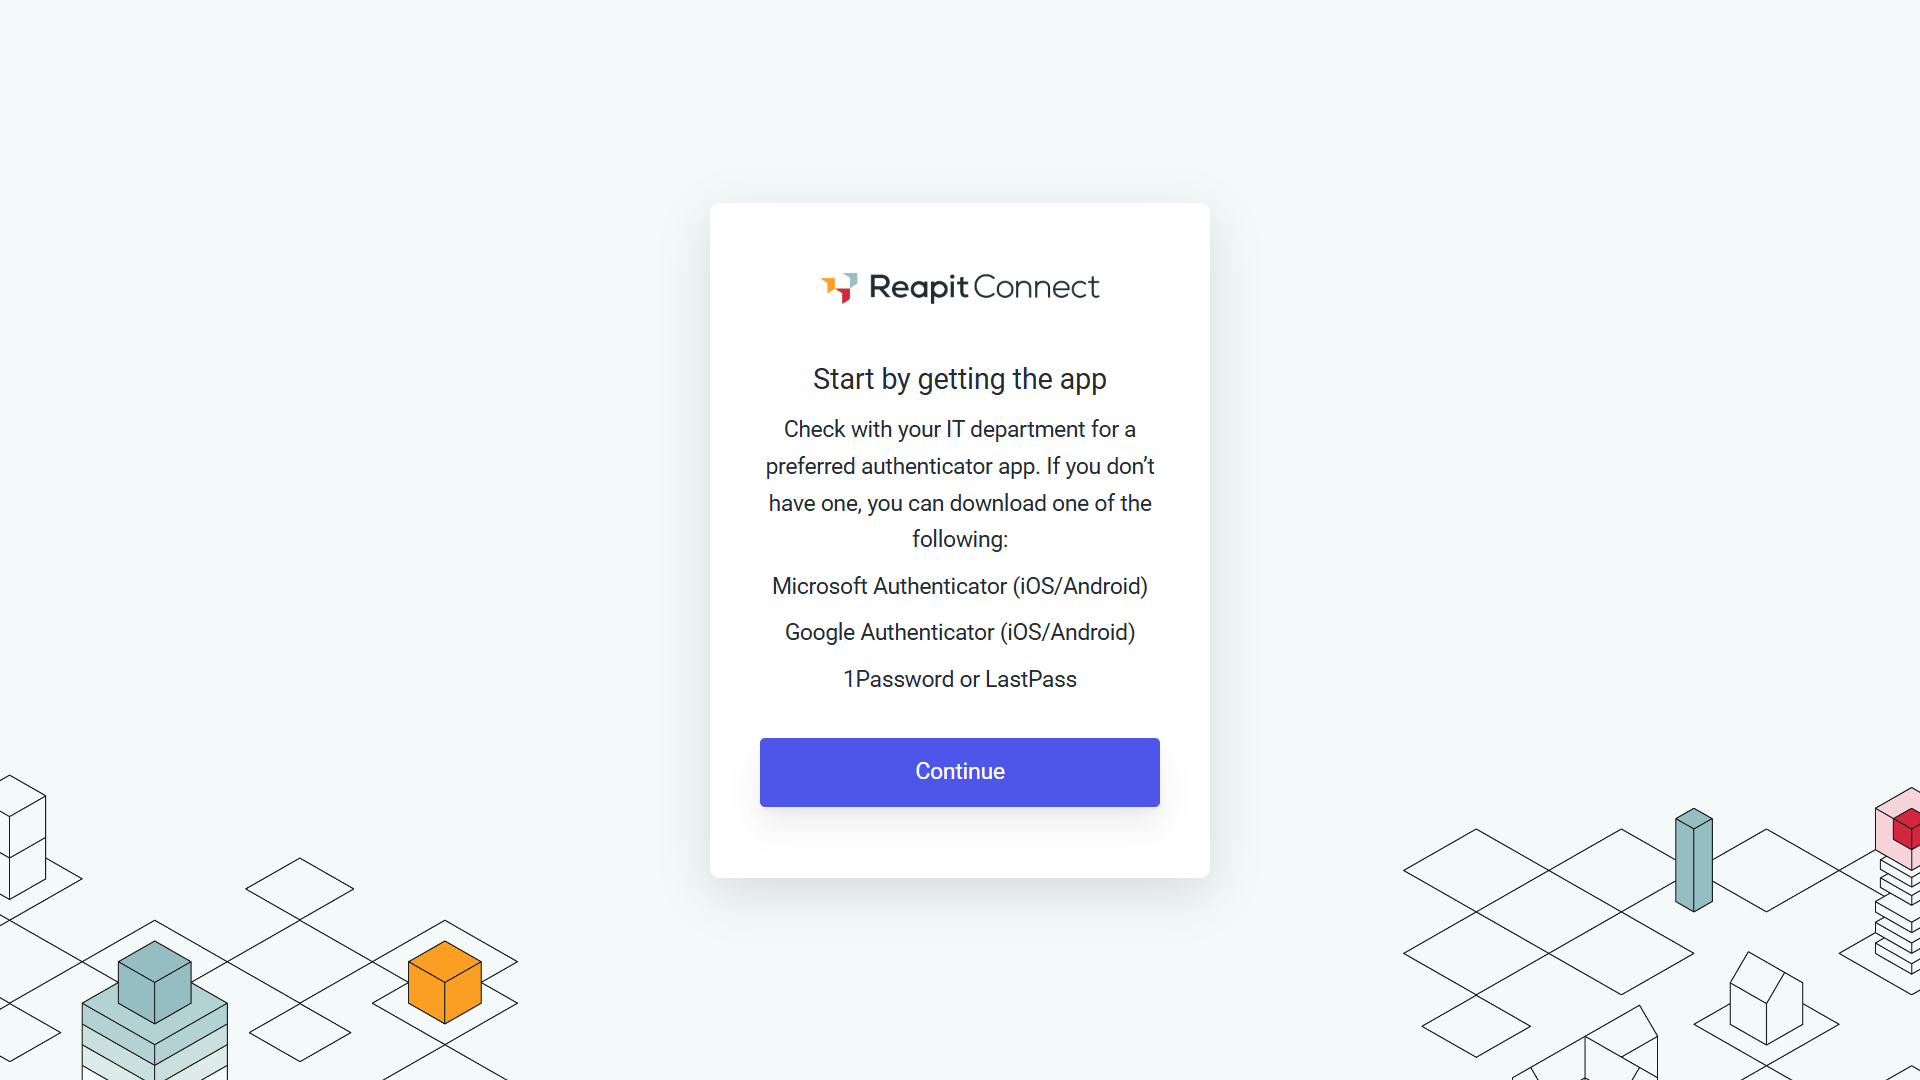
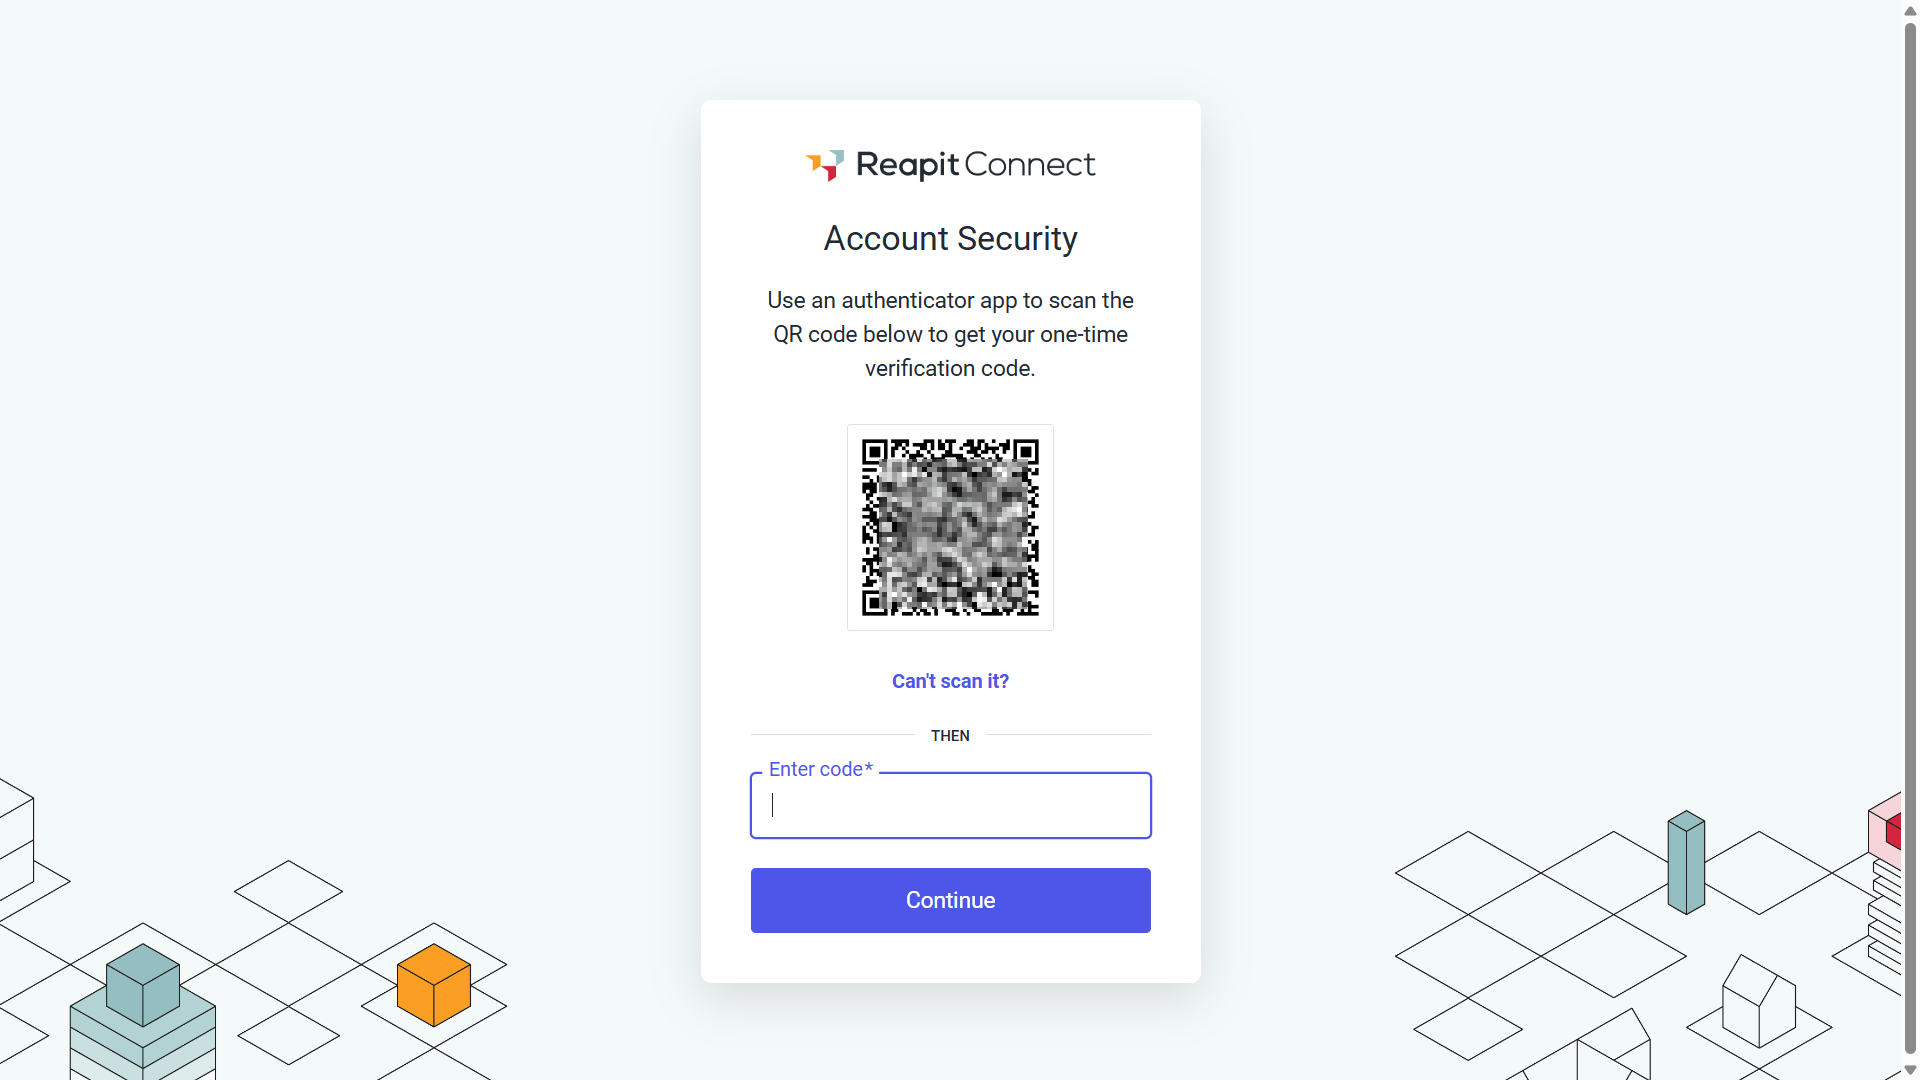
 4. Multi-Factor Authentication (MFA) will be required on your account. Check with your IT department for their preferred authenticator app or select one from the suggestion list. Download the authenticator from the app store and continue with scanning the QR Code.
  5. If on a computer, Scan the QR code with you mobile device and enter the code displayed on the authenticator app, then click Continue.
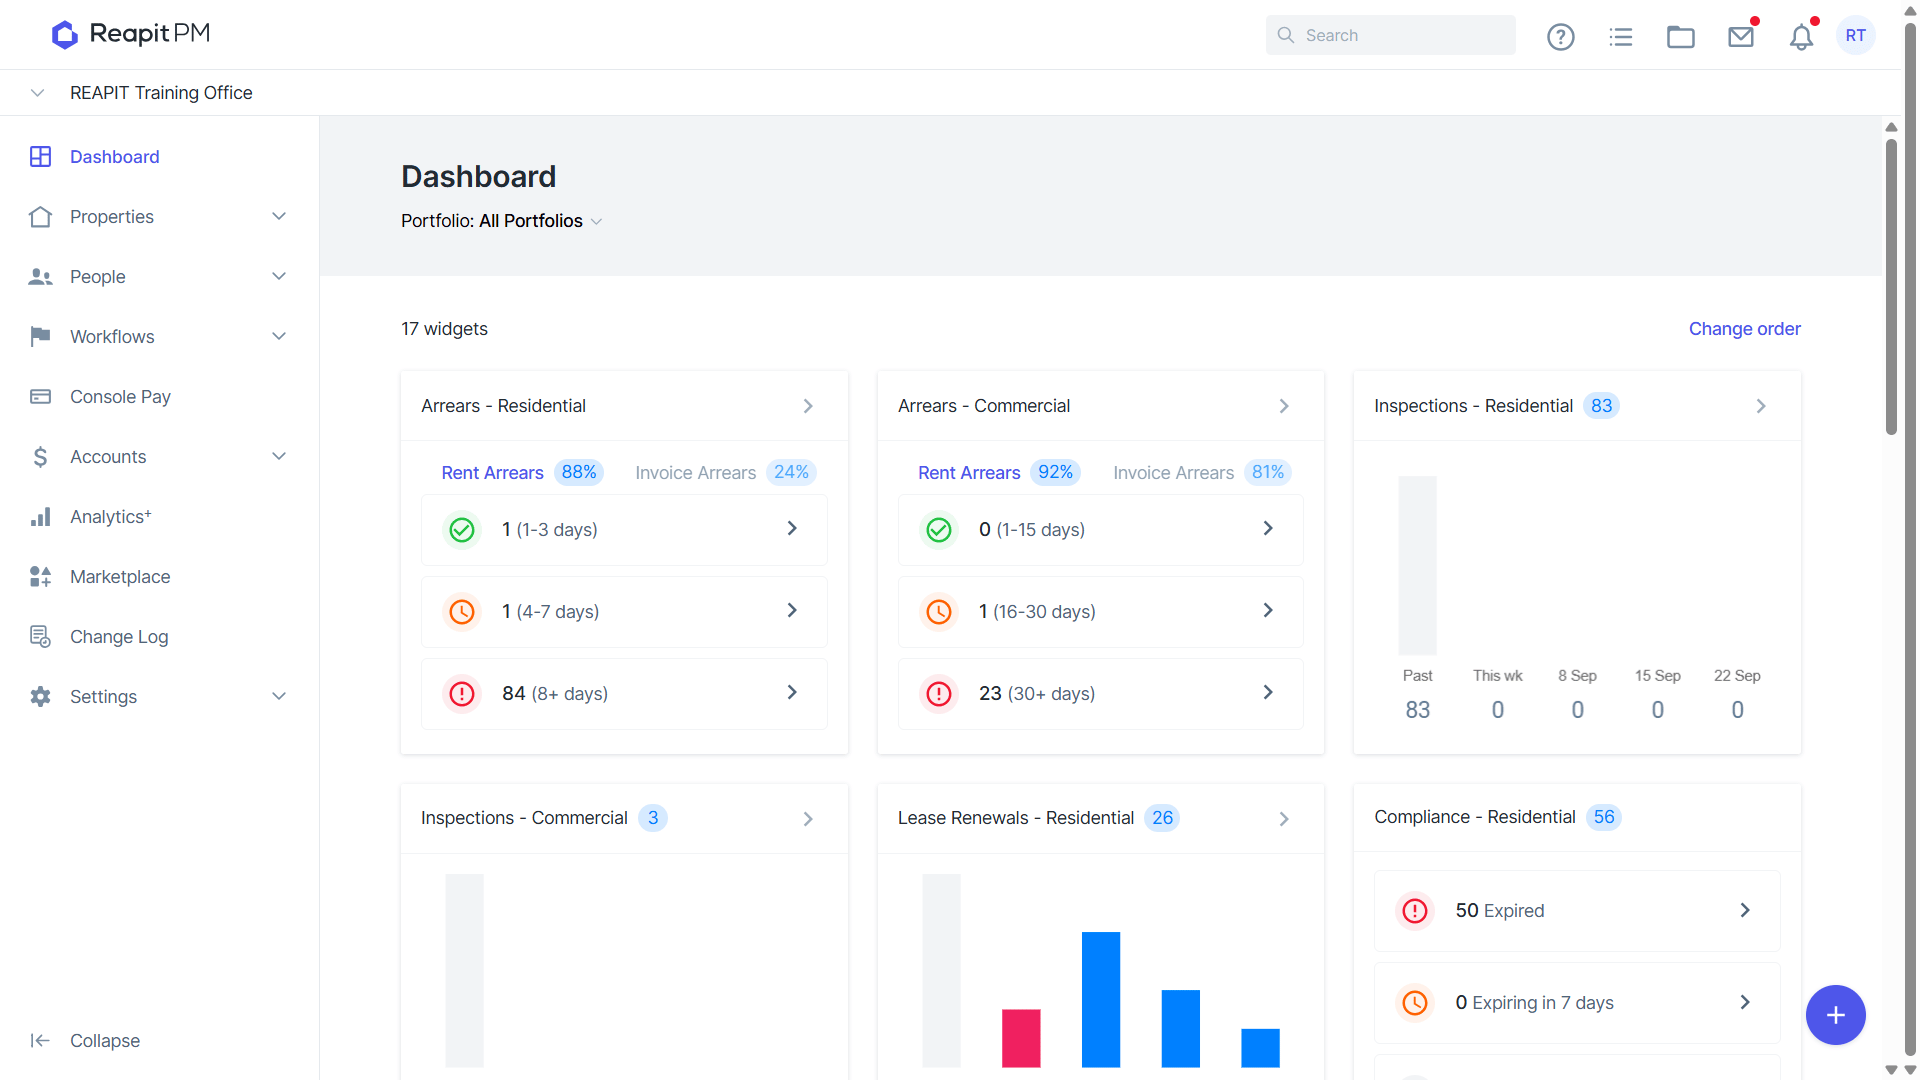
  You will now load into your Reapit PM Office.
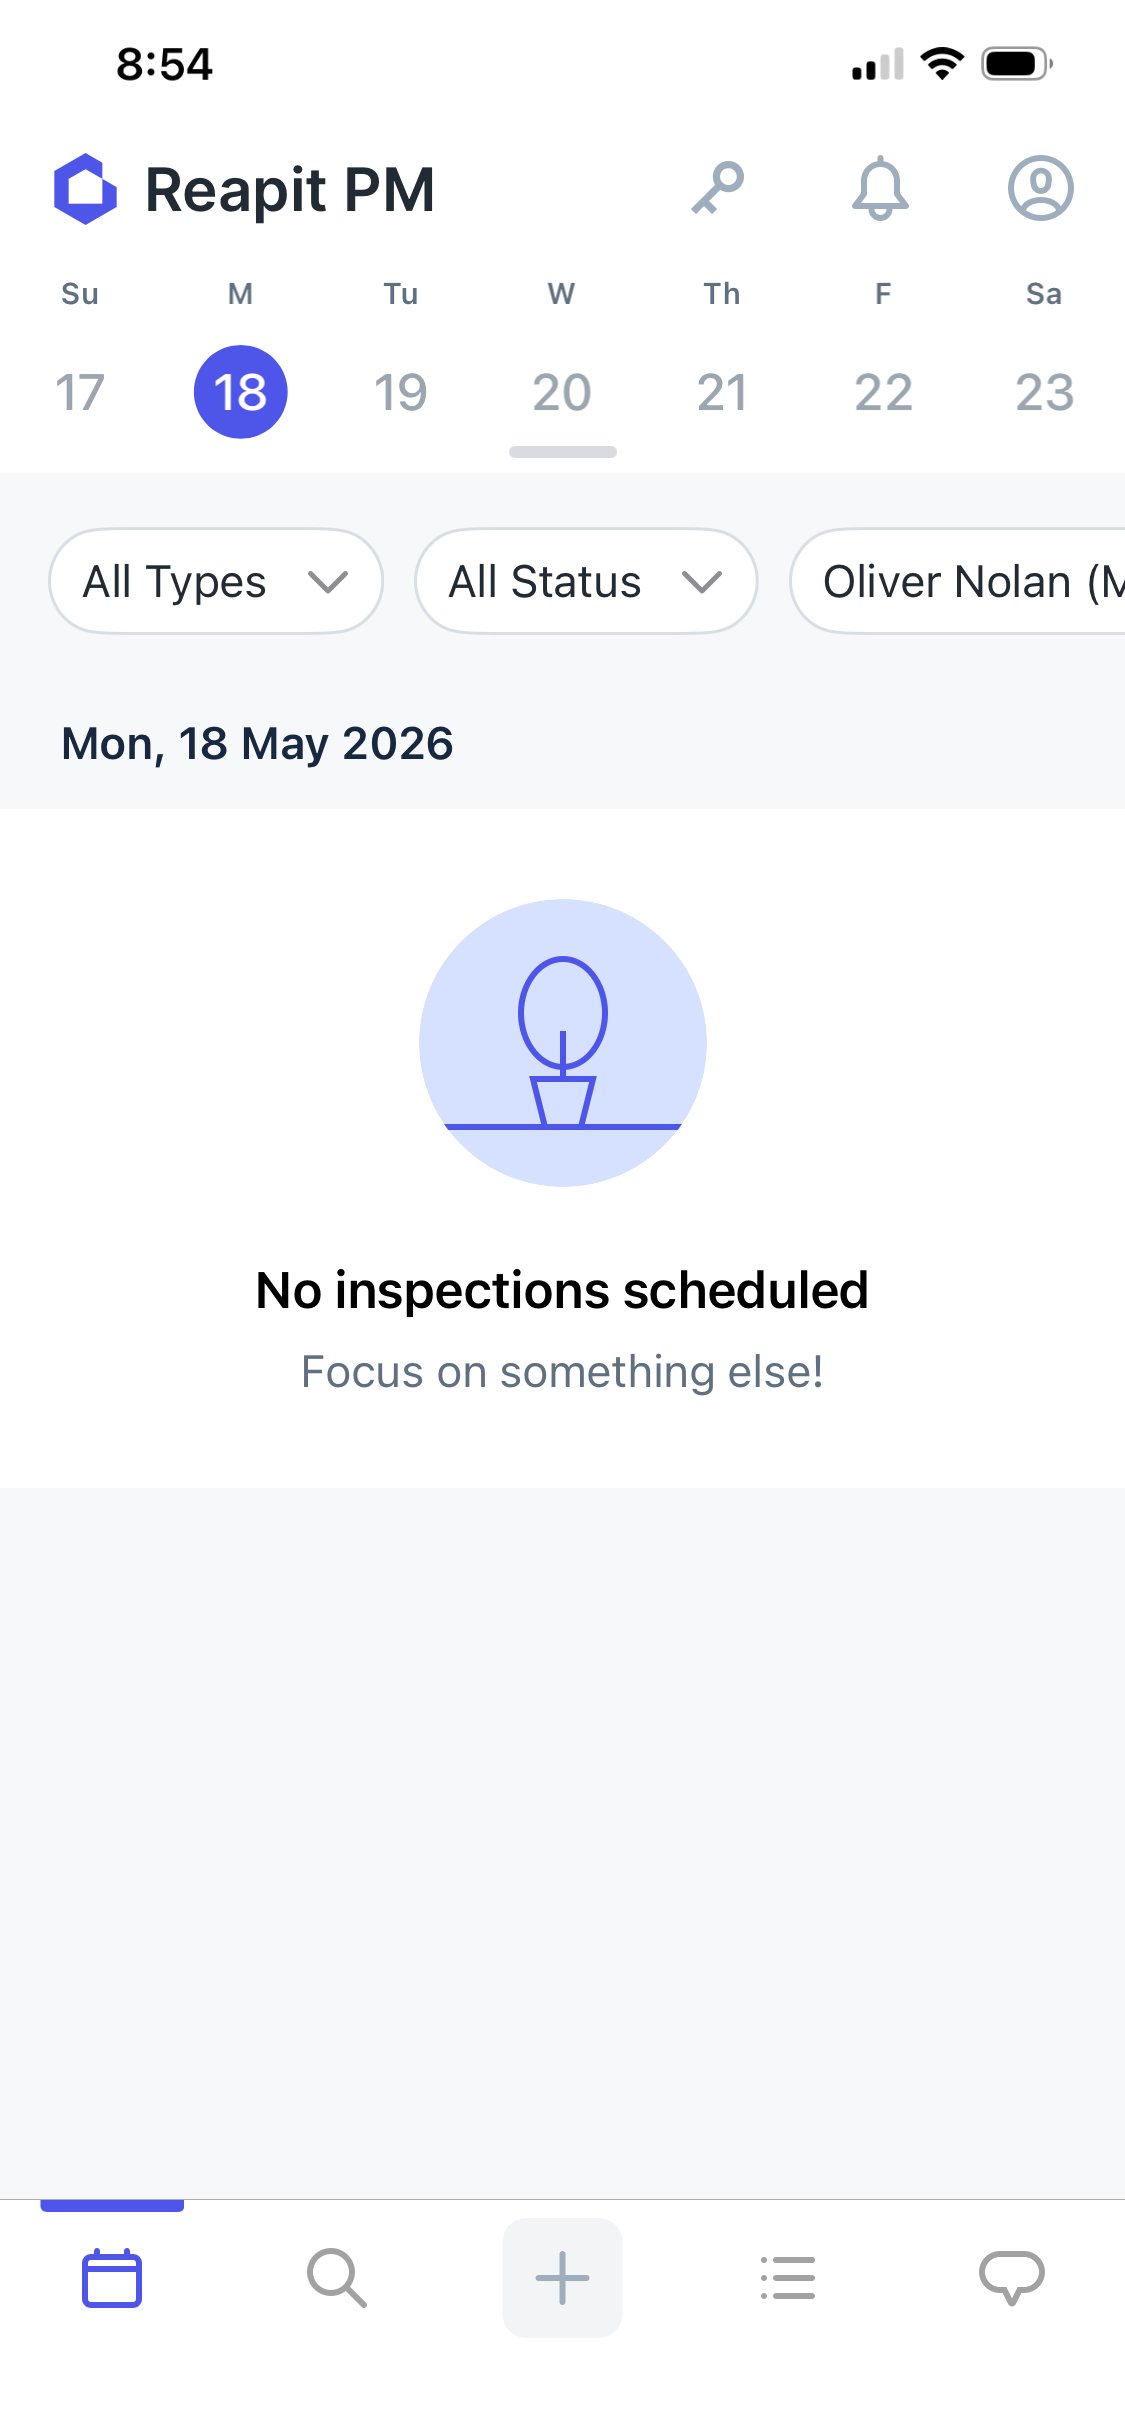
  6. If on a mobile device, tap on Copy code and paste into your Authenticator app. Your authenticator app will display a code, enter this code into the Enter code field and tap Continue. You will then be taken to the App home page.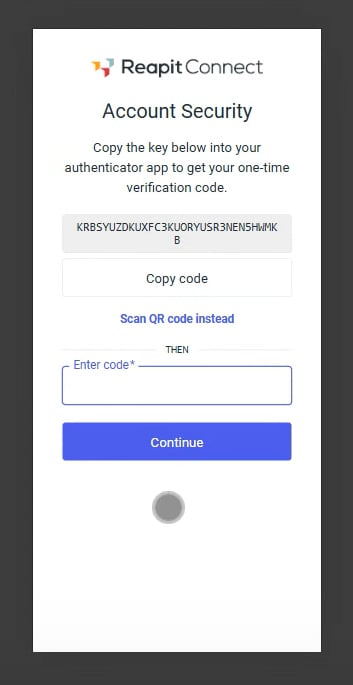
 Inviting a New User to Access Reapit PM with Reapit Connect
Once Reapit Connect has been switched on for your office when inviting a new user, navigate to Settings > Users. 2. Select Invite New User.
Enter in the users first, last, and email address and the permission level. Select Send Invite.
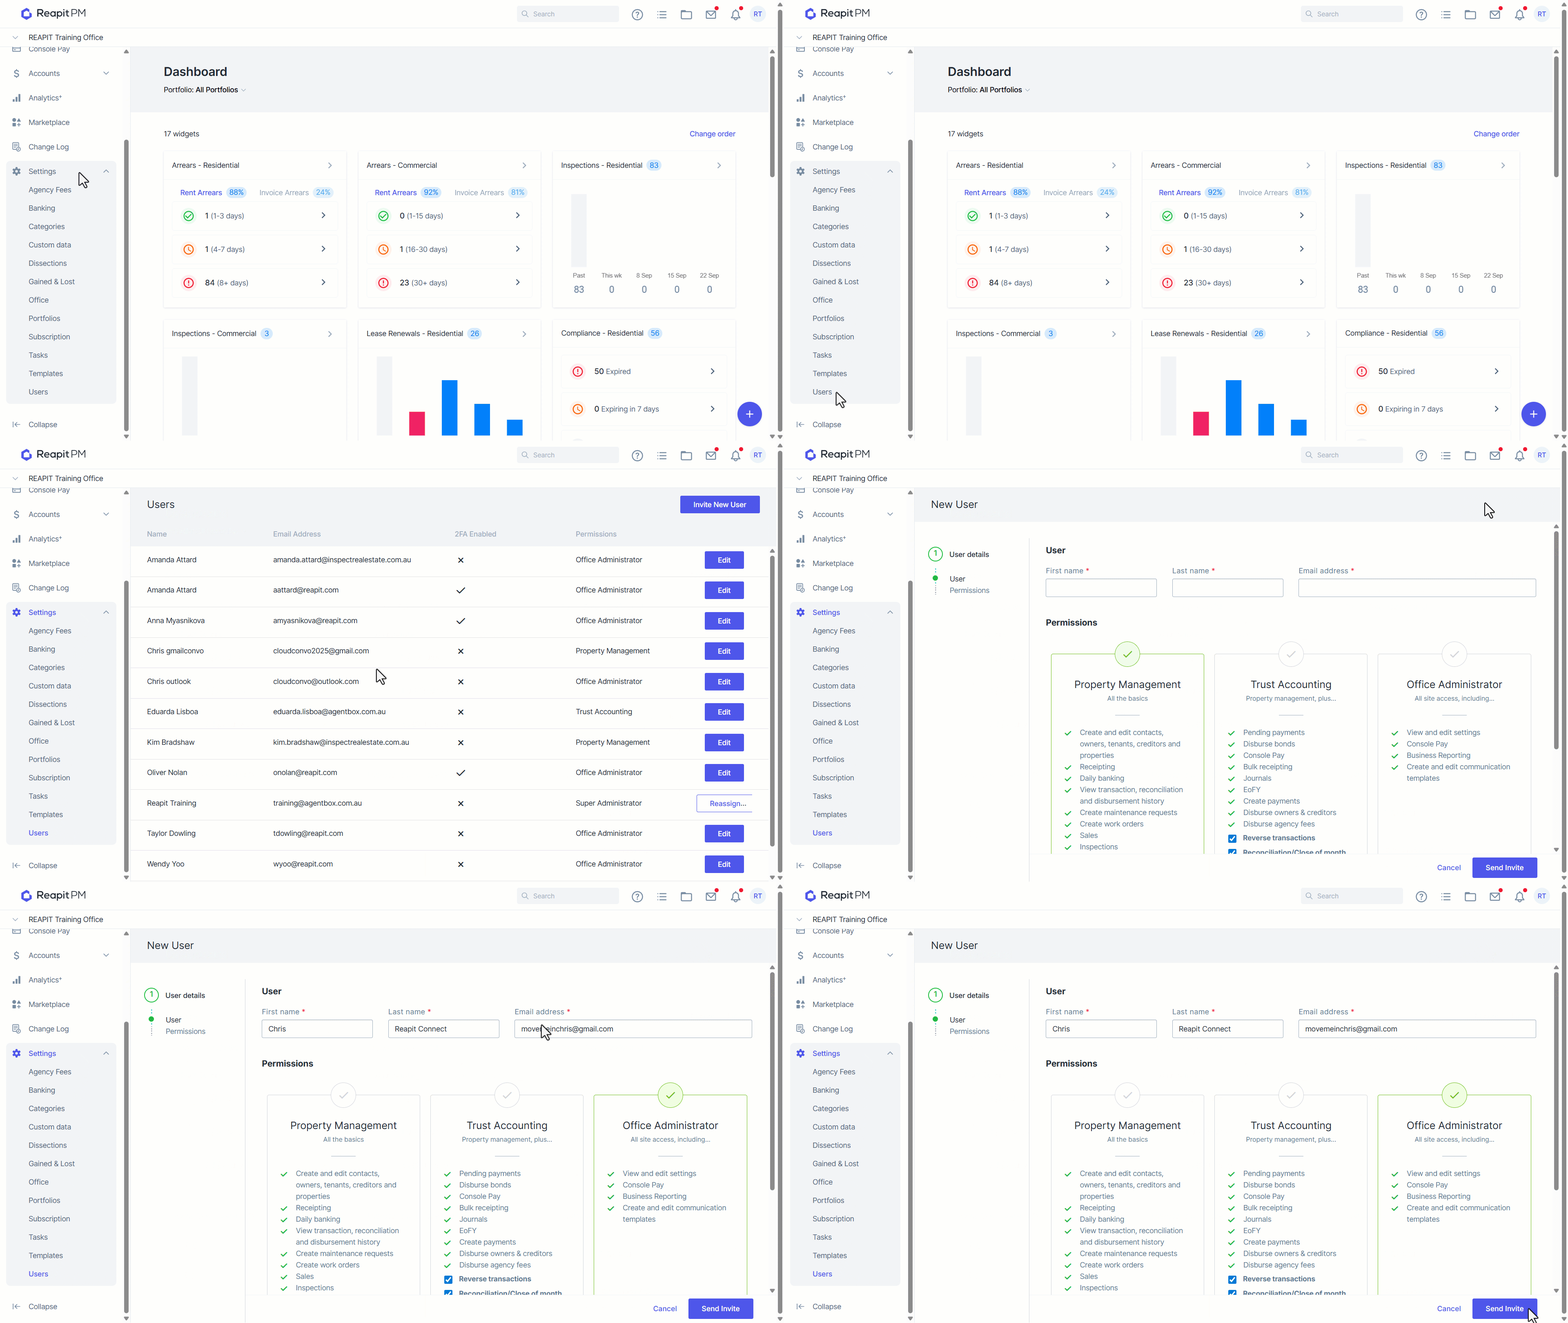
- A prompt will confirm that the Reapit Connect Office Member has been created successfully. 5. The user will now need to navigate to their email inbox and click on the Welcome to Reapit Connect email. Select Login to Reapit Connect.
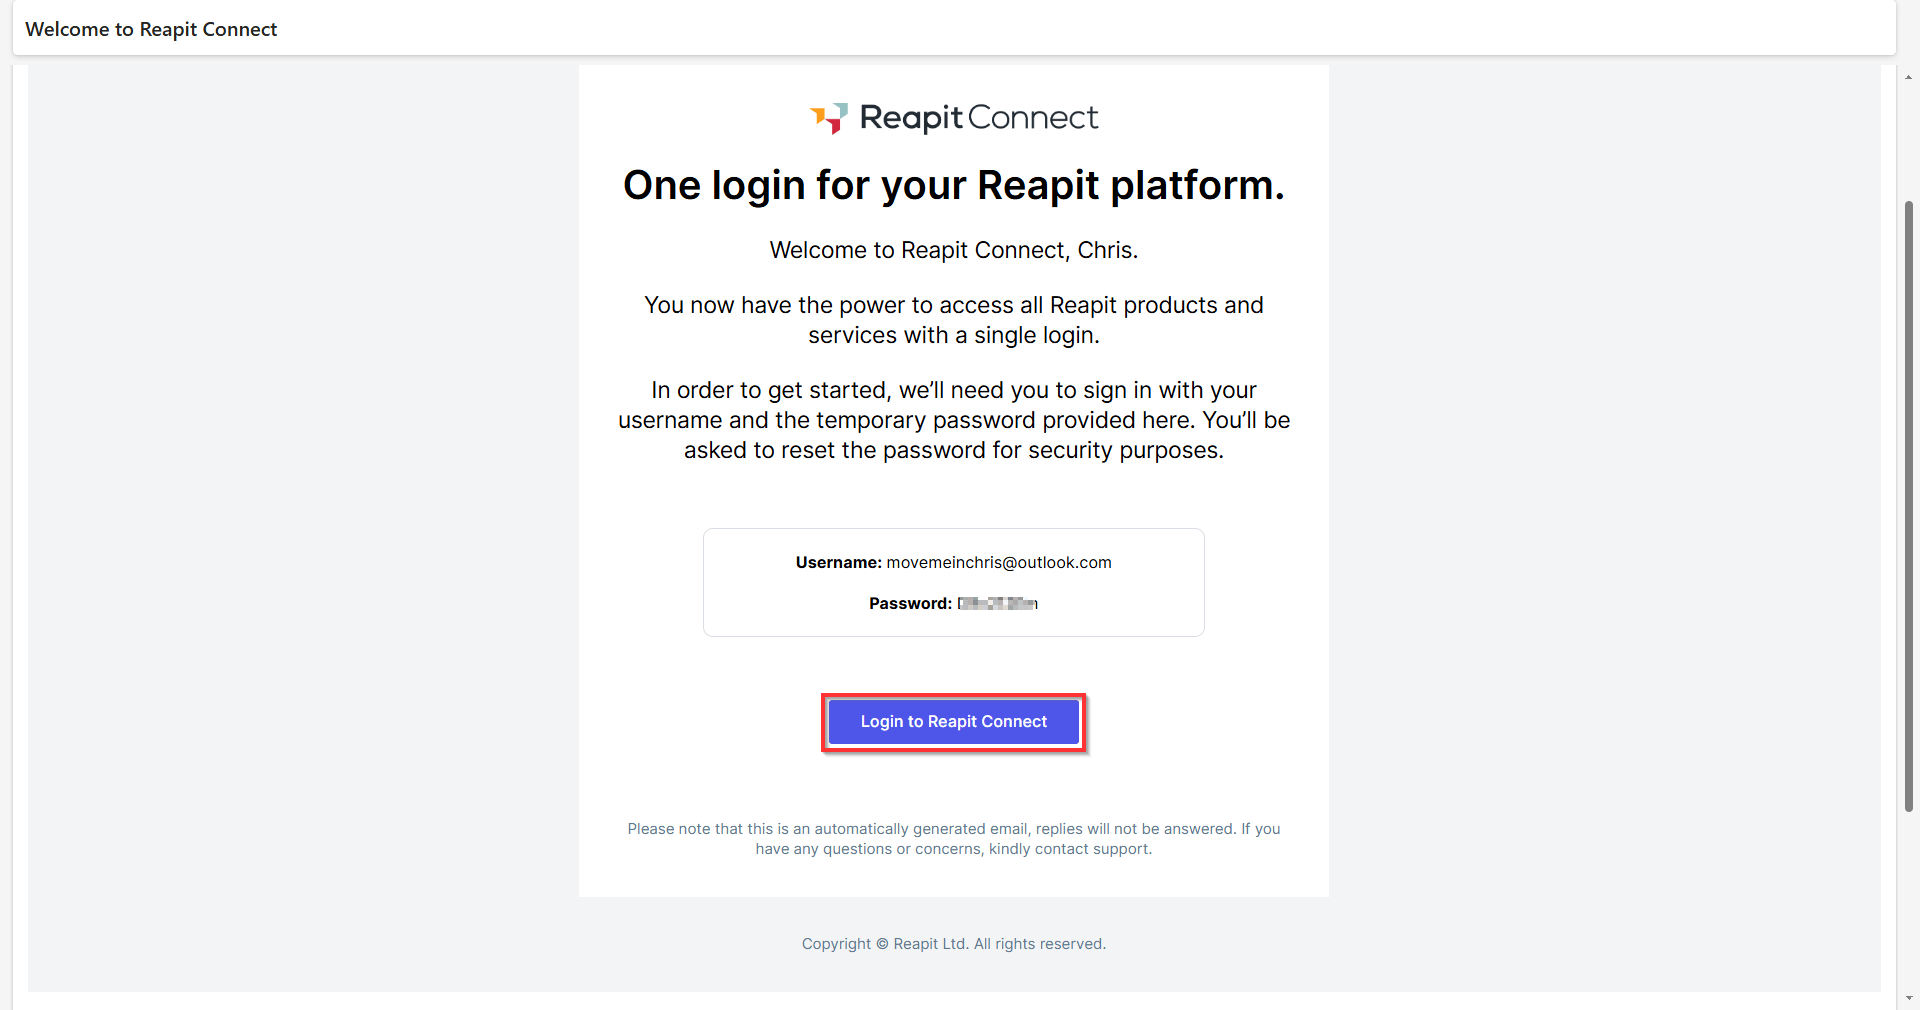 6. From the Reapit PM login page, enter in the username in the email address field.
7. Create a new password. Your password must meet the requirements; otherwise, you will not be able to proceed. Click Send to ****complete the process.
8. Multi-Factor Authentication (MFA) will be required on your account. Check with your IT department for their preferred authenticator app or select one from the suggestion list. Download the authenticator from the app store and continue with scanning the QR Code.
9. Scan the QR code and enter the code displayed on the authenticator app, then click Continue.
- Once you agree to the terms and conditions, complete the setup by clicking Create my account.
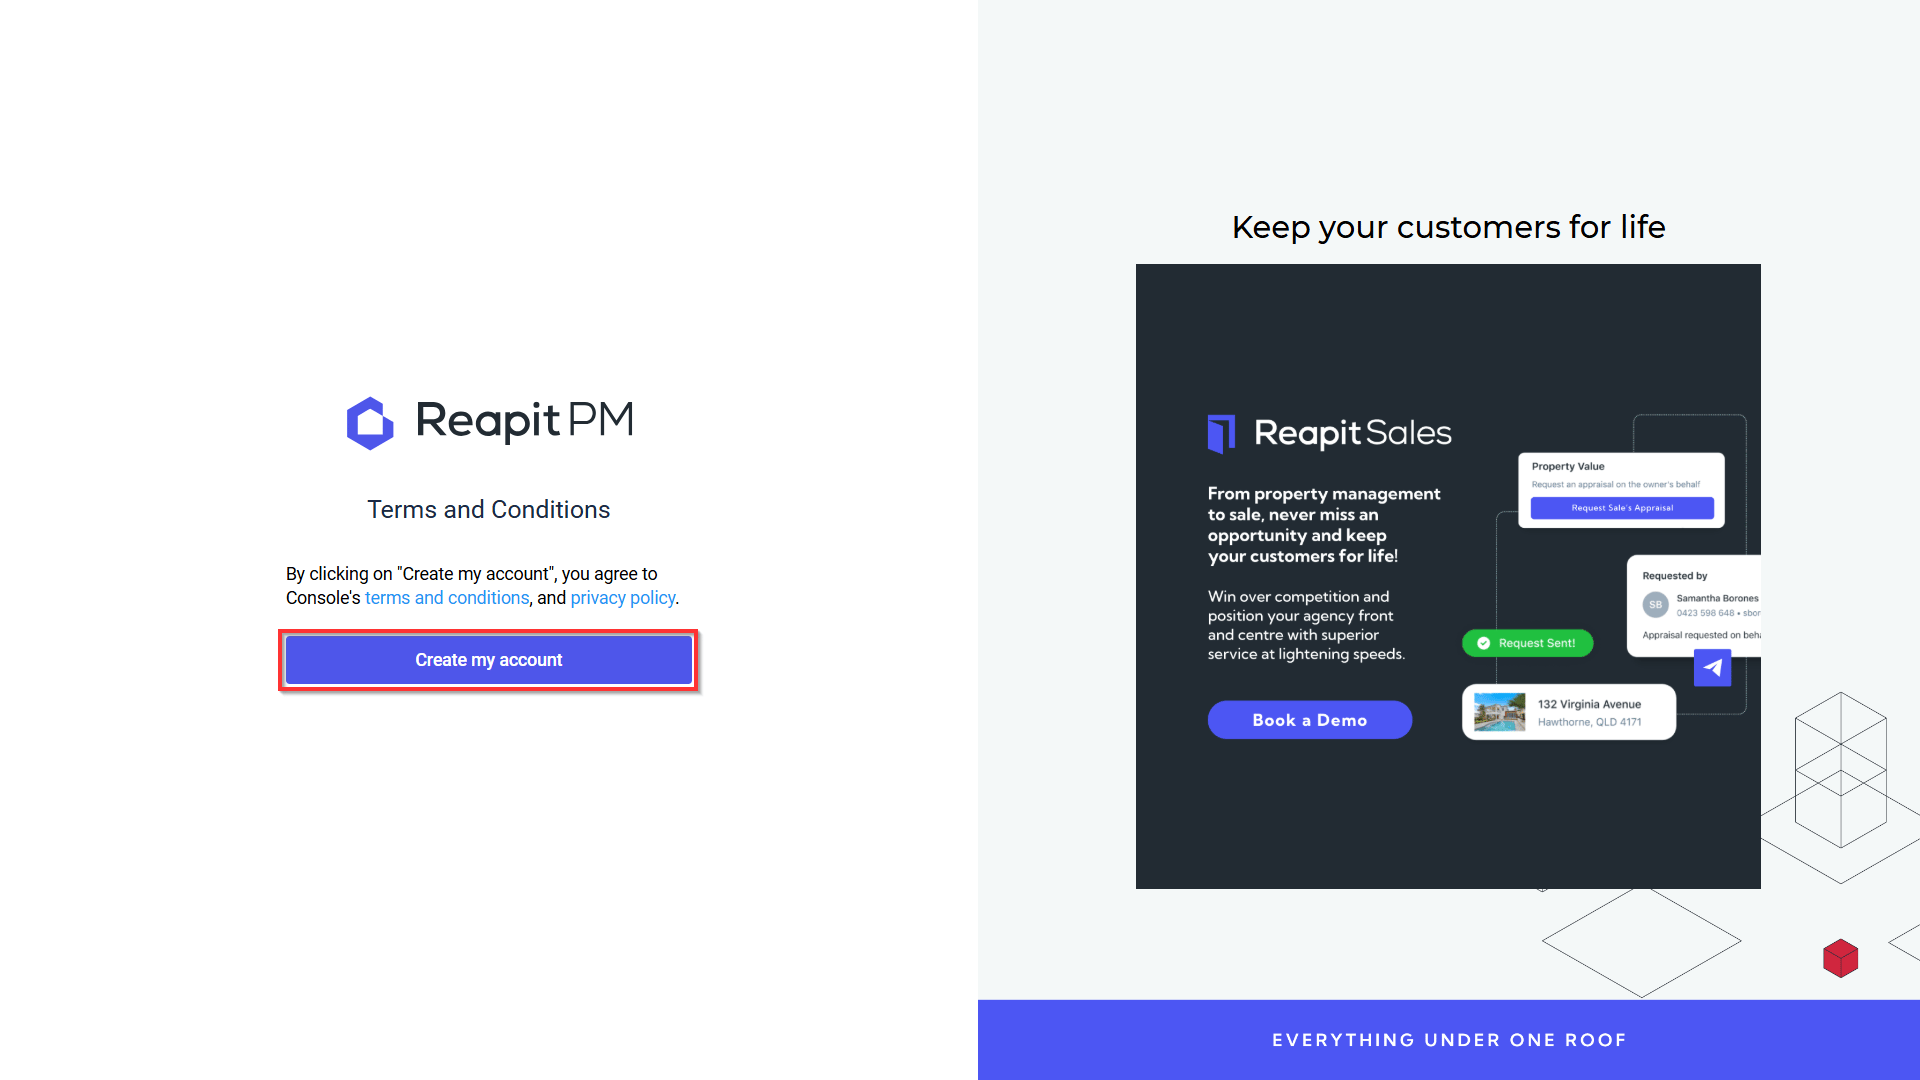 10. You will now be signed into your Reapit PM office. Managing MFA (Multi Factor Authentication) in Reapit PM with Reapit Connect
- Once Reapit Connect has been switched on for your office, navigate to the user initials and select Profile.
2 From the Profile screen, select Manage.
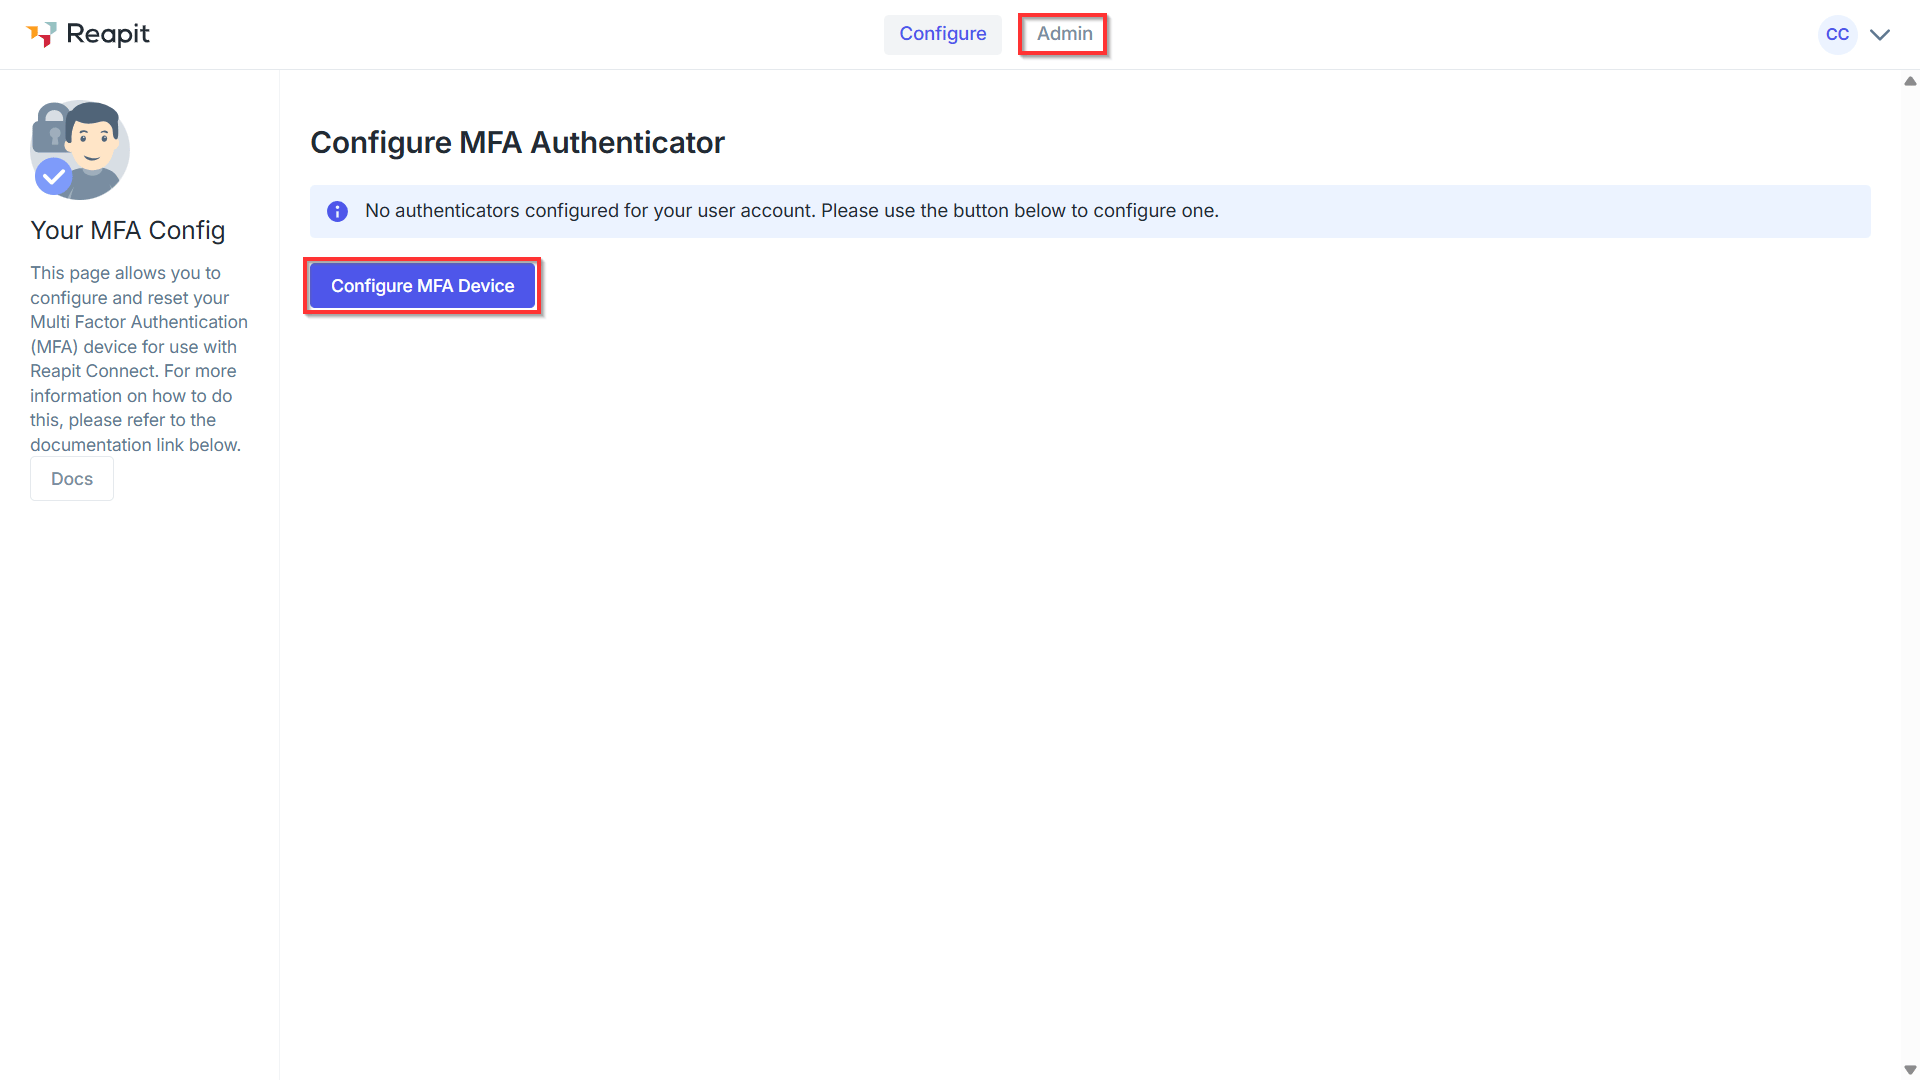
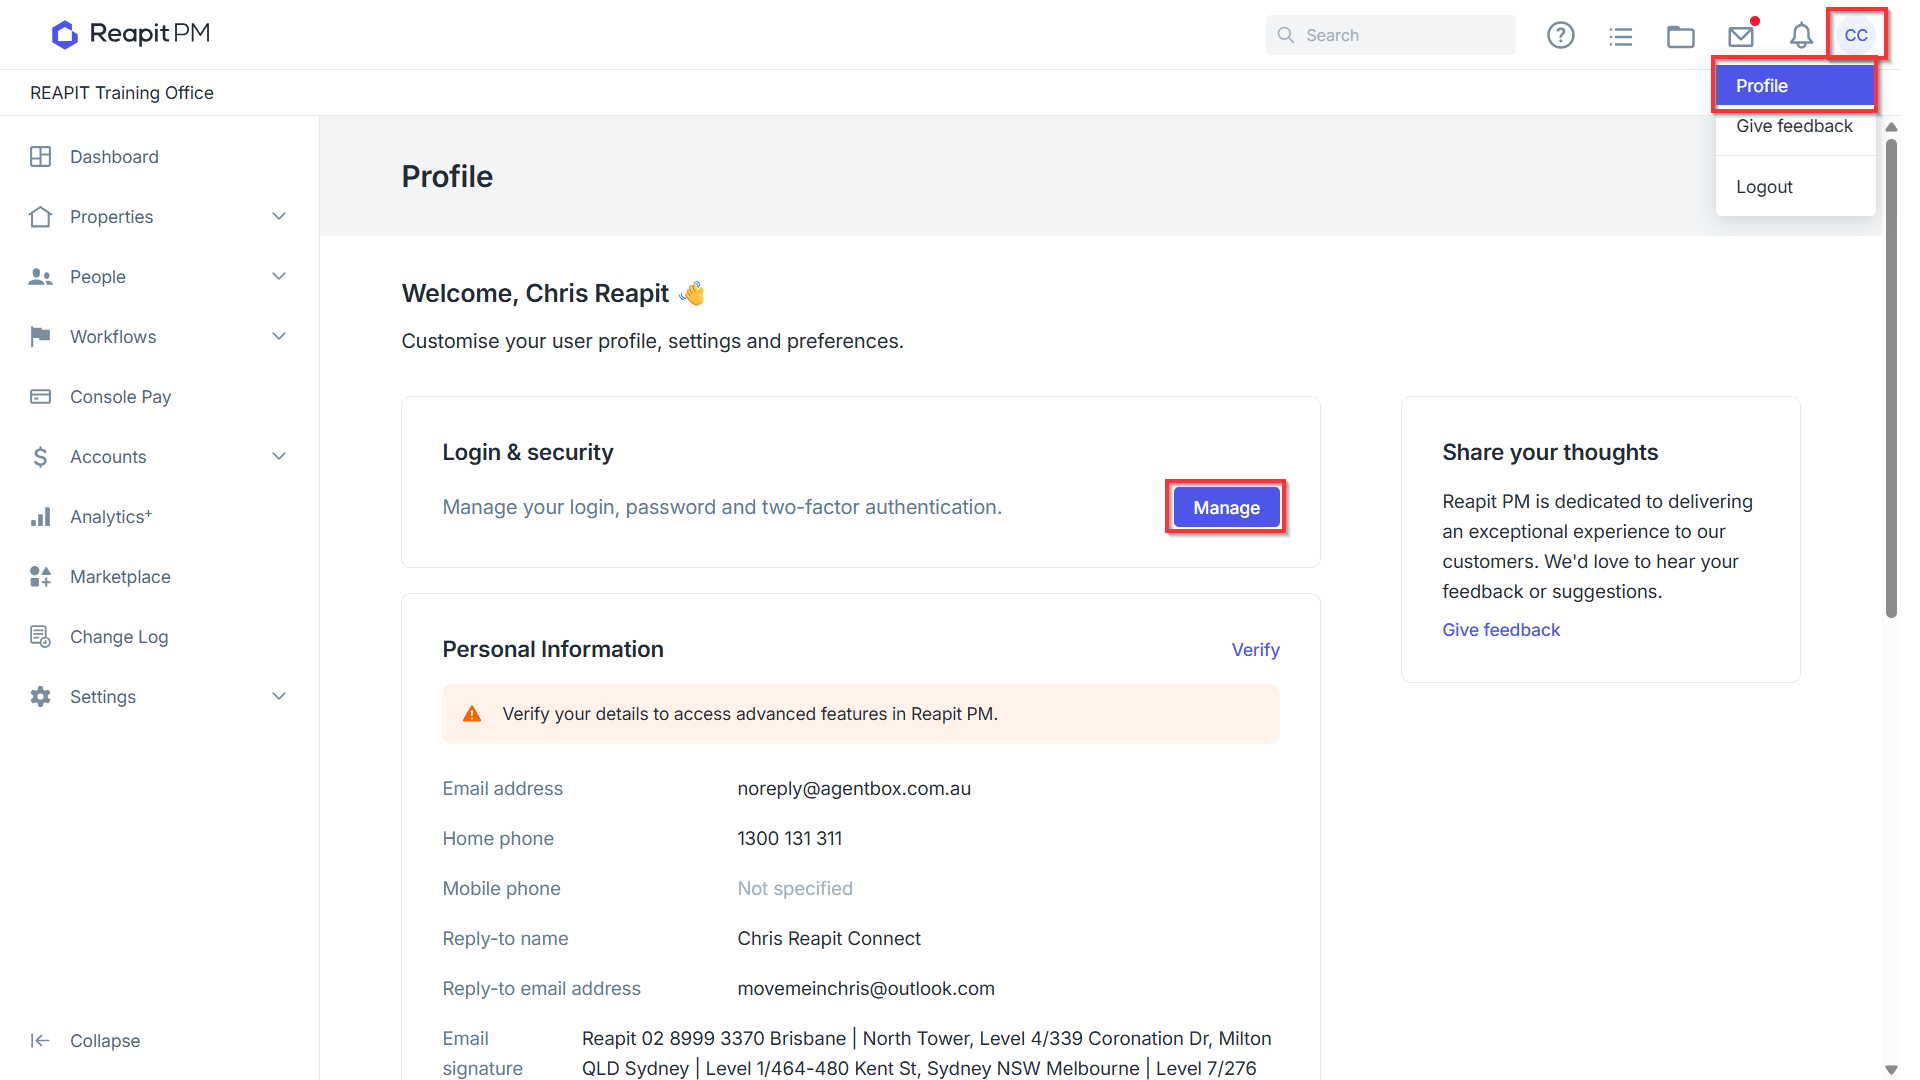 3. From the Configure screen, with Property Manager or Trust accounting levels of access, you will be able to configure a MFA device for sign in. As an Office Administrator, you will have access to the Admin tab.
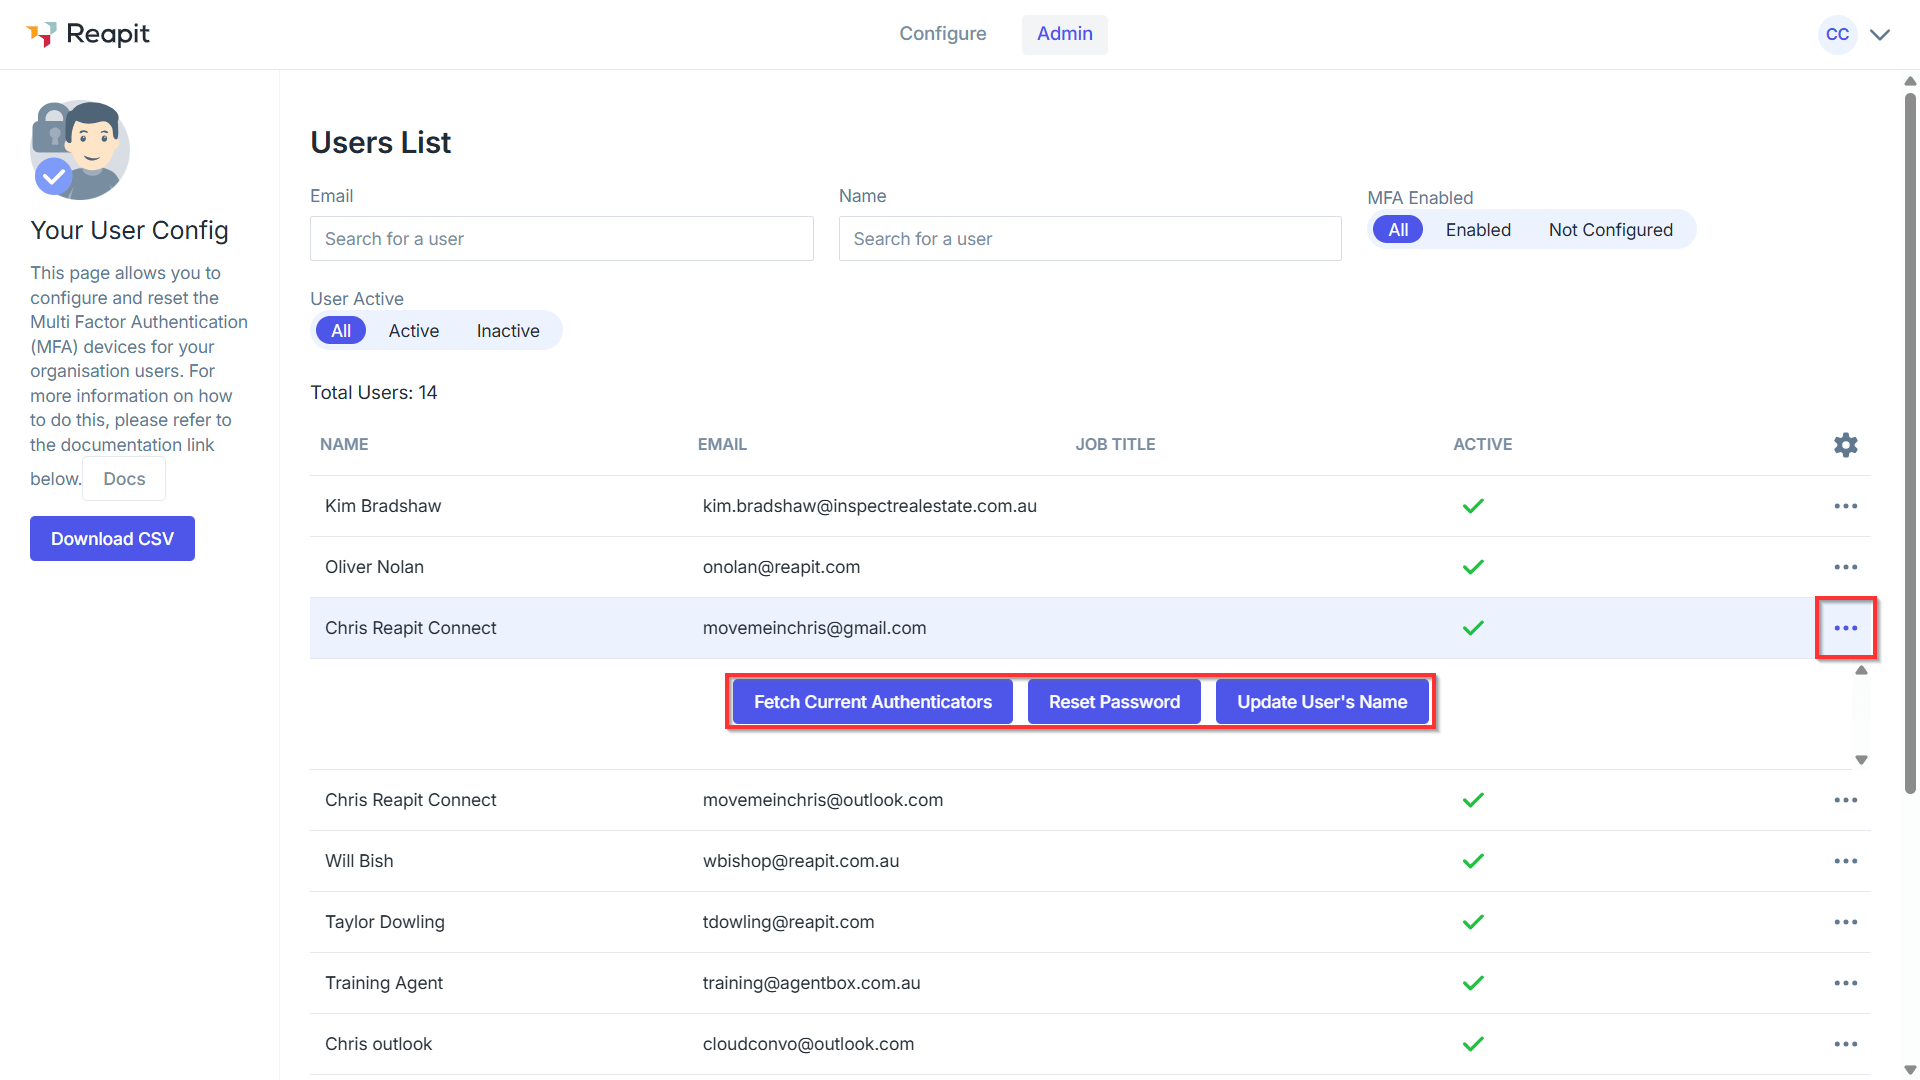
 4. From the Admin tab, you will be able to confirm the list of active, inactive, or all users in the office and the ability to Fetch Current Authenticators or Reset Password on behalf of users.
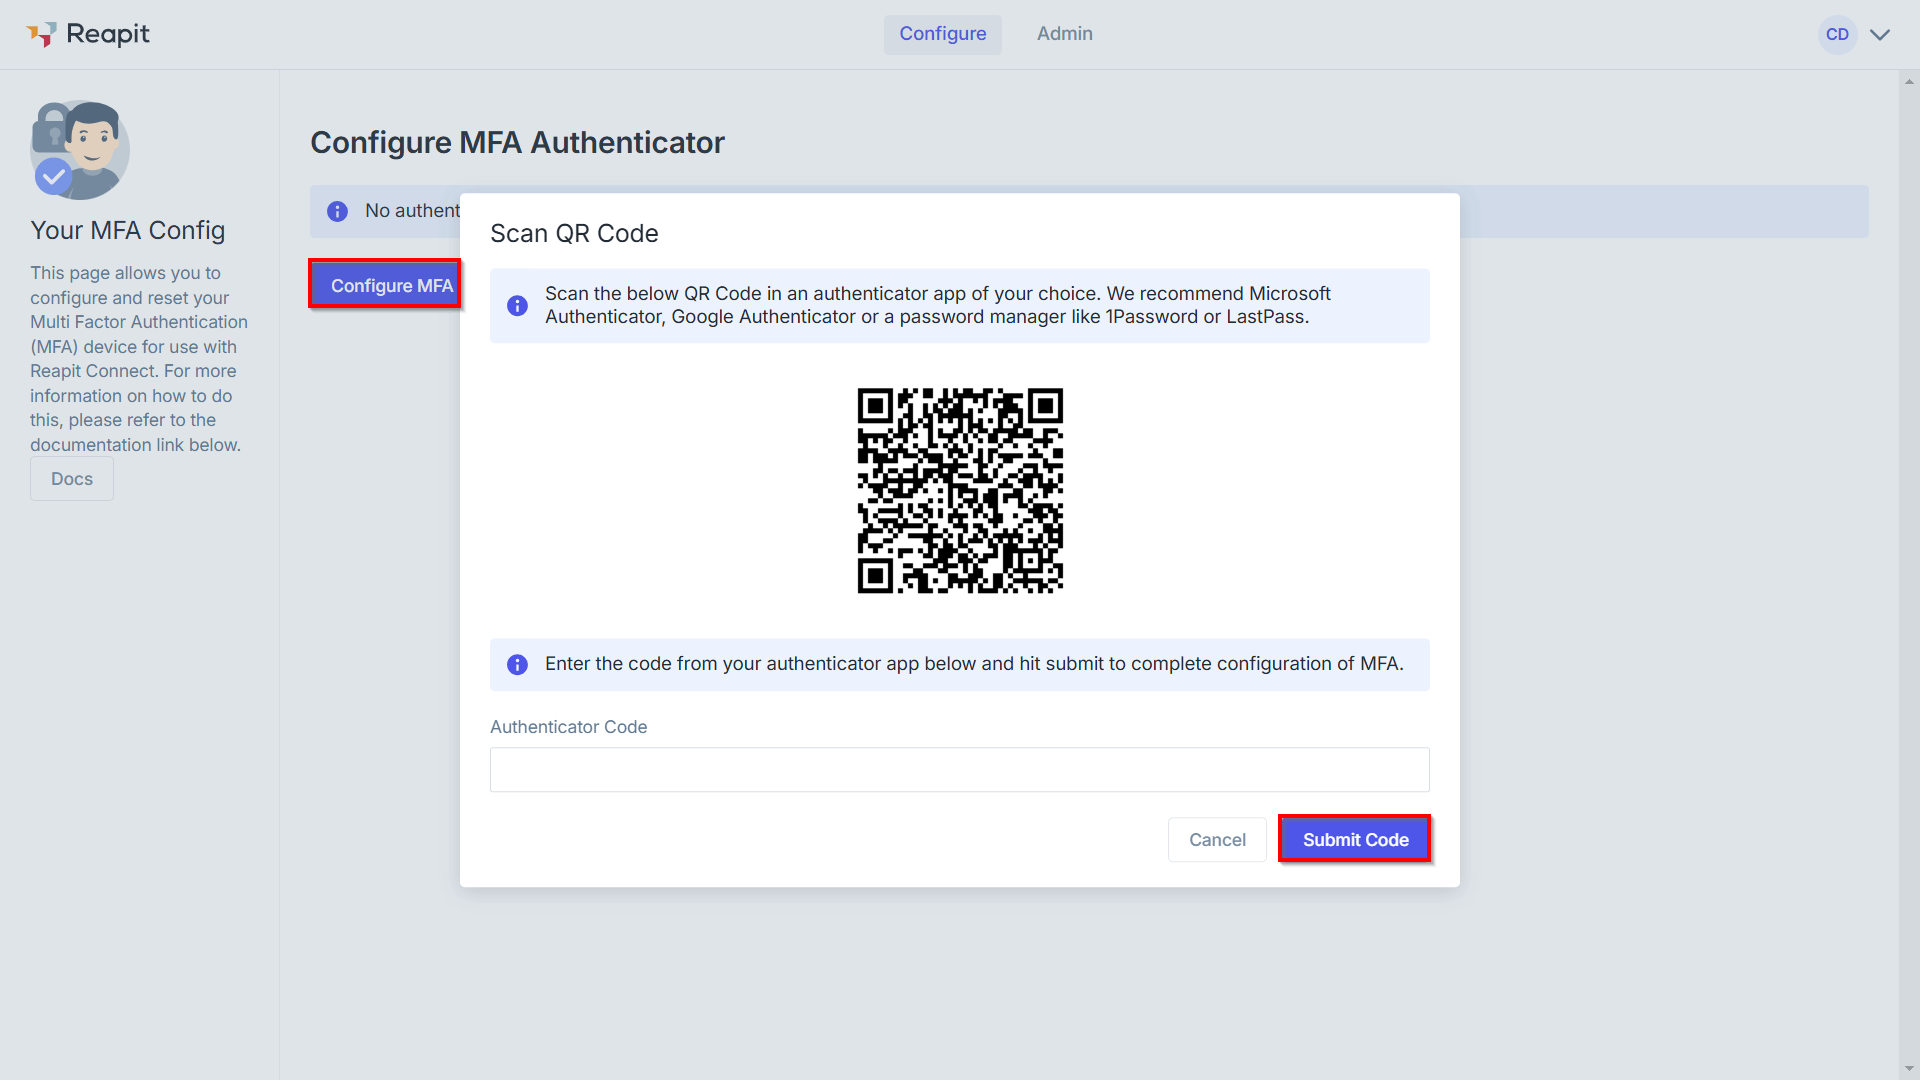
 5. Any user selecting Configure MFA Device will be prompted to scan a QR code using an external authenticator app with some suggested applications if unsure. Upon downloading the App from your device and scanning the QR code, enter the Authenticator Code and select Submit Code.
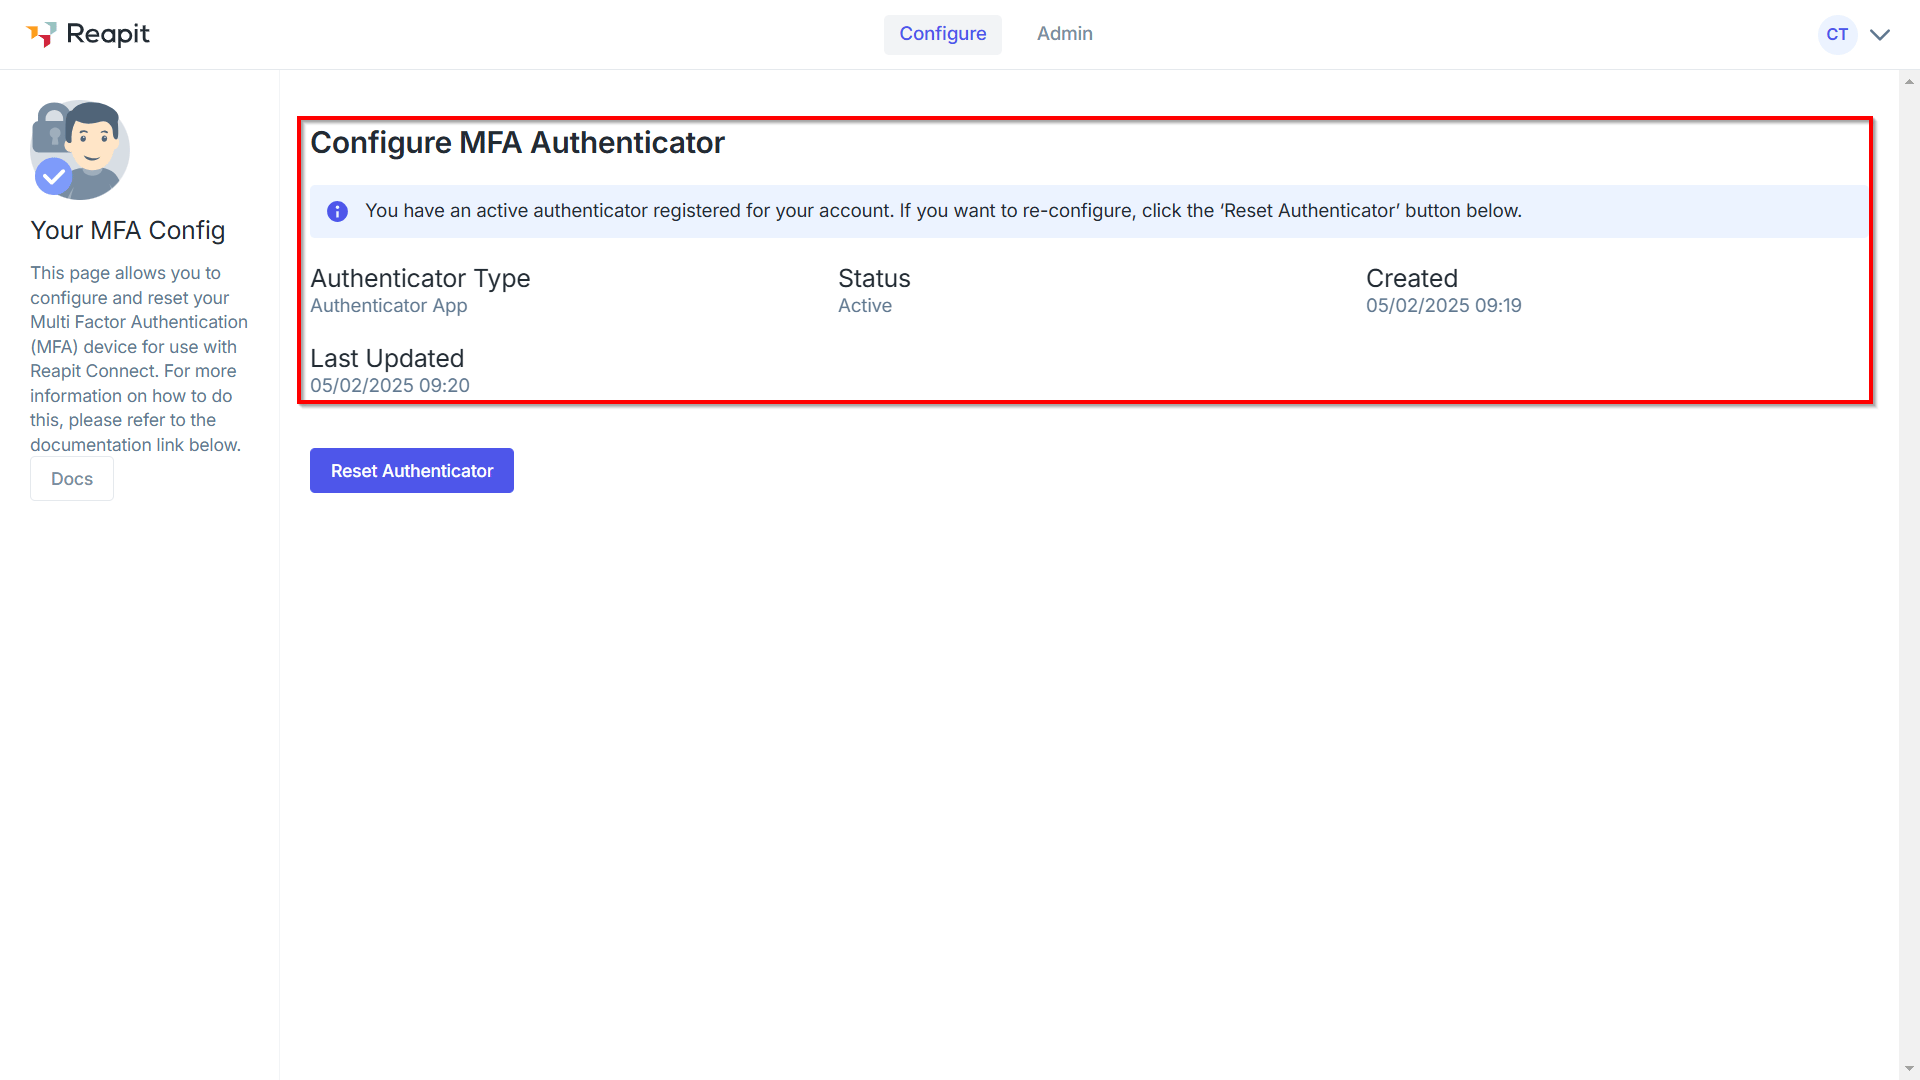
 6. Confirmation of the Authenticator being active will appear along with the Authenticator Type, Created time, and Last Updated. If you have any issues with the authenticator, you can also Reset Authenticator to remove it from your account and re-enable if required.
'%20d='M0%208a8%208%200%200%201%208-8h24a8%208%200%200%201%208%208v24a8%208%200%200%201-8%208H8a8%208%200%200%201-8-8V8Z'/%3e%3cpath%20fill='%23fff'%20d='M8.375%2013v14L20.5%2034l12.124-7v-7.737l-1.687-.975-2.806-1.62-1.082-.624v4.83l-.002%204.83H13.95V16.07l3.275-1.89%202.192-1.265%201.082-.625%203.275%201.877%202.192%201.256%201.083.62V9.782L20.5%206%208.376%2013Z'/%3e%3cdefs%3e%3clinearGradient%20id='reapit-pm__a'%20x1='20.702'%20x2='20.702'%20y1='.351'%20y2='31.228'%20gradientUnits='userSpaceOnUse'%3e%3cstop%20stop-color='%235573FD'/%3e%3cstop%20offset='.575'%20stop-color='%234E56EA'/%3e%3c/linearGradient%3e%3c/defs%3e%3c/svg%3e)