'%20d='M0%208a8%208%200%200%201%208-8h24a8%208%200%200%201%208%208v24a8%208%200%200%201-8%208H8a8%208%200%200%201-8-8V8Z'/%3e%3cpath%20fill='%23fff'%20d='M10.41%206v3.779h15.048v19.537h4.132V6H10.41Z'/%3e%3cpath%20fill='%23fff'%20d='M20.967%2034V13.837L10.41%209.78v20.166L20.967%2034Z'/%3e%3cdefs%3e%3clinearGradient%20id='reapit-sales__a'%20x1='20.702'%20x2='20.702'%20y1='.351'%20y2='31.228'%20gradientUnits='userSpaceOnUse'%3e%3cstop%20stop-color='%235573FD'/%3e%3cstop%20offset='.575'%20stop-color='%234E56EA'/%3e%3c/linearGradient%3e%3c/defs%3e%3c/svg%3e)
Add Supplier
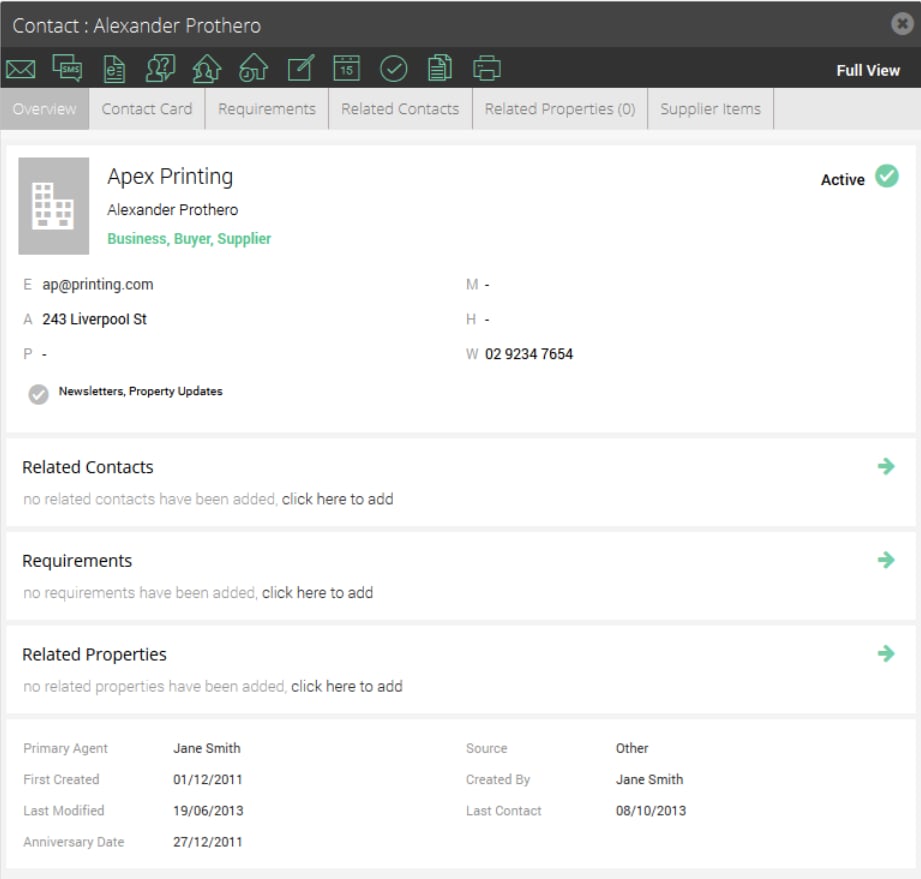
This article runs through how to add supplier in Reapit Sales.
Add Supplier
This article runs through how to add supplier in Reapit Sales.
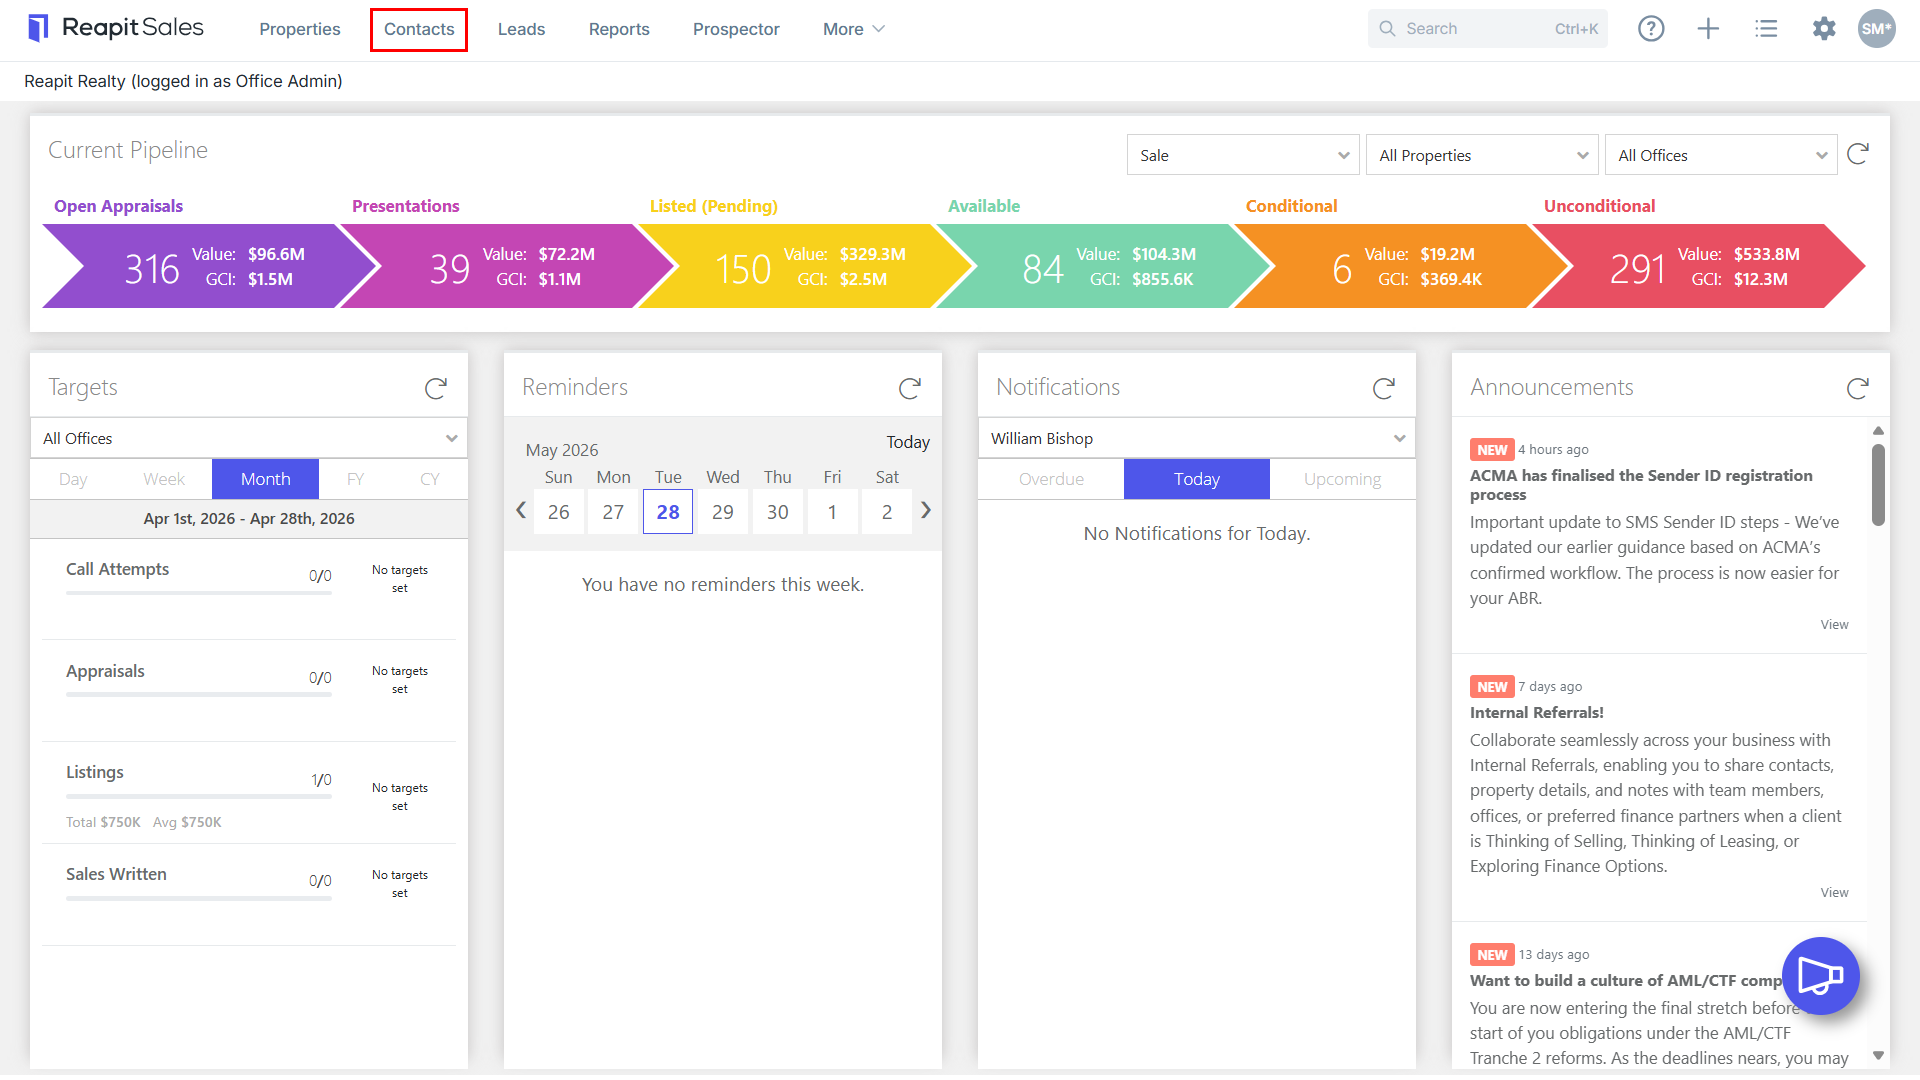
- Click the Contacts icon from the Main Menu

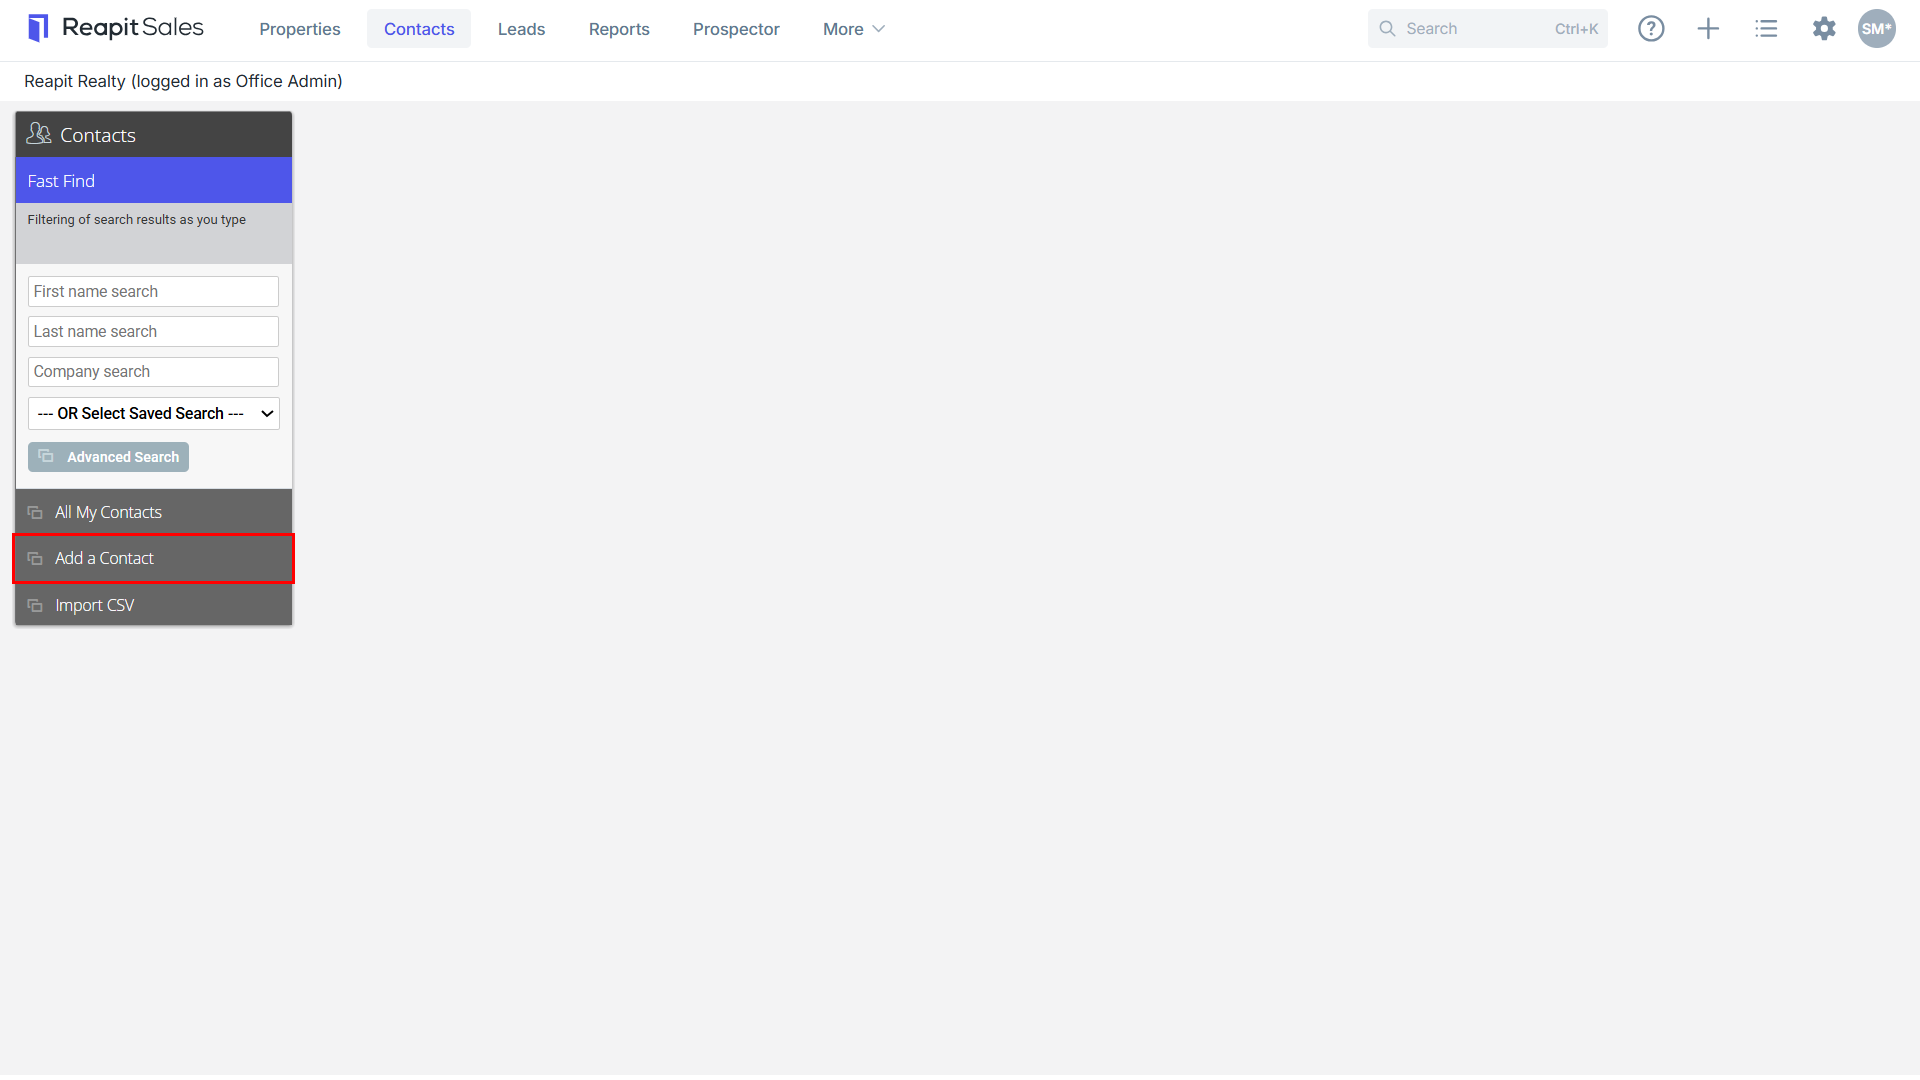
- Click Add a Contact from the Left Contact Panel

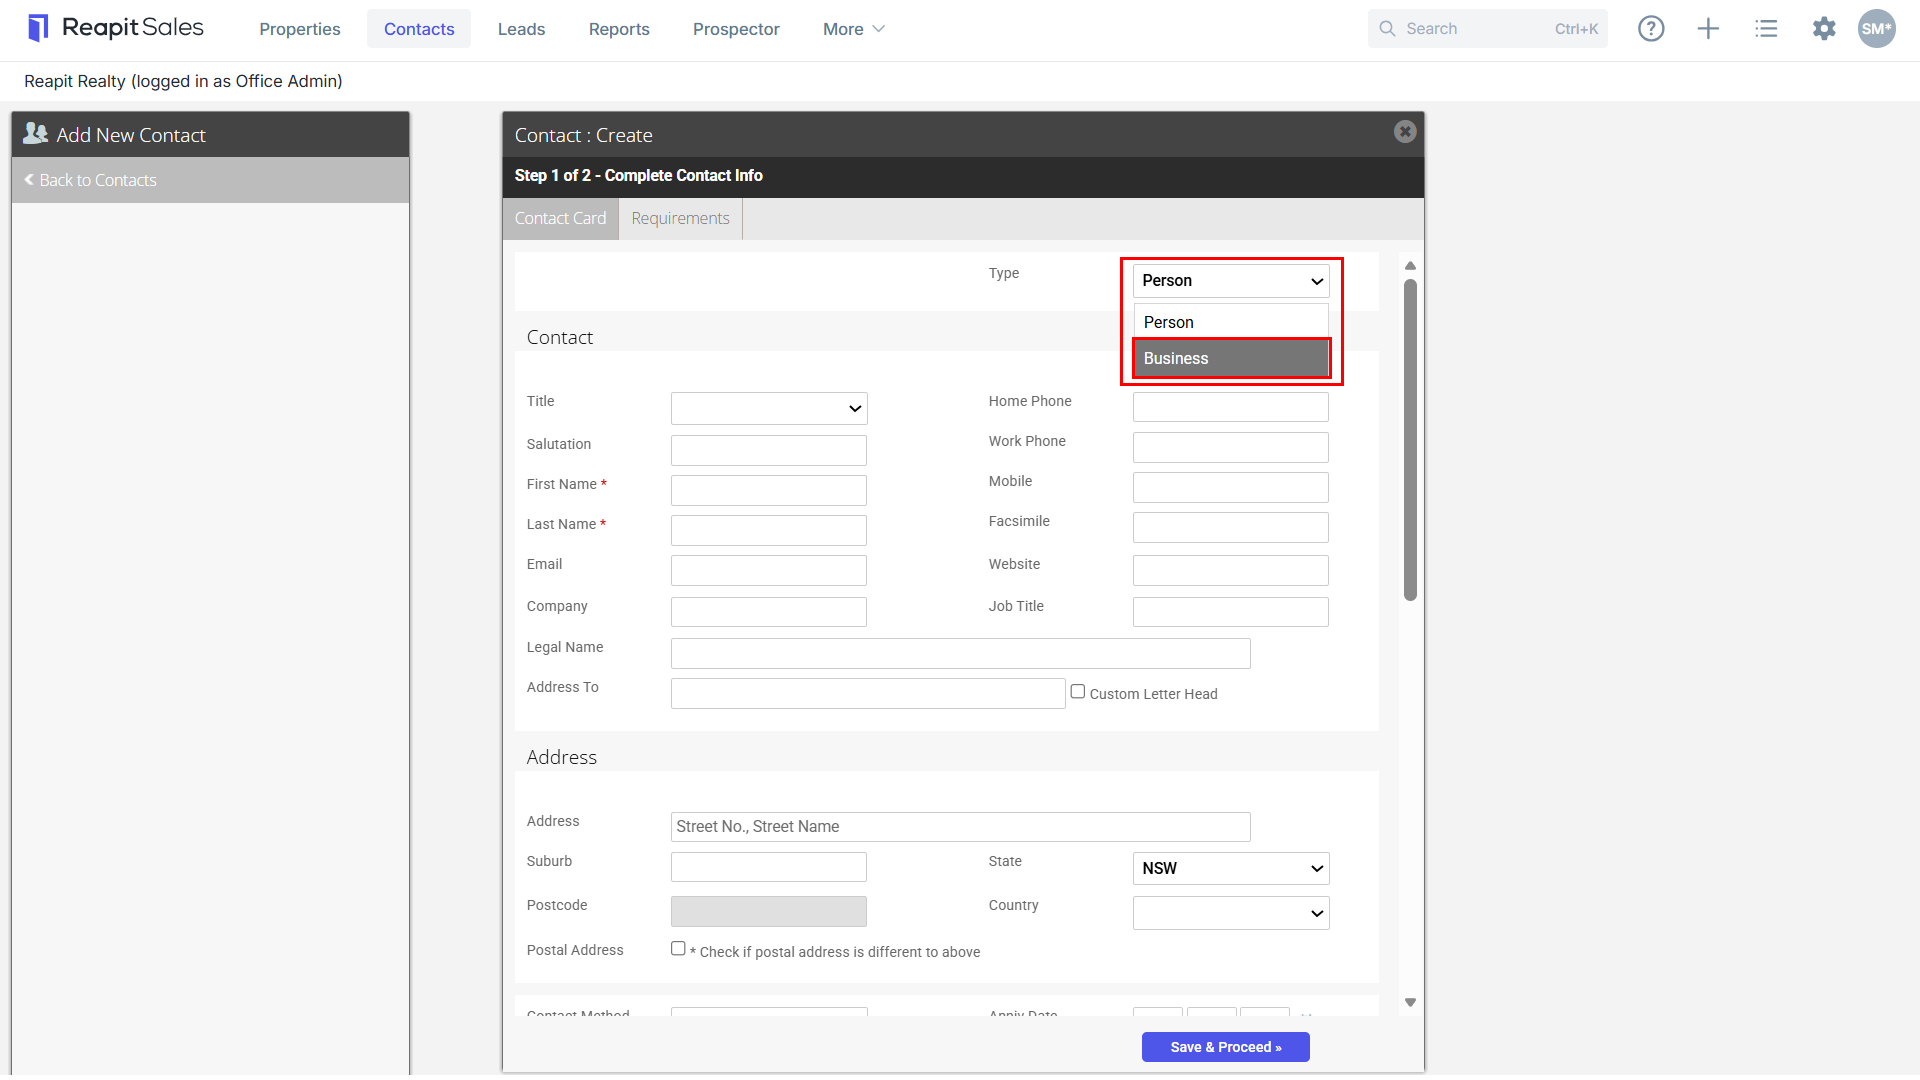
- Select Business from the Type drop-down

- Complete the Contact Info using the following guidelines:
Title
Salutation (This will be used to address the contact in E-Newsletters, if nothing is entered the First Name is used)
First Name & Surname (These fields are compulsory unless the contact class 'Business' is ticked)
Phone numbers
Email (Reapit Sales automatically checks a valid email address has been entered)
Company (This field is compulsory if the contact class 'Business' is ticked)
Job Title
Residential Address
Postal Address (check box to enter in a postal address)
Contact Method:
Anniversary Date
Contact Class: Select at least 'Supplier' plus any other relevant classes

- Class Group:
A Class Group is a folder which groups Custom Classes together. To add a Class Group click on the green Add Custom button.
Custom Class
Contact Source: Auto Email, Email Enquiry, Import, Open Homes Inspection, Other, Phone Enquiry, Website Enquiry (May vary per office)
Assigned Staff (depending on office sharing policies, this can be used to give access)
Contact Comments
Subscriptions: Auction Reminders, Newsletters, OFI Times, Property Updates, Sales Results
Note: Minimum requirements:
- First Name & Surname are compulsory unless the contact class Business is checked and a Company name is entered.
- Reapit Sales requires either an email address or mobile to eliminate the possibility of duplicates. A contact can still be created with only a phone number or physical address.
- All contacts require at least one Contact Class, they can belong to multiple classes.
- At least one Assigned Agent is required on each contact.
- Click Save & Proceed