'%20d='M0%208a8%208%200%200%201%208-8h24a8%208%200%200%201%208%208v24a8%208%200%200%201-8%208H8a8%208%200%200%201-8-8V8Z'/%3e%3cpath%20fill='%23fff'%20d='M10.41%206v3.779h15.048v19.537h4.132V6H10.41Z'/%3e%3cpath%20fill='%23fff'%20d='M20.967%2034V13.837L10.41%209.78v20.166L20.967%2034Z'/%3e%3cdefs%3e%3clinearGradient%20id='reapit-sales__a'%20x1='20.702'%20x2='20.702'%20y1='.351'%20y2='31.228'%20gradientUnits='userSpaceOnUse'%3e%3cstop%20stop-color='%235573FD'/%3e%3cstop%20offset='.575'%20stop-color='%234E56EA'/%3e%3c/linearGradient%3e%3c/defs%3e%3c/svg%3e)
Receipt Marketing Funds
Transactions - Receipts This article shows how to receipt marketing funds in Reapit Sales.
Overview
Receipt Marketing Funds
Transactions - Receipts
This article shows how to receipt marketing funds in Reapit Sales.
If you receive marketing funds on behalf of vendors you can receipt them into the Marketing Ledger for each listing. You must first ensure the Vendor is attached to the Listing in the Reapit Sales CRM via the Agents and Contacts tab.
Note: This is only applicable if you hold marketing funds in trust.
- The receipted date must be the date the receipt is logged into your Sales Trust Accounting System.
- The receipt date must be greater than the last reconciliation date
- Receipts via cheque will contribute to the available balance once the cheque clearance days have passed from the day the cheque was banked.
- Receipts via direct deposit, credit card or EFTPOS will be considered 'banked' upon creation and will contribute to the available balance as of the banked date. The banked date for credit card and EFTPOS receipts will be the receipted date. The banked date for a direct deposit receipt will be the presented date which is entered in the receipt screen to allow for receipting of direct deposits received before the receipt was created.
ATTENTION NEW USERS: DO NOT LOG ANY TRANSACTIONS EXCEPT OPENING BALANCES UNTIL YOU HAVE PERFORMED AN INITIAL RECONCILIATION.
- Click on the Trust icon from the mobile menu.

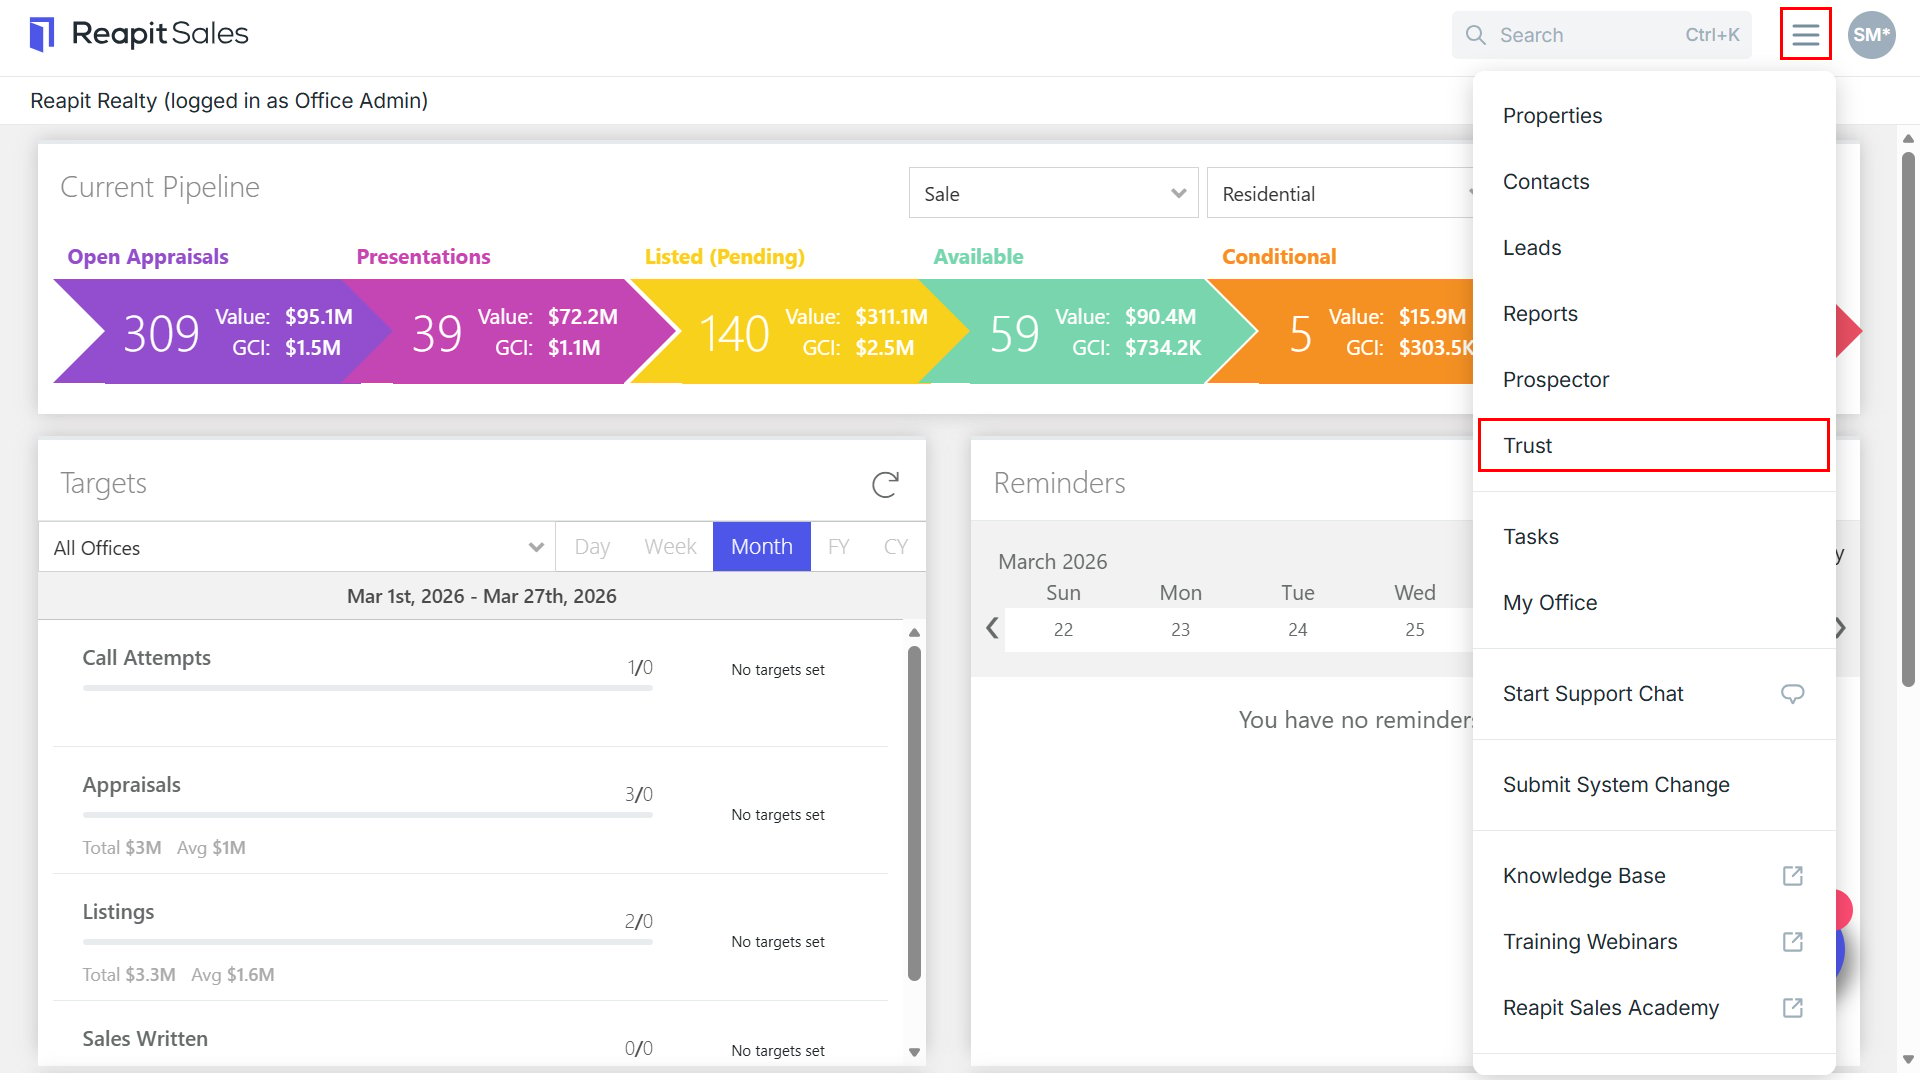
The Sales Trust panel will open
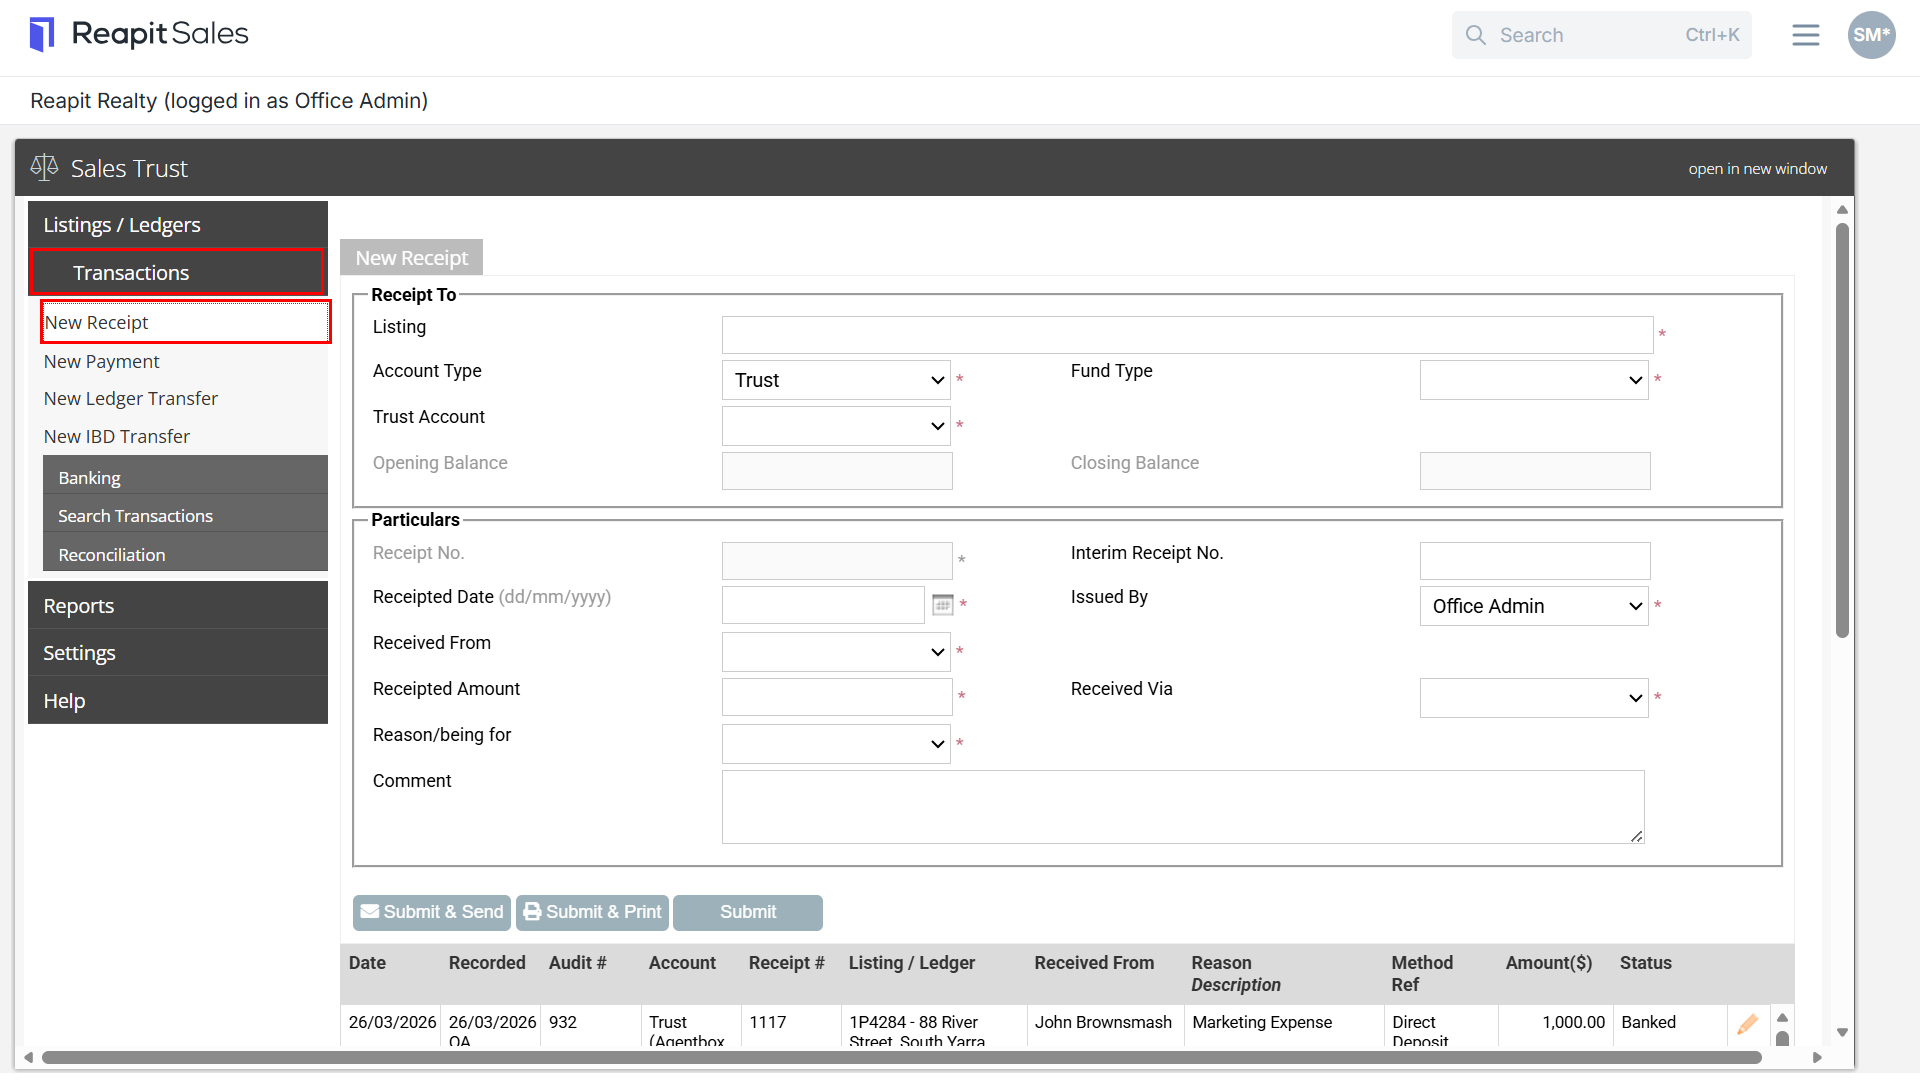
- Enter all initial balances (record a new receipt) for all listings you are currently holding marketing funds for. Select Transactions and New Receipt
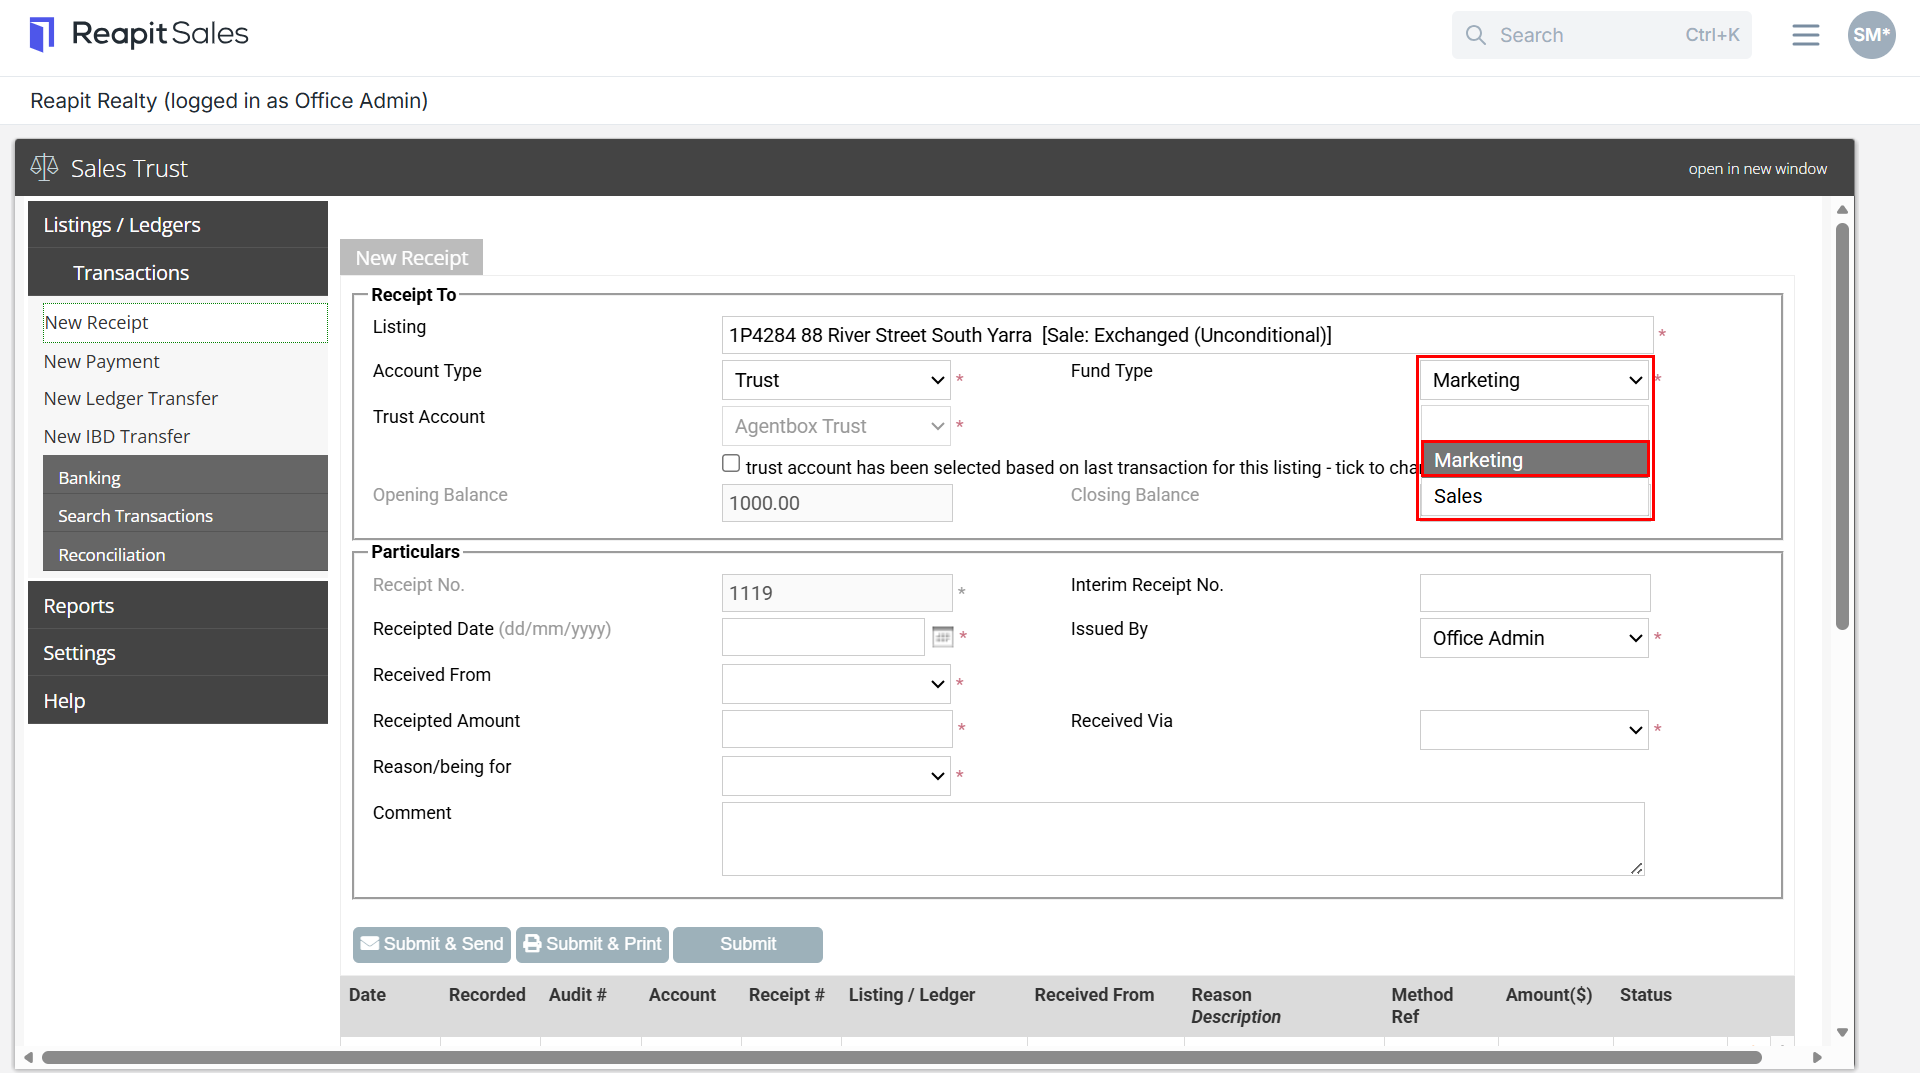
- Search and select your listing from the Listing drop-down. Be sure to select Marketing from the fund type drop-down.
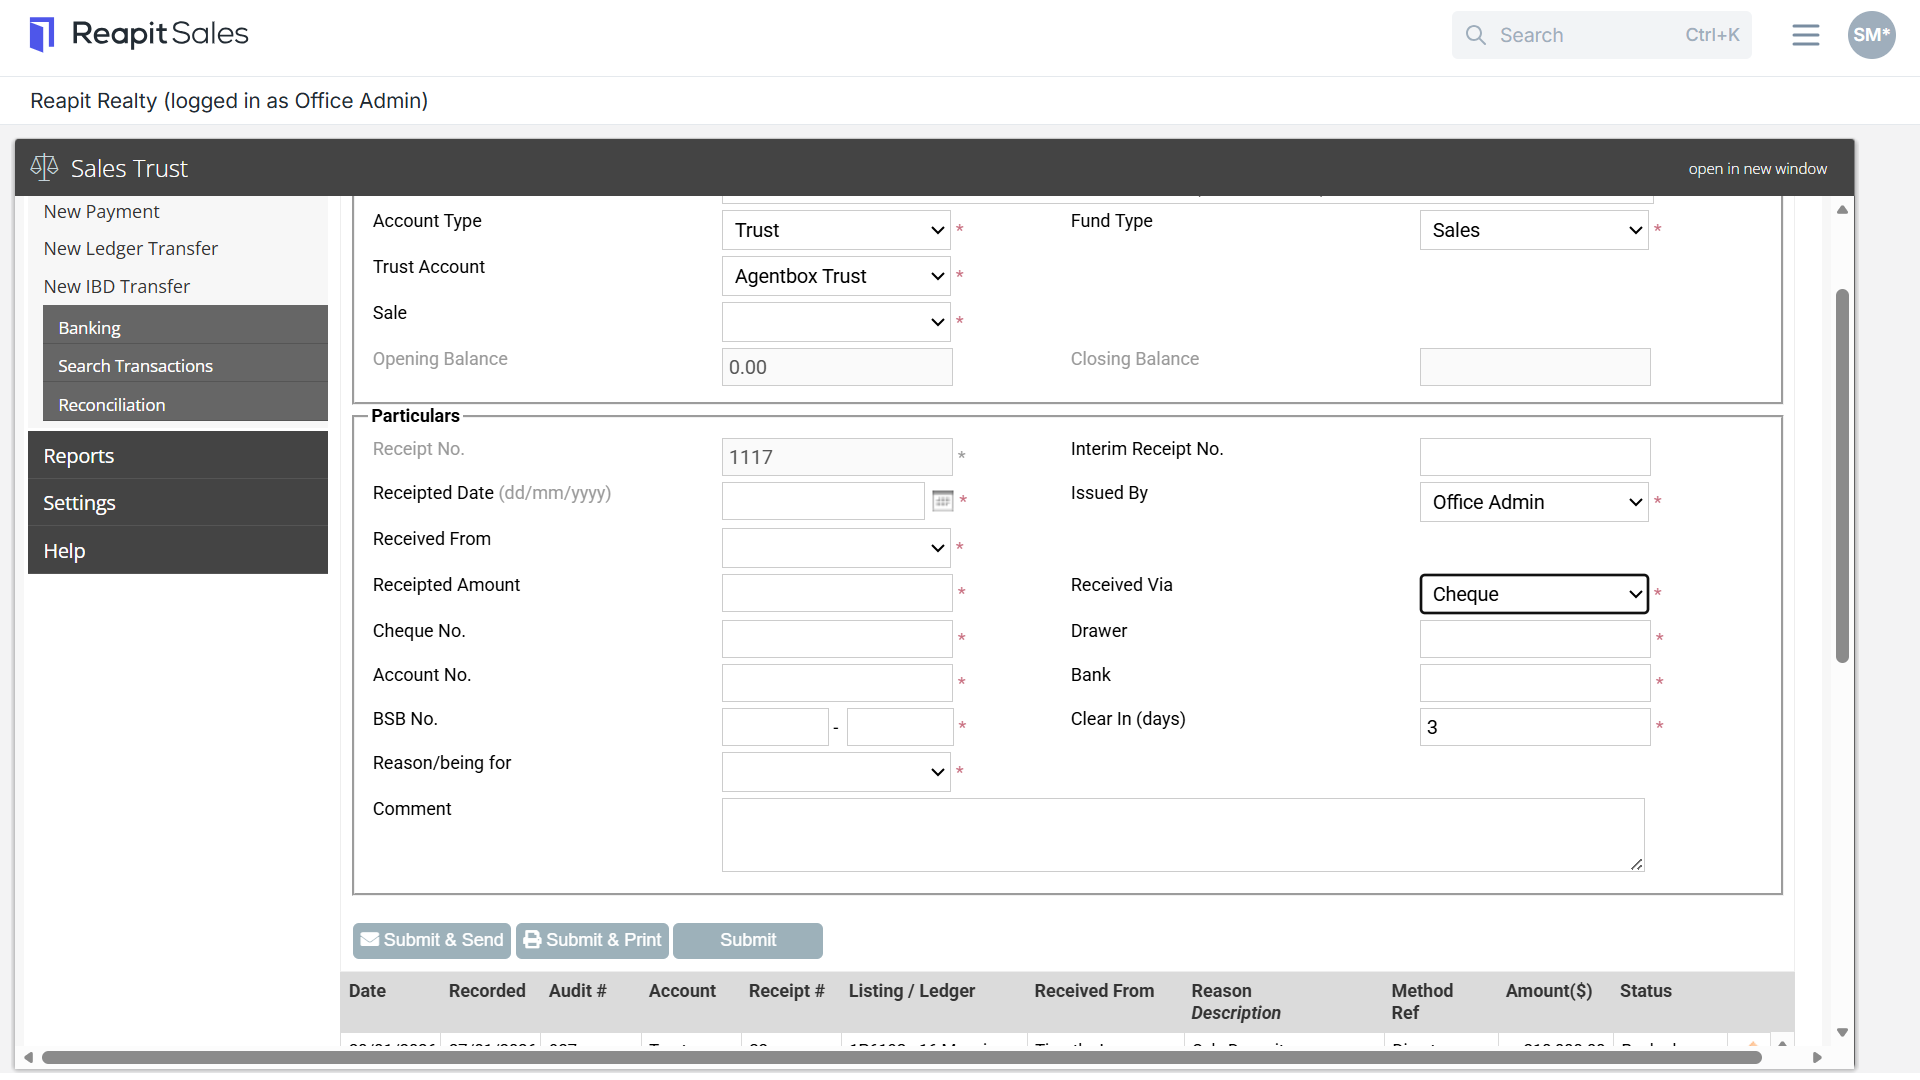
- Enter the receipt Particulars
- The Receipted Date, by default, will be today's date and cannot be edited. If entering a direct deposit example, you will be able to enter the Presented Date as it appeared on your bank statement.
- Select the trust account from the Trust Account drop-down
- Staff member the receipt is issued by
- the funds are from
- Amount
- Payment Method
- Payment Method
i. Cash
ii. Cheque - Enter the Cheque Number, Drawer, Account Number, Bank, BSB Number & Clear in (days). Please note, the default Clear In (days) can be changed through Settings. A different value can be set for each receipt.

iii. Credit Card - Enter the Card Type, Holder, Expiry Date

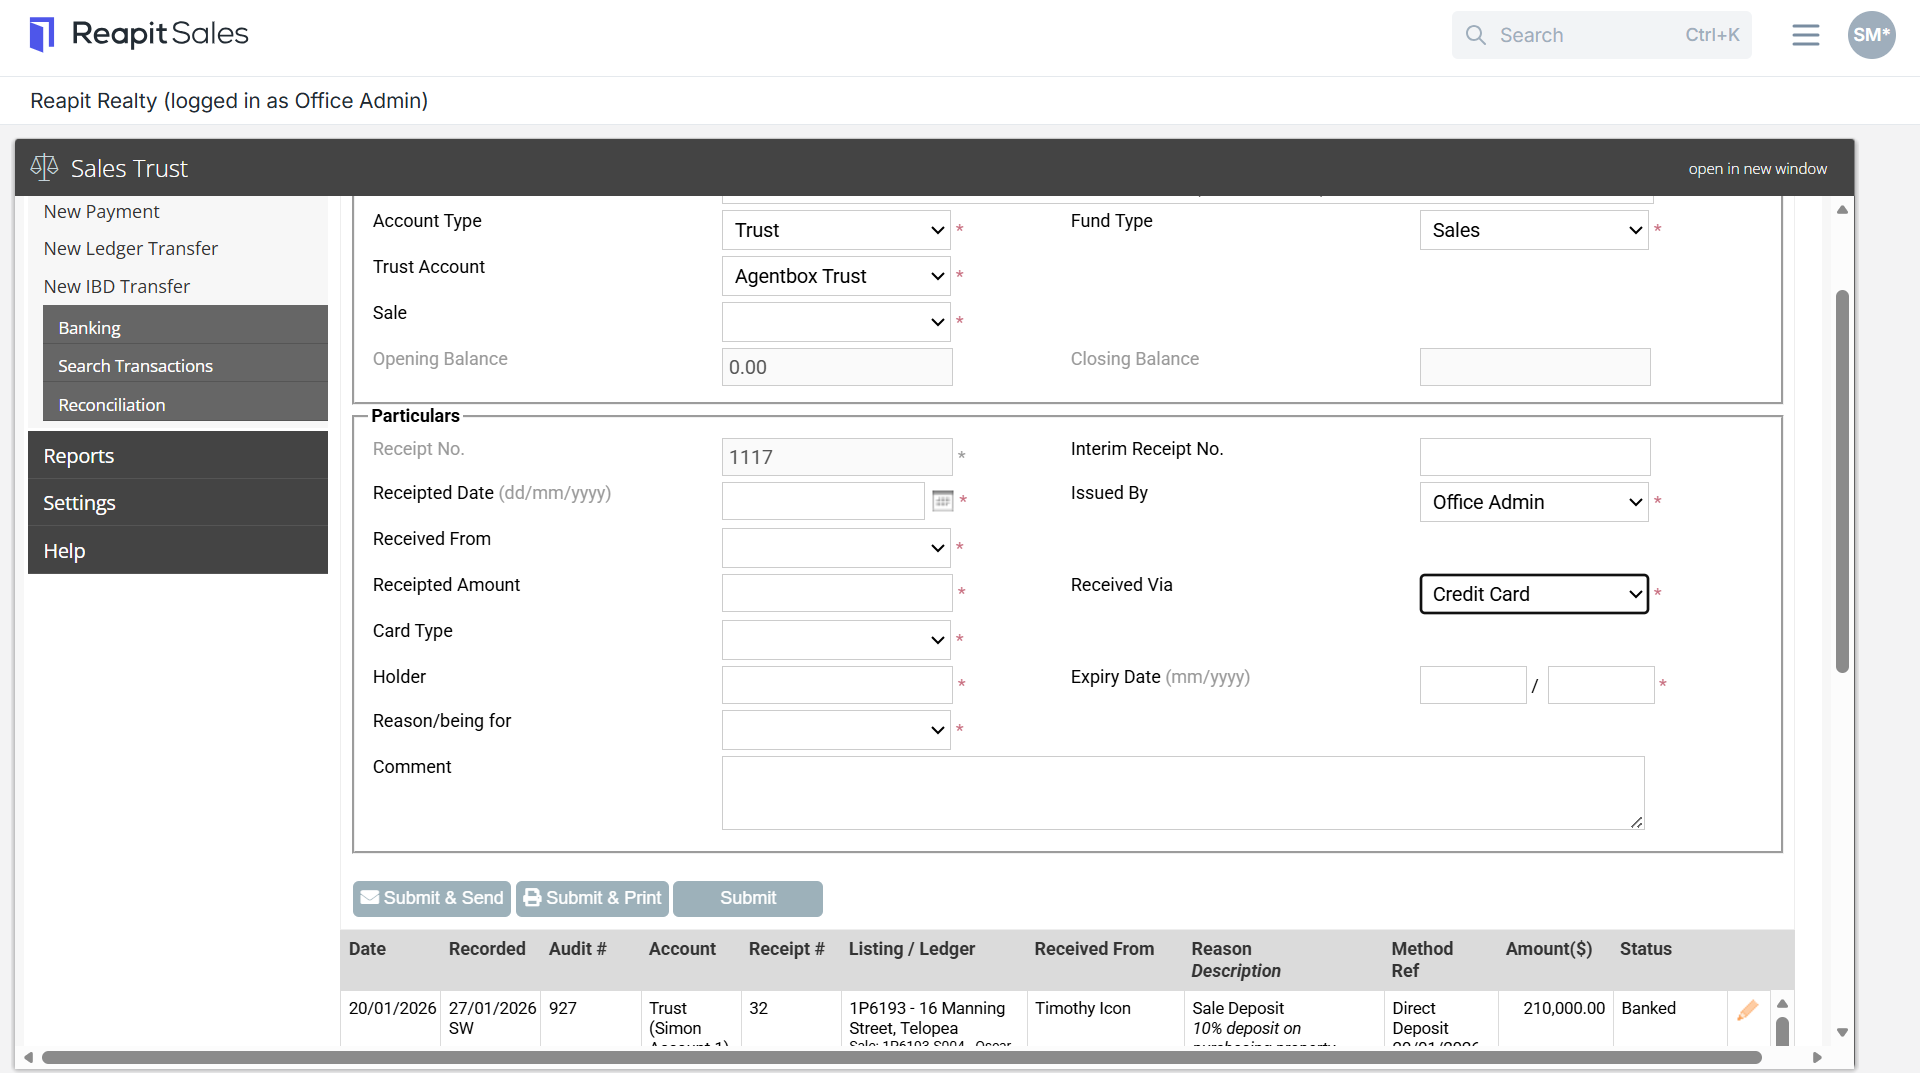
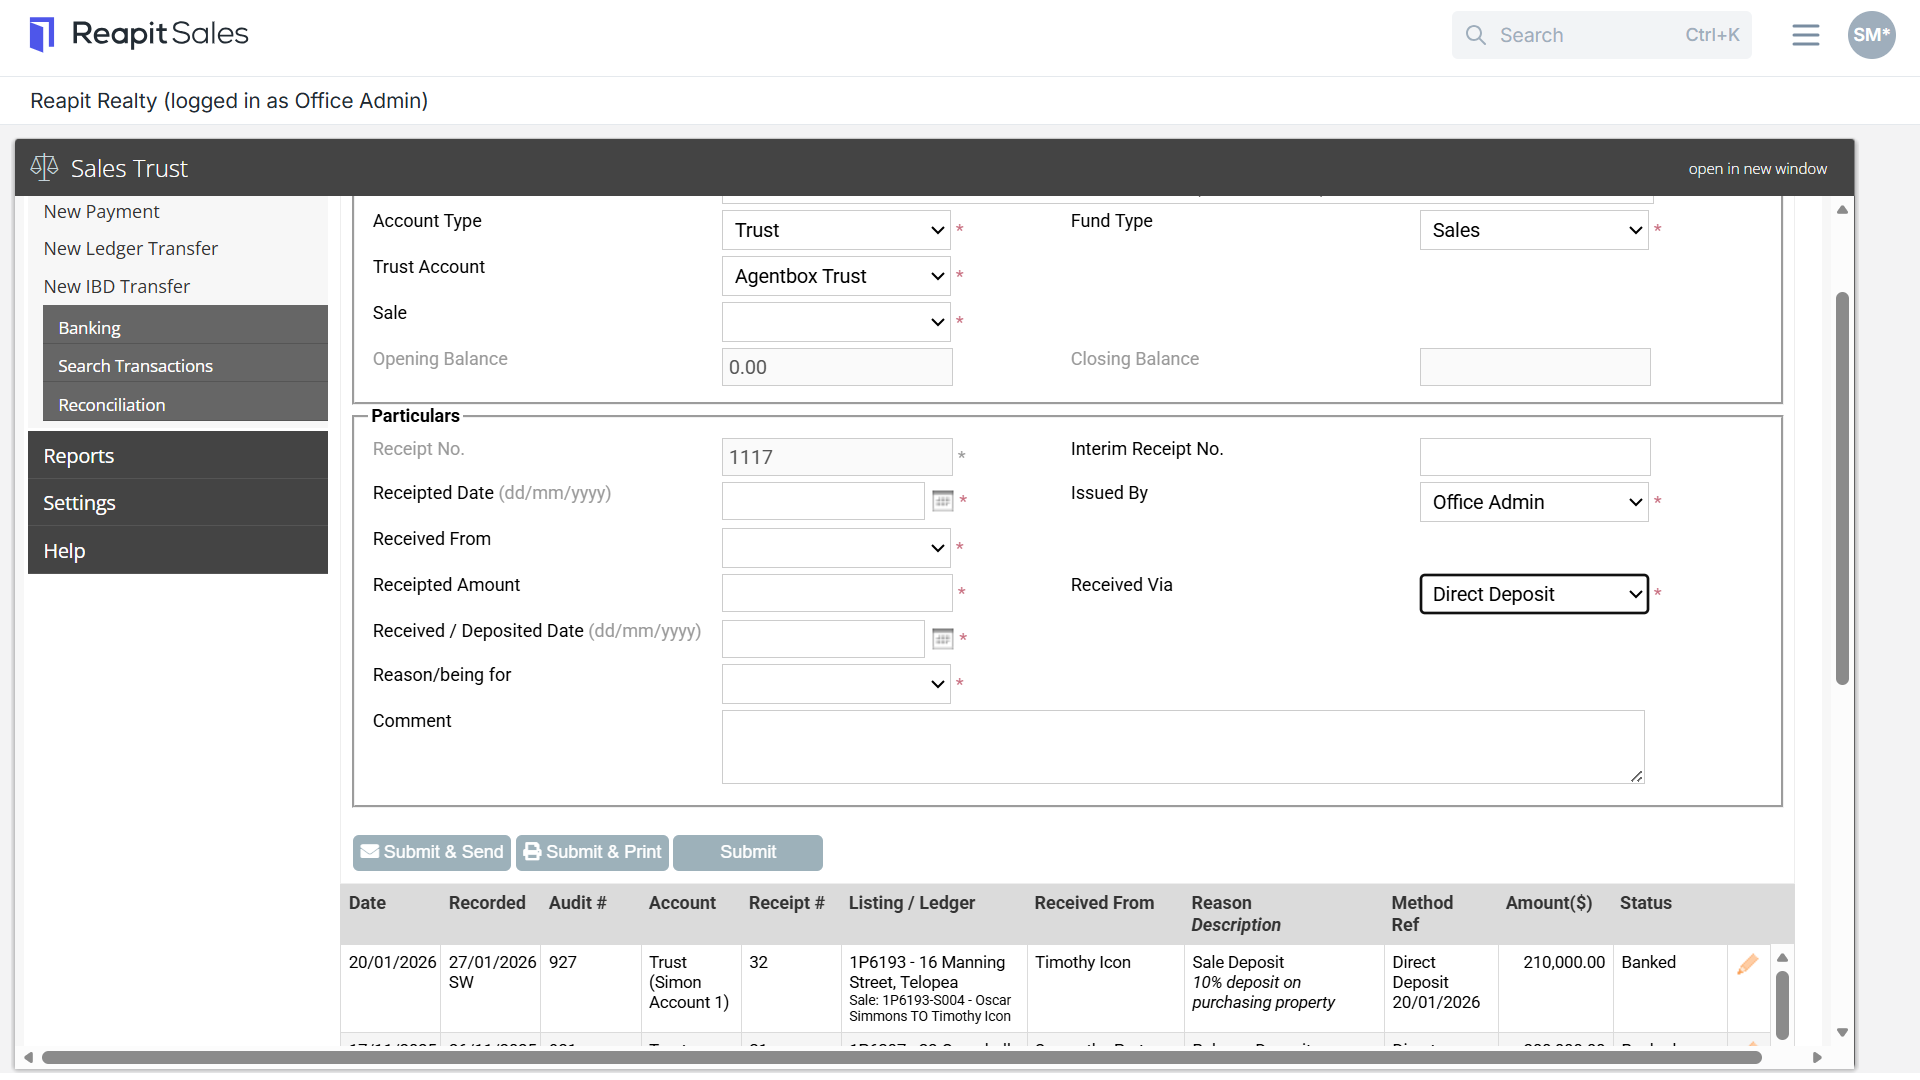
iv. Direct Deposit - Enter the Received/ Deposited Date as per you Bank Statement

v. EFTPOS
- Select a Reason e.g. Vendor Marketing Contribution
- If applicable you may also enter an Interim Receipt Number (if also using paper receipt books) and add a comment
- Click Submit & Print and the transaction record will appear in the list below. A receipt will also be generated in a new window. If you only want to add the transaction record to the list simply click ****
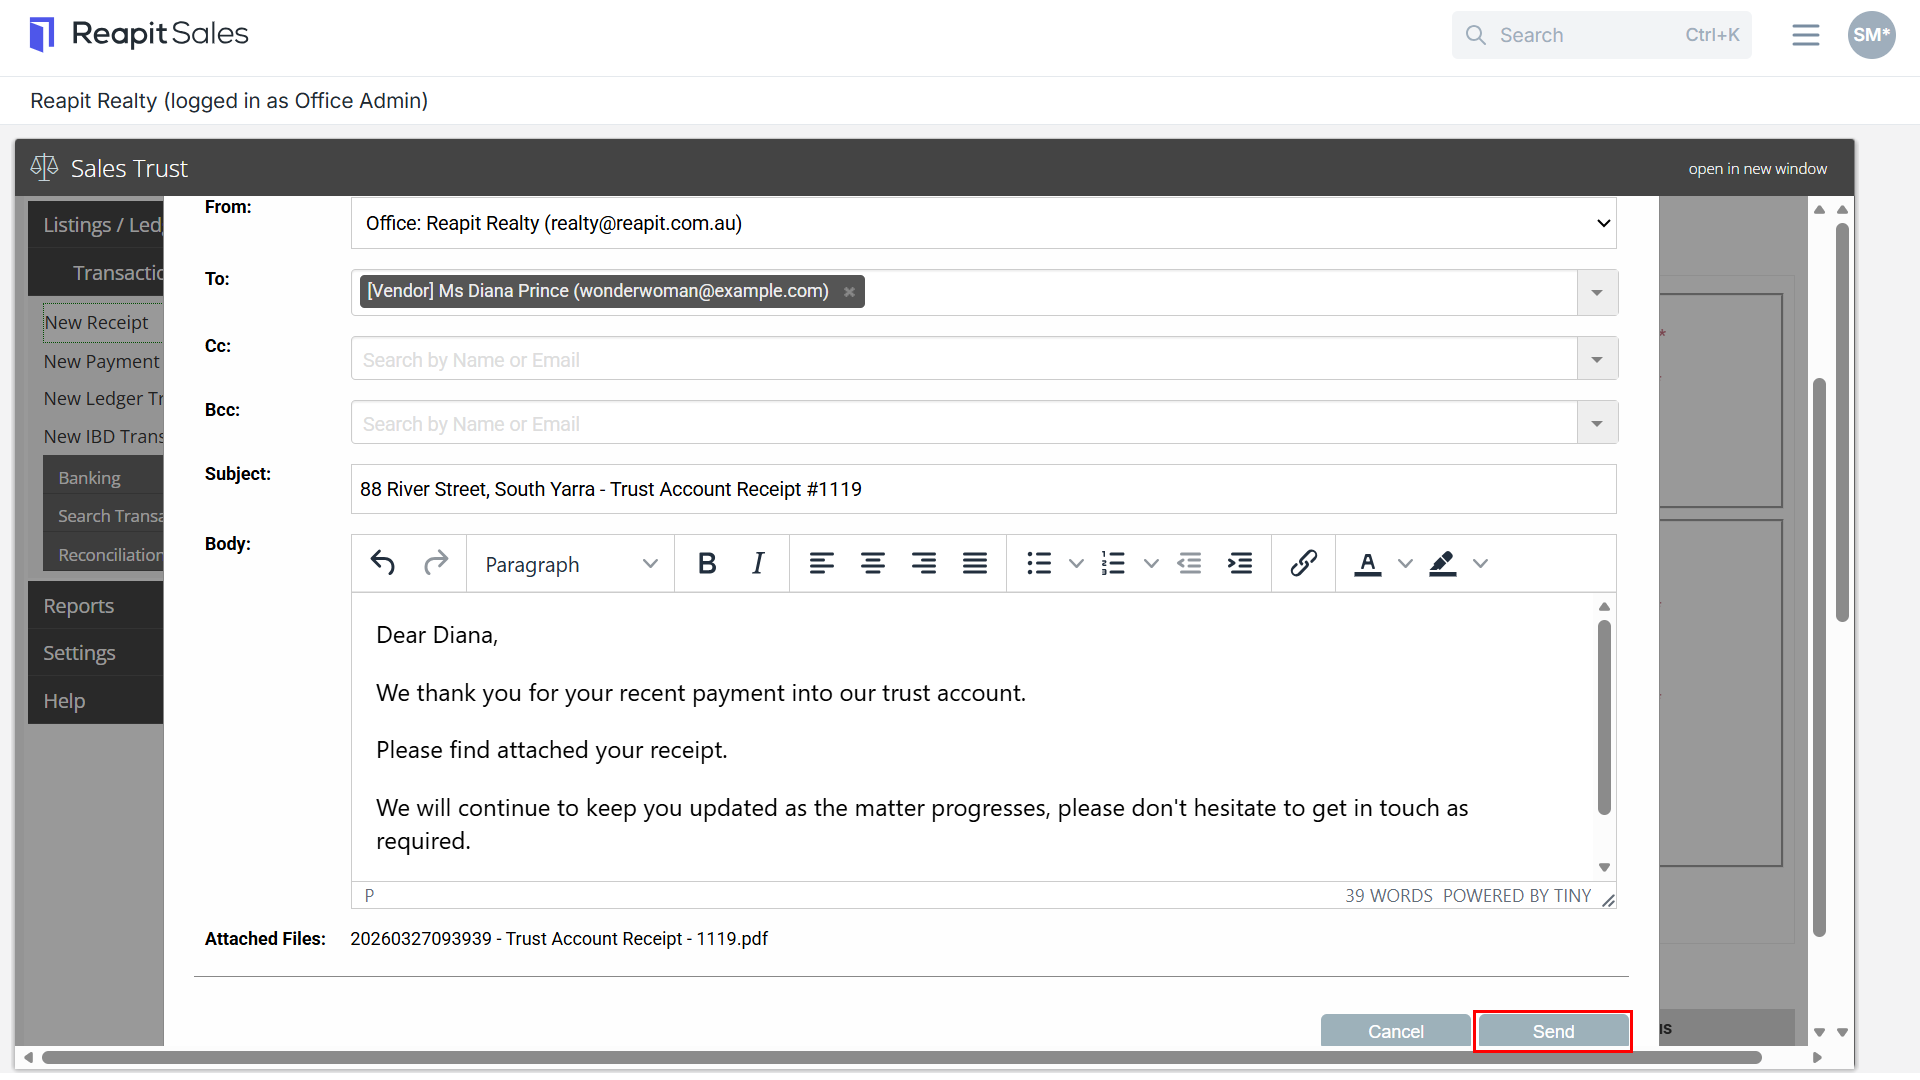
- Click Submit & Send to email a PDF attachment to the associated contacts eg vendor buyer etc immediately following the transaction.
Note: Multiple email recipients can be selected where required from the Listing's attached contacts list.*
- “Email History” button will show if an email has ever been sent for this receipt with a log showing the details and ability to Re-Send
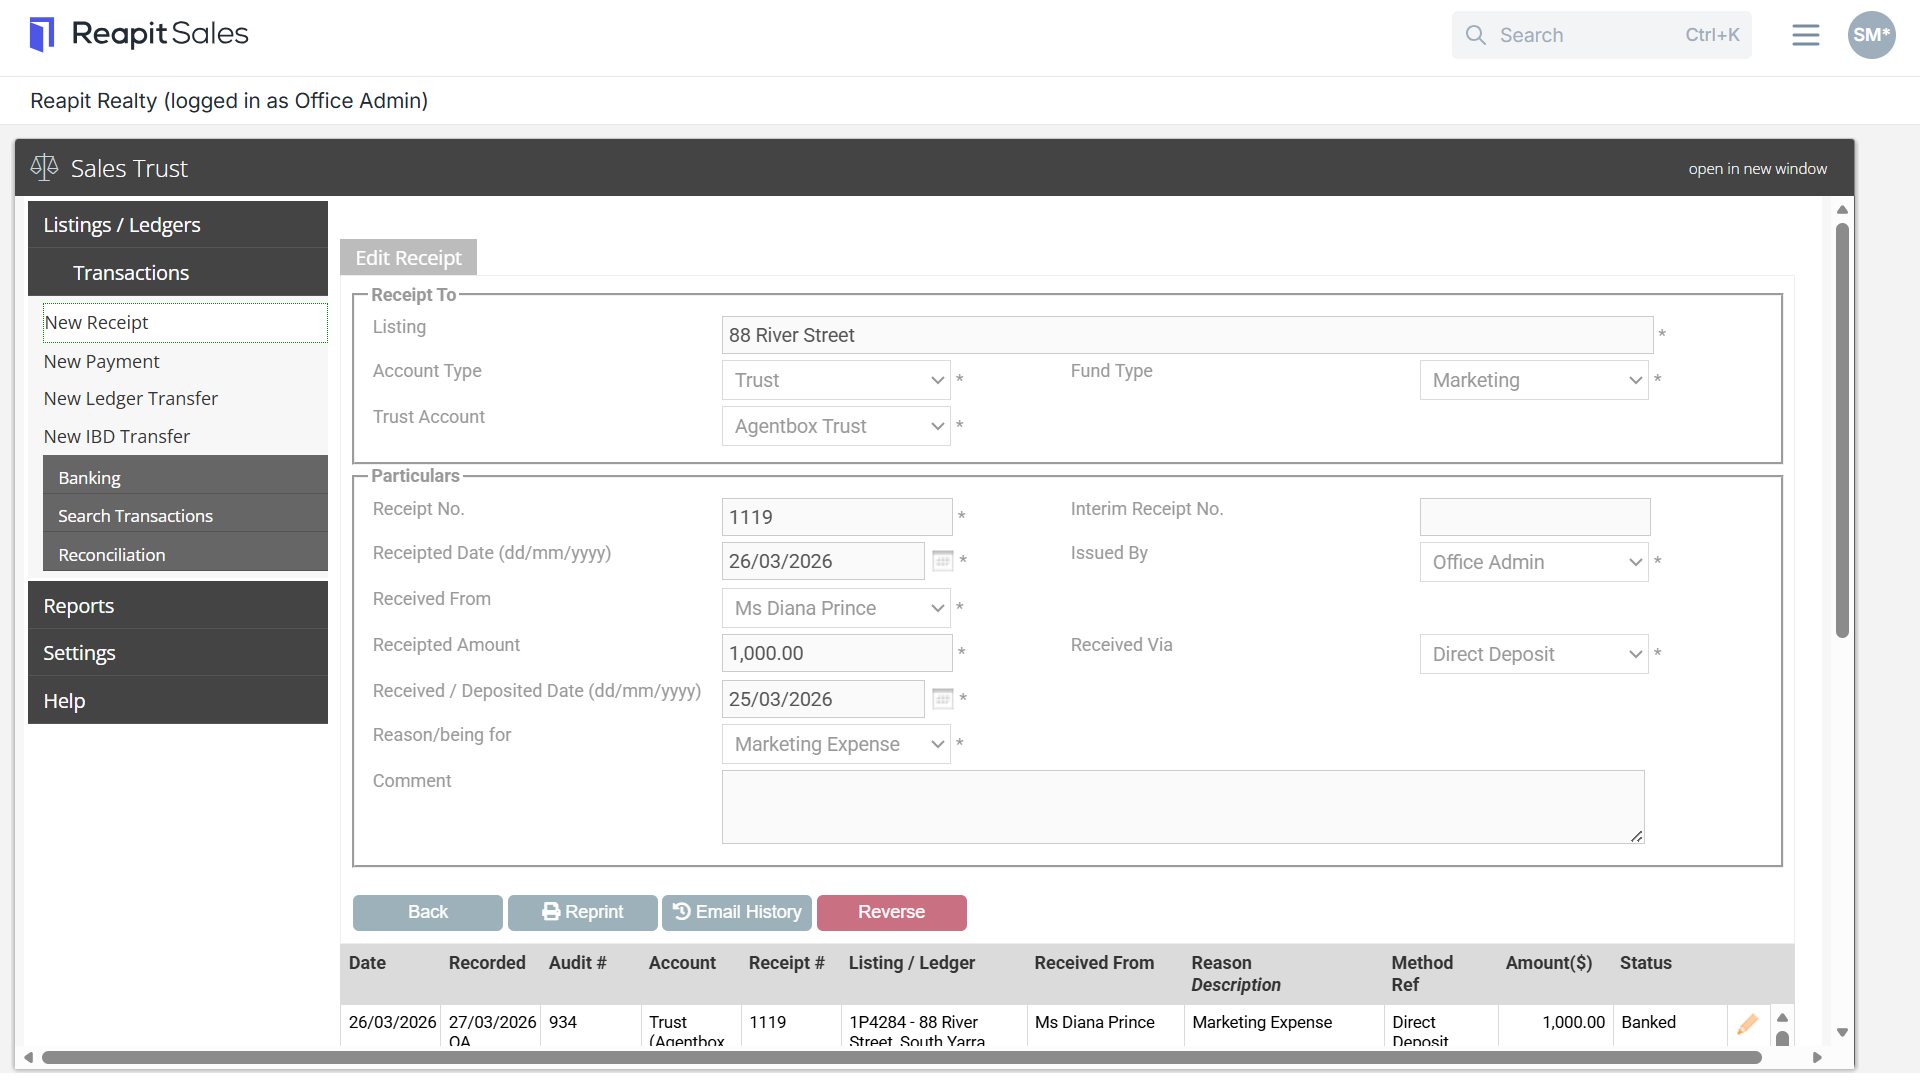
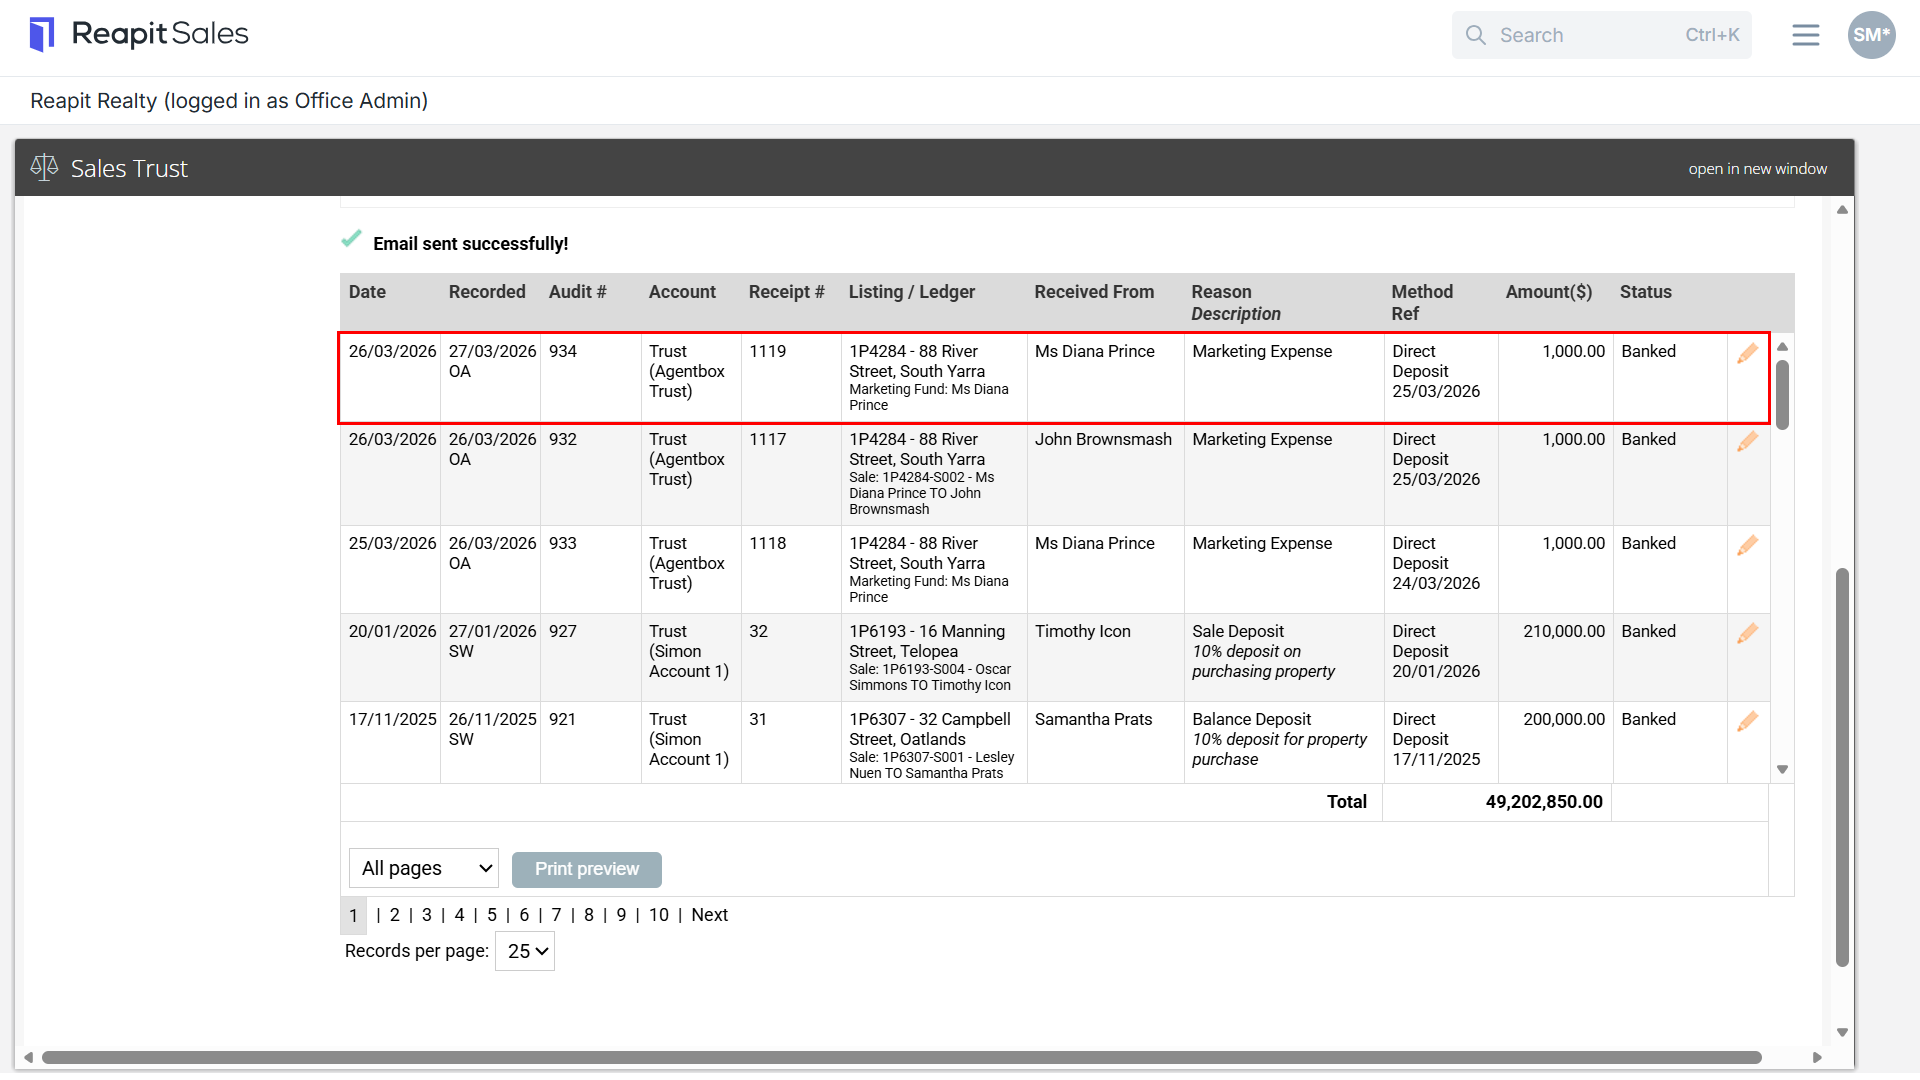
Please note: The default email templates for Receipt emails and Account Sale statement emails can be amended via Sales Trust: Settings > Email Templates.