'%20d='M0%208a8%208%200%200%201%208-8h24a8%208%200%200%201%208%208v24a8%208%200%200%201-8%208H8a8%208%200%200%201-8-8V8Z'/%3e%3cpath%20fill='%23fff'%20d='M10.41%206v3.779h15.048v19.537h4.132V6H10.41Z'/%3e%3cpath%20fill='%23fff'%20d='M20.967%2034V13.837L10.41%209.78v20.166L20.967%2034Z'/%3e%3cdefs%3e%3clinearGradient%20id='reapit-sales__a'%20x1='20.702'%20x2='20.702'%20y1='.351'%20y2='31.228'%20gradientUnits='userSpaceOnUse'%3e%3cstop%20stop-color='%235573FD'/%3e%3cstop%20offset='.575'%20stop-color='%234E56EA'/%3e%3c/linearGradient%3e%3c/defs%3e%3c/svg%3e)
Add Business as a Contact
This article runs through how to add business as a contact in Reapit Sales.
Add Business as a Contact
This article runs through how to add business as a contact in Reapit Sales.
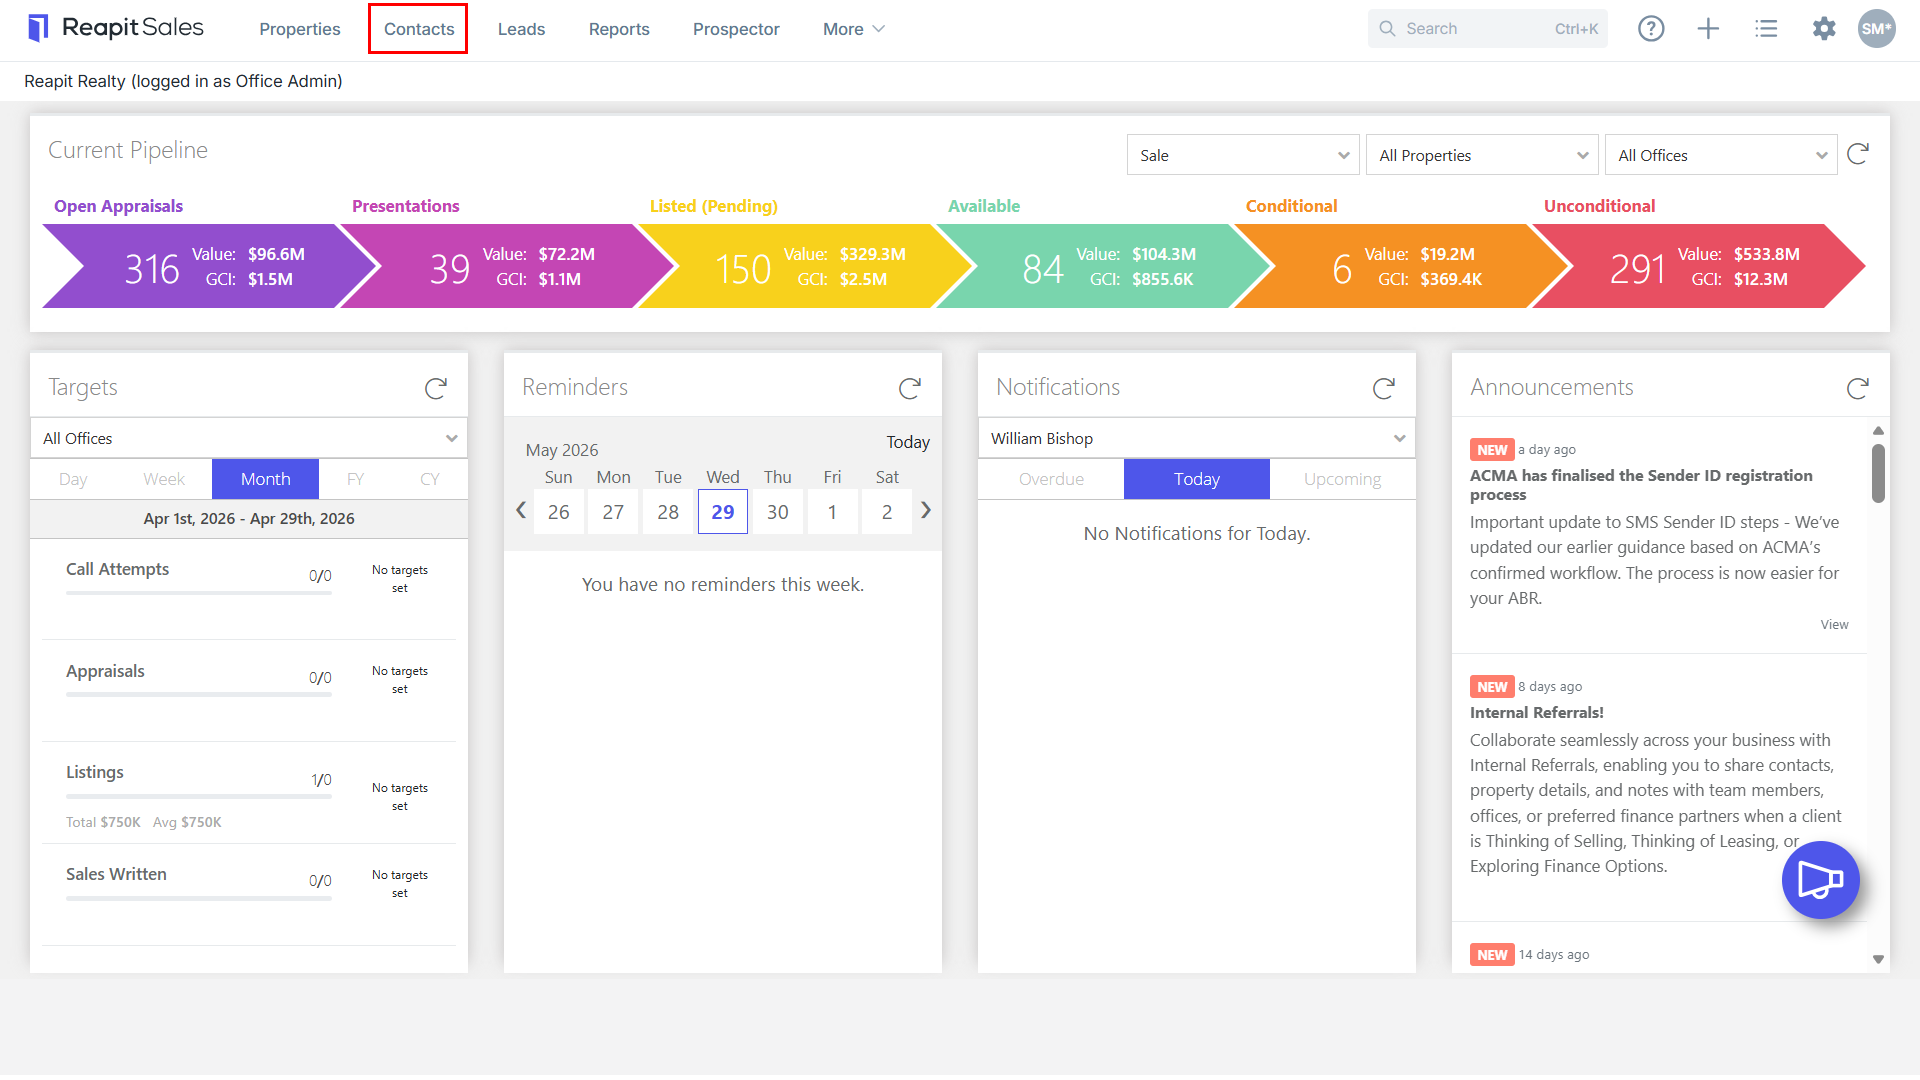
- Click the Contacts from the Main Menu.
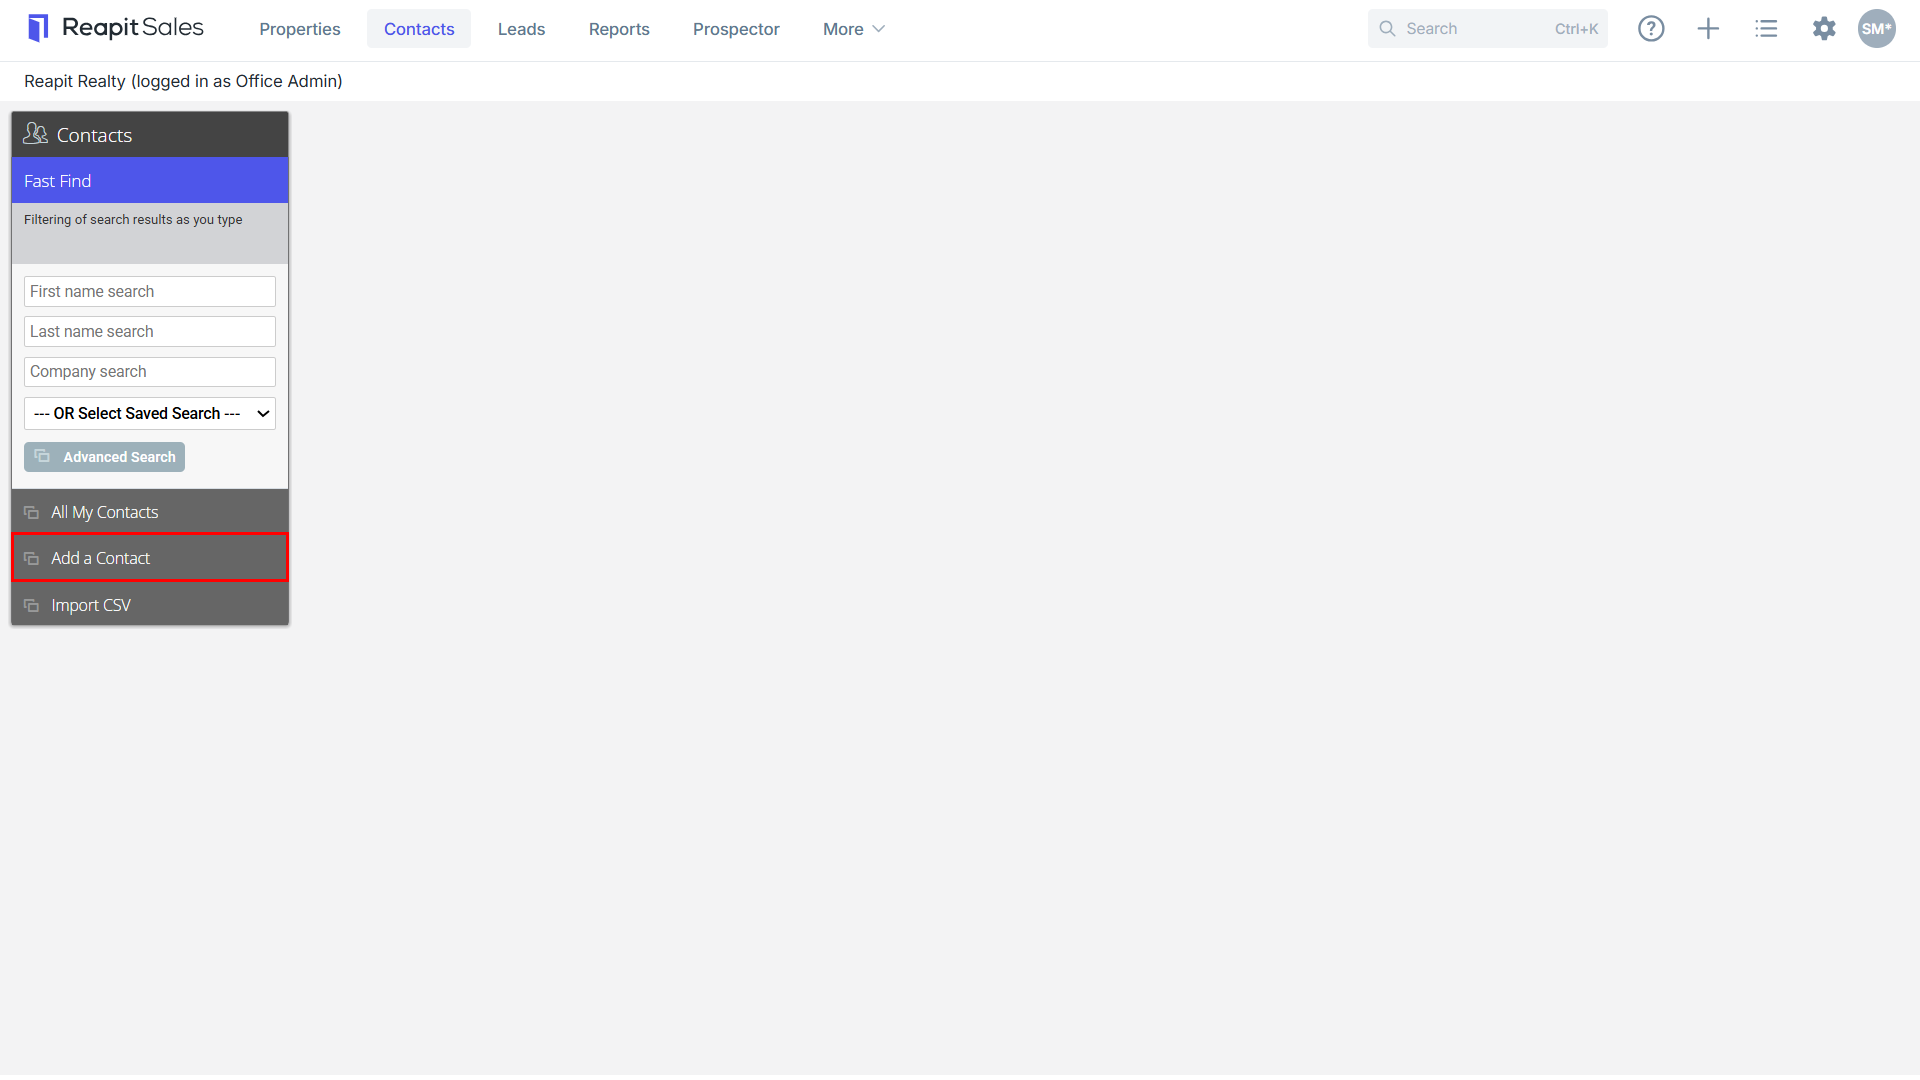
- Click Add a Contact from the Left Contact Panel.
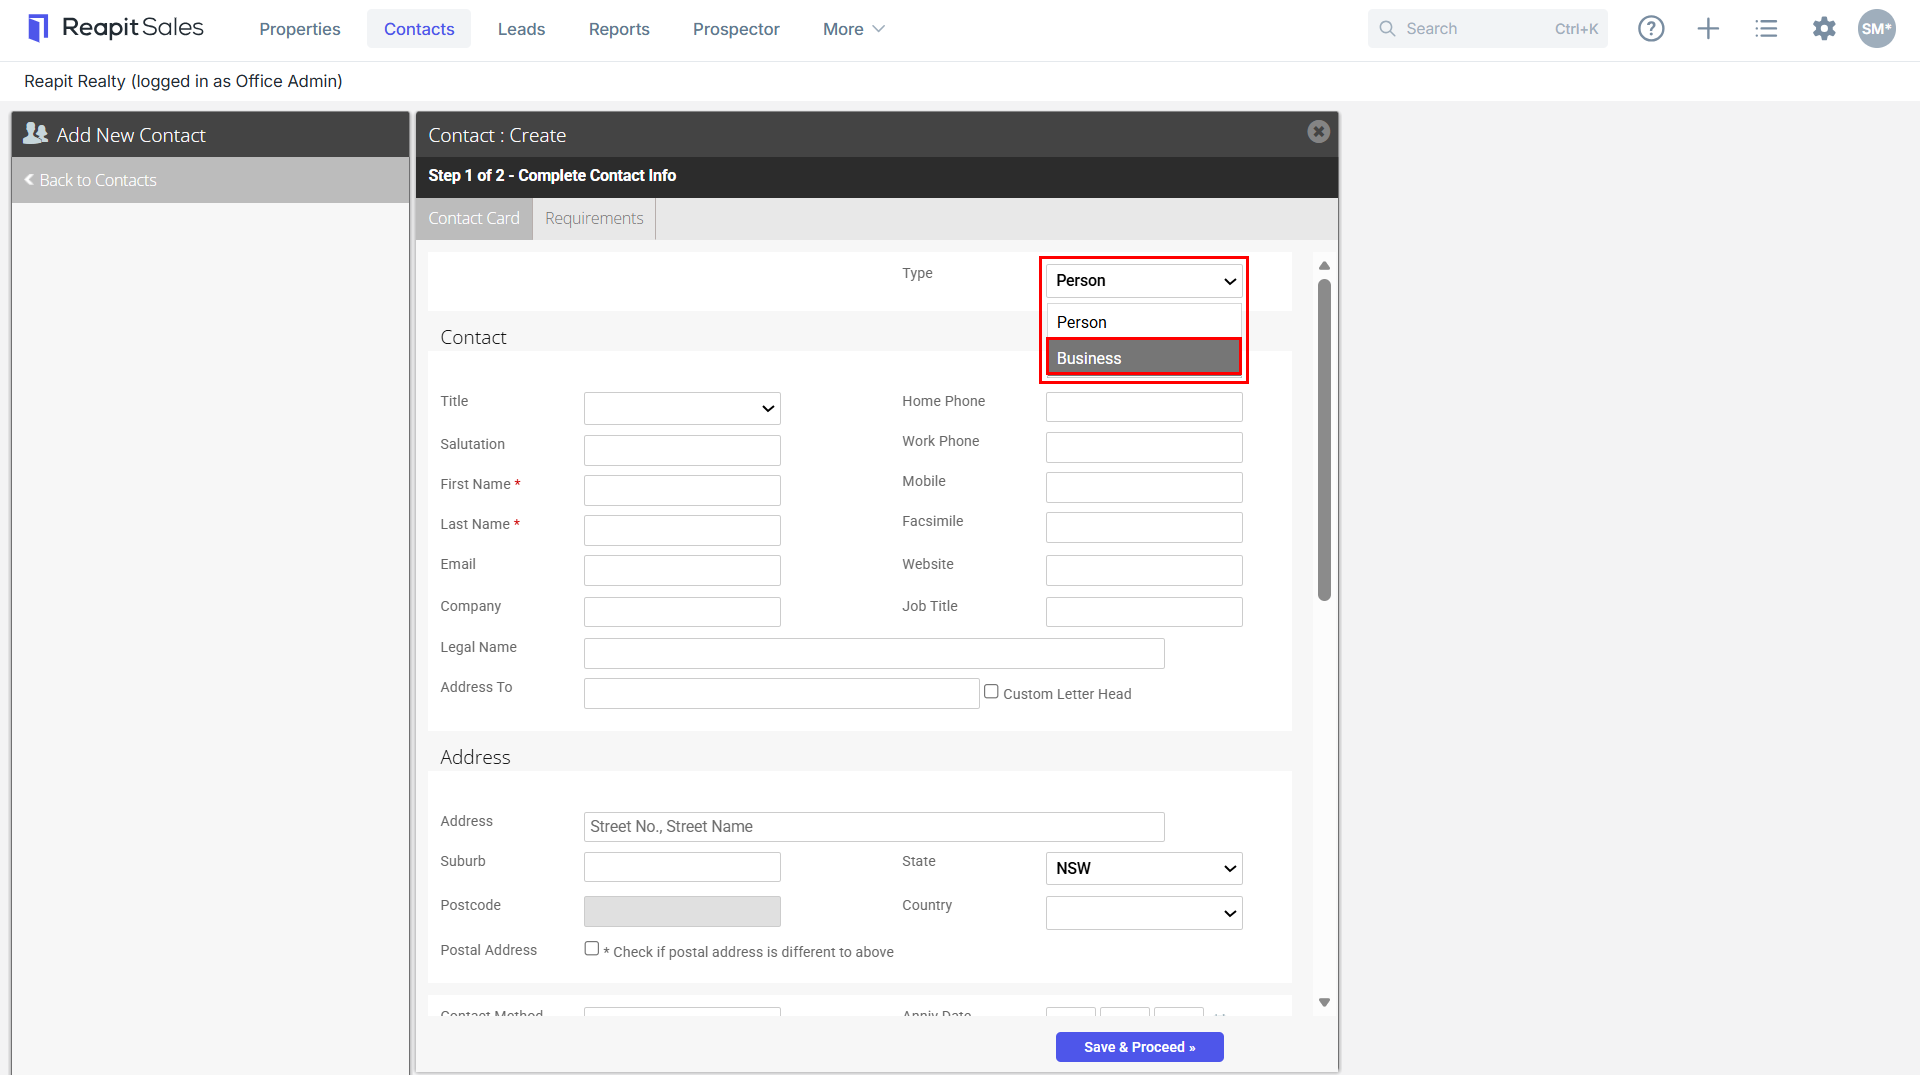
- Select Business from the Type drop-down.
- Complete the Contact Info using the following guidelines:
- Title
- Salutation (This will be used to address the contact in E-Newsletters, if nothing is entered the First Name is used)
- First Name & Surname (These fields are compulsory unless the contact class 'Business' is ticked)
- Phone numbers
- Email (Reapit Sales automatically checks a valid email address has been entered)
- Company (This field is compulsory if the contact class 'Business' is ticked)
- Job Title
- Residential Address
- Postal Address (check box to enter in a postal address)
- Contact Method:
- Anniversary Date
- Contact Class: (Select at least 'Business' and any other relevant classes e.g. supplier, solicitor etc)
- Class Group: A Class Group is a folder which groups Custom Classes together. To add a Class Group click on the green Add Custom button.
- Custom Class
- Contact Source: Auto Email, Email Enquiry, Import, Open Homes Inspection, Other, Phone Enquiry, Website Enquiry (May vary per office)
- Assigned Staff (depending on office sharing policies, this can be used to give access)
- Contact Comments
- Subscriptions: Auction Reminders, Newsletters, OFI Times, Property Updates, Sales Results
Note: Minimum requirements:
- First Name & Surname are compulsory unless the contact class Business is checked and a Company name is entered.
- Reapit Sales requires either an email address or mobile to eliminate the possibility of duplicates. A contact can still be created with only a phone number or physical address.
- All contacts require at least one Contact Class, they can belong to multiple classes.
- At least one Assigned Agent is required on each contact.
- Click Save & Proceed