'%20d='M0%208a8%208%200%200%201%208-8h24a8%208%200%200%201%208%208v24a8%208%200%200%201-8%208H8a8%208%200%200%201-8-8V8Z'/%3e%3cpath%20fill='%23fff'%20d='M10.41%206v3.779h15.048v19.537h4.132V6H10.41Z'/%3e%3cpath%20fill='%23fff'%20d='M20.967%2034V13.837L10.41%209.78v20.166L20.967%2034Z'/%3e%3cdefs%3e%3clinearGradient%20id='reapit-sales__a'%20x1='20.702'%20x2='20.702'%20y1='.351'%20y2='31.228'%20gradientUnits='userSpaceOnUse'%3e%3cstop%20stop-color='%235573FD'/%3e%3cstop%20offset='.575'%20stop-color='%234E56EA'/%3e%3c/linearGradient%3e%3c/defs%3e%3c/svg%3e)
Access Prospect Properties in the Mobile App
This article will cover accessing prospect properties using the Reapit Sales App.
Manage Prospect Properties in the Mobile App
The process in this article include:
- Access Prospect Properties
- Add a Prospect Property
- Assign Myself as Prospecting Agent
Within the Reapit Sales App, you can access prospect properties, assign yourself as a prospecting agent and convert to appraisal when prospecting.
Access Prospect Properties
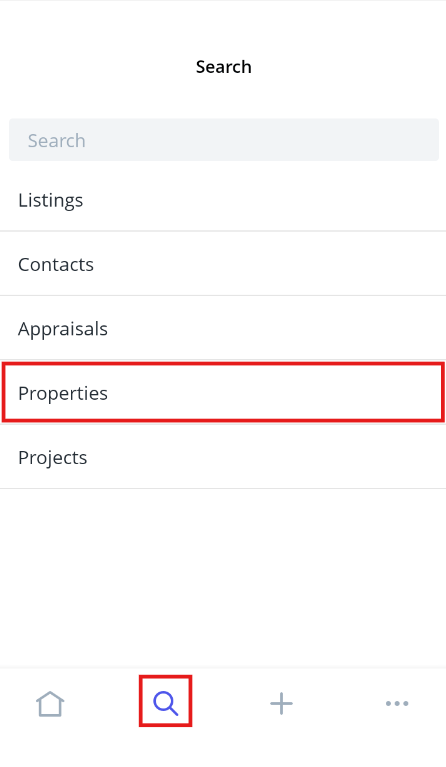
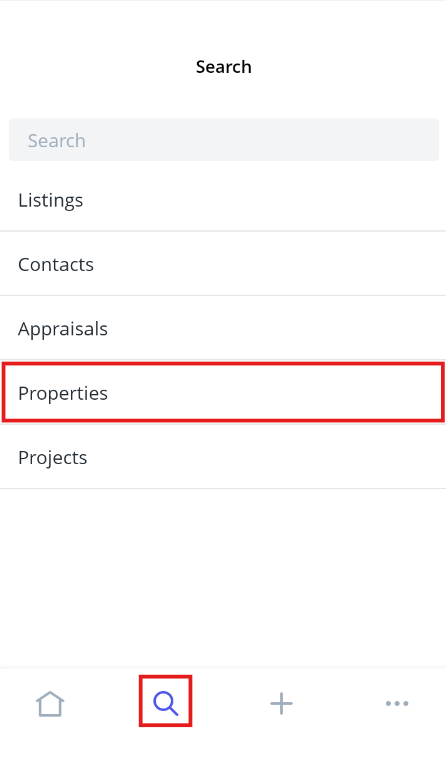
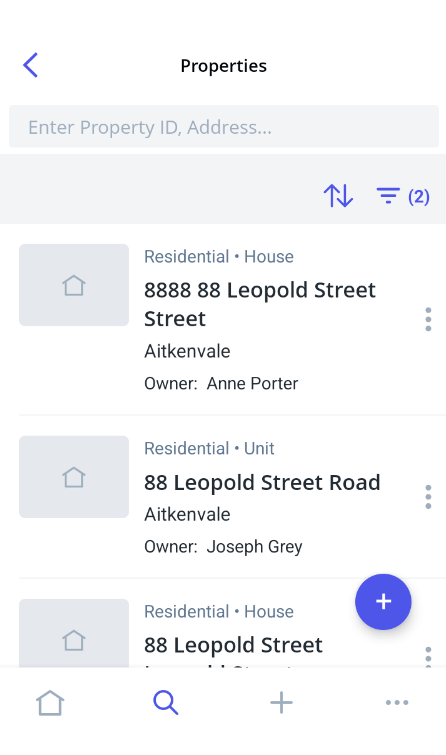
1. Tap on the magnifying glass icon from the main menu and select Properties.
2. Locate your prospect
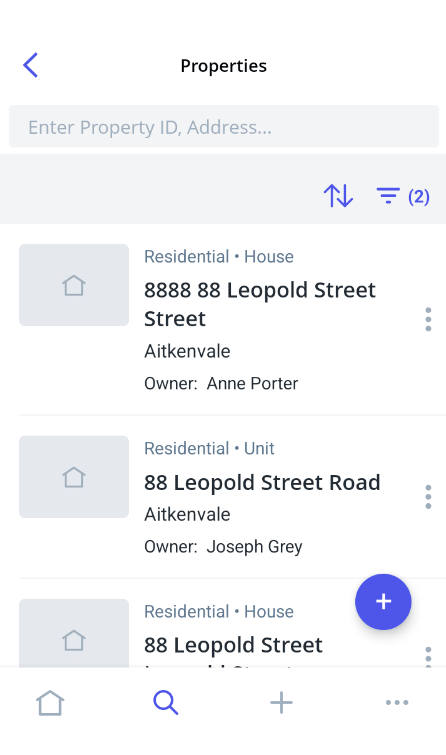
- Apply Filters
- Filter results by Properties, Near Me, Property Type, Category, Prospective Sale Price, Last Sold Price, Prospective Lease Price, Last Leased Price, Last Leased Date, Bedrooms, Bathrooms, and Total Parking
- Sort By
Suburb, Last Updated, Last Sold Date, Price - Search bar
Quickly search for a listing using the Property ID or Property Address
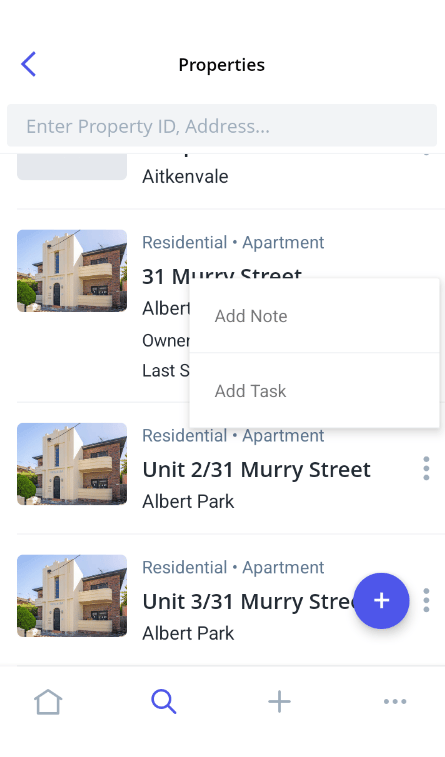
3. Tap the Quick Add icon to Add a Note or Task.
4. Tap the address to open the prospect property.
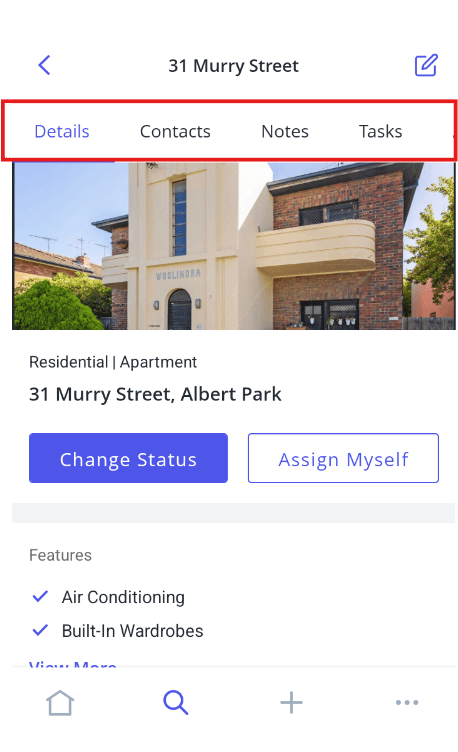
- The Details tab includes the general property info and dates, related agents & contacts and Google map.
- Tap the Contacts tab to view all related property contacts e.g owner. Tap the contact to open the contact record or quickly call, SMS or email the related property contact e.g. vendor using the quick action icon next to each contact.
- Tap Notes to view notes against the prospect. Tap the quick action icon to edit or delete (subject to permissions) an entry or tap the + icon to add a new note or note with a follow-up task.
- Tap Tasks to view incomplete or completed tasks against the prospect. Tap the quick action icon to edit or delete an entry or tap the + icon to add a new task.
- Tap Appointments to view any appointments against the prospect. Tap the quick action icon to edit or delete an entry or tap the + icon to add a new appointment.
- Tap Related Listings to view any related appraisals, listing presentations or current/past listings at that address. Tap address to open.
Add a Prospect Property
You can create new Prospect Properties in the App, enter property attributes and attach related contacts from your existing database or by adding new contacts on the go. When creating a new Prospect Property, the user will be assigned as the Prospecting Agent and the associated contact will be assigned as Owner, Owner Occupied or Owner Absentee.
1. Tap on the magnifying glass icon from the main menu and select Properties.
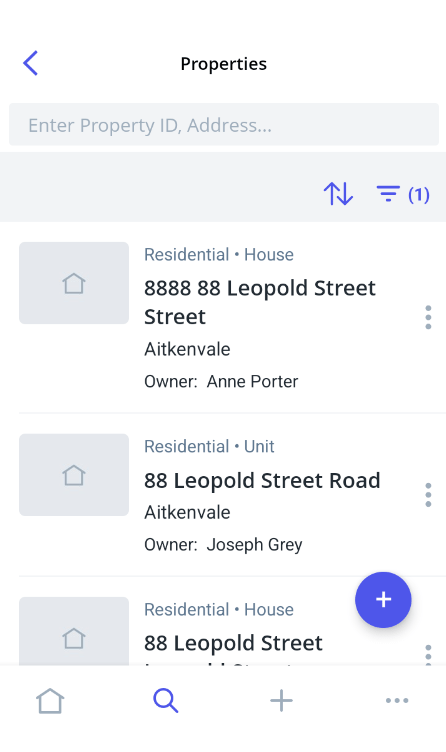
2. Tap the Plus button to add a Prospect Property.
4. Complete the general property details - address, property attributes and add related contacts to the prospect property by searching from your existing database or add new contacts on-the-go.
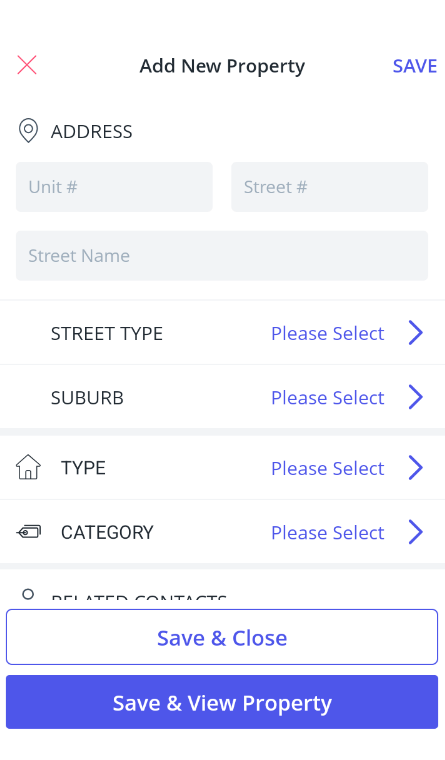
5. Once you have entered in the prospect property details you can Save and Close.
Note: you must have the Create New Property user permission in order to be able to add a new Prospect Property Prospect and/or Appraisal.
Assign Myself as Prospecting Agent
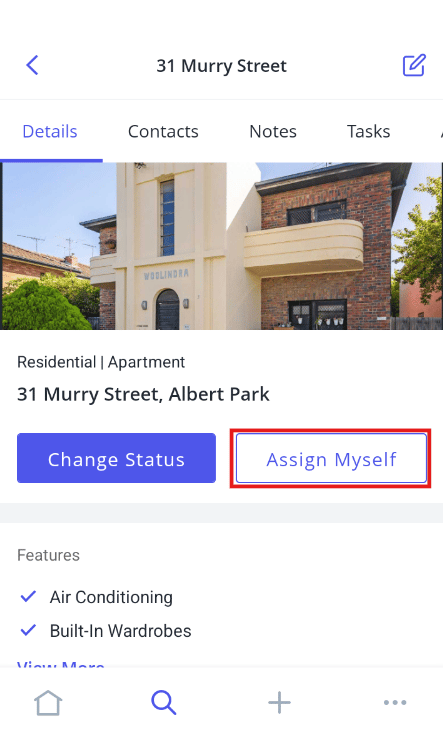
With the 'Assign Myself' configuration option enabled within your system, you can become the prospecting agent.
1. Tap on the property address within the Properties screen of the app.
2. From the Details tab, scroll down to the Agents section and click Assign Myself.