Adding and Understanding Testimonial Categories
This article will show you how to add and understand Testimonial Categories
Adding and Understanding Testimonial Categories
Testimonial provides the ability to centralise all of your reviews in one digital platform.
The processes in this article include:
- Adding a Category
- Editing a Category
- Quick Edit a Category
- Delete a Category
- View a Category
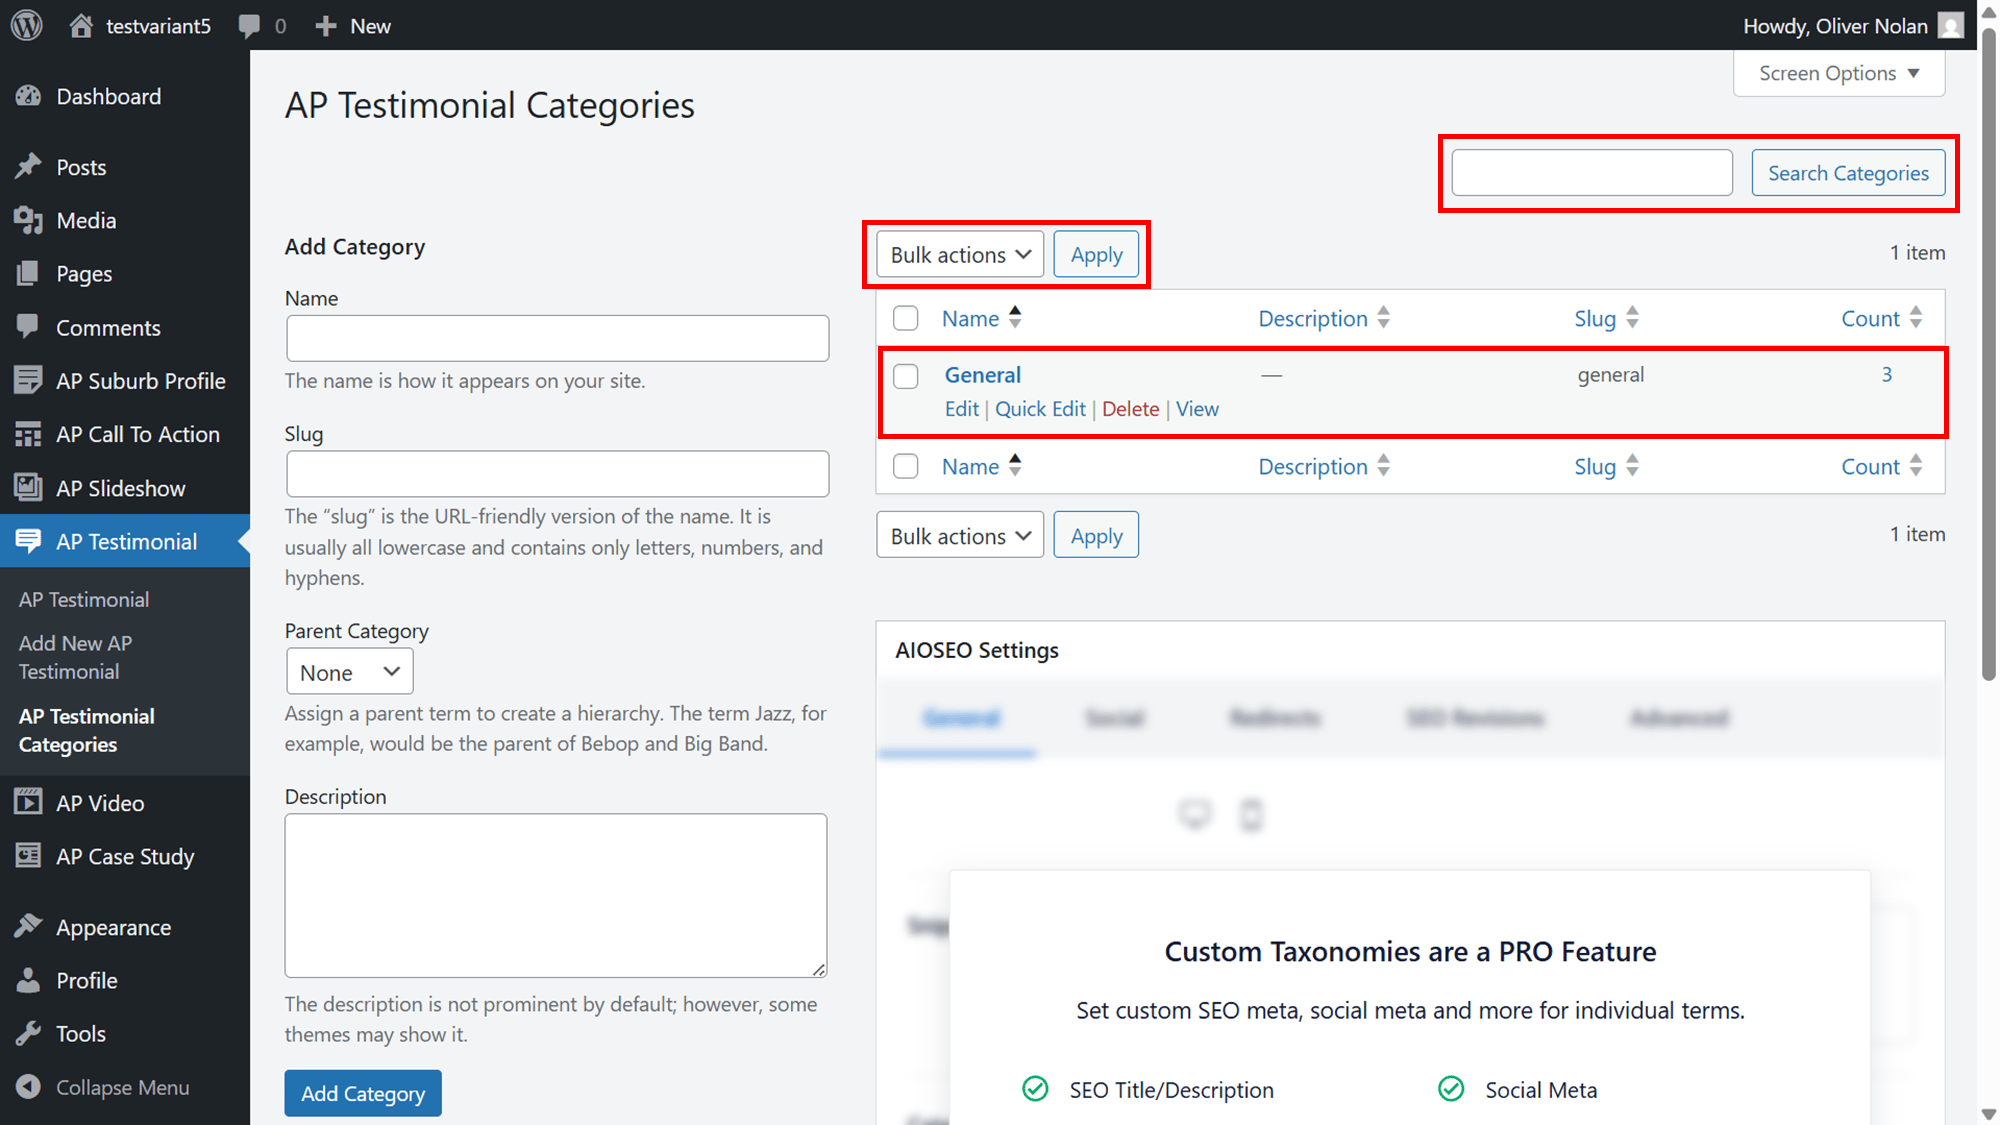
Within your Testimonial menu, you can:
- Add a new category.
- Search for an existing category
- View category name, description, slug and count
- Edit, Quick Edit, Delete and View your previously created testimonial category.
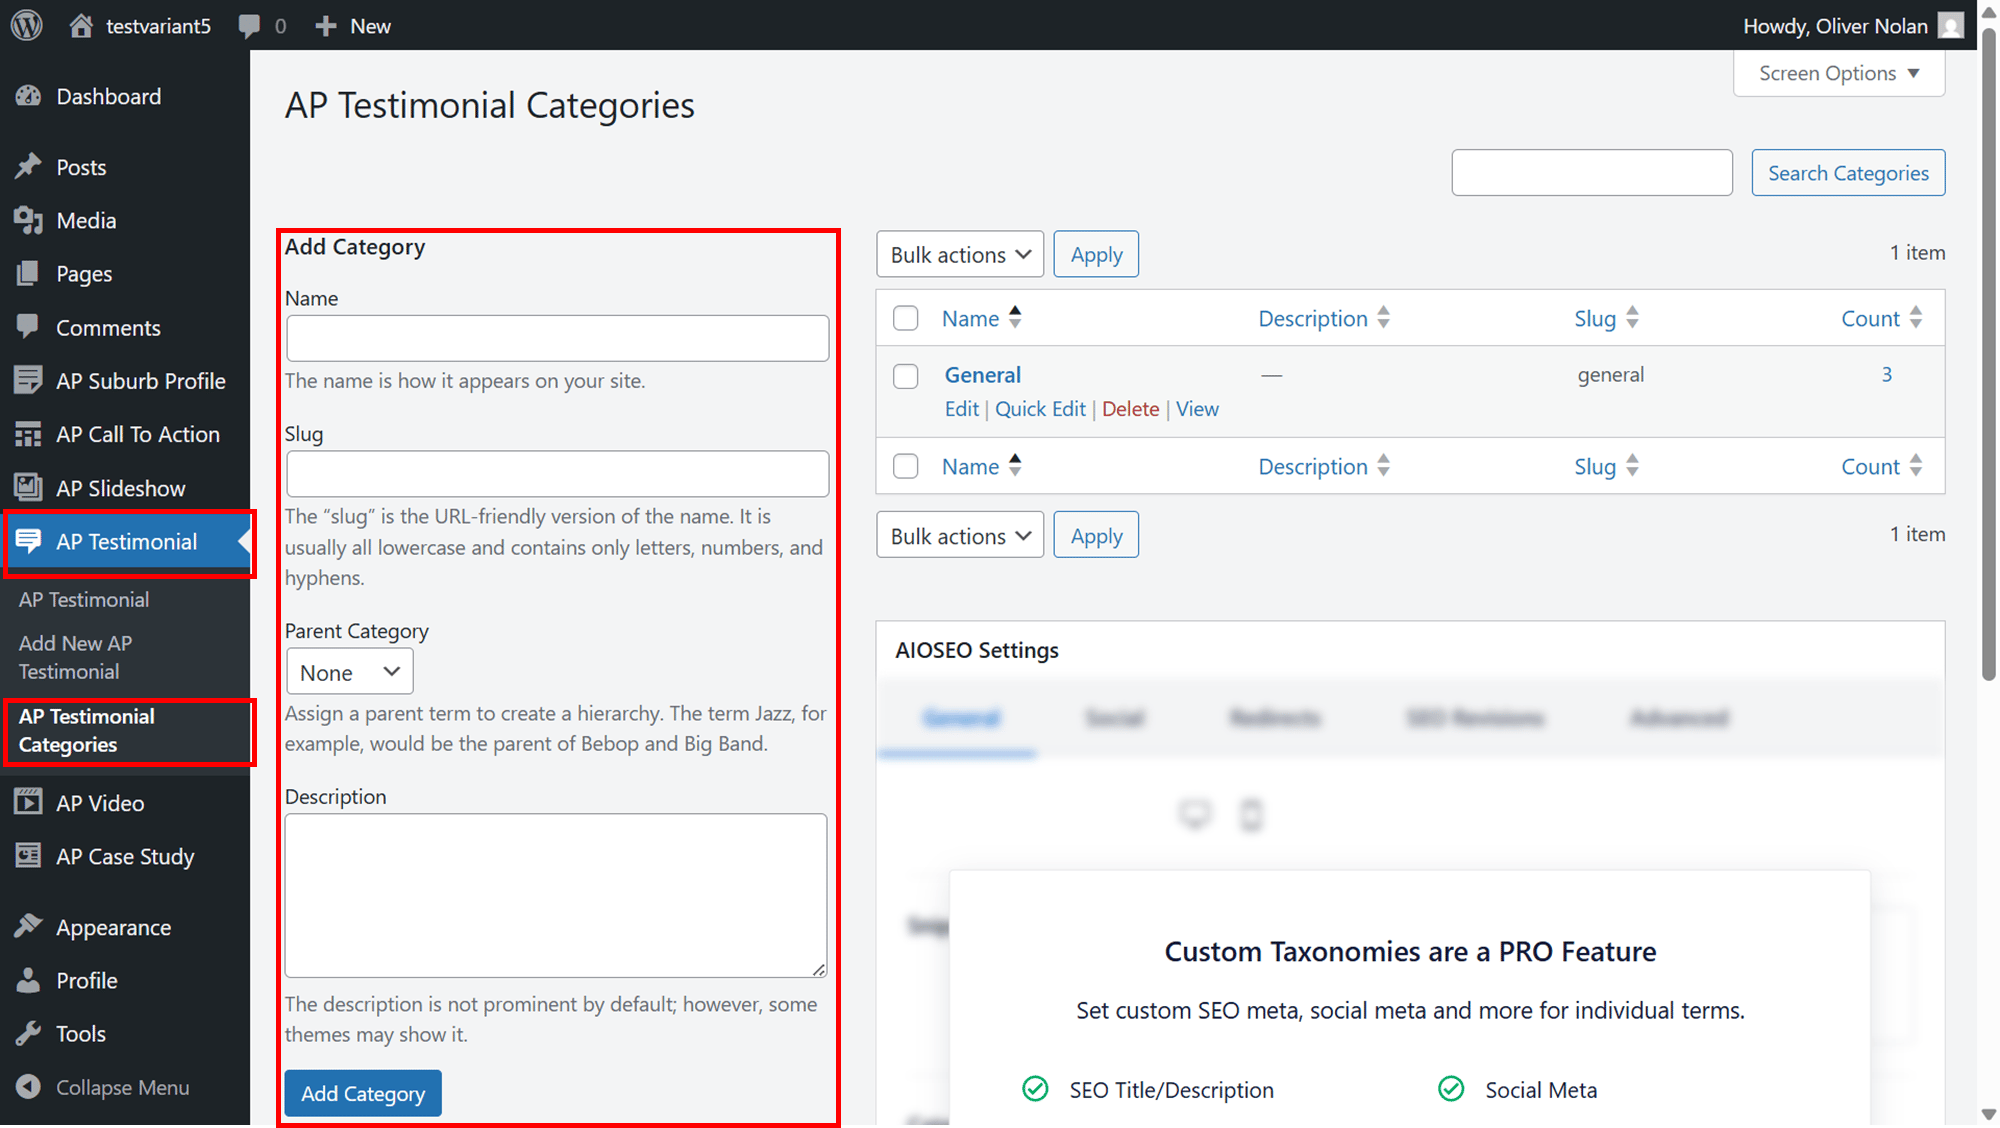
Adding a Category
- Click on AP Testimonial.
- Click on AP Testimonial Categories.
- Enter in a name, slug (if desired), parent category if applicable and a description.
- Click Add Category.
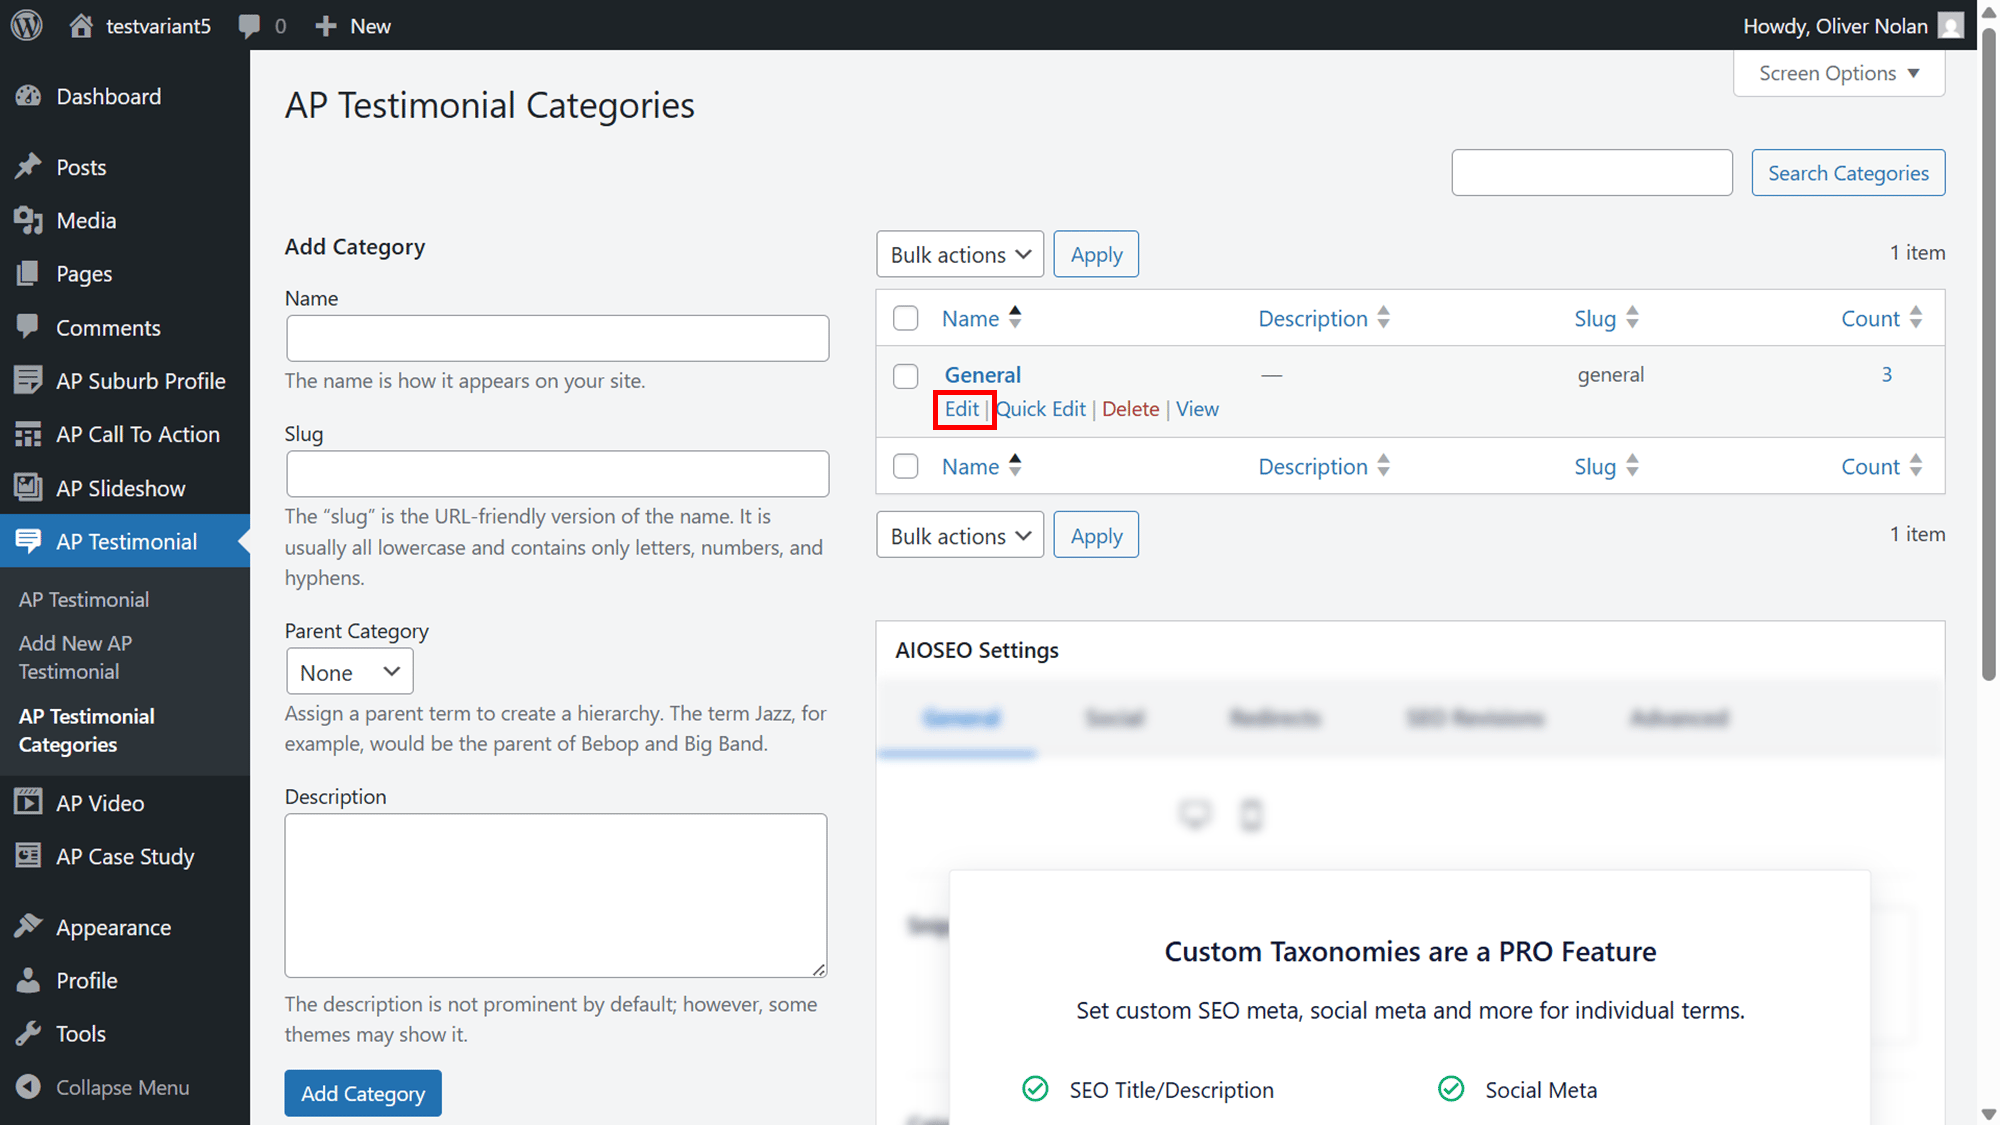
Editing a Category
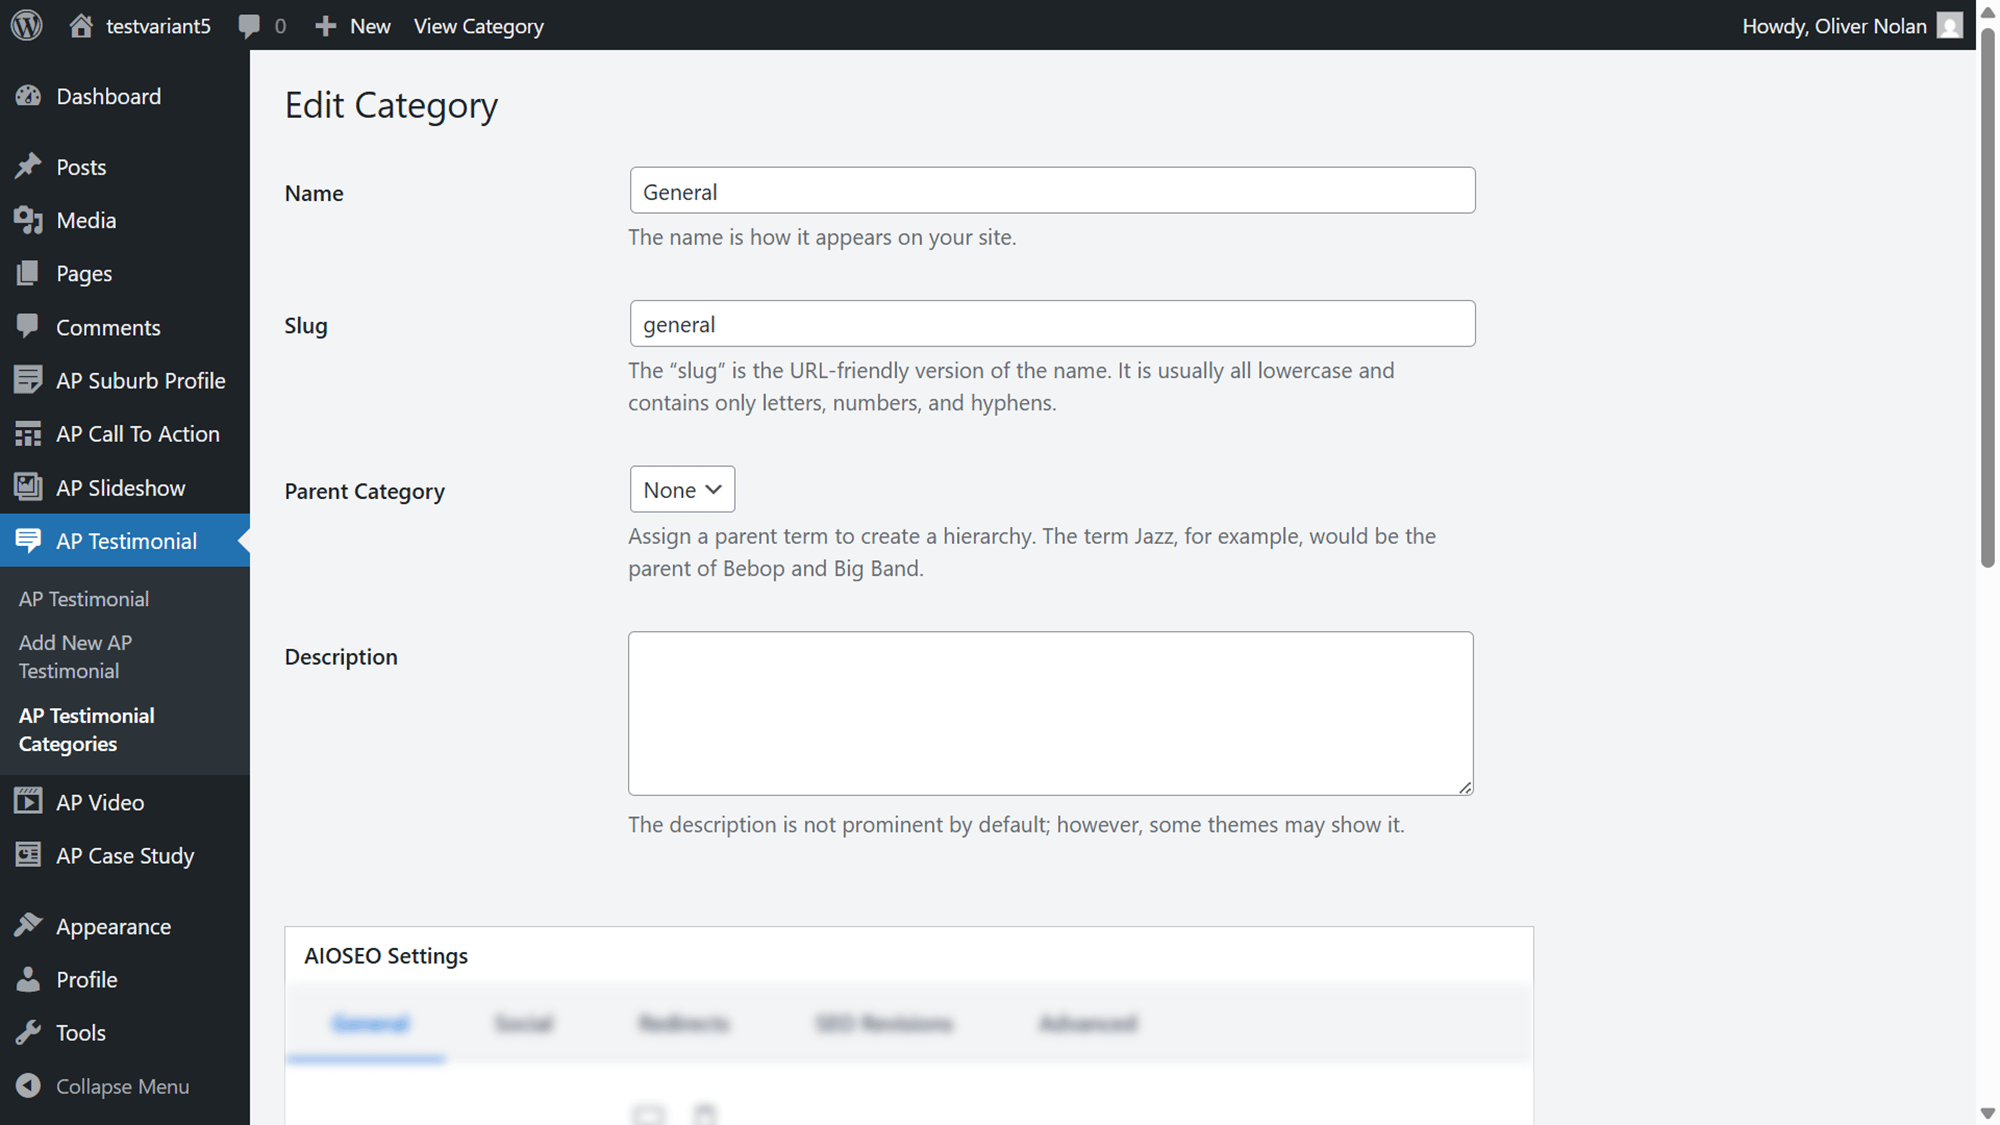
- Hover the cursor over the Category and click on Edit.
- Edit name, slug, parent category and description and click Update.
Quick Edit a Category
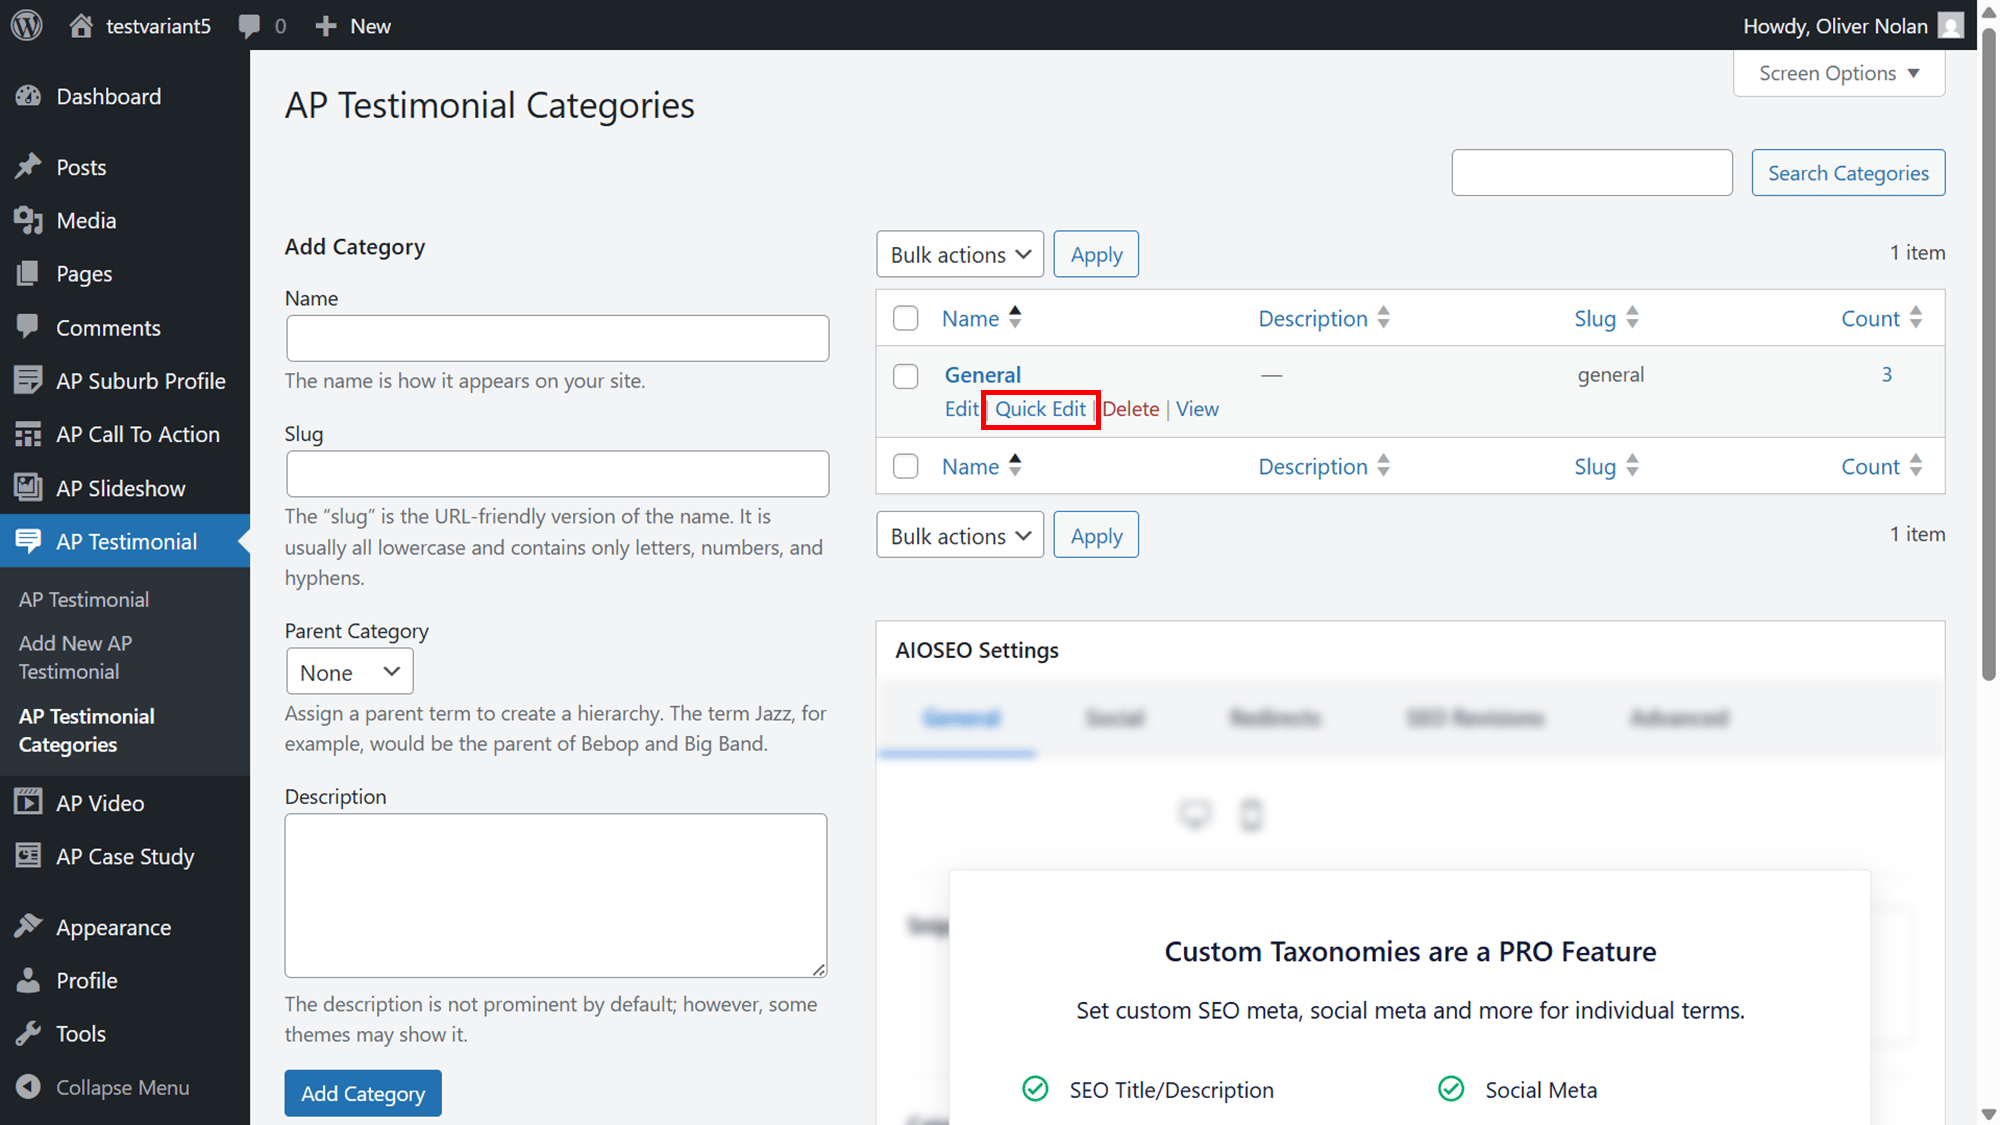
- Hover the cursor over the Category and click on Quick Edit.
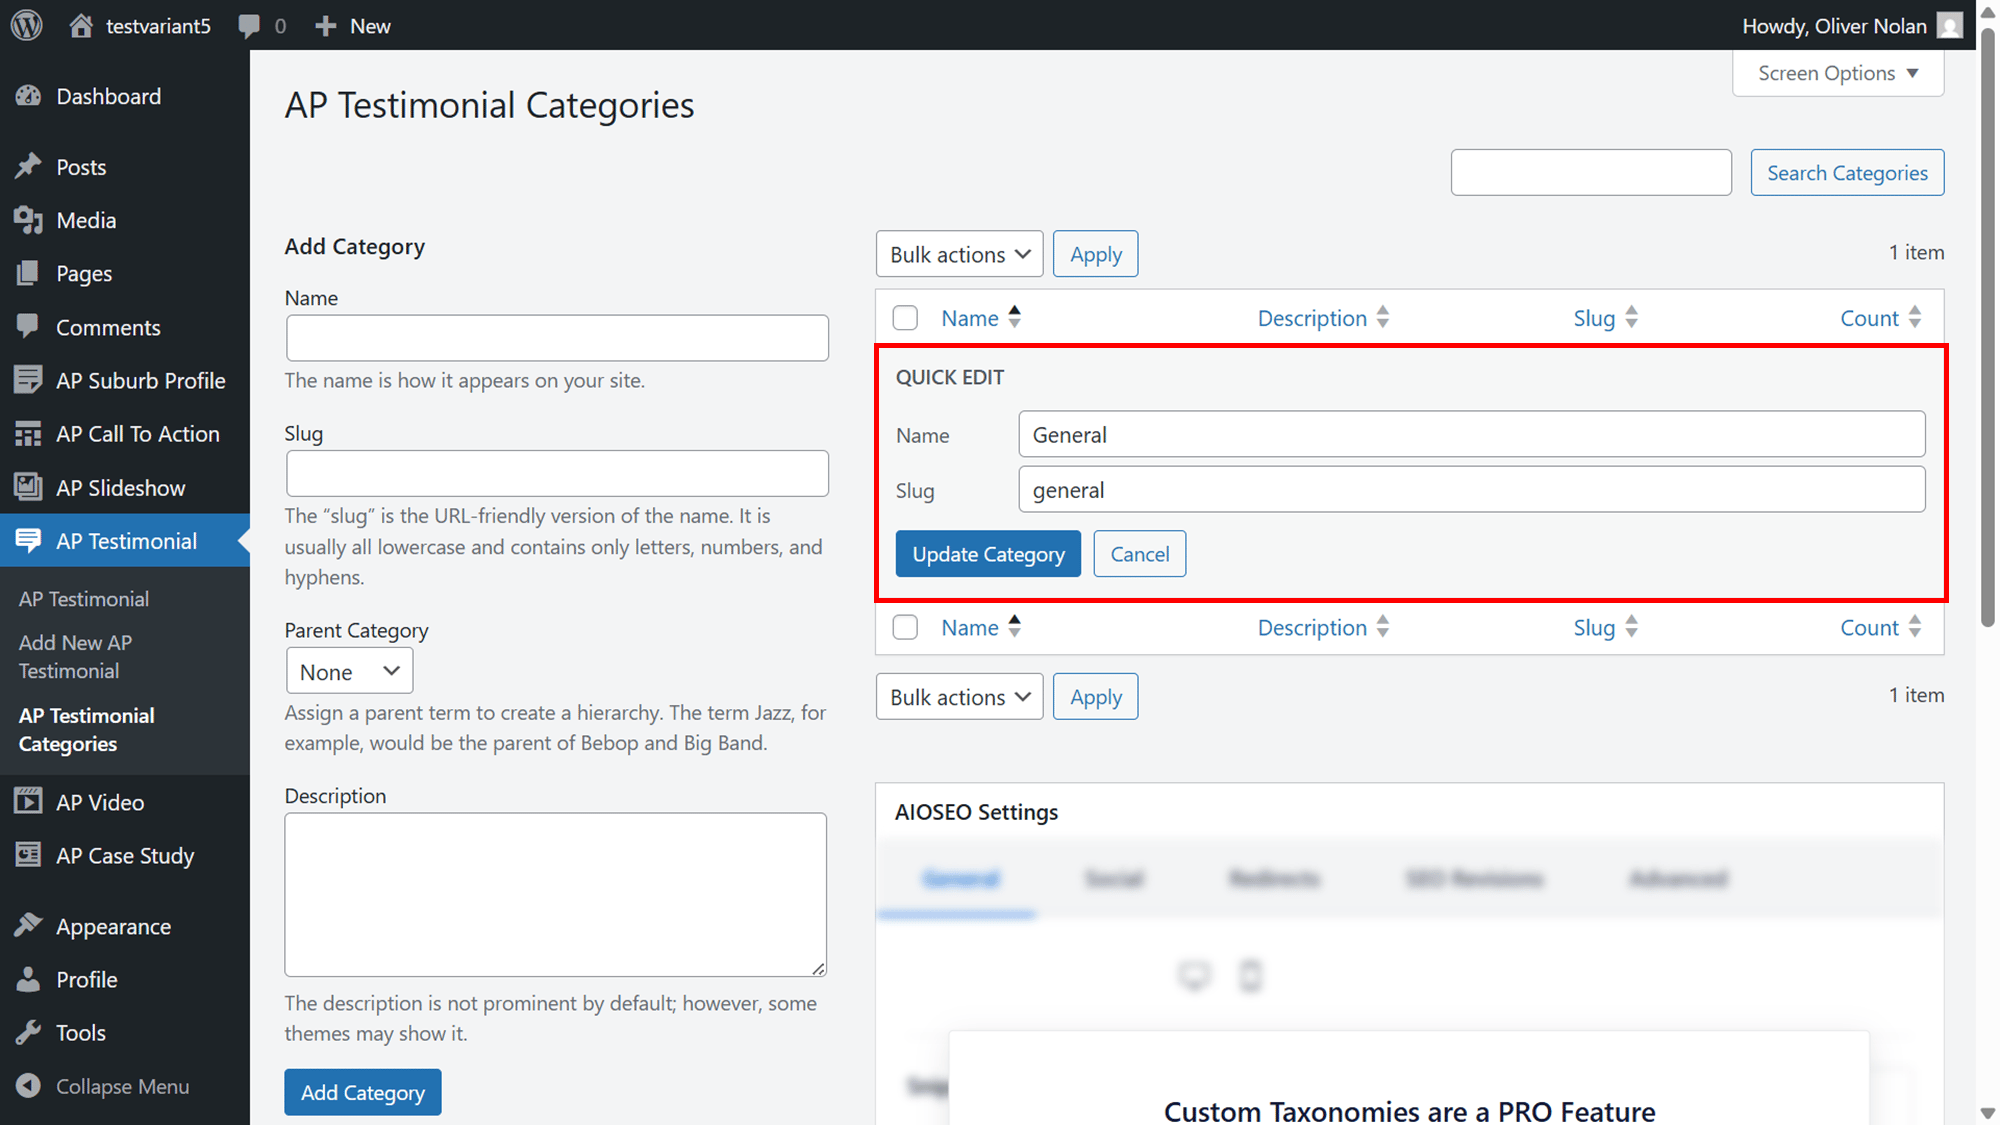
- Edit the name and slug and click Update Category.
Delete a Category
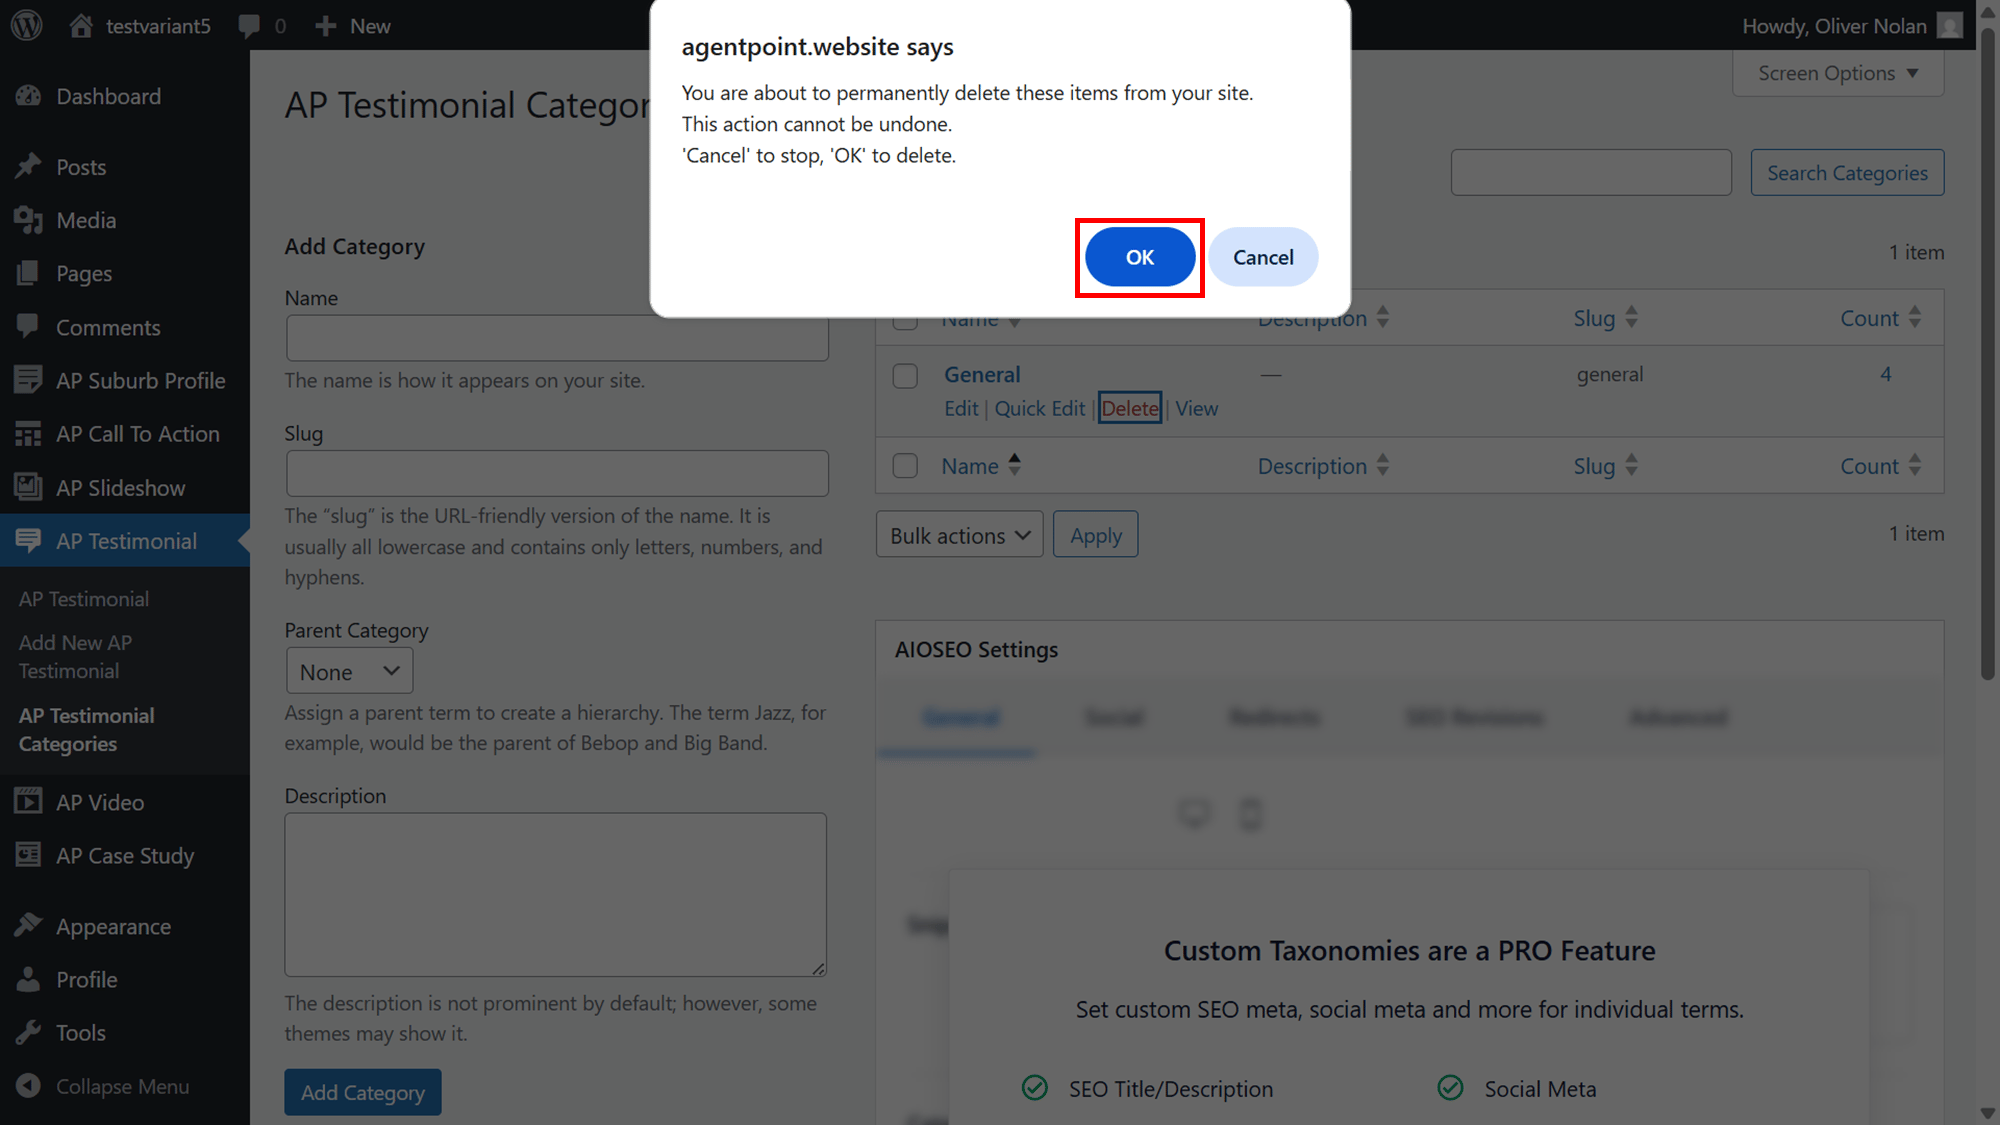
- Hover the cursor over the Category and click on Delete.
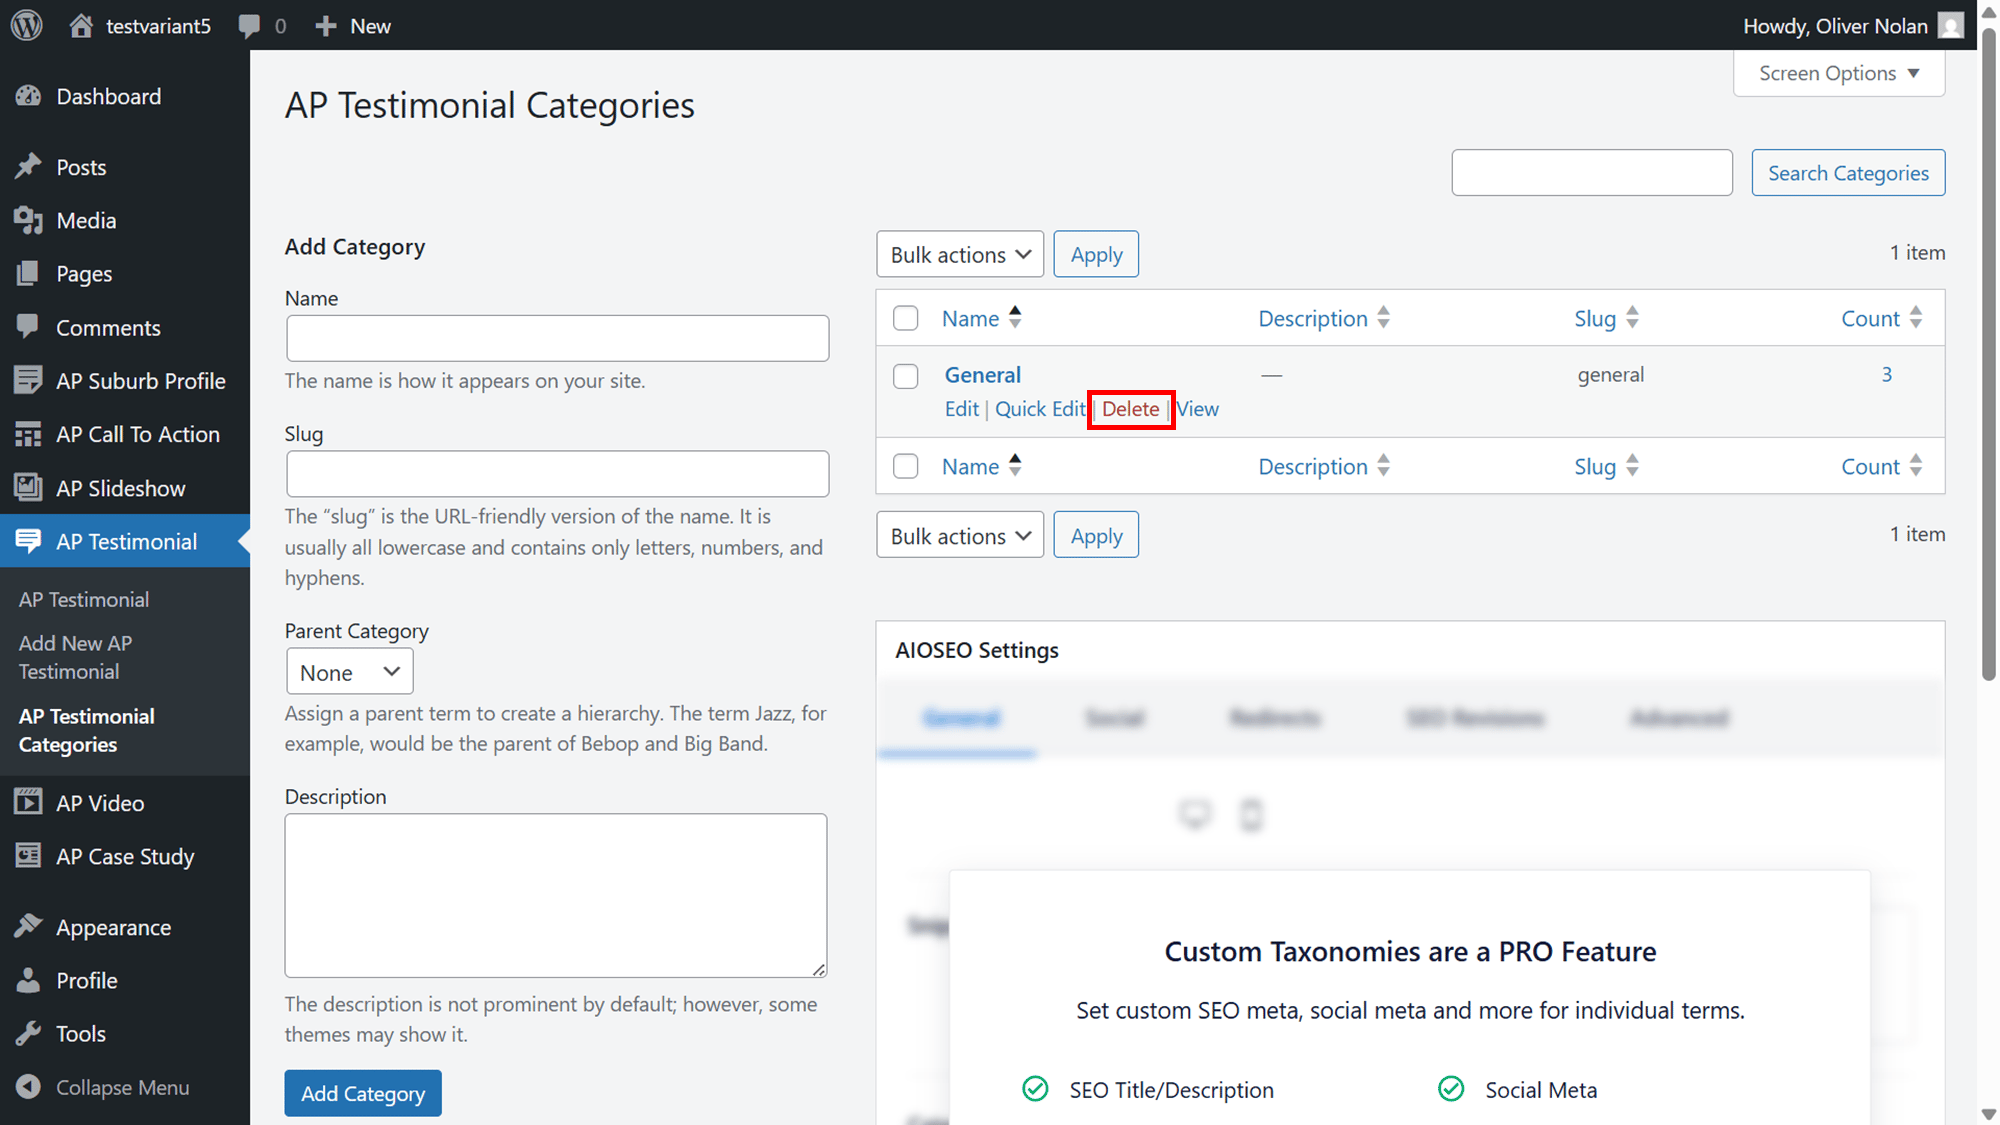
- Click Ok. Please note: This will be permanently deleted from your site and cannot be undone.
View a Category
- Hover the cursor over the Category and click on View.
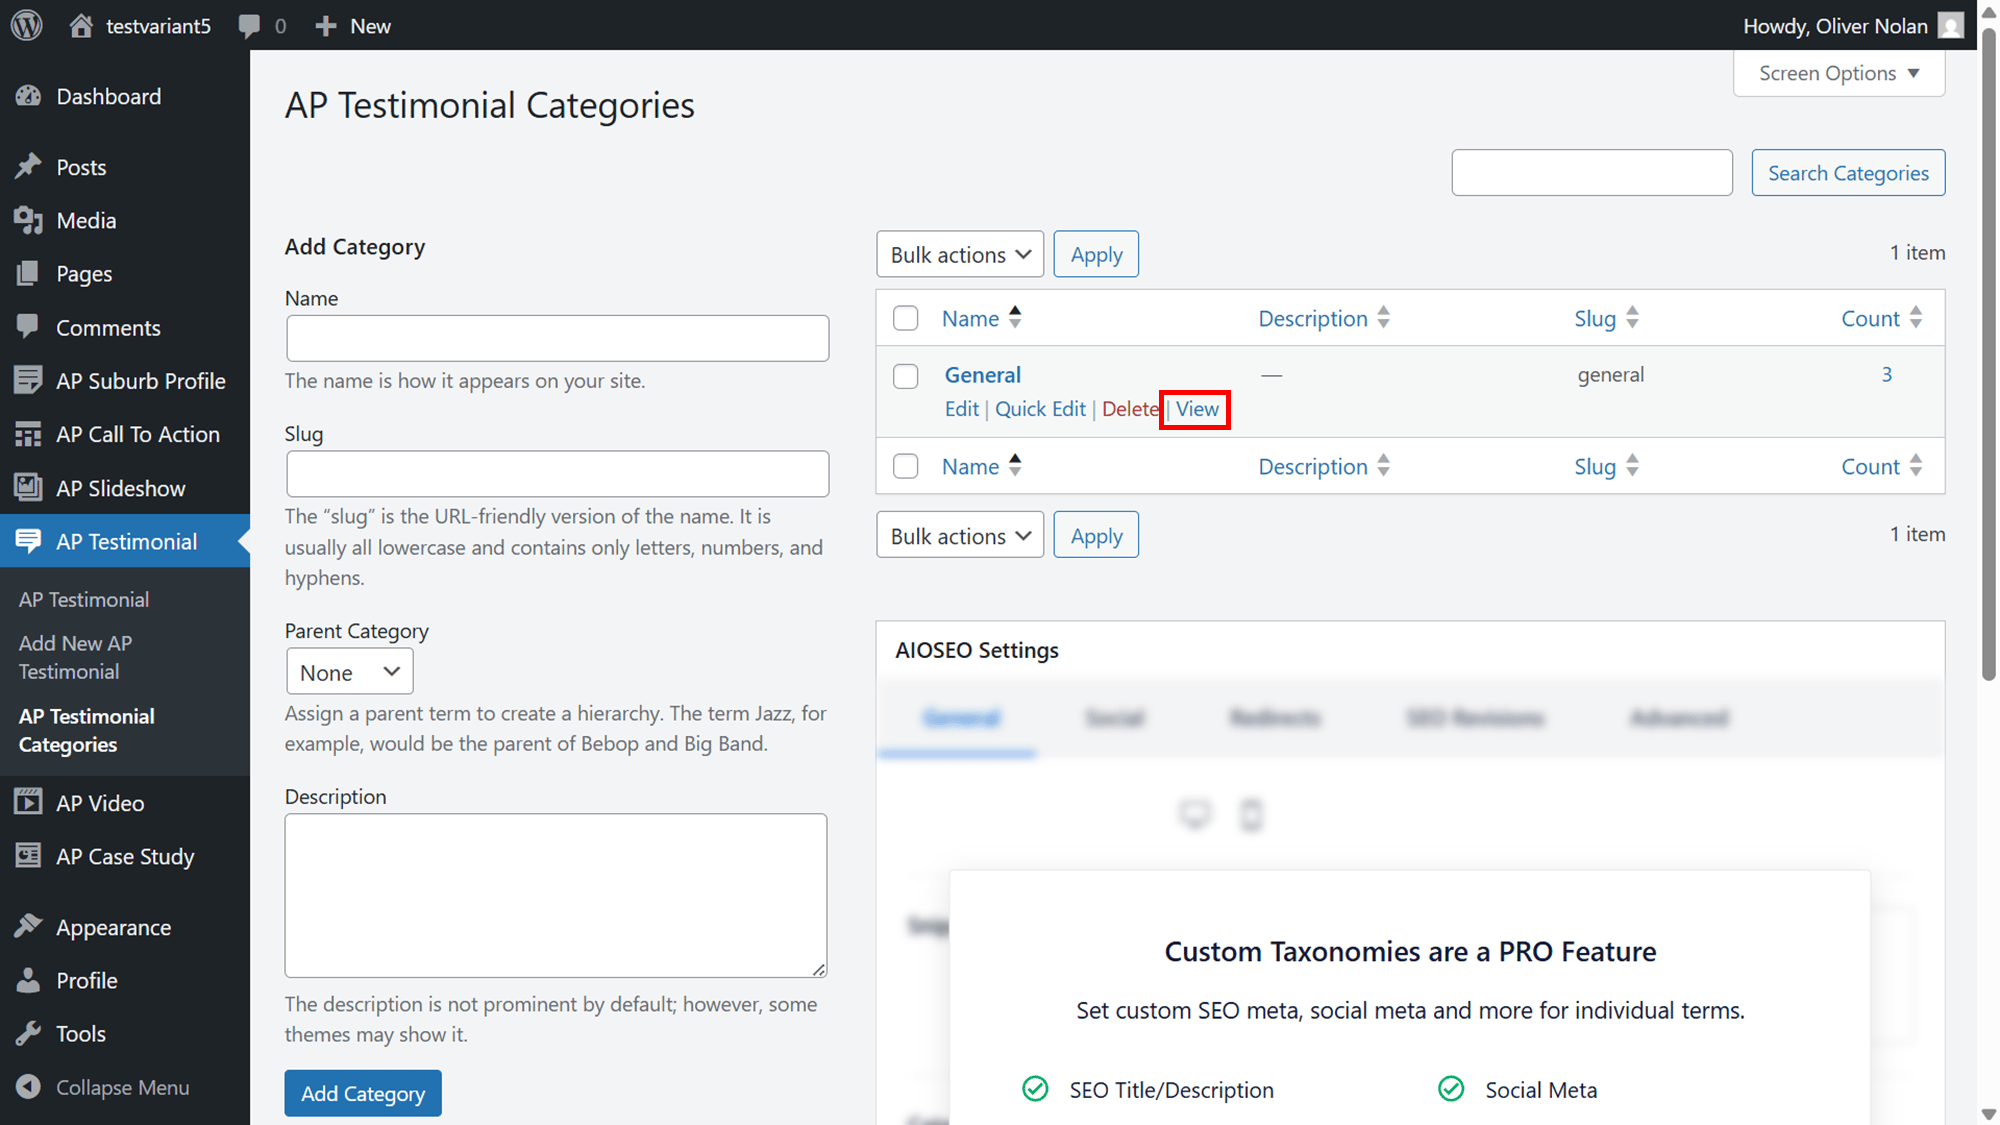
- This will redirect you to the category on the website.