Creating a Post
This case will show you how to create a post in Reapit Websites
Posts are individual pieces of content on your website blog page.
Within your All Posts menu, you can:
- Add a new post.
- Filter and Search for existing posts.
- View Title, Author, Category, Tag, Comments and Date of the Post.
- Edit, Quick Edit, Delete and Preview your previously created post on your website.
The processes in this article include:
- Creating a Post
- Adding a Block Inserter
- Changing your Pattern
- Publishing your Post
Creating a Post
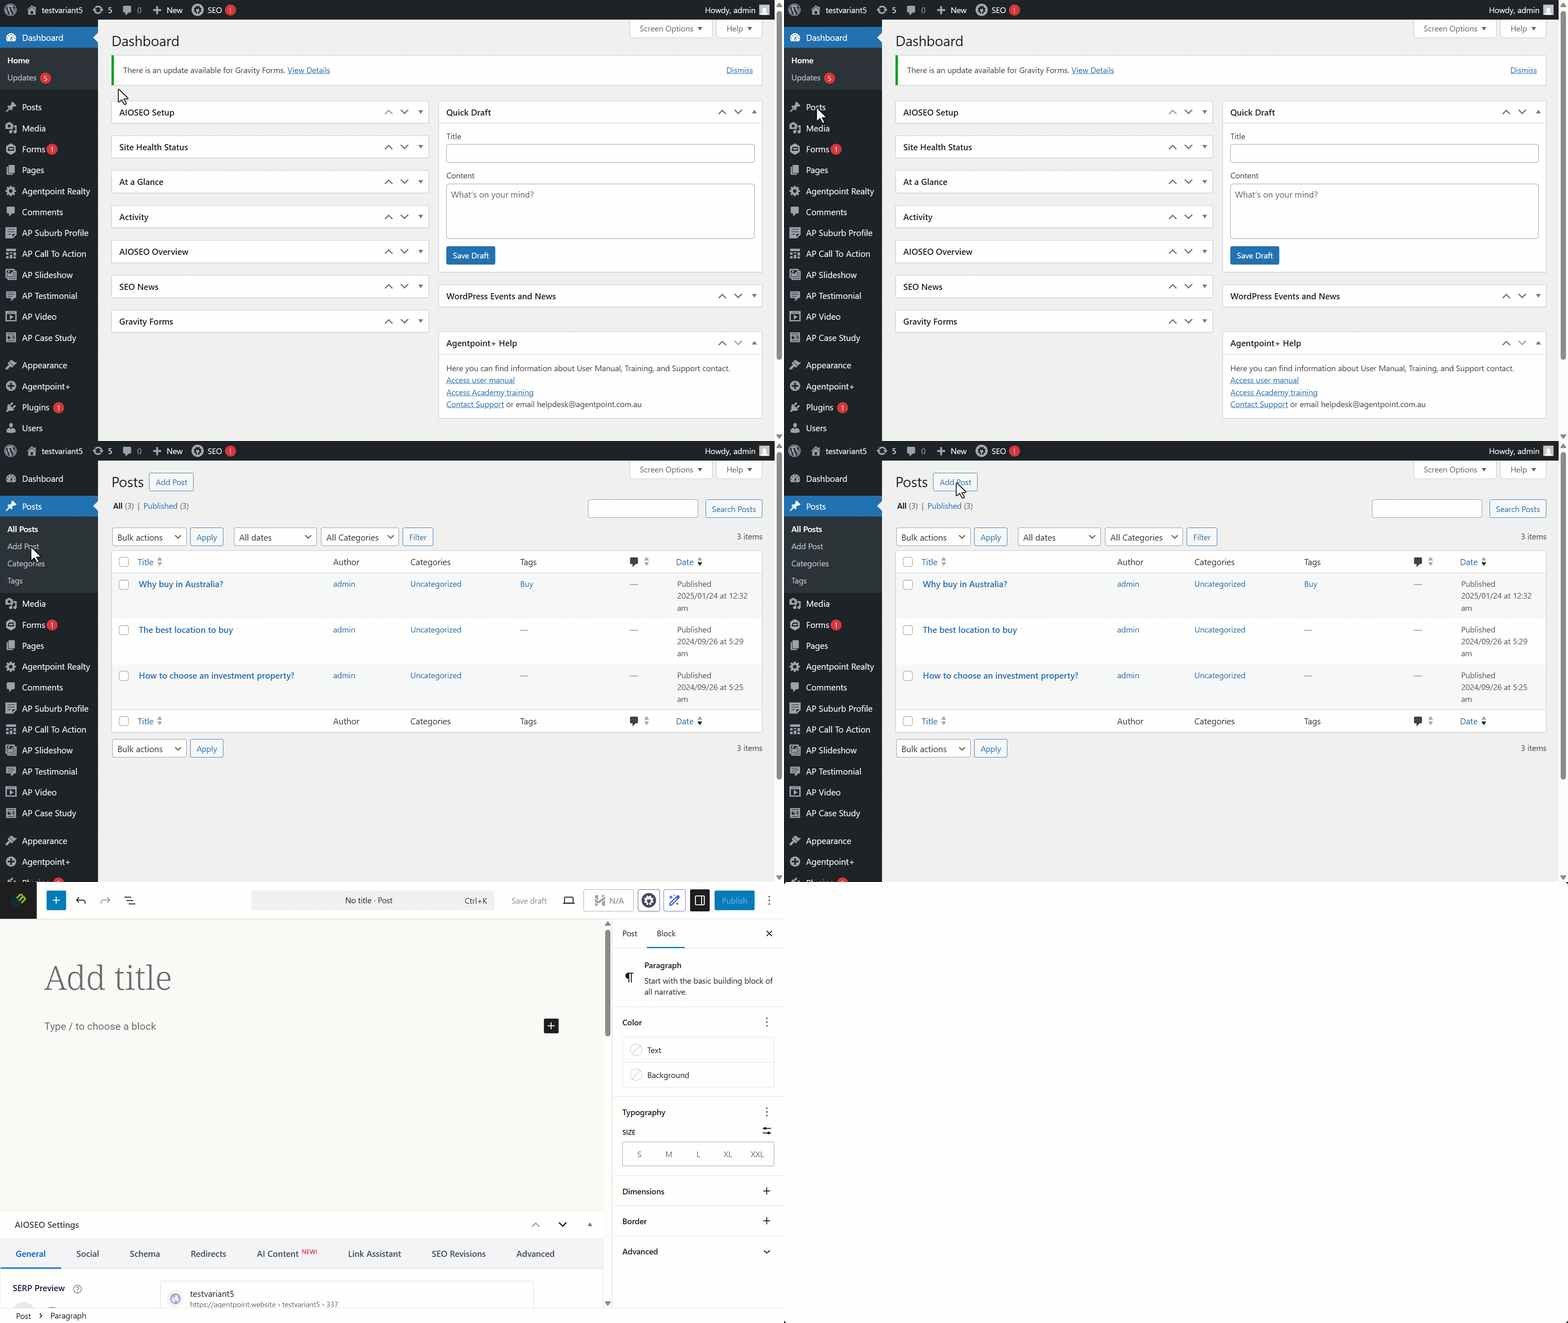
- Click on Posts on the Left Hand Panel.
- Select Add New.
- Start filling in the blanks: enter your post title in the upper field, and enter your post body content in the main post editing box below it.
Adding a Block Inserter
Blocks are components used for creating and editing elements in a post. Various block types are available to add text, media files, and layout elements, giving you more flexibility to build content.
Click here to learn more about block inserters.
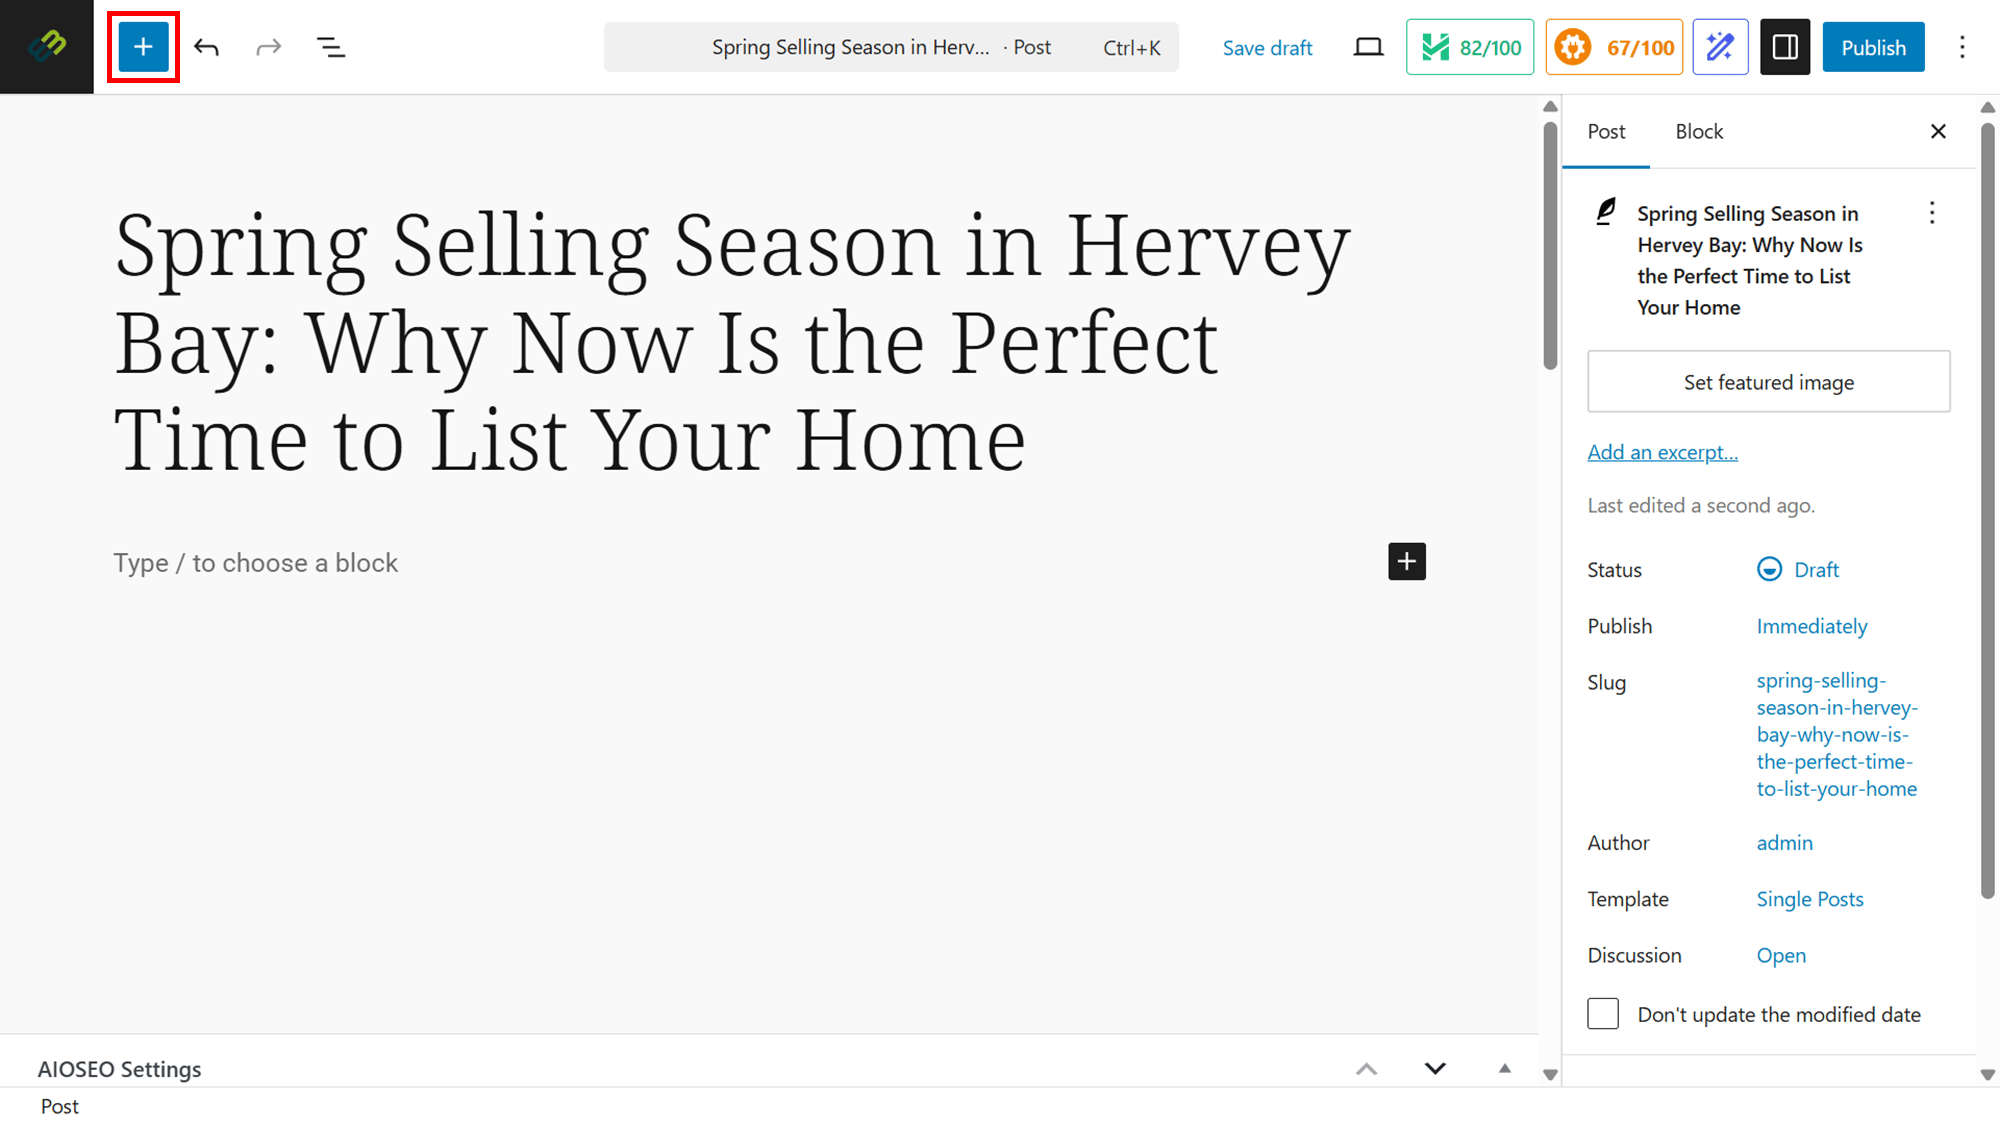
- To add a block inserter, click on the plus icon.
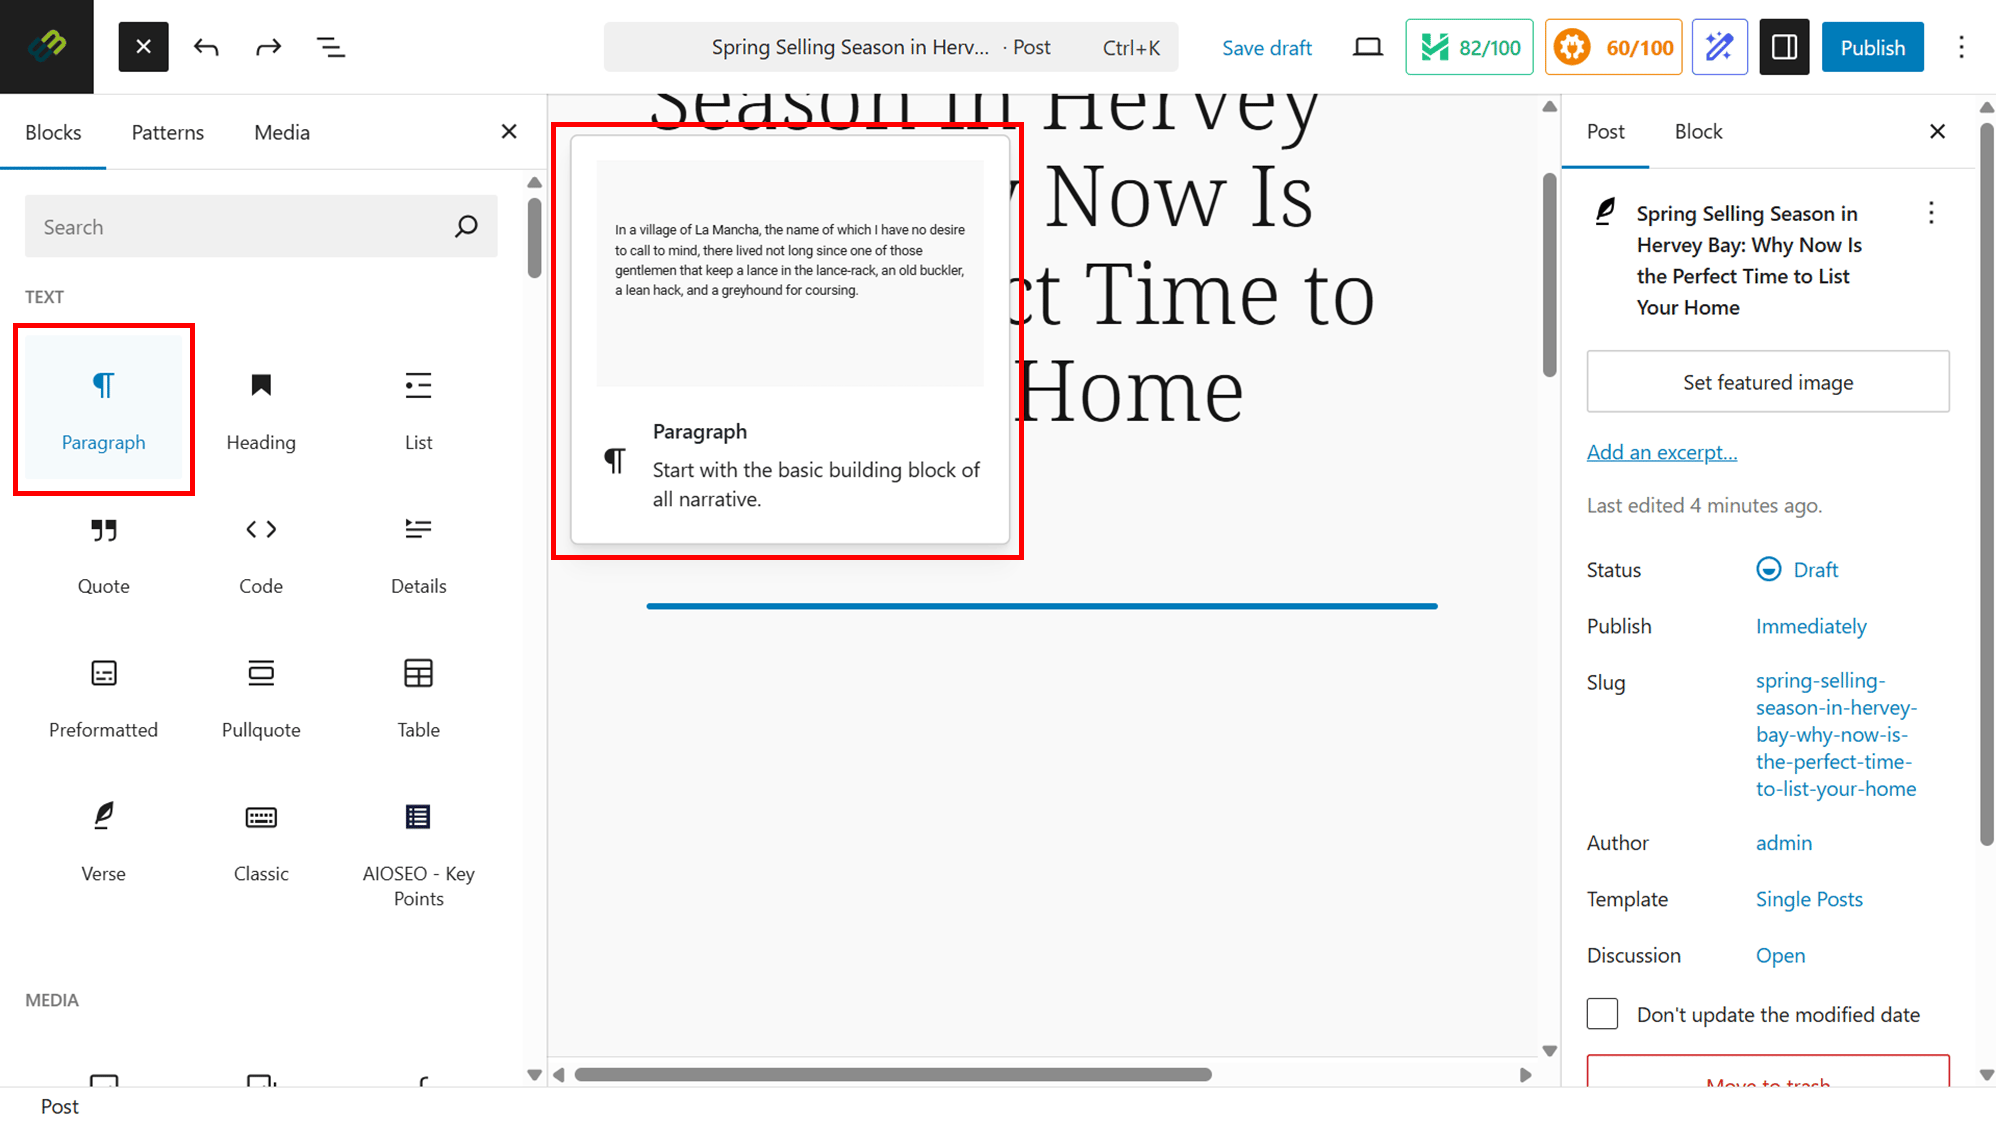
- Hover over the specific icon to view a description of its functionality.
- Select the desired block. It will then appear in your post. Click here for a step-by-step on block inserters.
Changing your Pattern
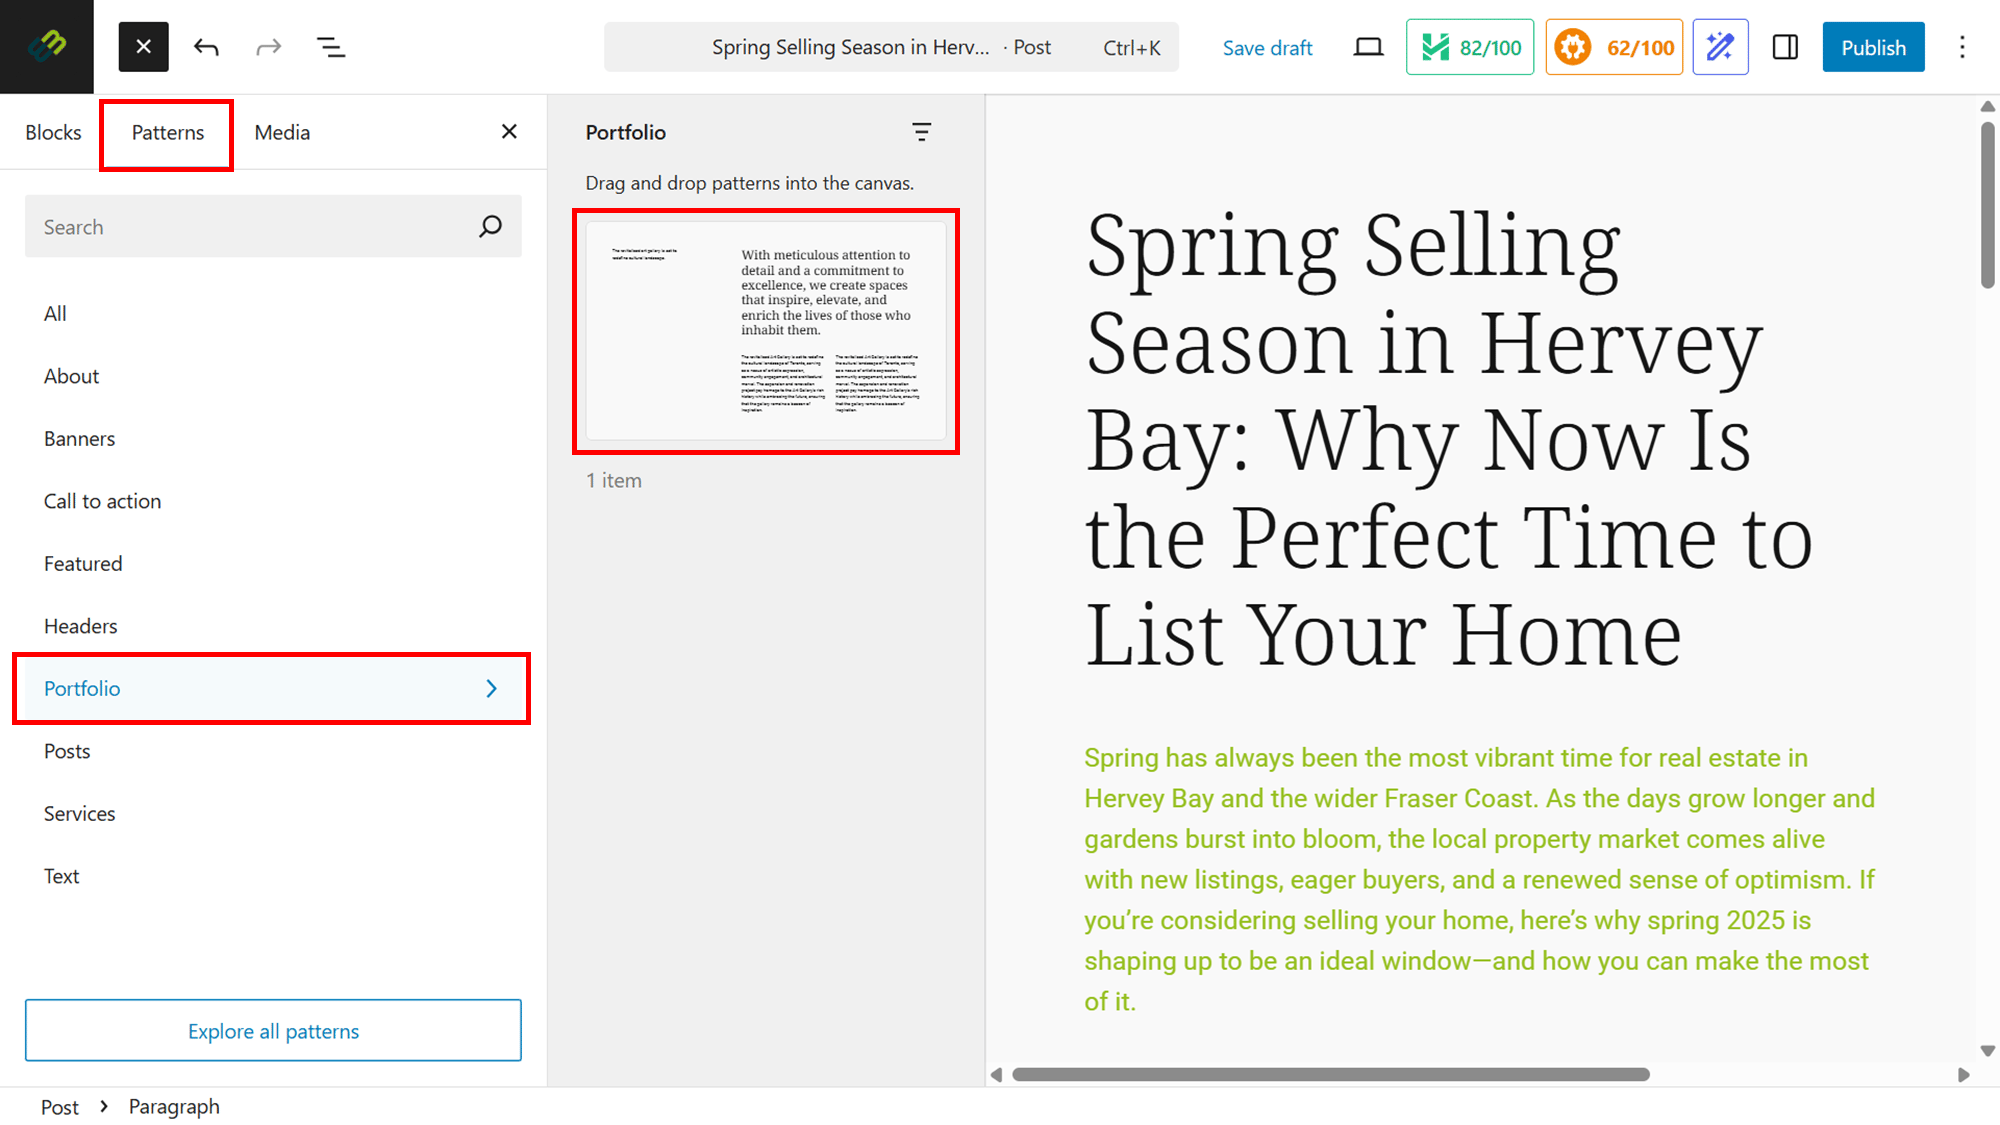
Patterns are a collection of predefined blocks that you can insert into pages and posts and then customize with your own content.
- To change the pattern on your post, click on the plus icon.
- Select from the pattern list.
- Choose the pattern style from the visual option or options provided.
Publishing your Post
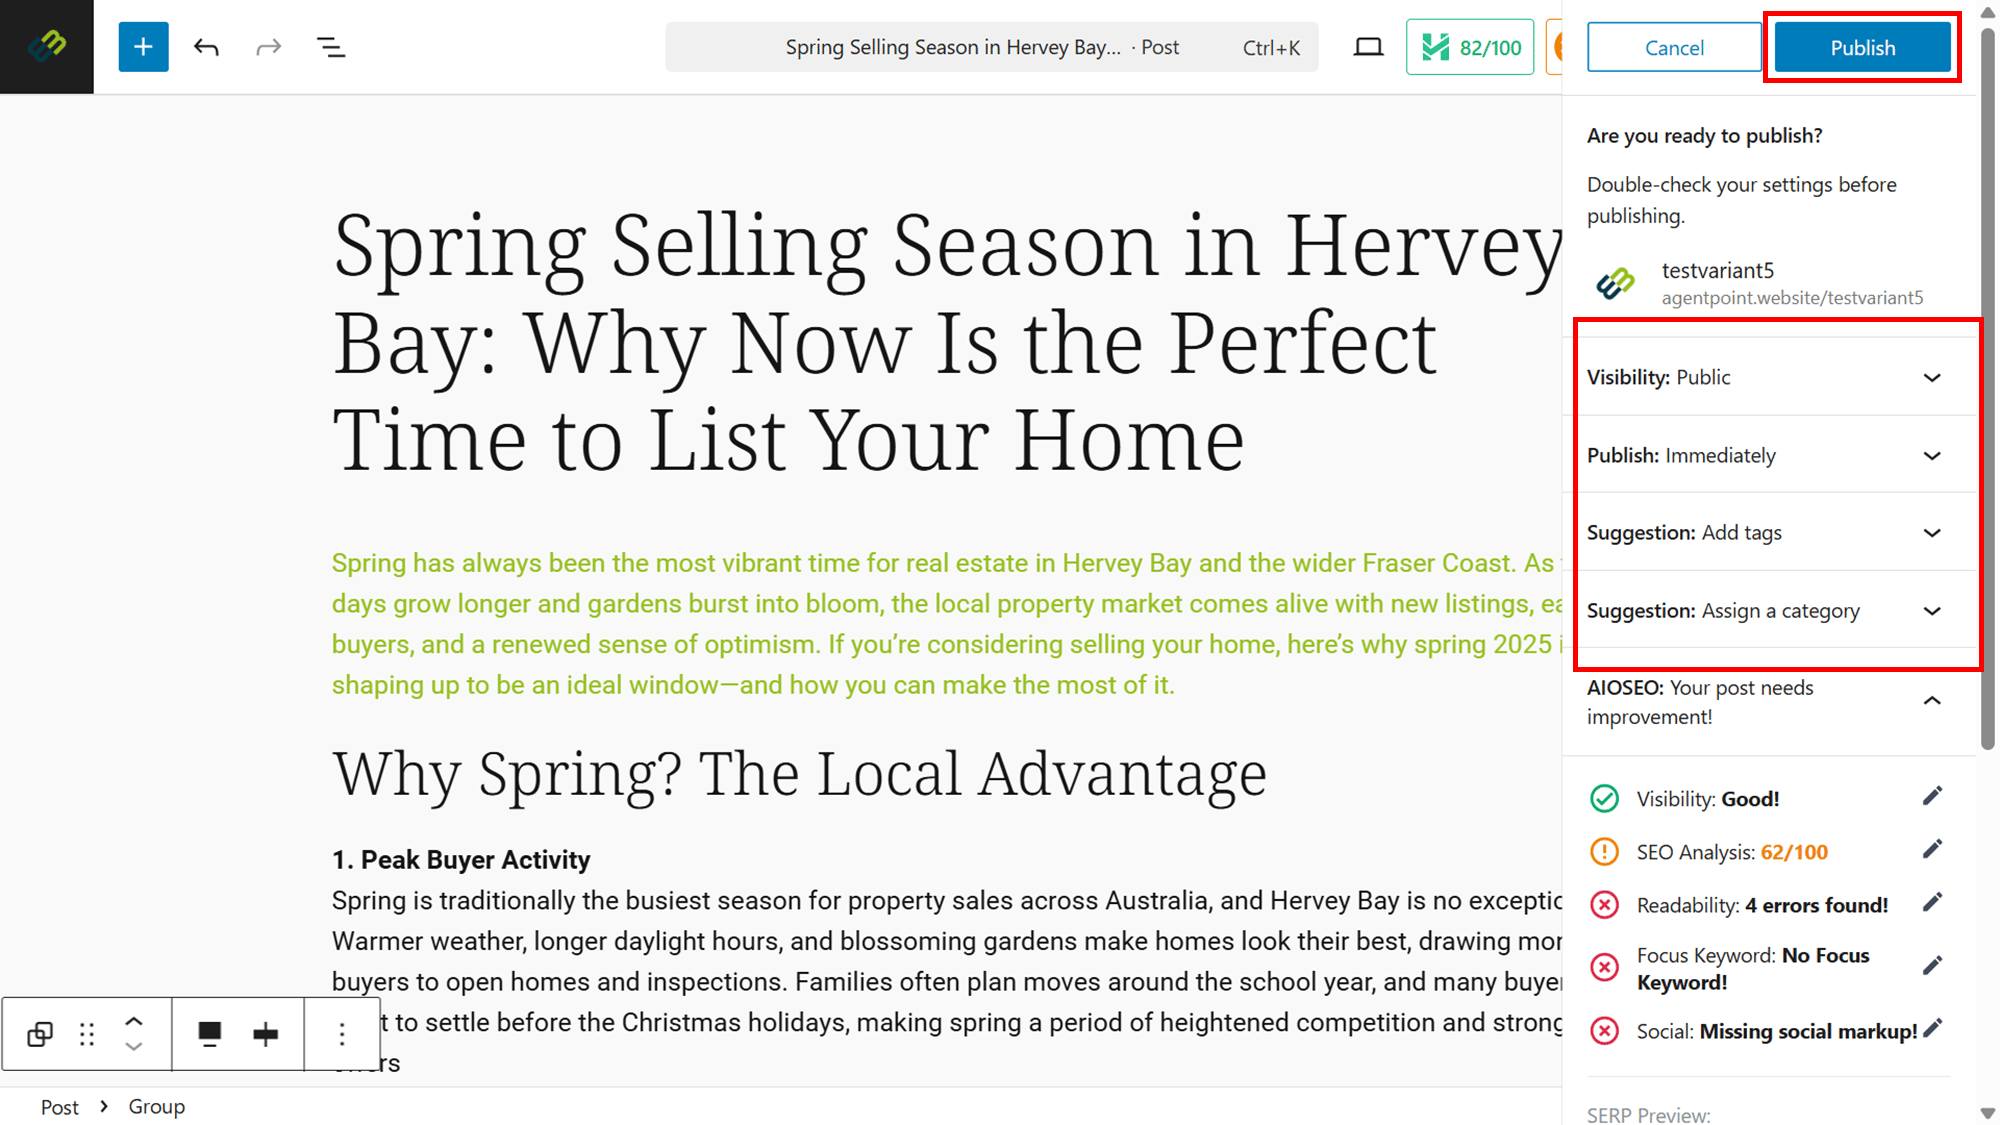
- Click on Publish.
- Select your publishing settings to your preference
- Click on Publish.
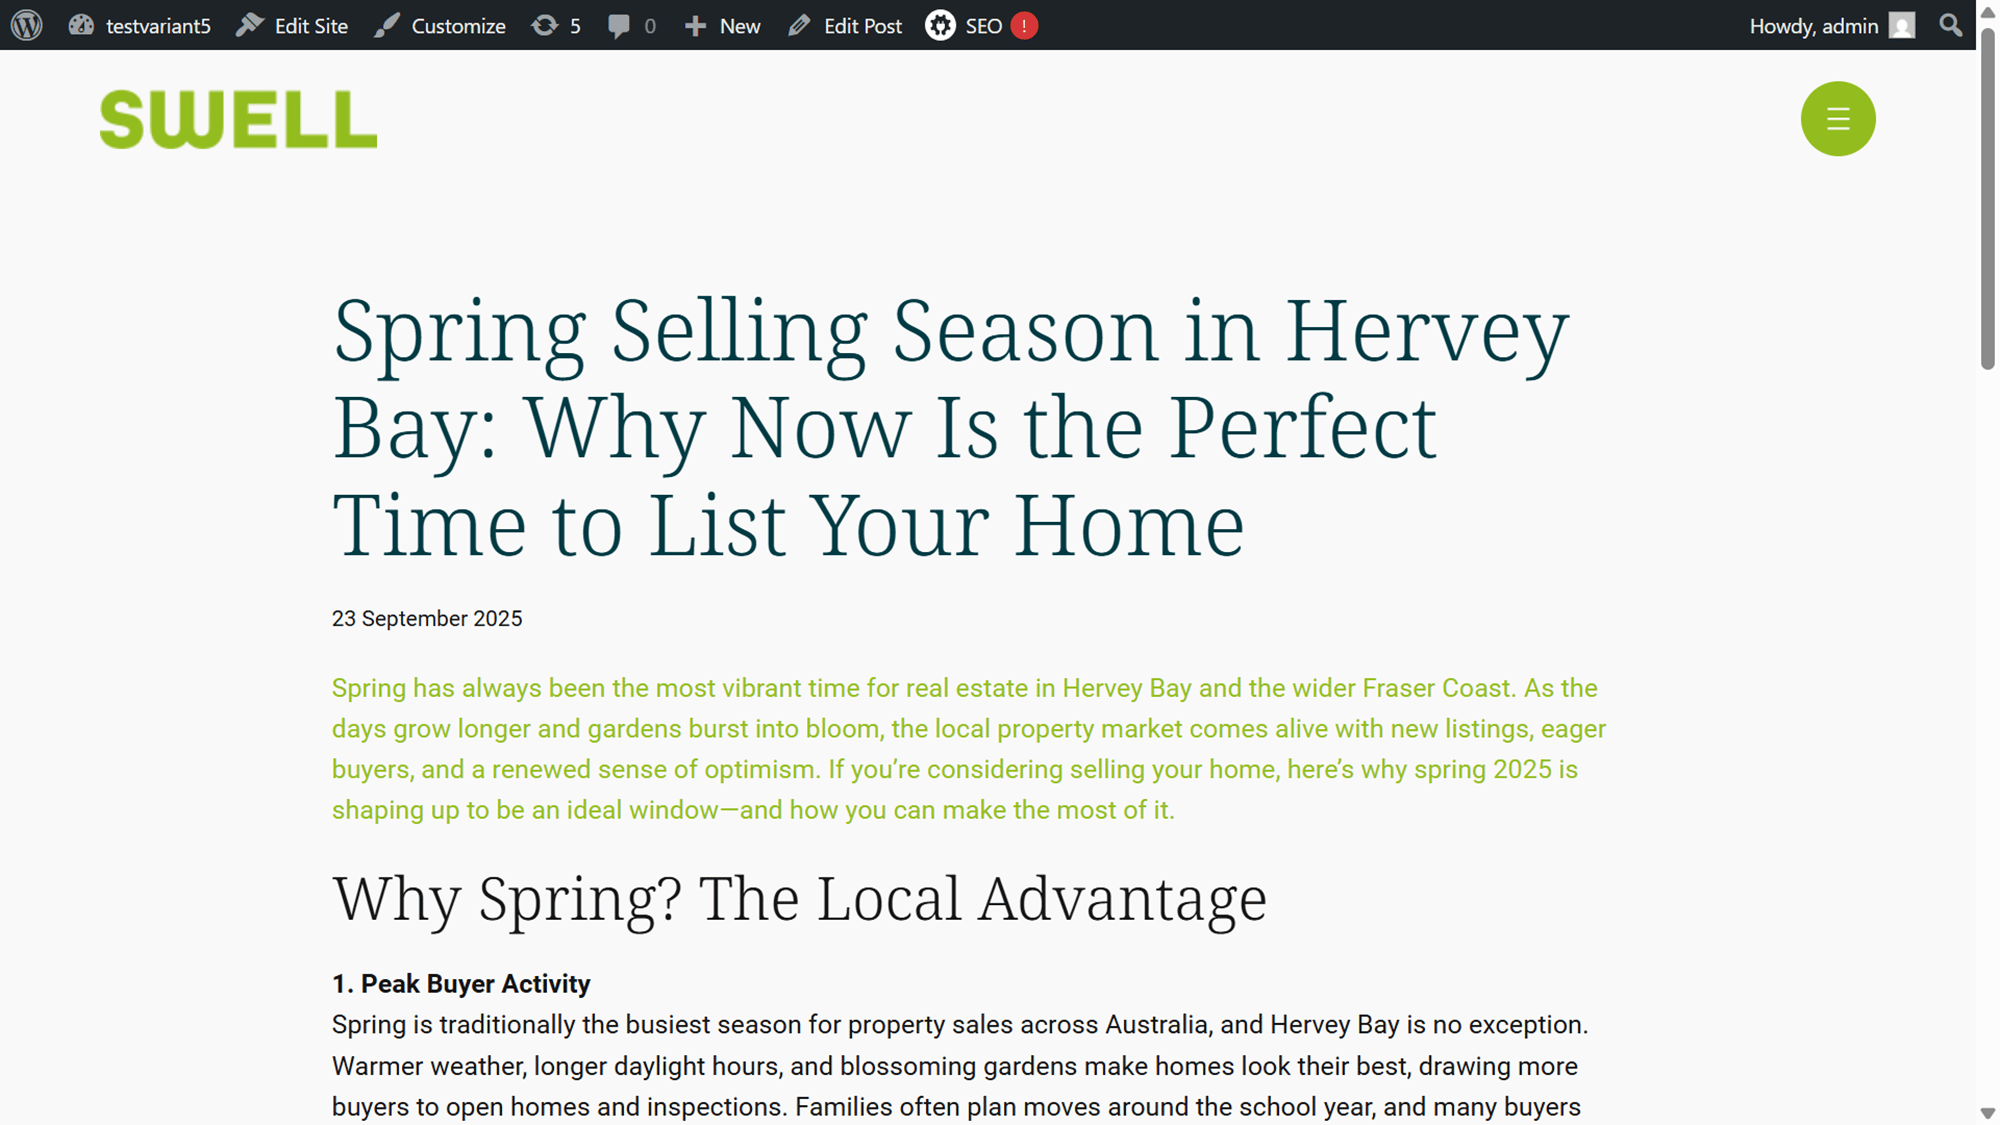
Example from Website: