Adding Testimonials in Reapit Websites
This article will show you how to add testimonials in Reapit Webistes
Adding Testimonials in Reapit Websites
Reapit Sales Clients are able to manage testimonials from within their Reapit Sales account. See our article available here.
For non-Reapit Sales users, or those operating in their Reapit website, follow the below steps to create and manage testimonials.
Adding Testimonials
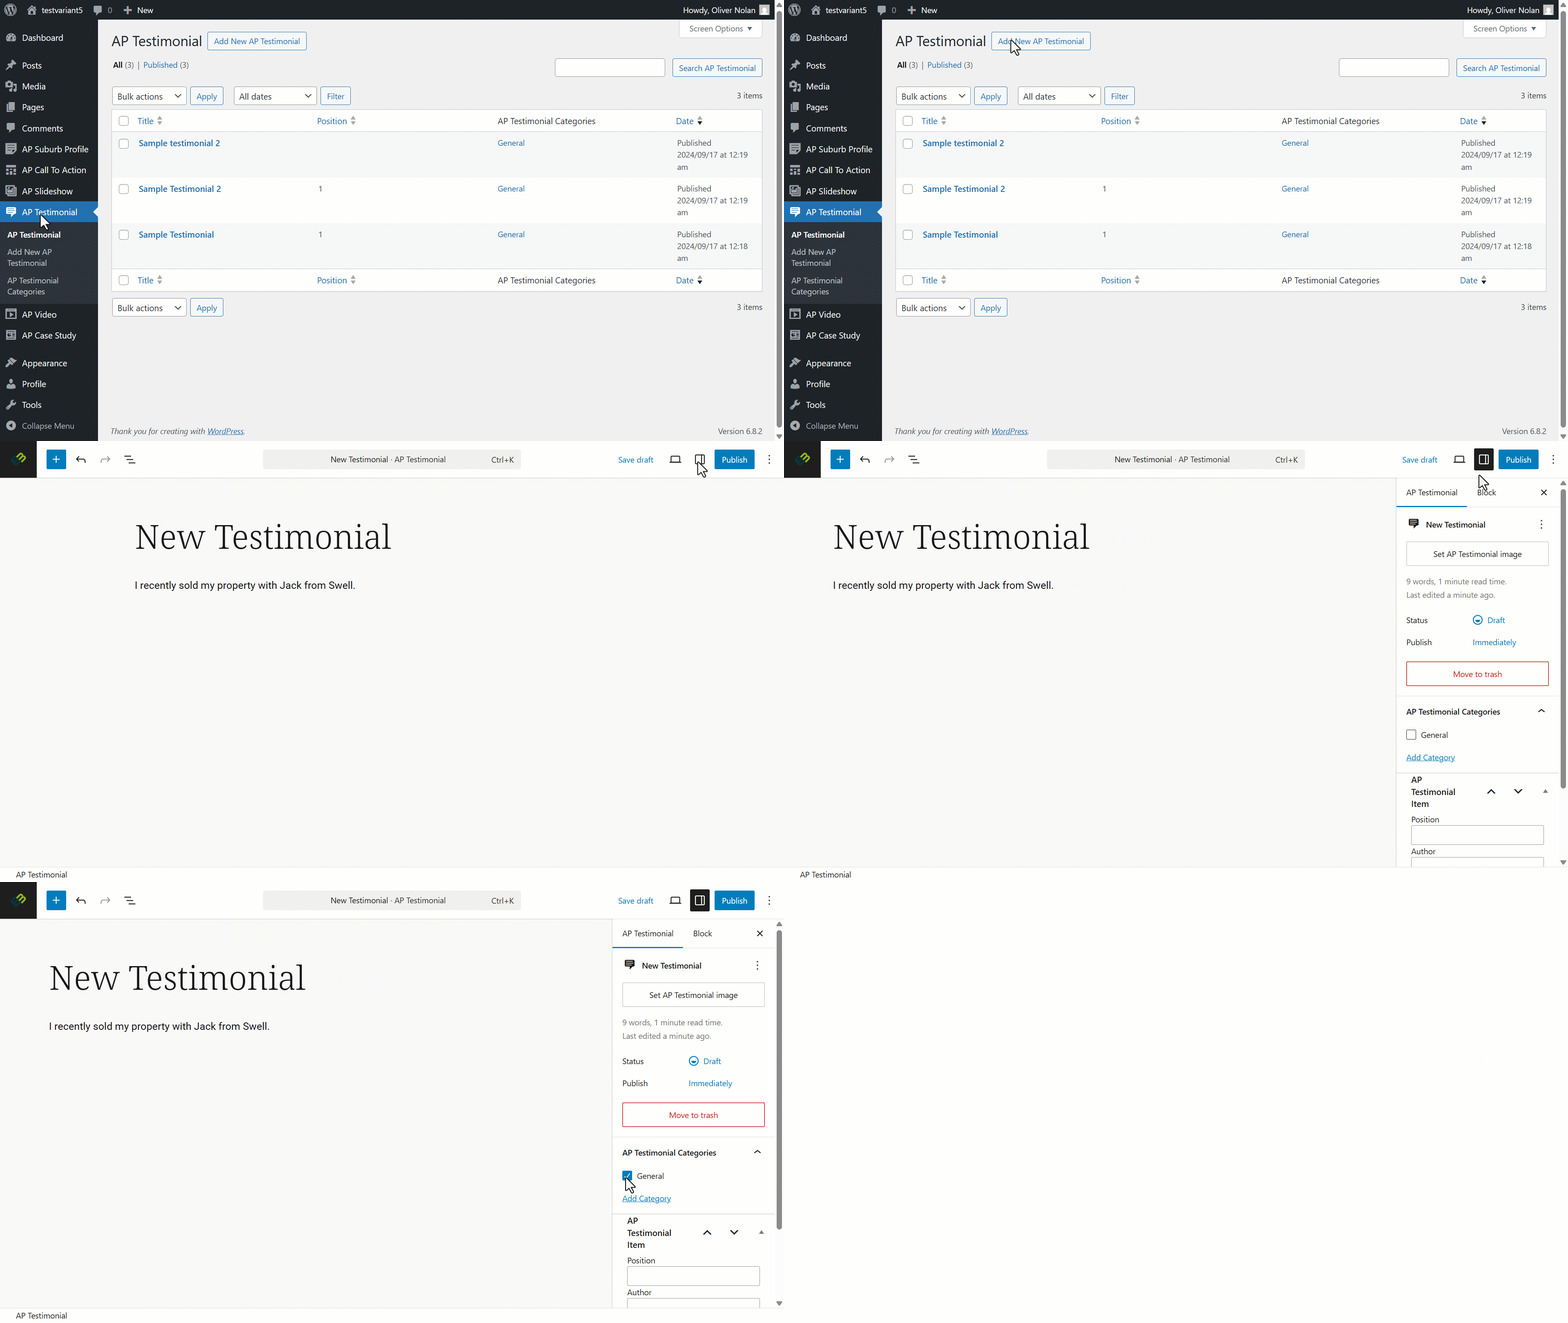
- Click on AP Testimonials.
- Click on Add New AP Testimonial.
- Enter Testimonial title and description
- Click on Settings.
- Click on Testimonials Categories to apply to the desired category.
- Click on Set Testimonial Image to set your desired image.
Please click here to find out how to create new testimonial categories.
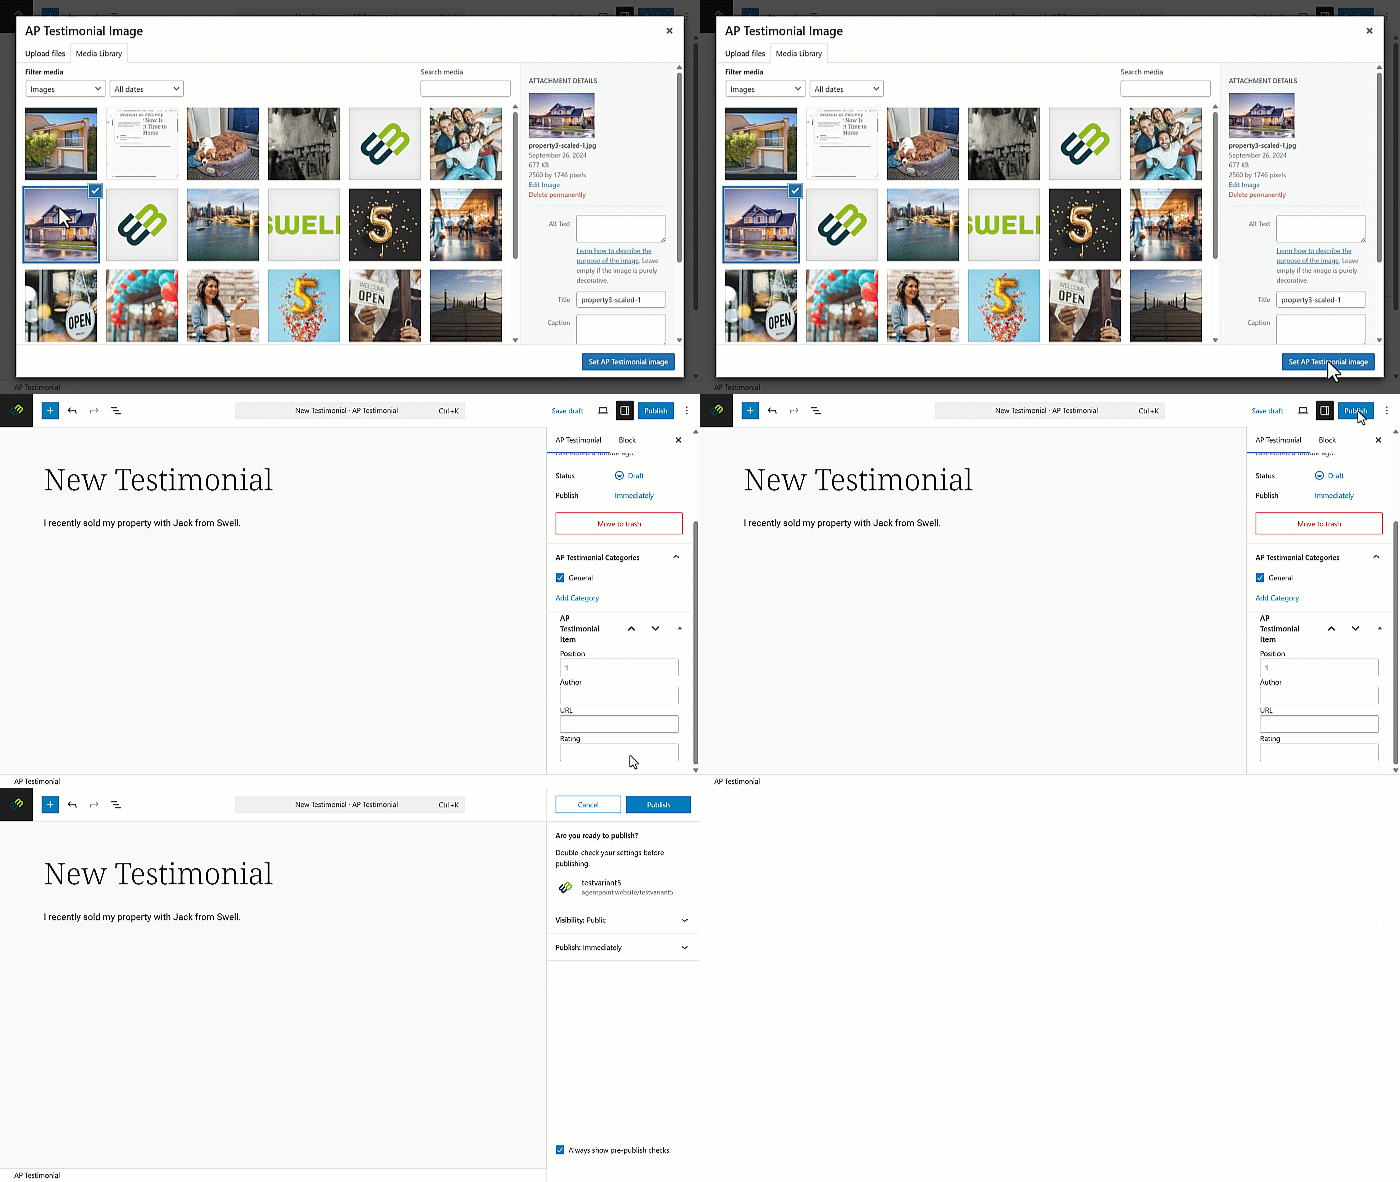
- Select the desired image from your media library, then click Set Testimonial Image.
- Enter the desired settings, then click Publish
- Set your visibility and publishing options and click Publish
Please click here to find out how to add new images to your library.