Viewing the Agreement or Sending Change Requests as the Tenant in Reapit Forms
This article will guide you through accessing and making change requests from agreements received in Reapit Forms.
This article will cover viewing the agreement and sending/requesting a change to the agreement as the tenant in Reapit Forms.
The processes in this article include:
- Viewing the Agreement as the Tenant
- Sending or Requesting a Change
Viewing the Agreement as the Tenant
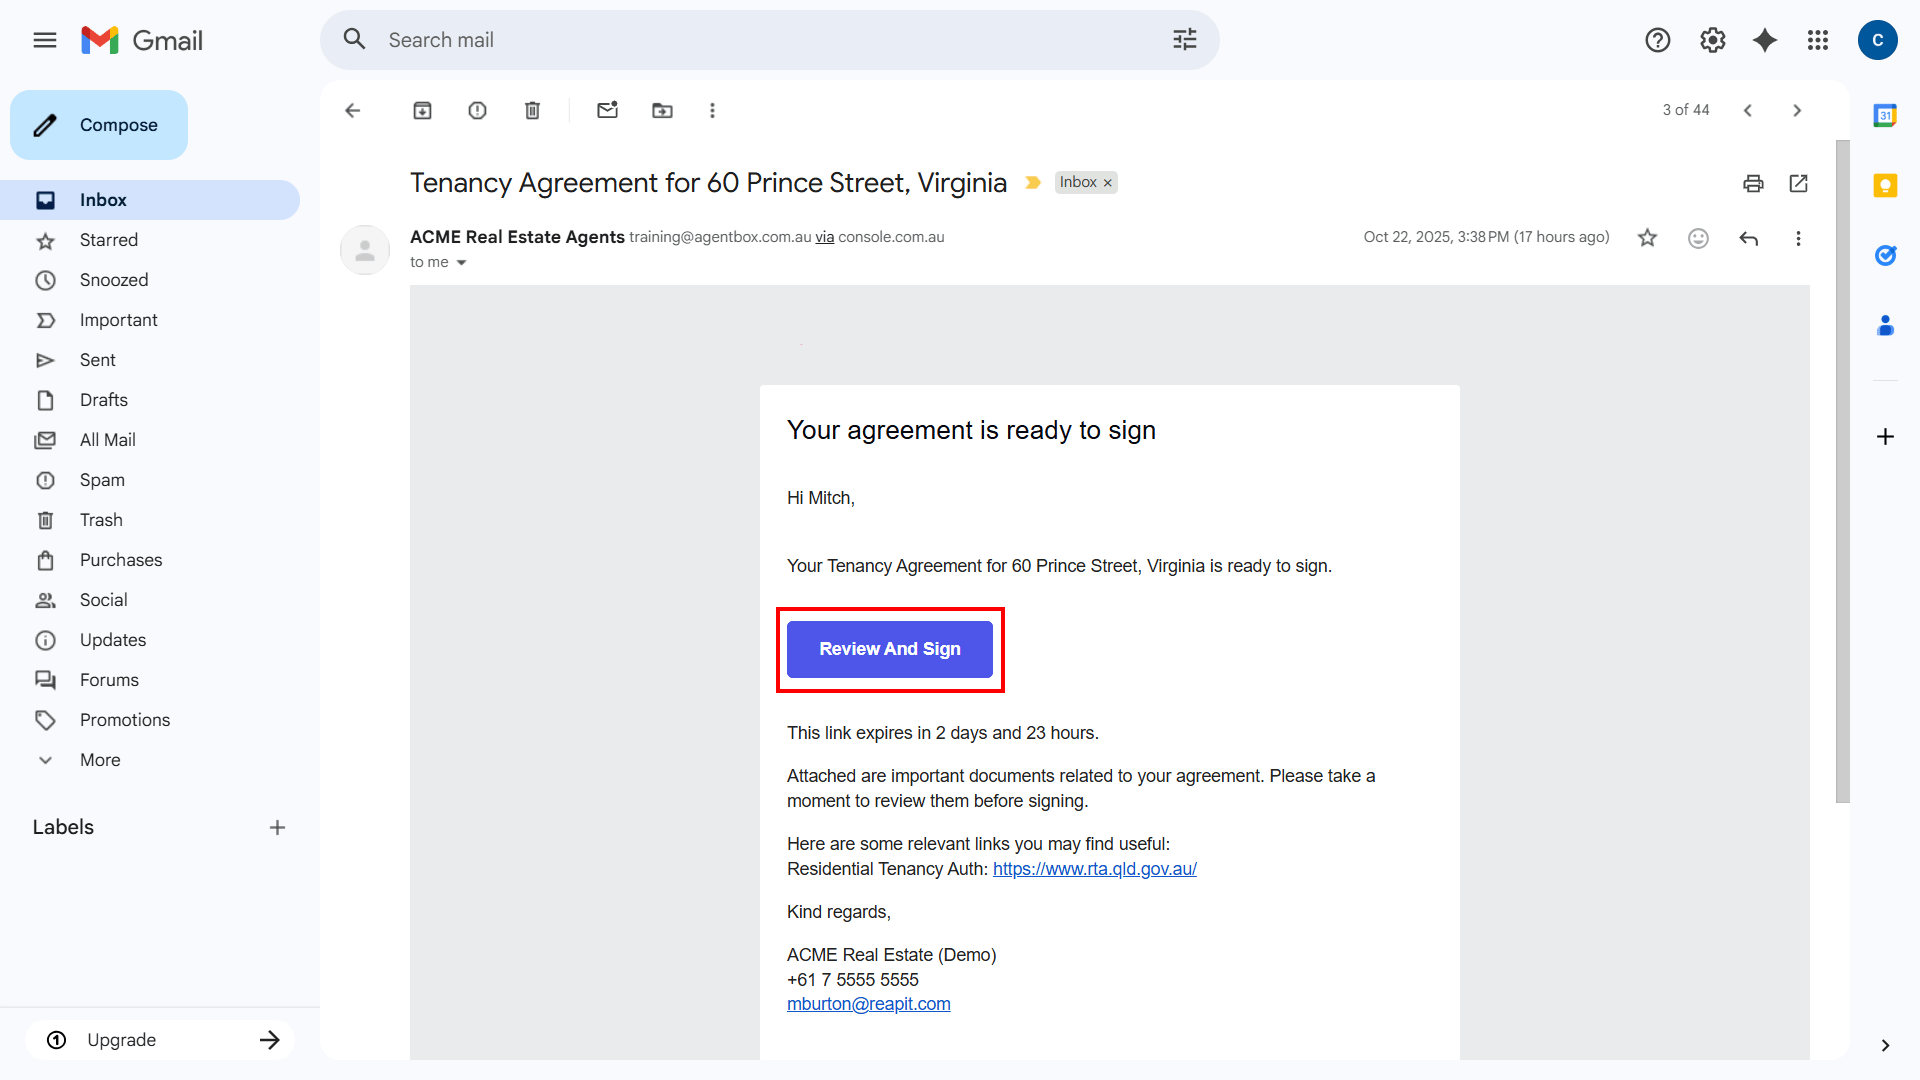
1. Once the agreement has been sent, the tenant will receive a link via email and SMS.
2. Tap on the link in the SMS or click Review and Sign.
3. The Reapit Forms welcome screen will appear. Confirming your agreement is ready to sign, along with the property address. Click Get Started.
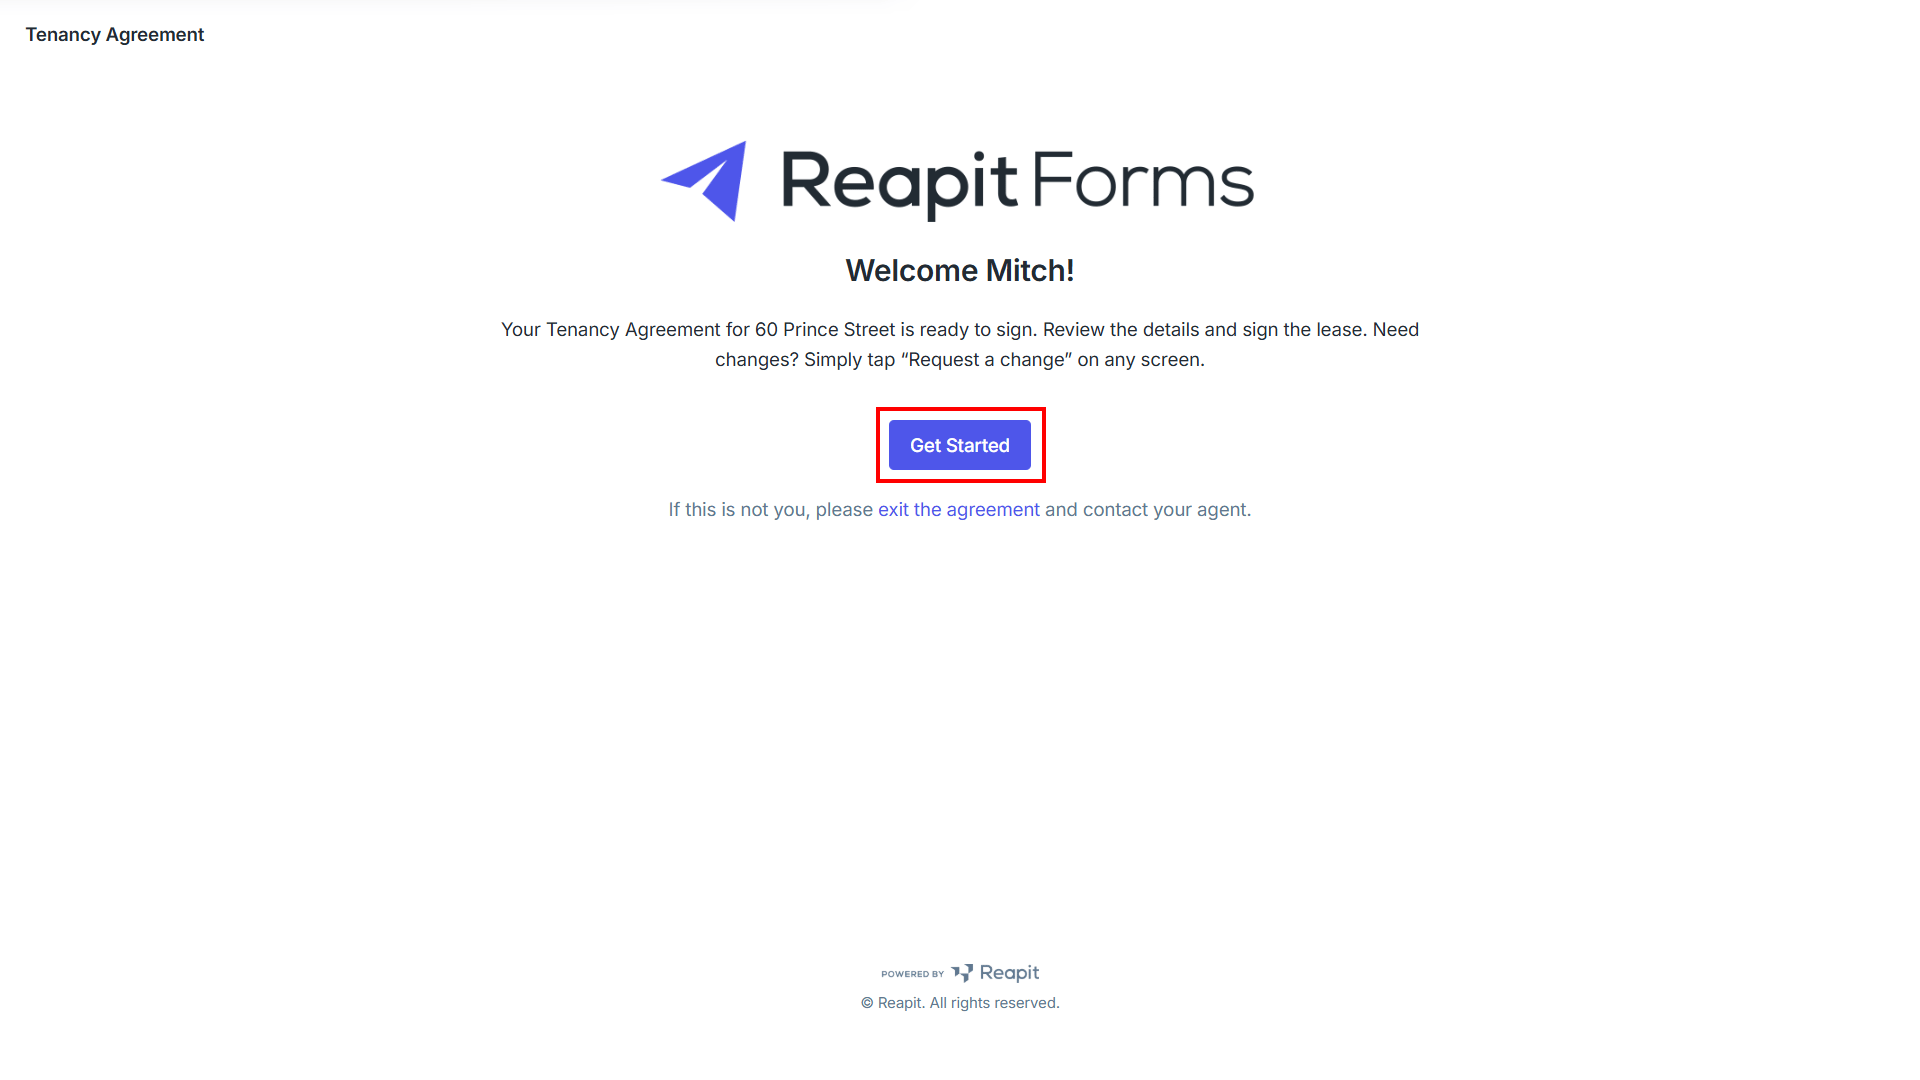
Note: If you have received this email in error, please click Exit the Agreement and notify your property manager.
4. In Step 1, the agreement will cover the lease details along with the tenant information and agency details.
Note: The information and fields that appear in the agreement will vary by state based on legislation requirements.
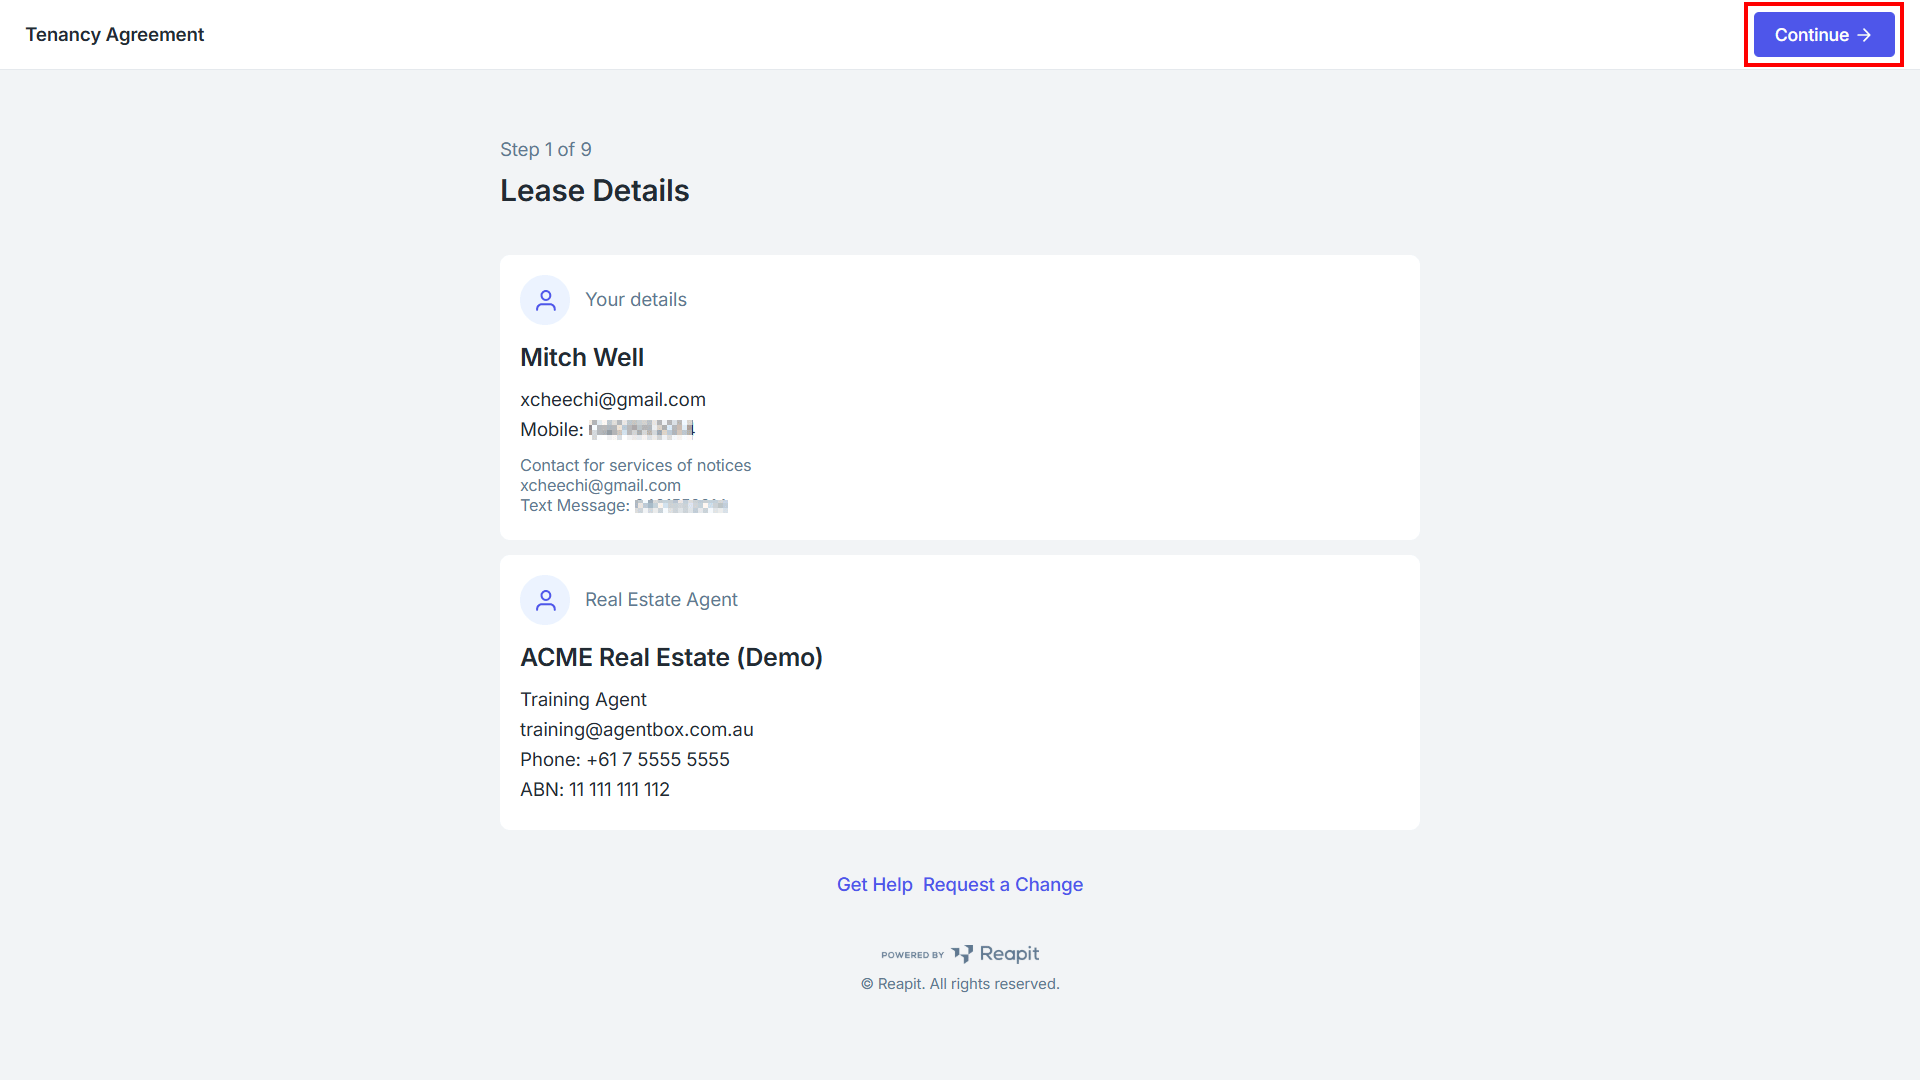
Click Continue.
Note: On each step of the agreement, you will need to scroll to the bottom of the page before the option to Continue can be clicked to proceed.
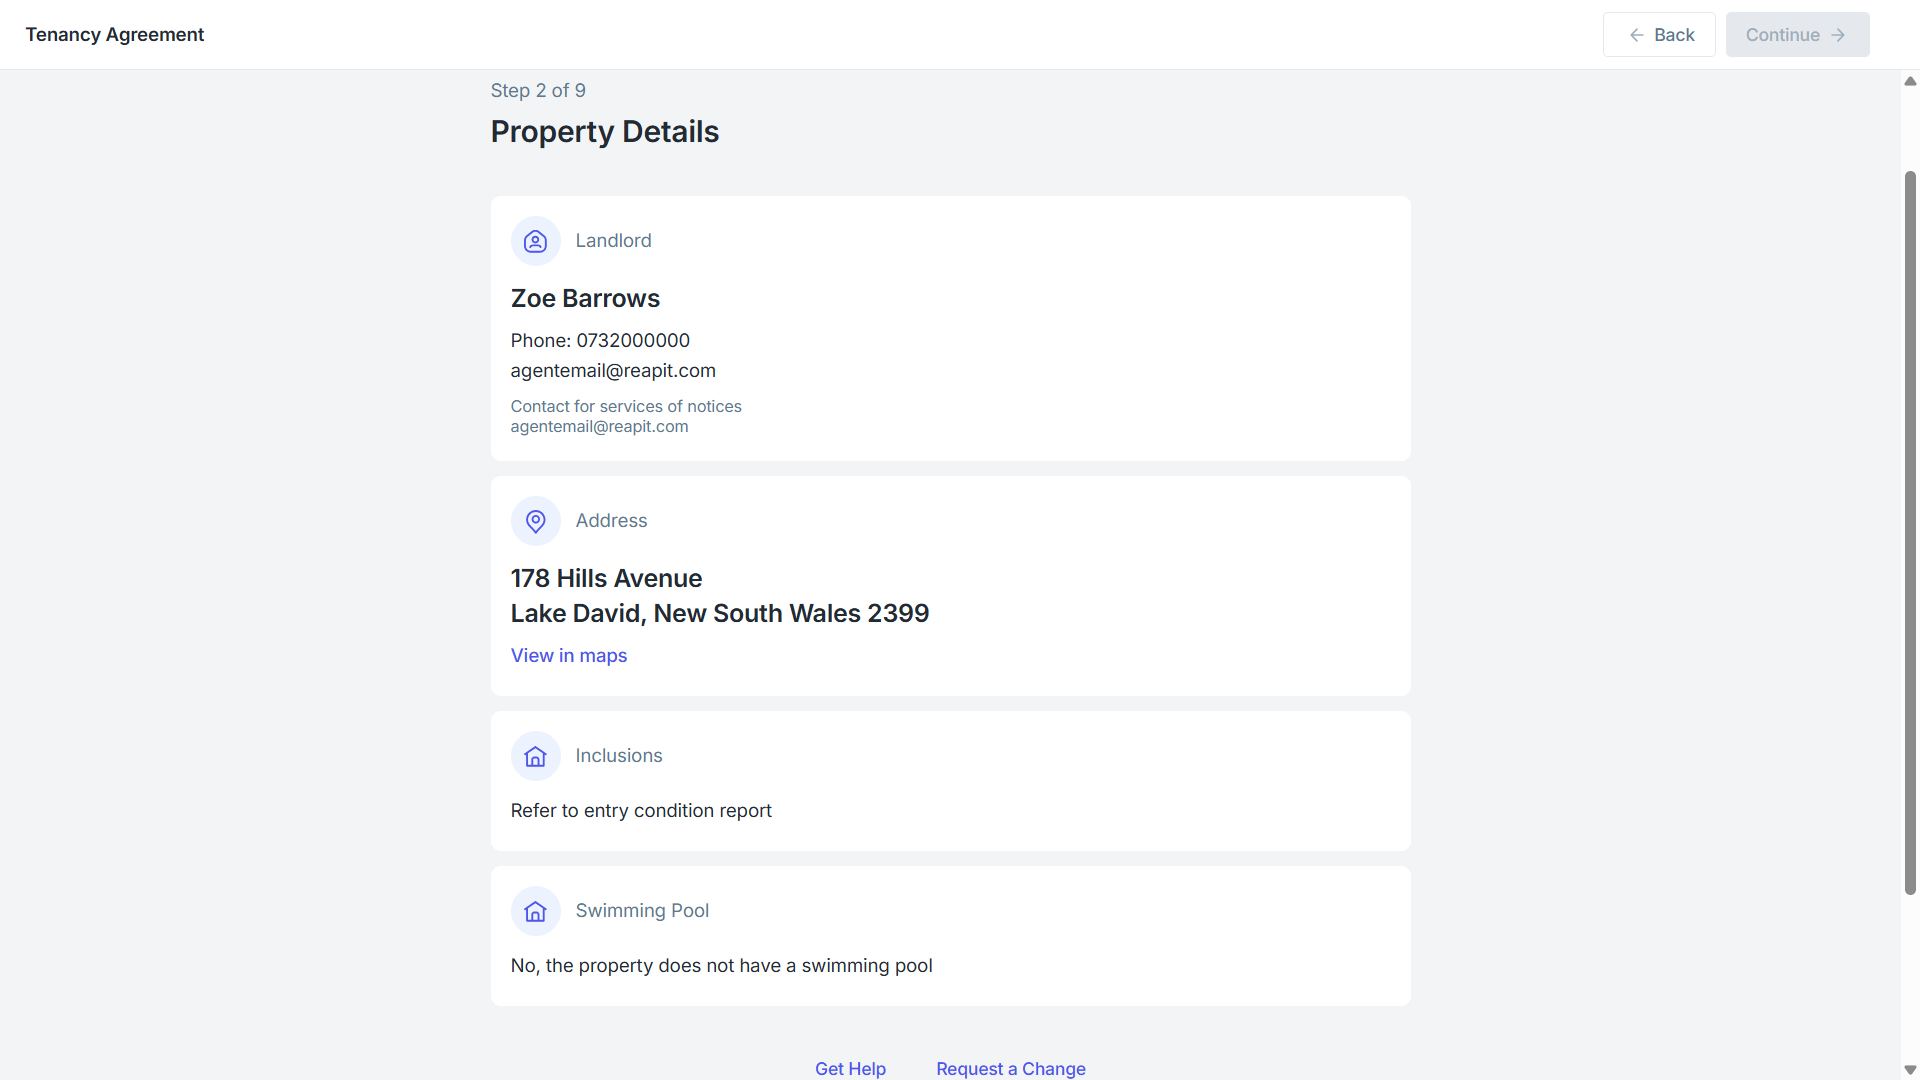
Step 2 of the agreement will cover the property details along with inclusions or swimming pool information.
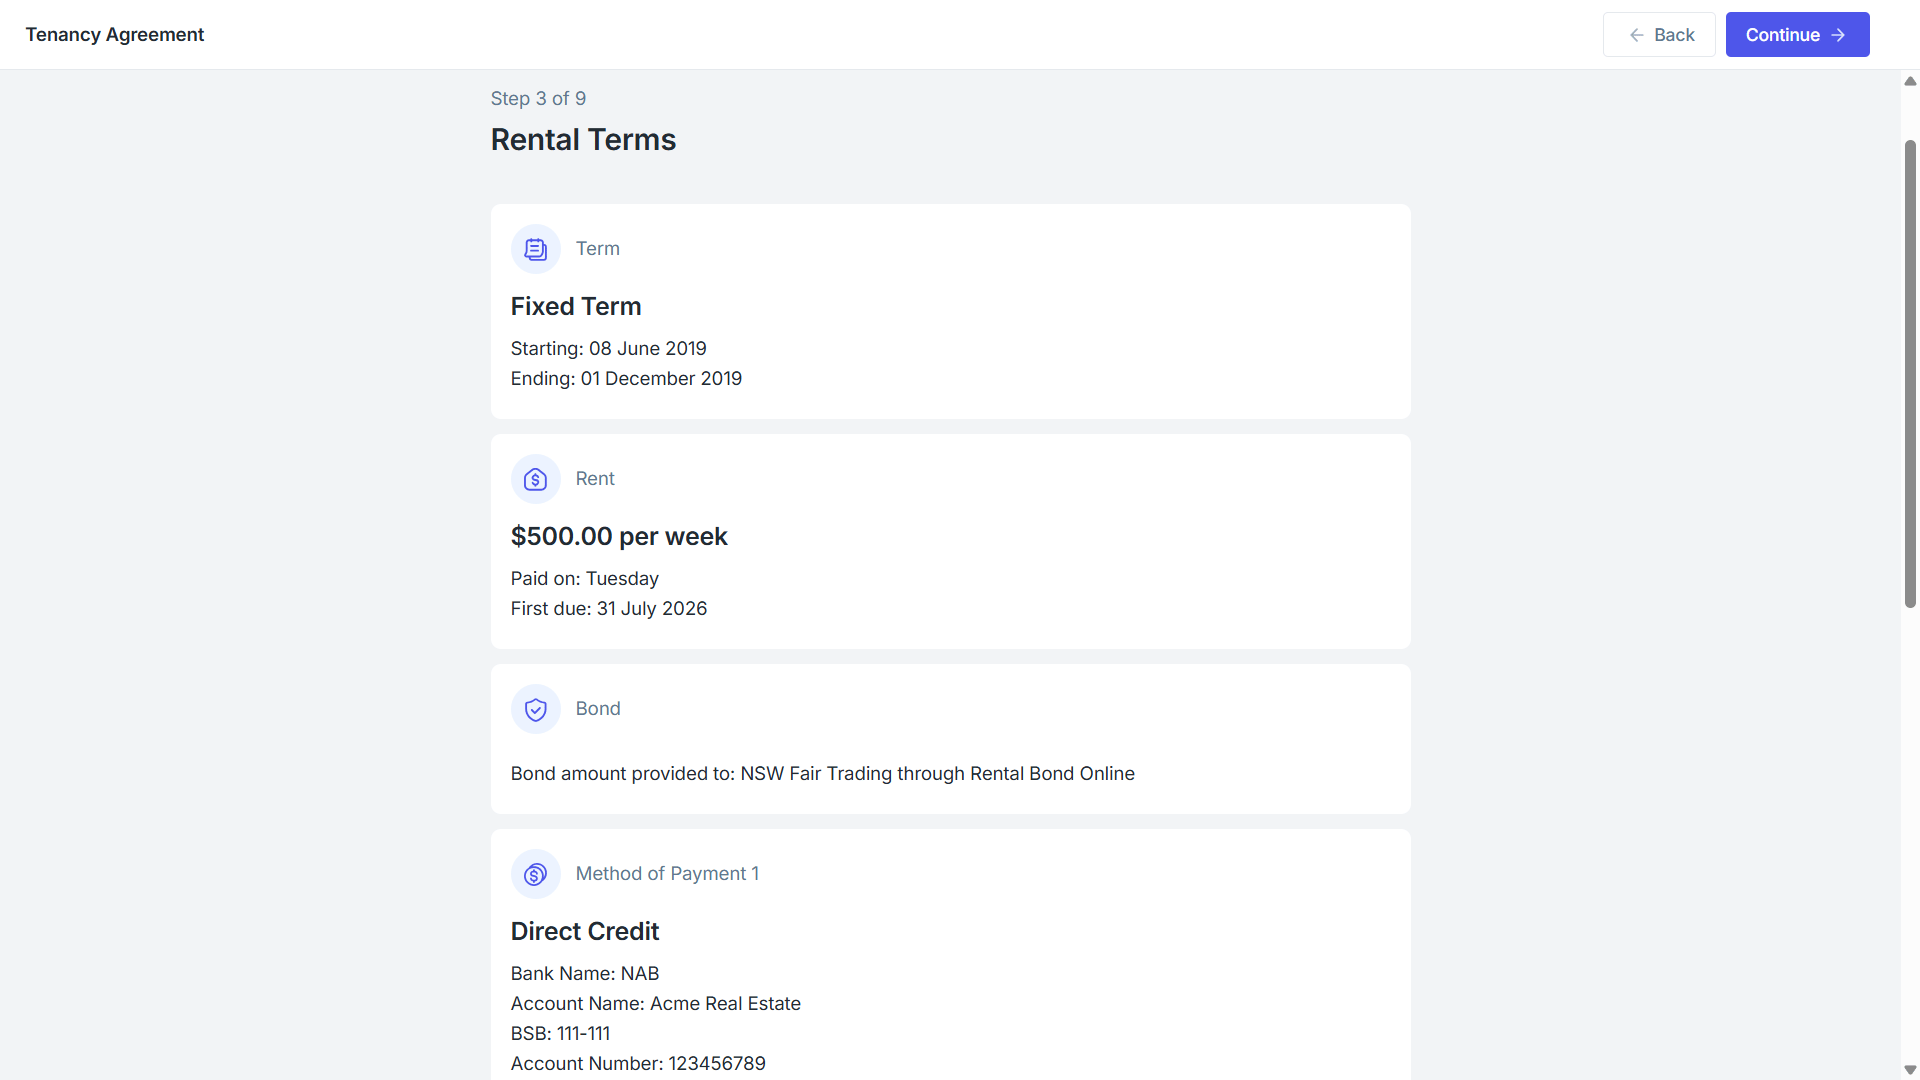
Step 3 will cover the rental terms for the agreement, including the start and end dates for the rental term, rent details, bond details and method of payment.
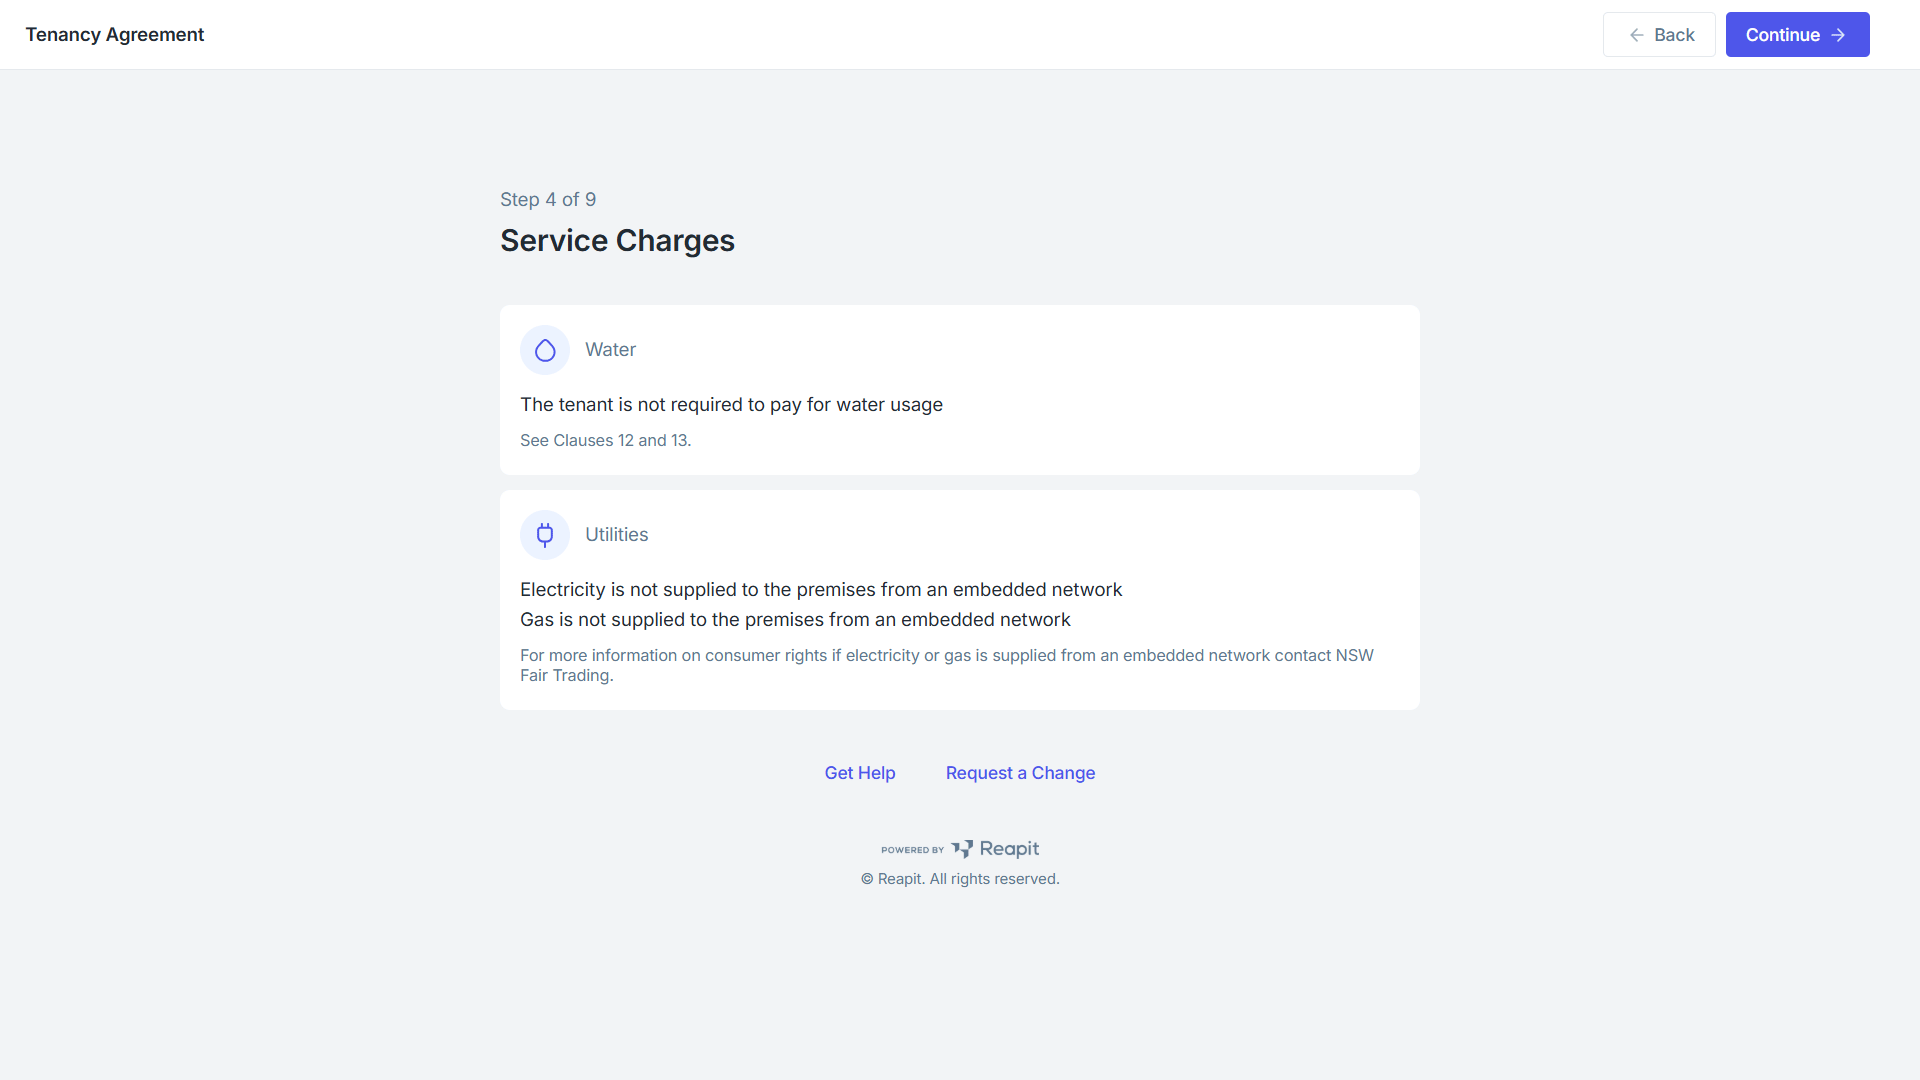
Step 4 will cover the water and utilities service charges for the agreement.
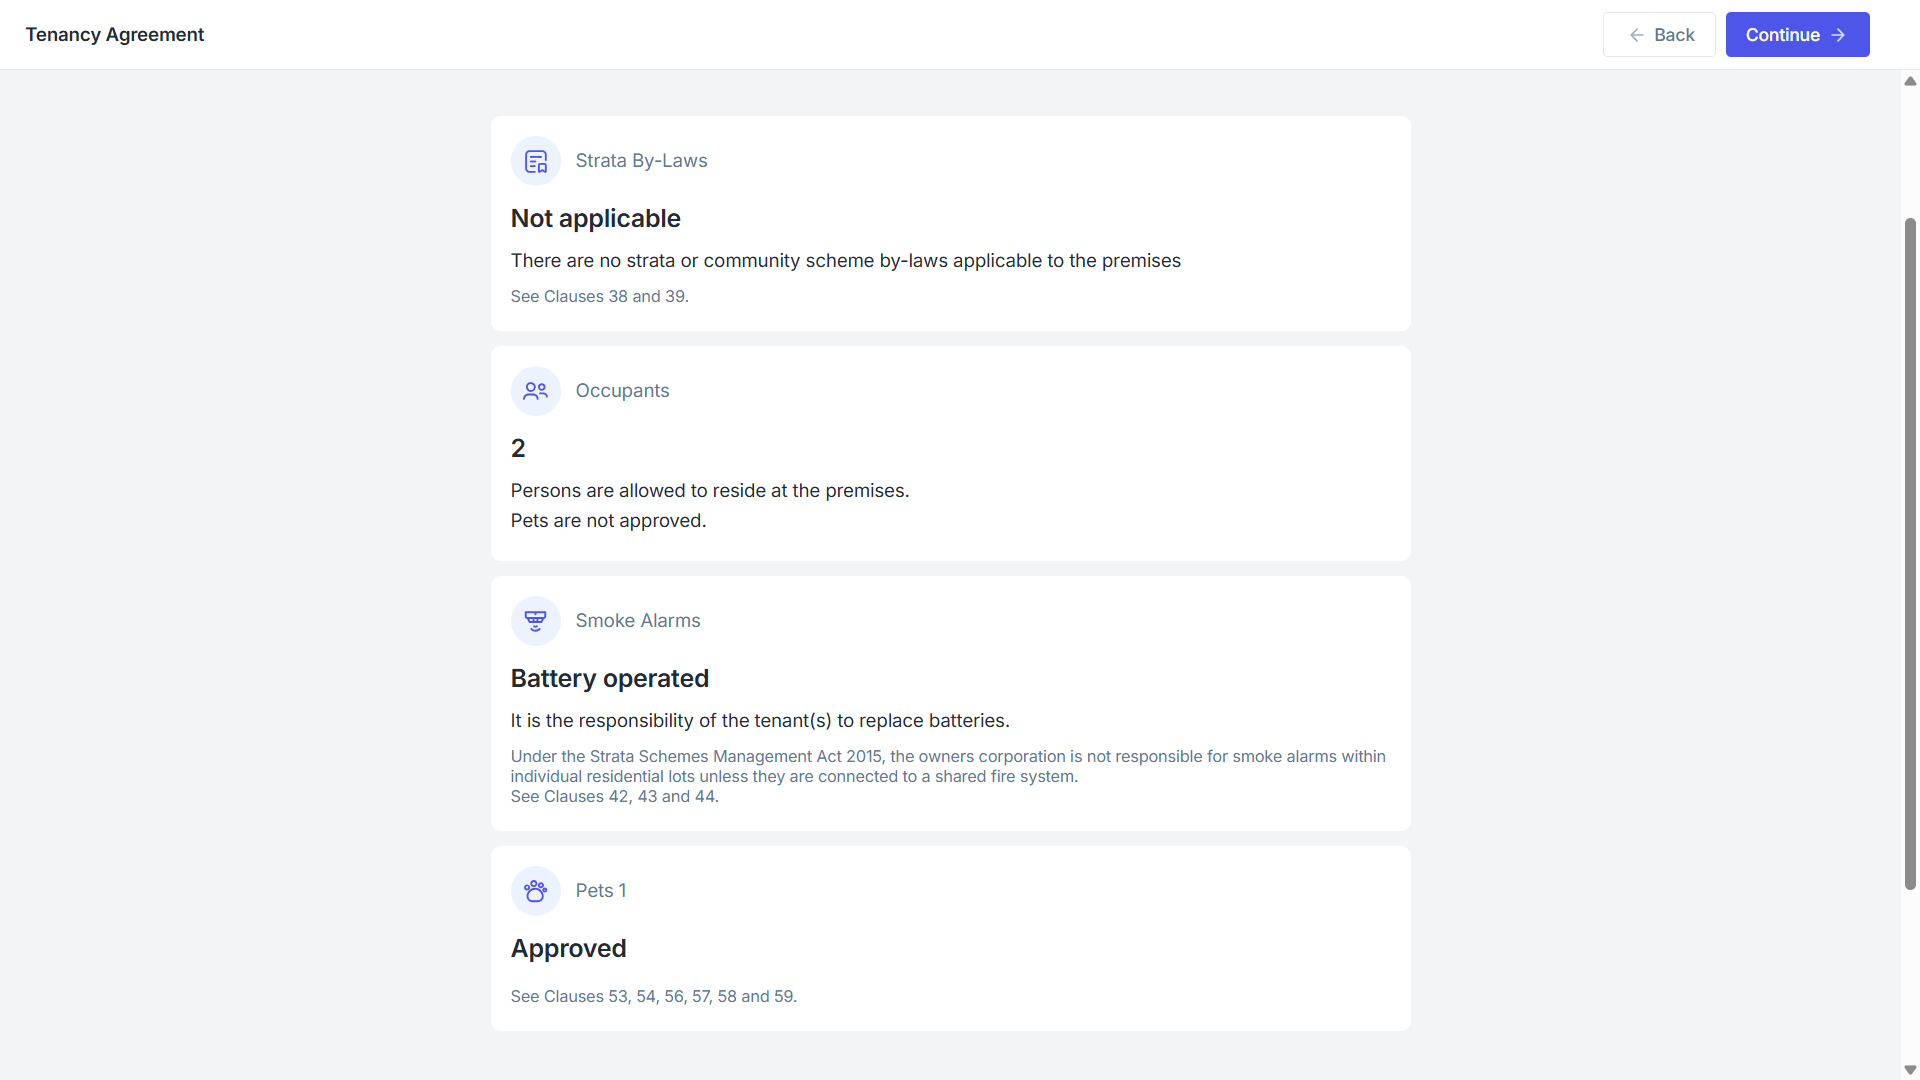
Step 5 will cover the rights and obligations for the agreement. Including any strata by-laws, total number of occupants, smoke alarms and pets.
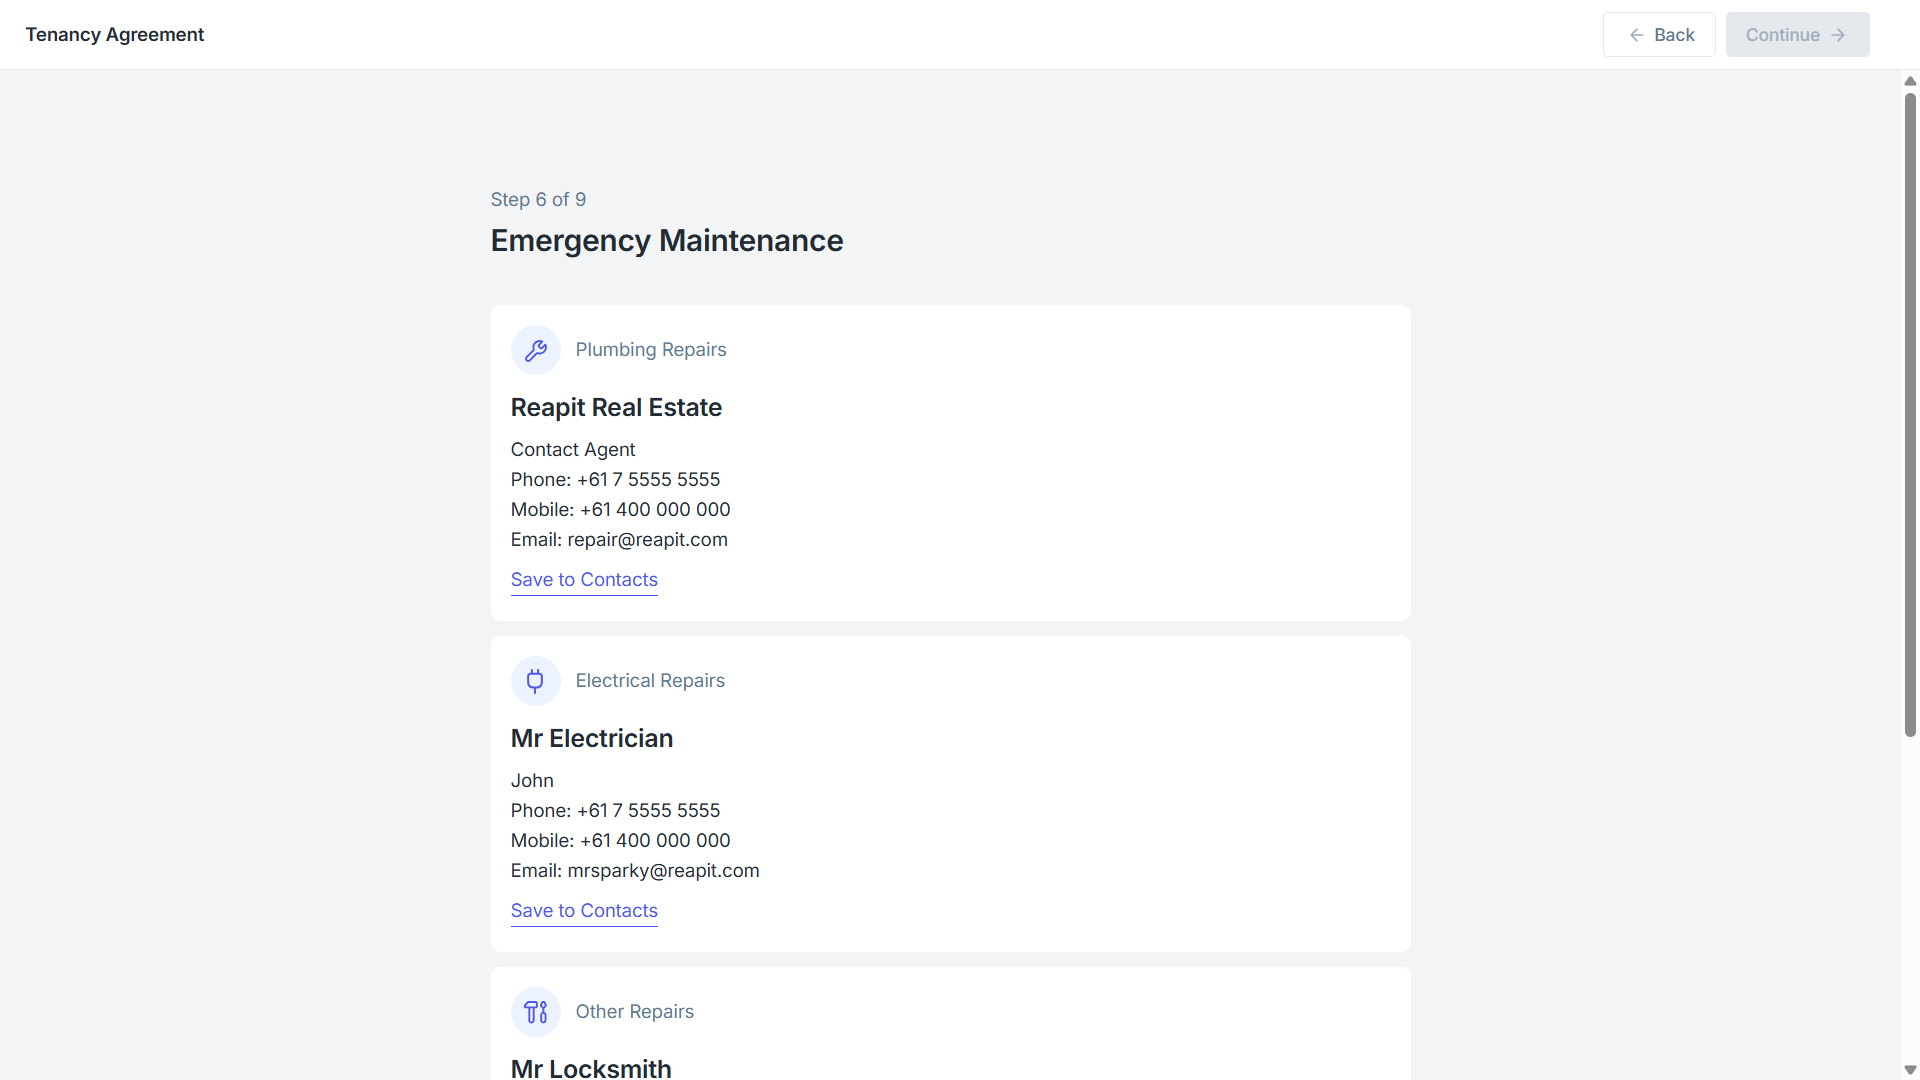
Step 6 will include emergency maintenance information for approved repairers, along with their contact information and a quick add to contacts button.
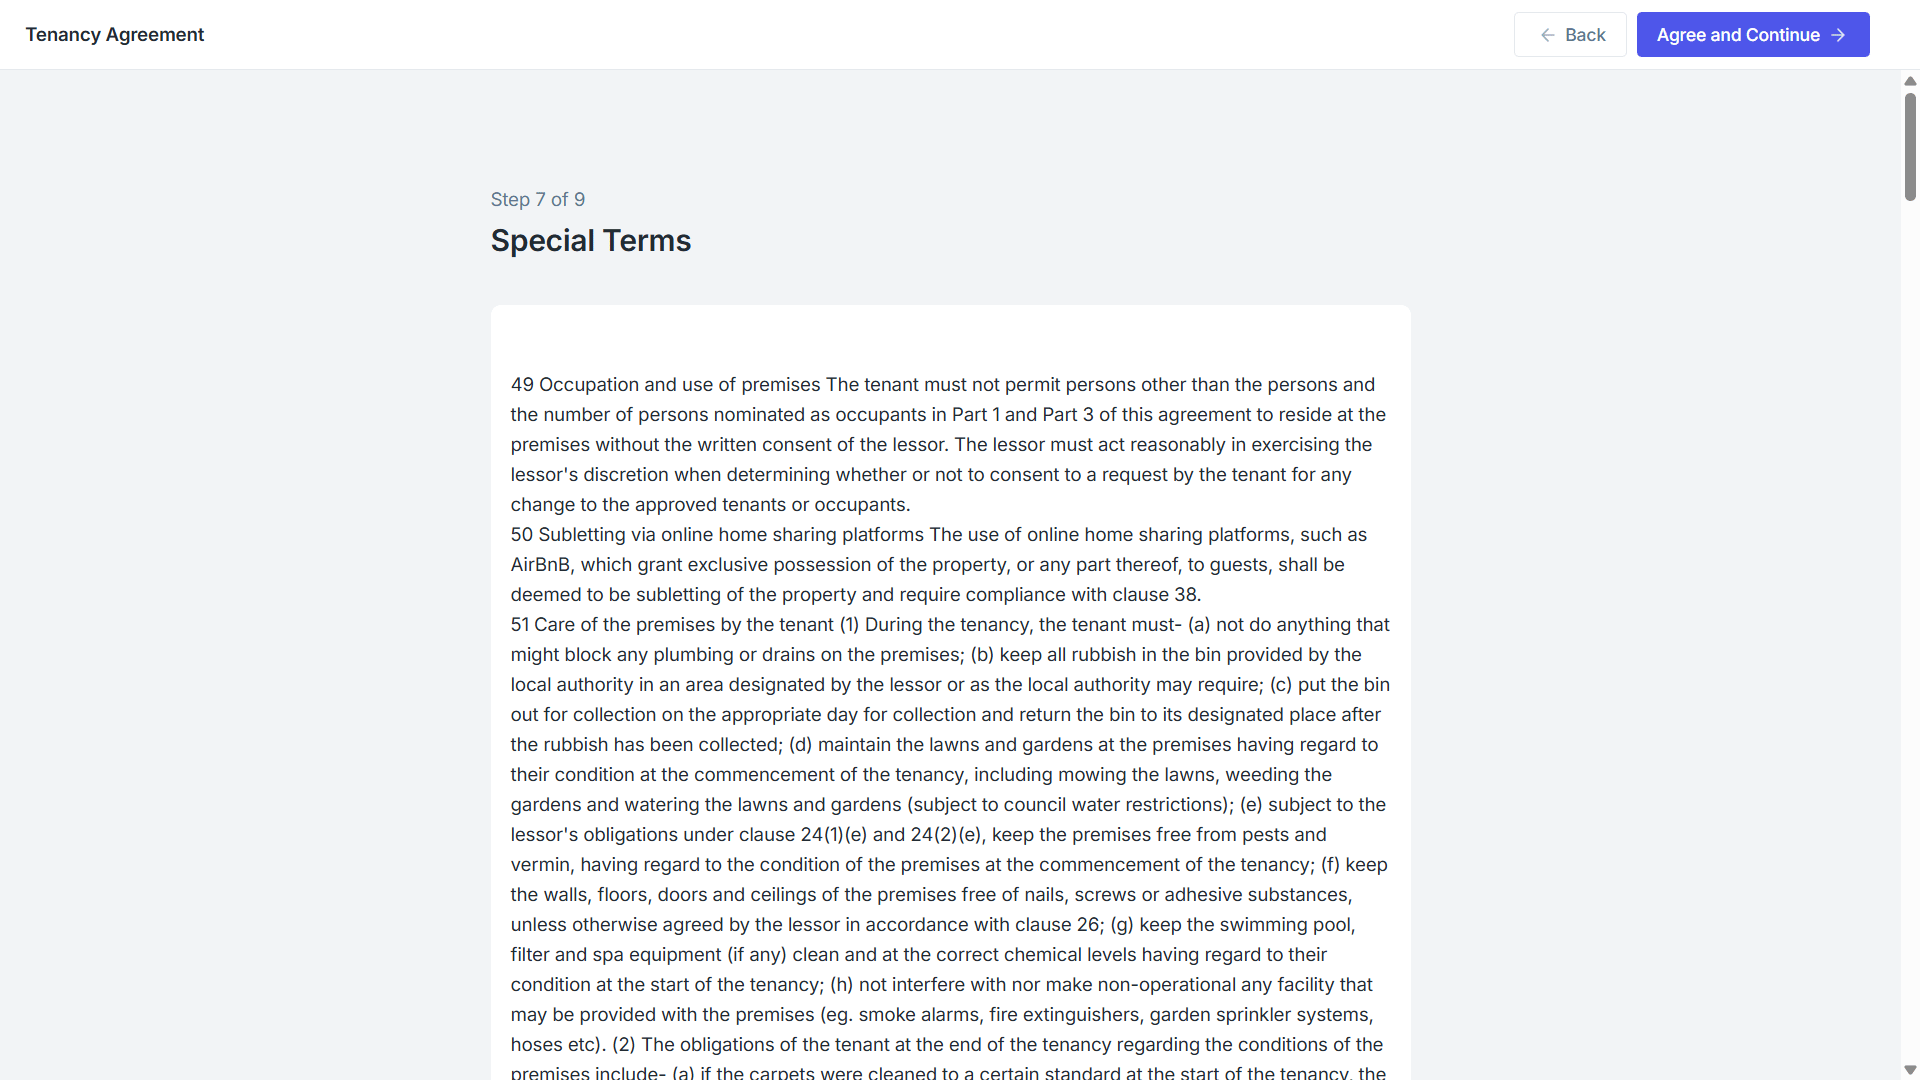
Step 7 will go into the special terms for the agreement, along with any additional information to be included.
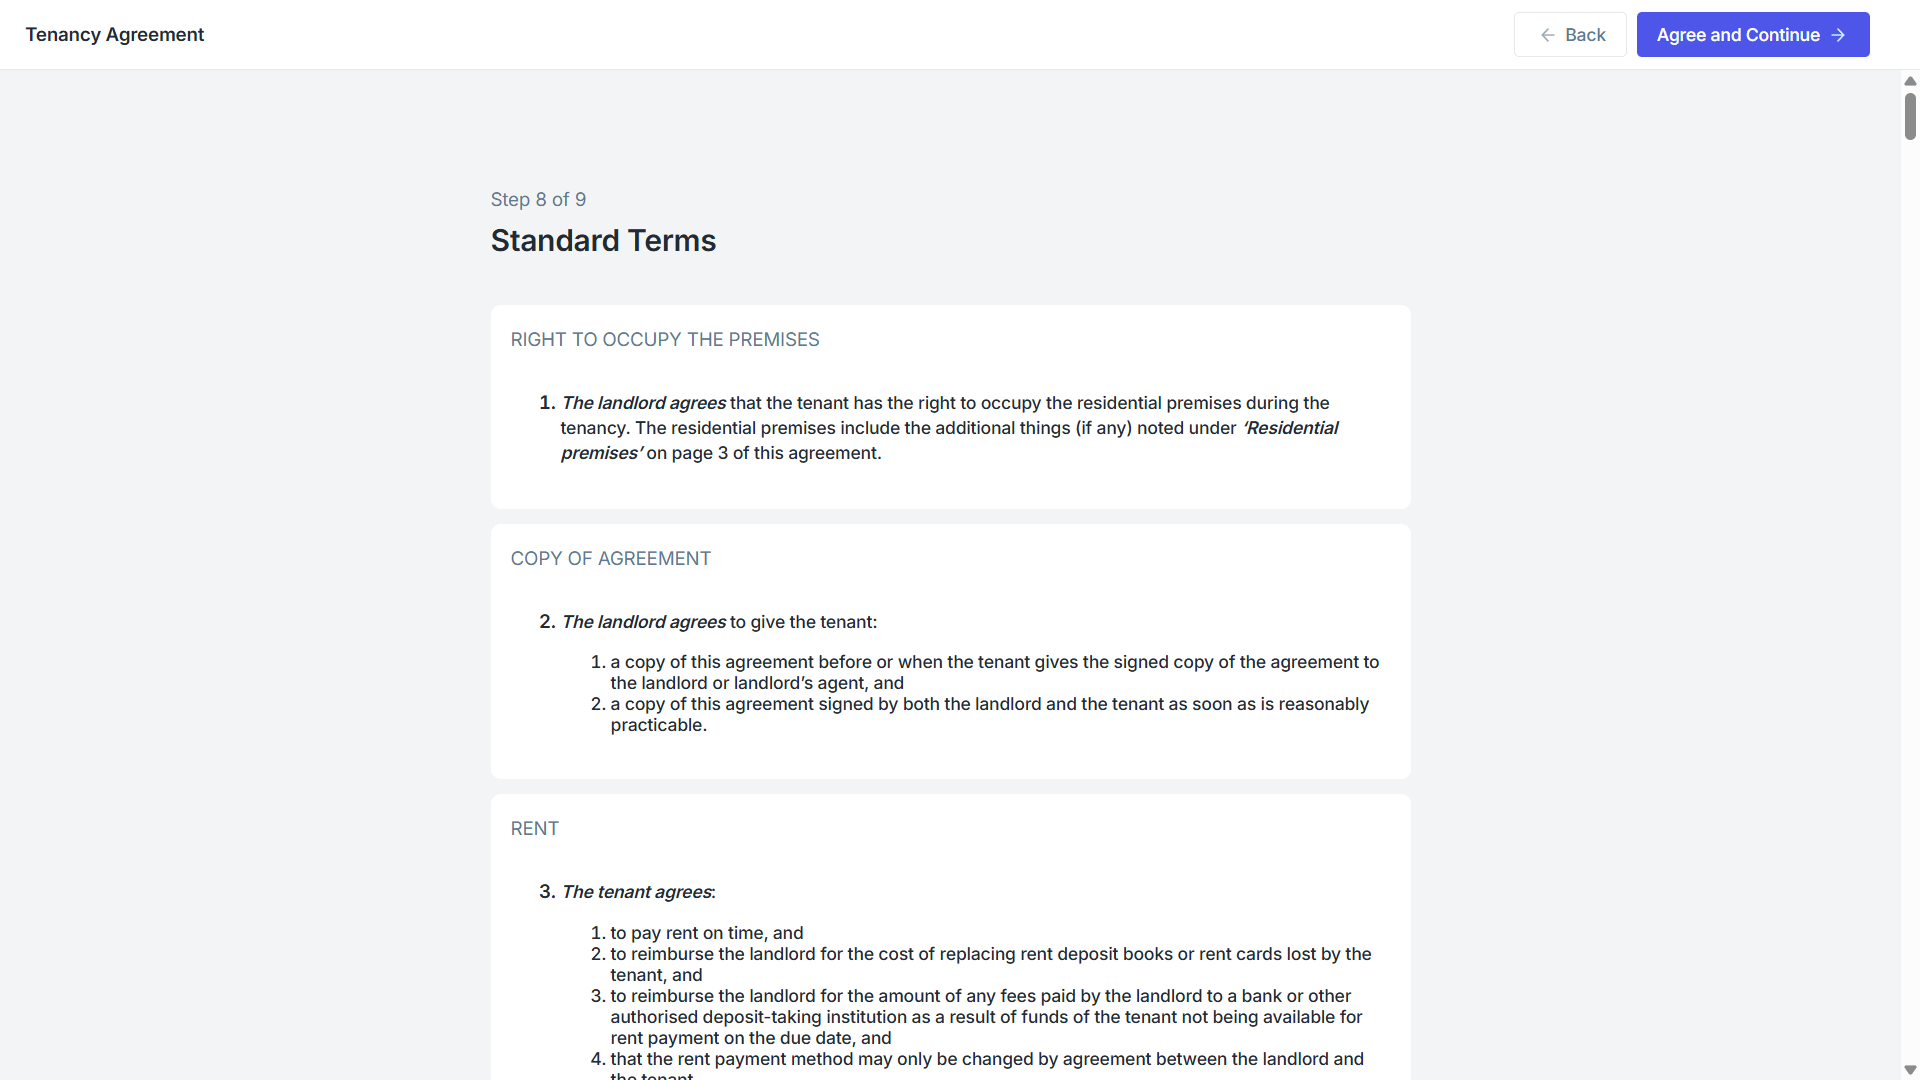
Step 8 will cover the standard terms for the agreement.
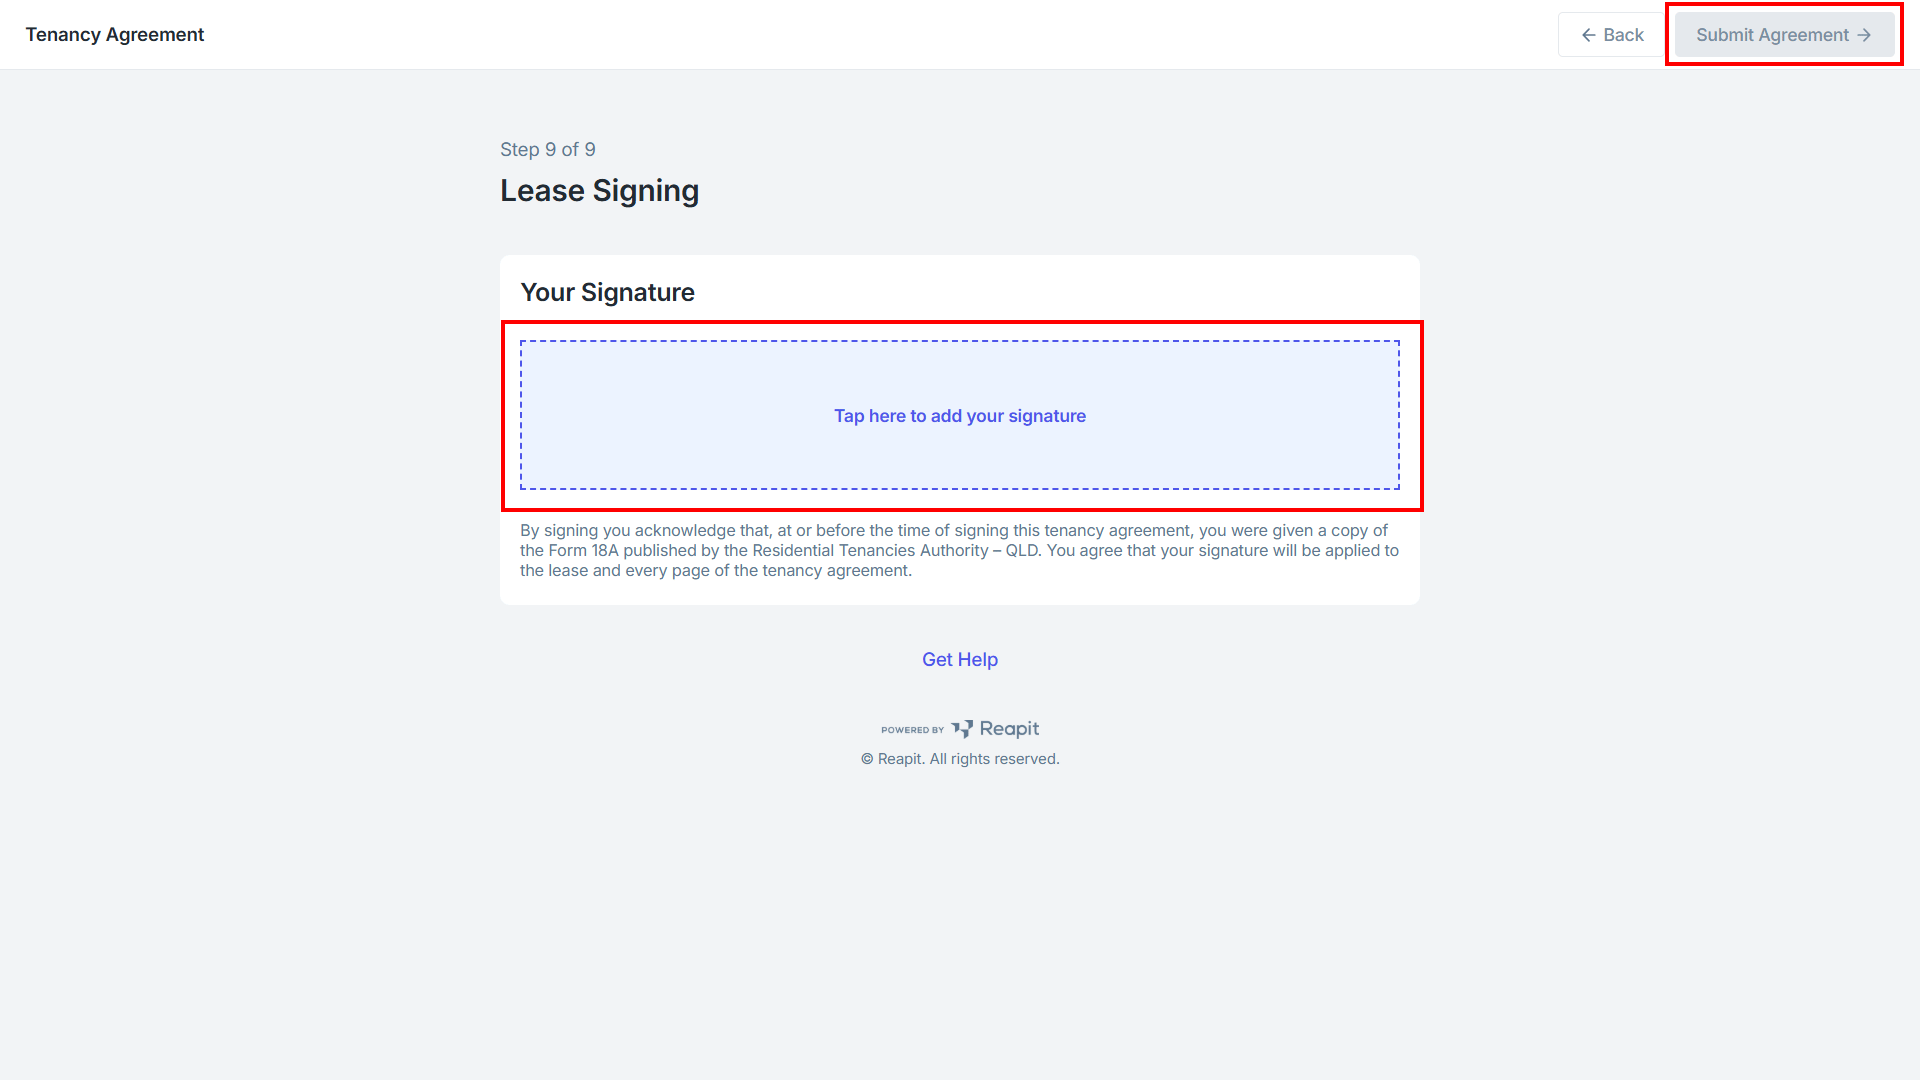
On Step 9, the ability to sign the lease will appear. If there are no changes or the agreement has been returned to you after any amendments, Tap to add your signature and once done, click Submit Agreement.
5. Confirmation of the lease agreement being signed will appear.
Sending or Requesting a change
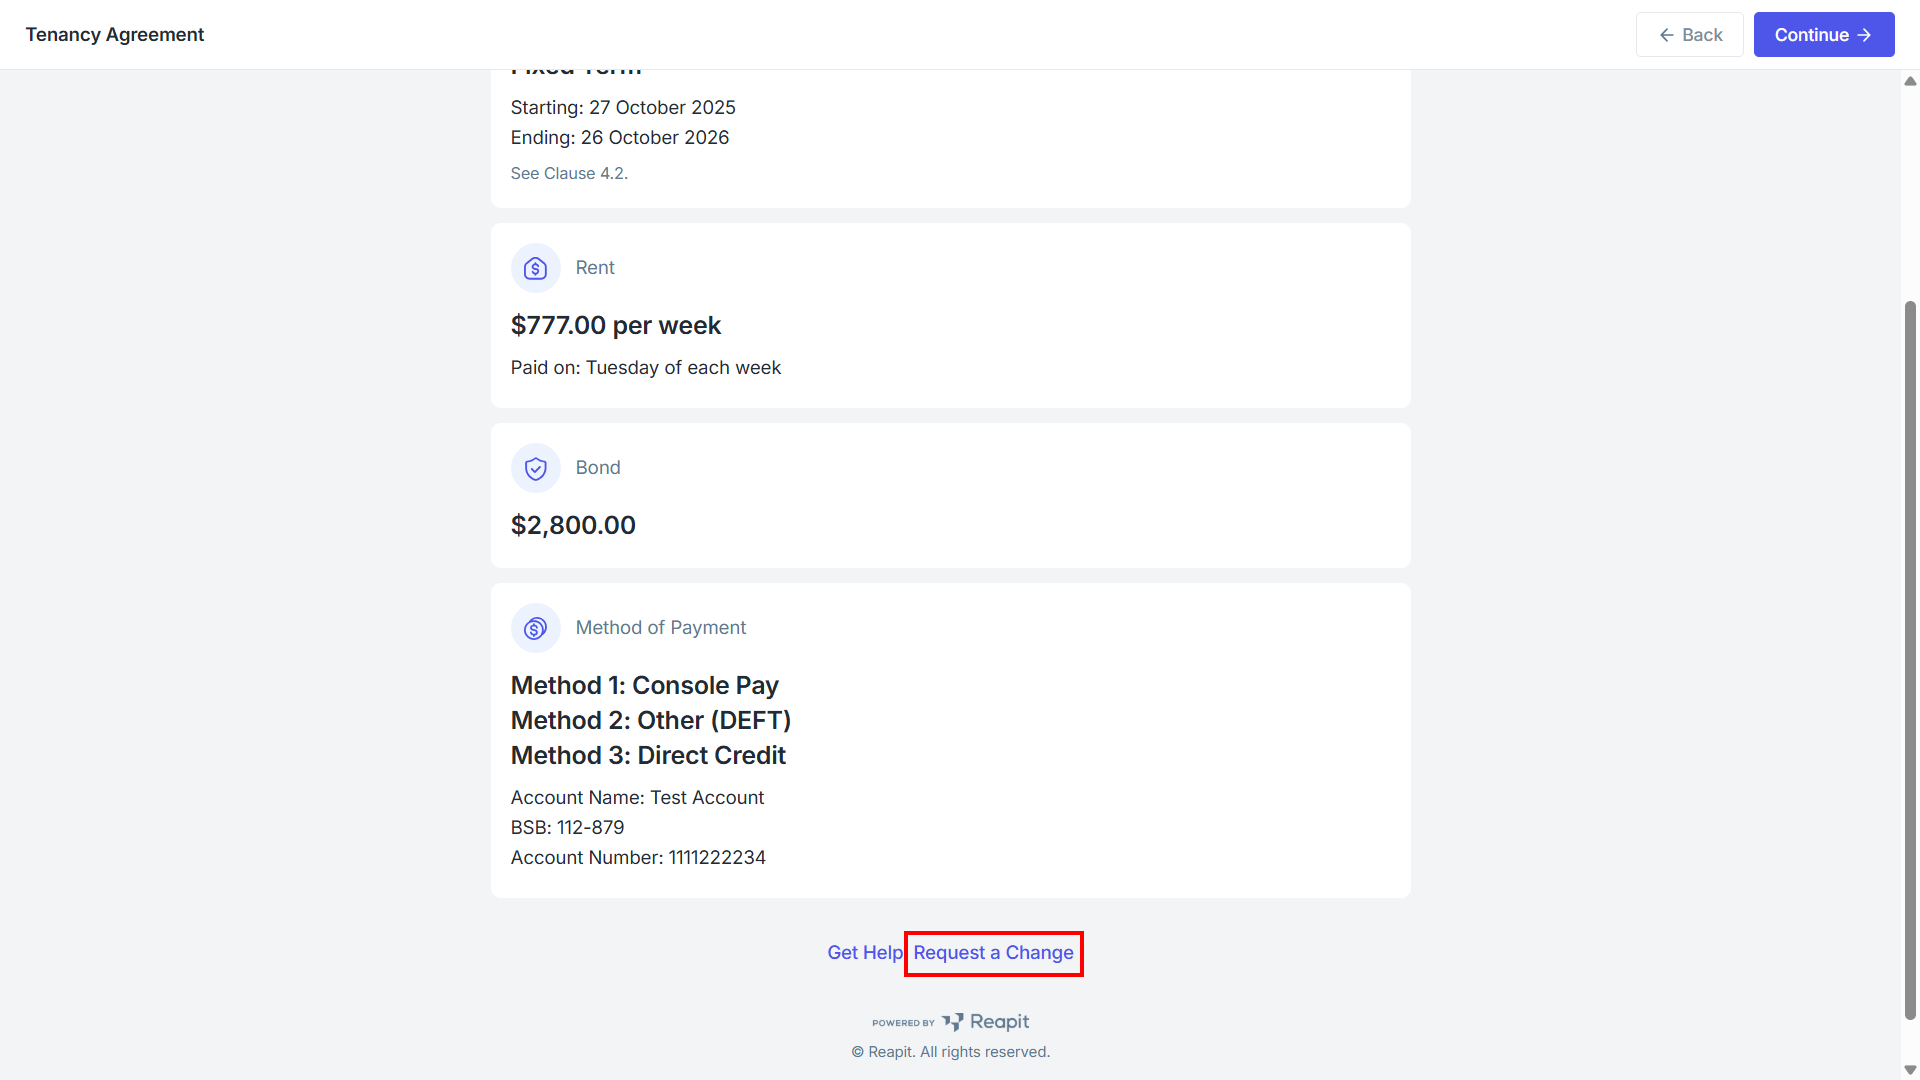
1. At any point while reviewing the agreement, if you believe there is something that might be wrong in the agreement details, click Request a Change.
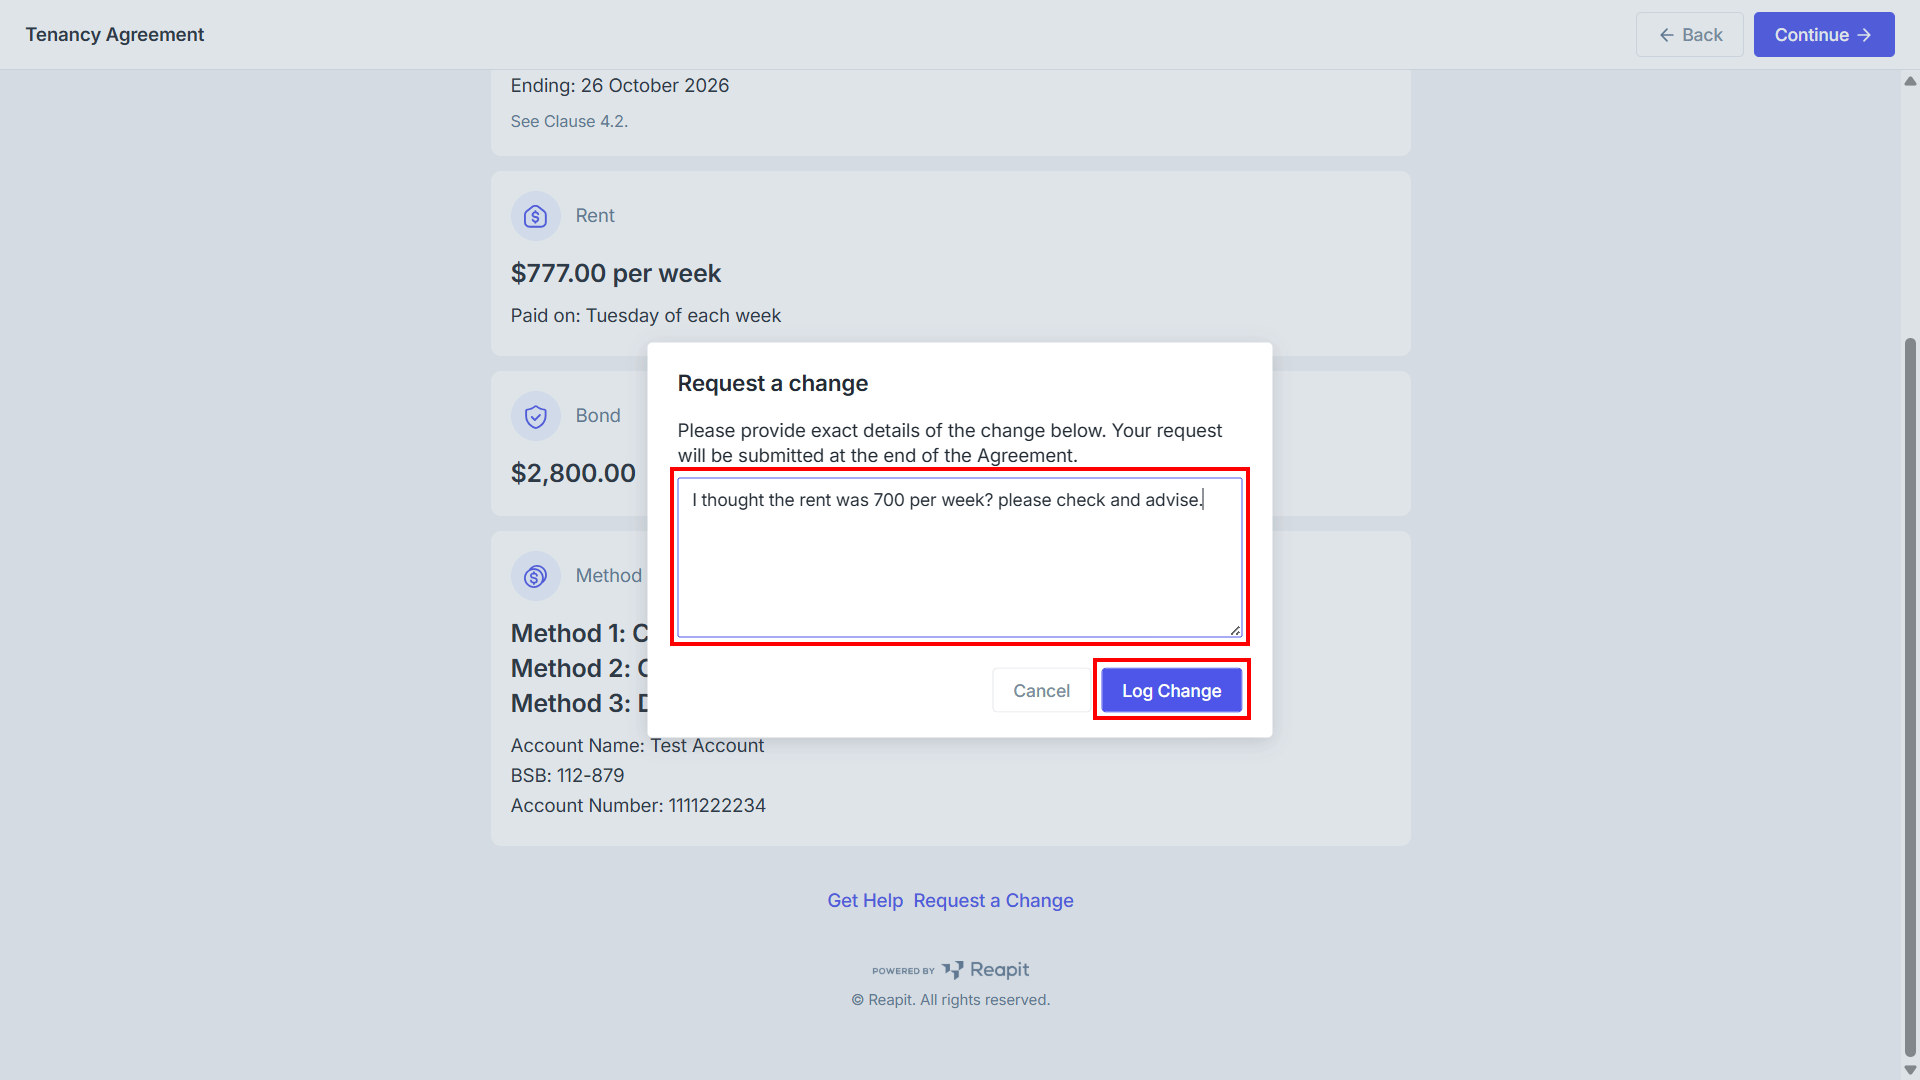
2. Enter the details into the text box for the change request. Click Log Change.
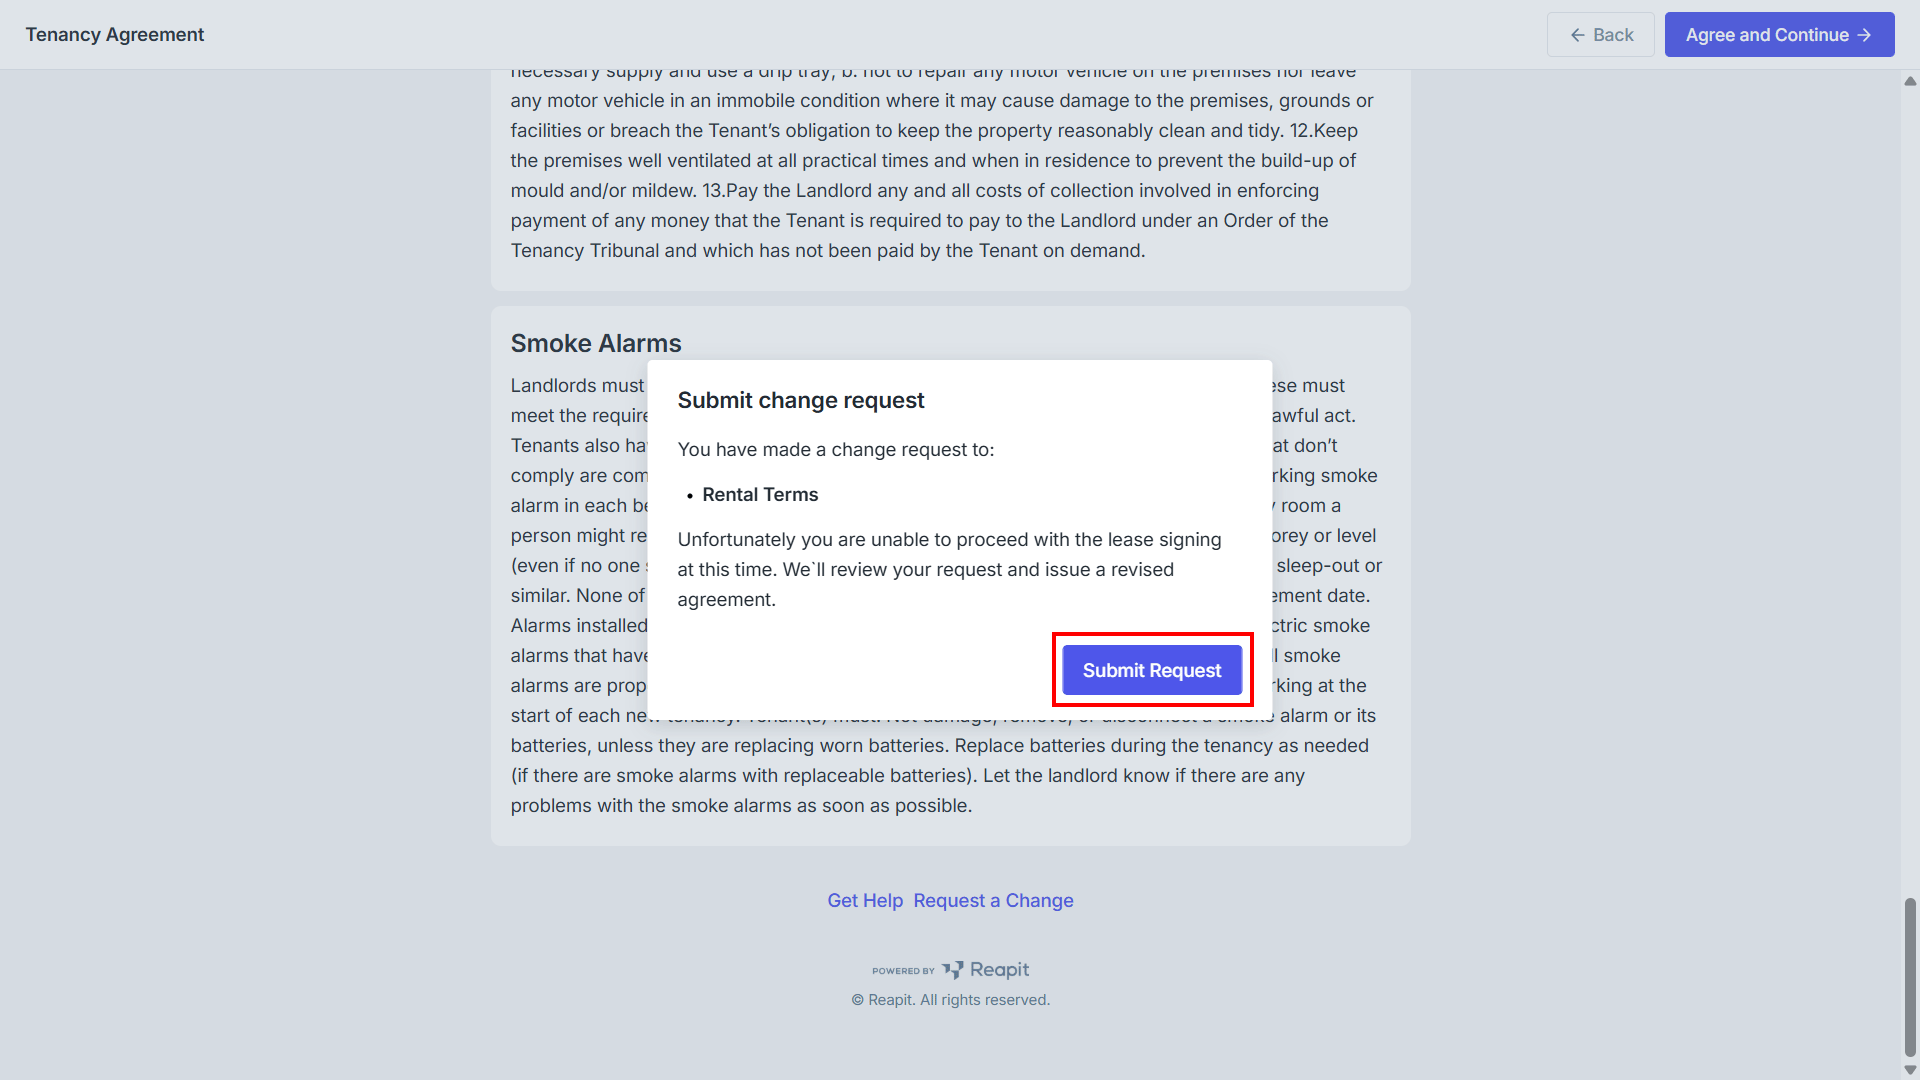
3. If you have requested changes to your agreement, you will not be able to sign the agreement until the agency has reviewed and sent back the agreement. Click Submit Request to return the agreement to the agency.
4. Confirmation that the change request has been received will appear.