How to Set Up/Edit Office Settings in Reapit Forms
This article covers the setup and editing of office settings through Reapit Forms
- To access Reapit Forms, navigate to - https://app.forms.reapit.com.au/
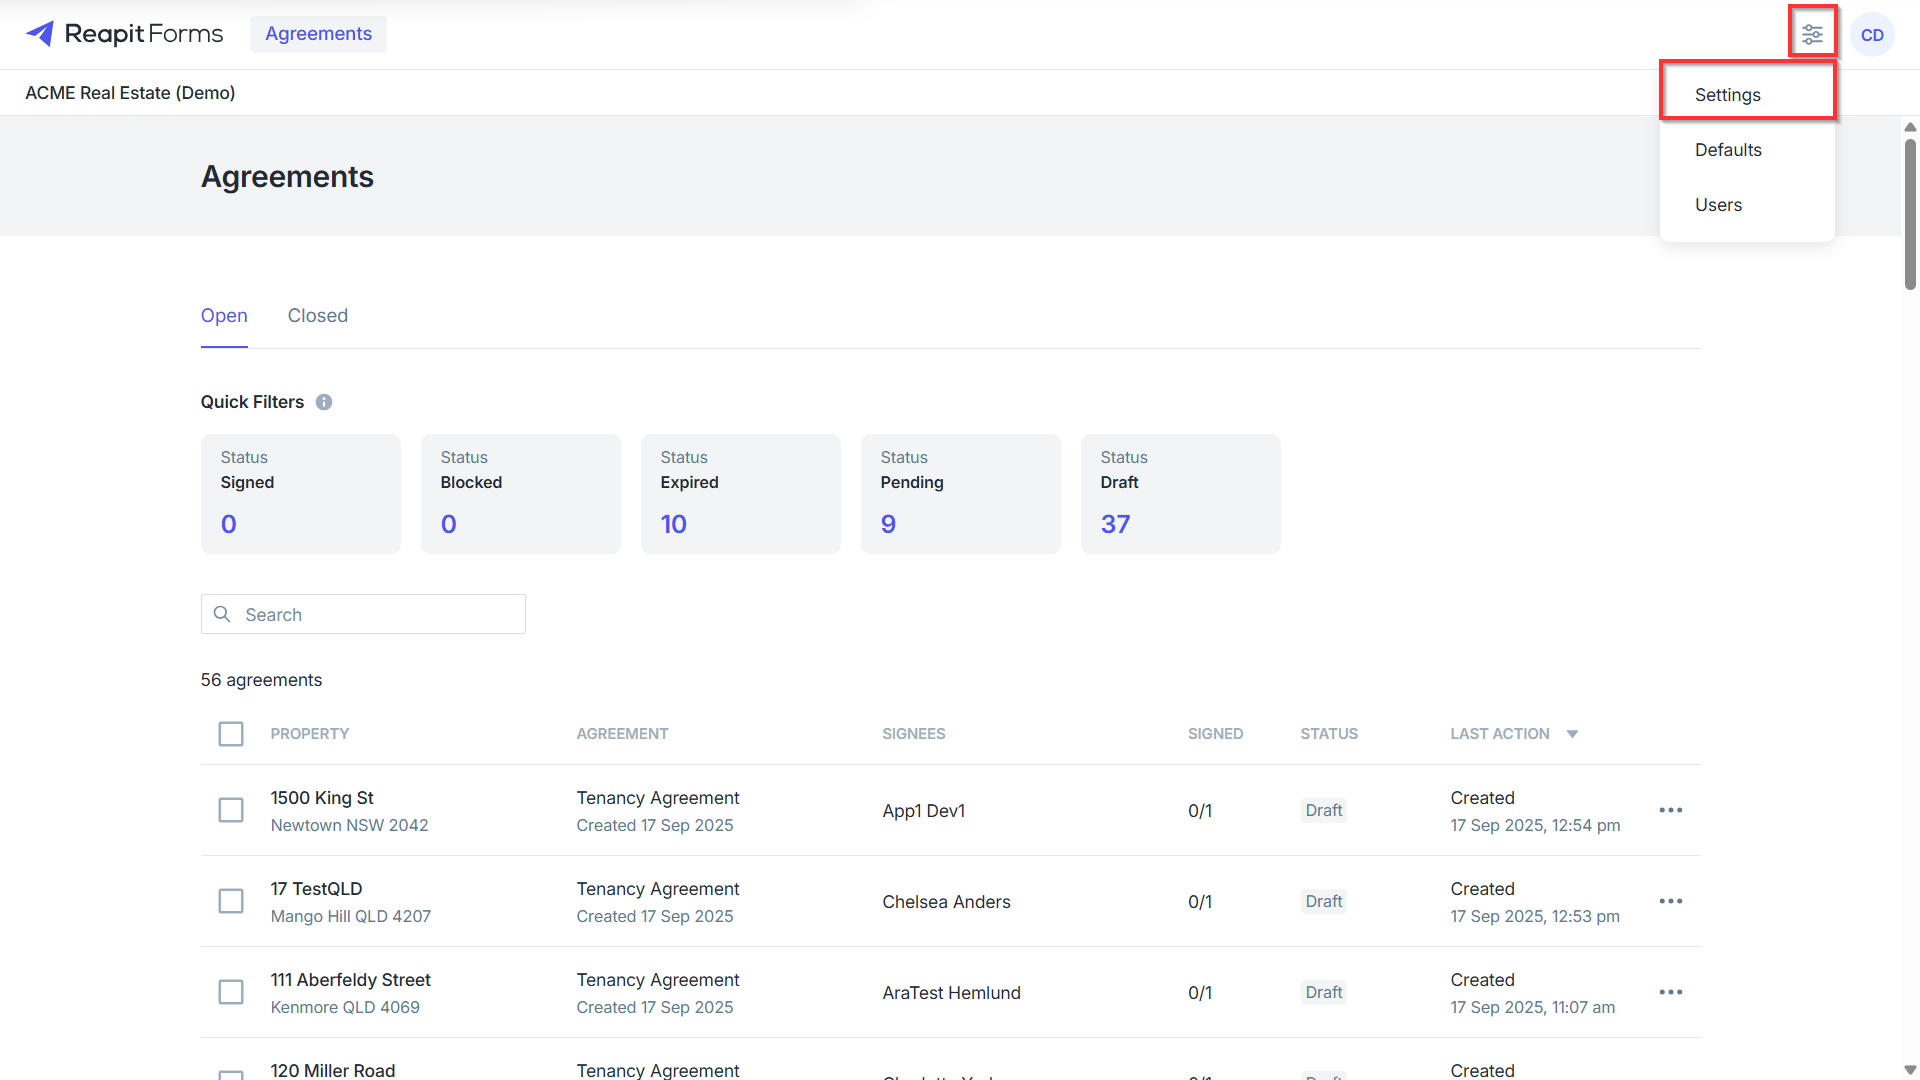
- Once signed in, navigate to the settings icon and click Settings.
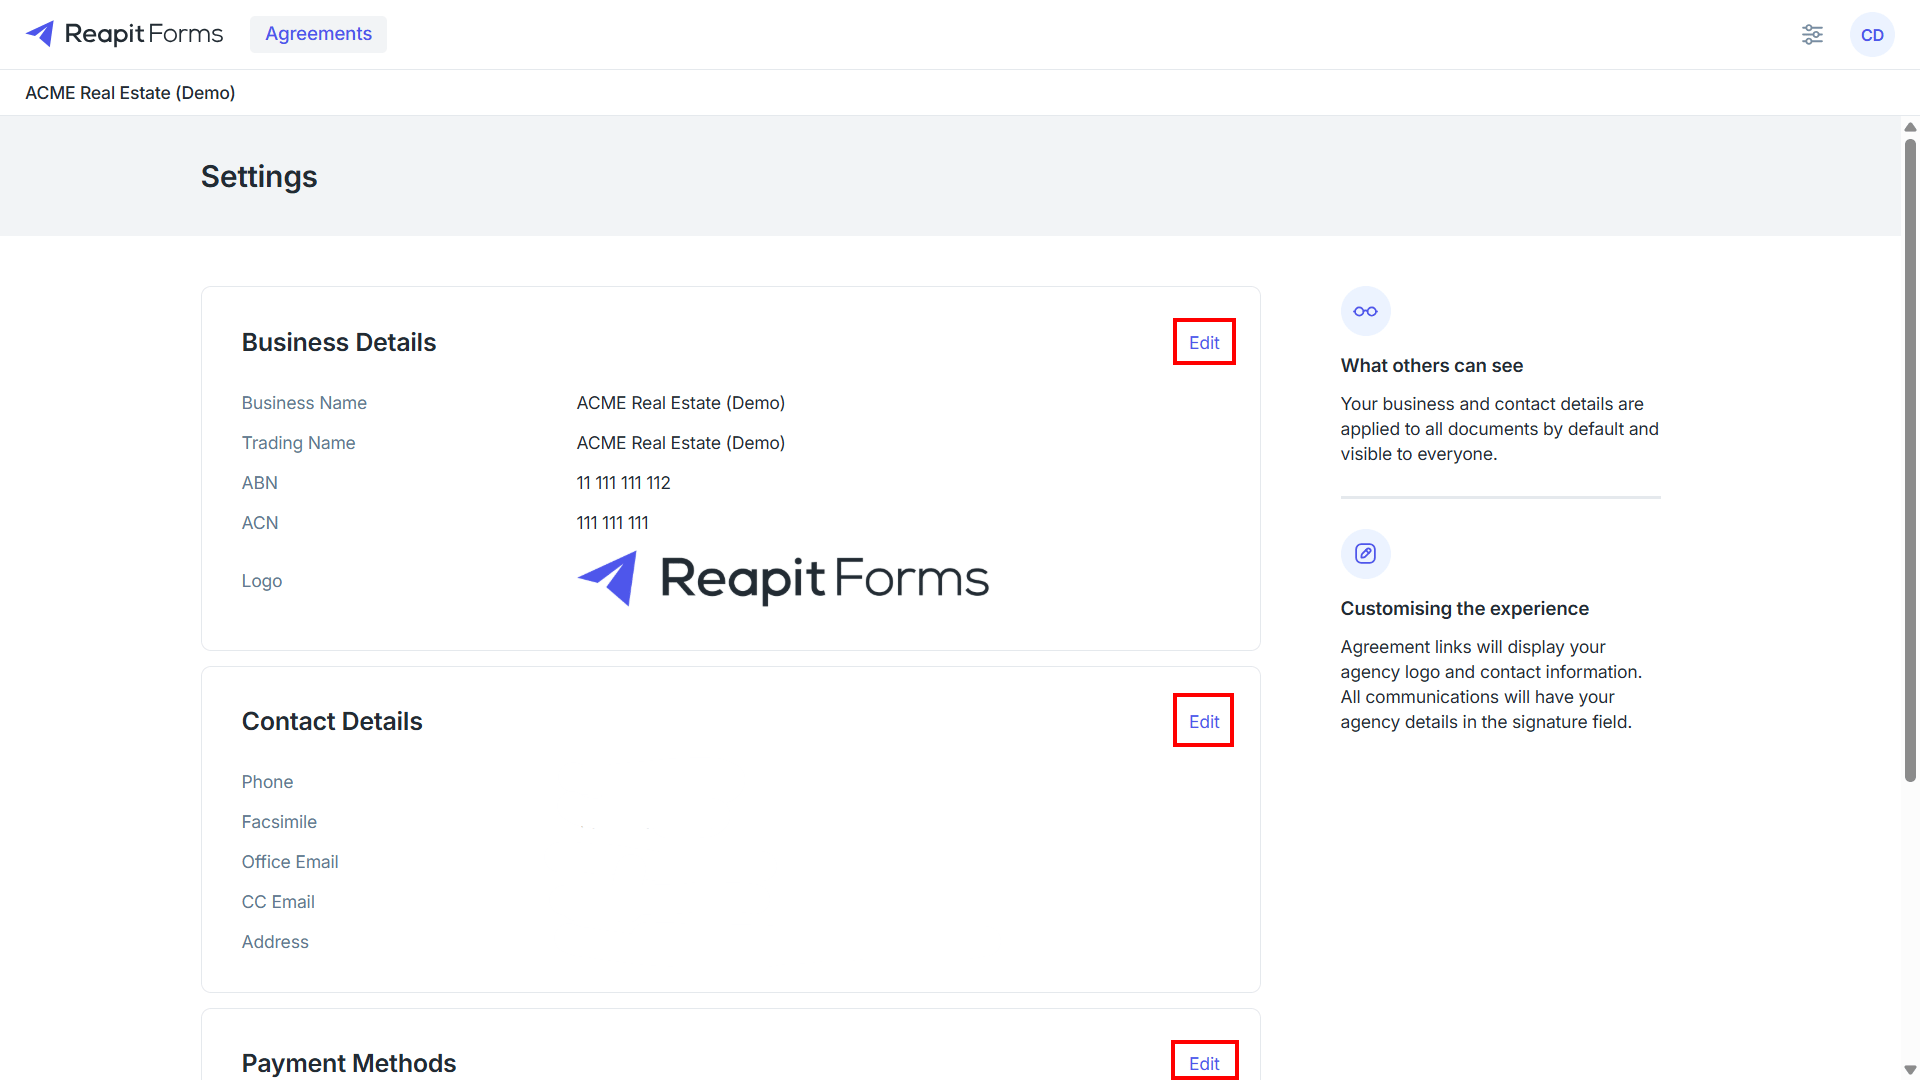
2. The Settings will include sections for Business Details, Contact Details, and Payment Methods. Click on the Edit button for each field.
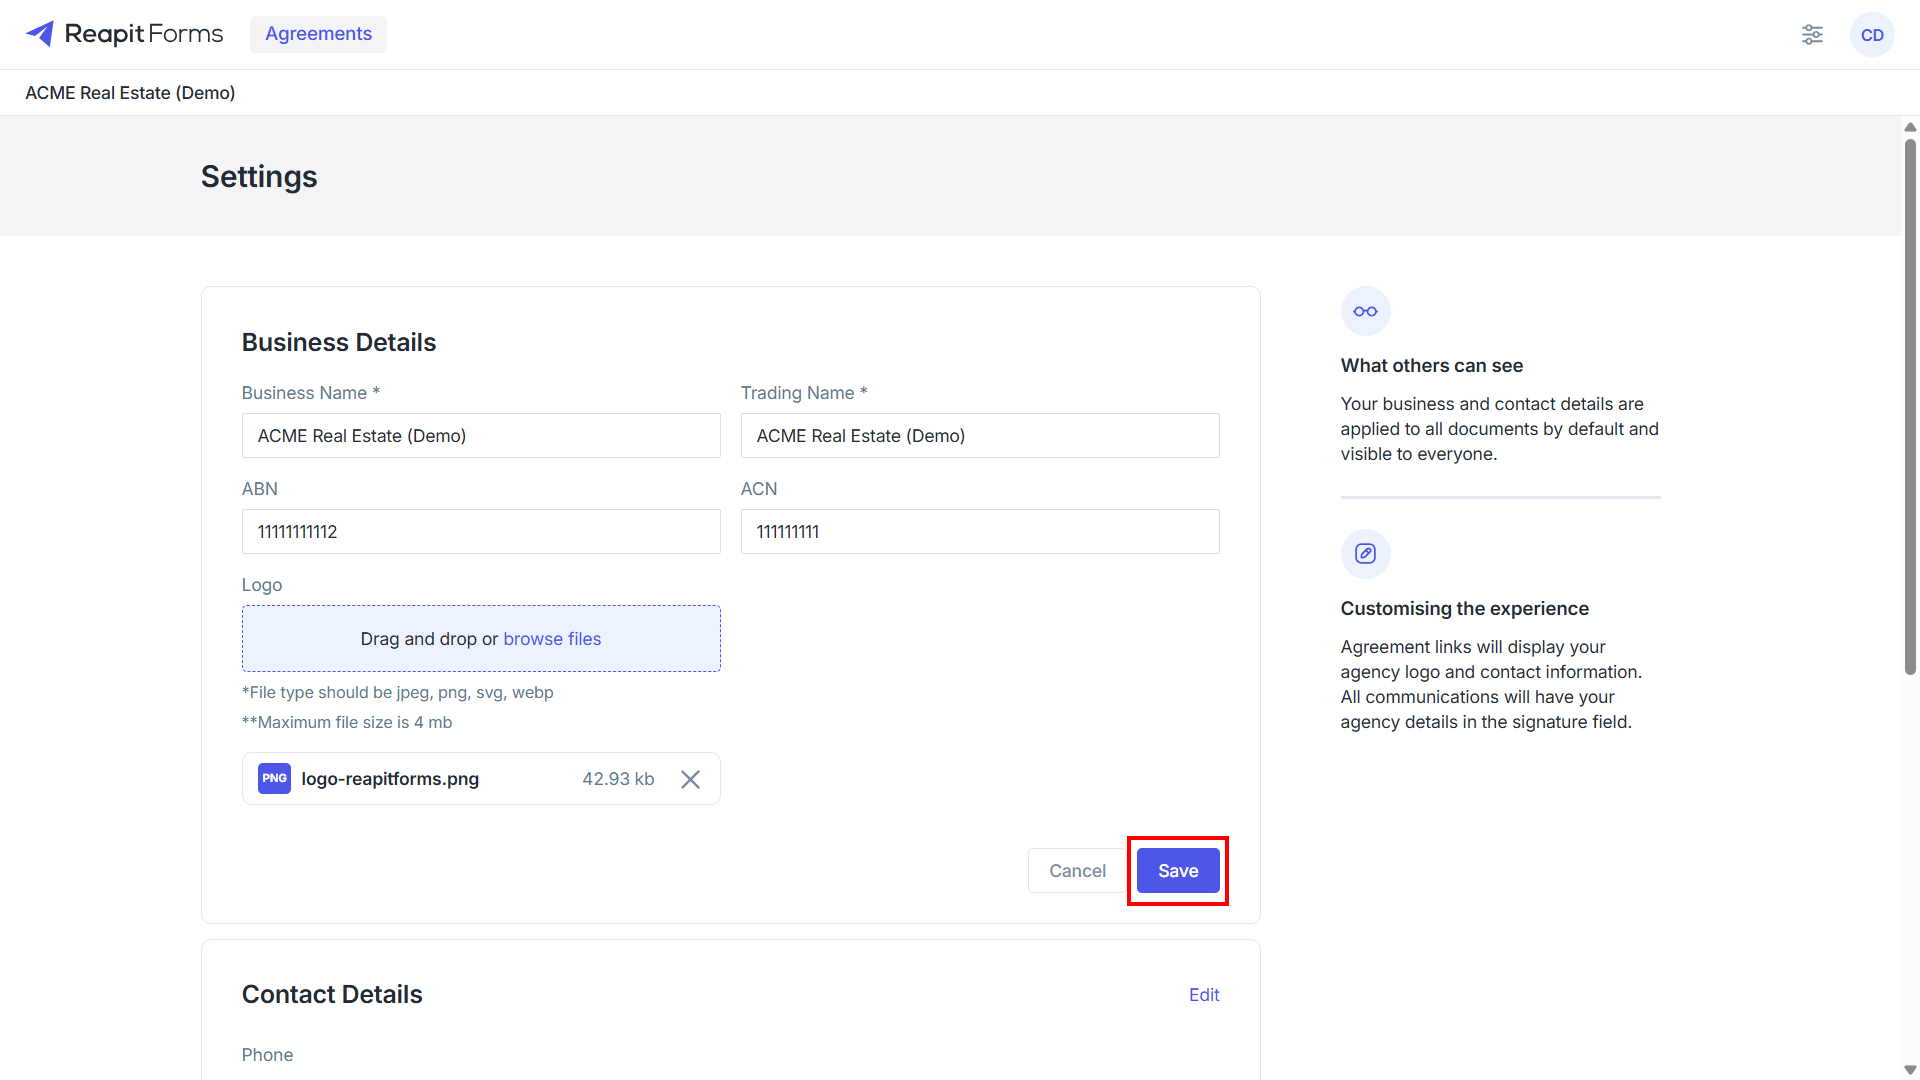
3. Enter the required information at a minimum (*) and click Save to apply the information to the field.
4. Below is a list of the fields to complete with the * from the Settings screen:
Business Details
- Business Name *
- Trading Name *
- ABN
- ACN
- Logo
Contact Details
- Phone *
- Facsimile
- Office Email *
- CC Email (finalised lease agreements will be sent to this email address)
- Unit Number
- Street Number
- Street Name *
- Street Type
- Country State *
- Suburb *
- Post Code *
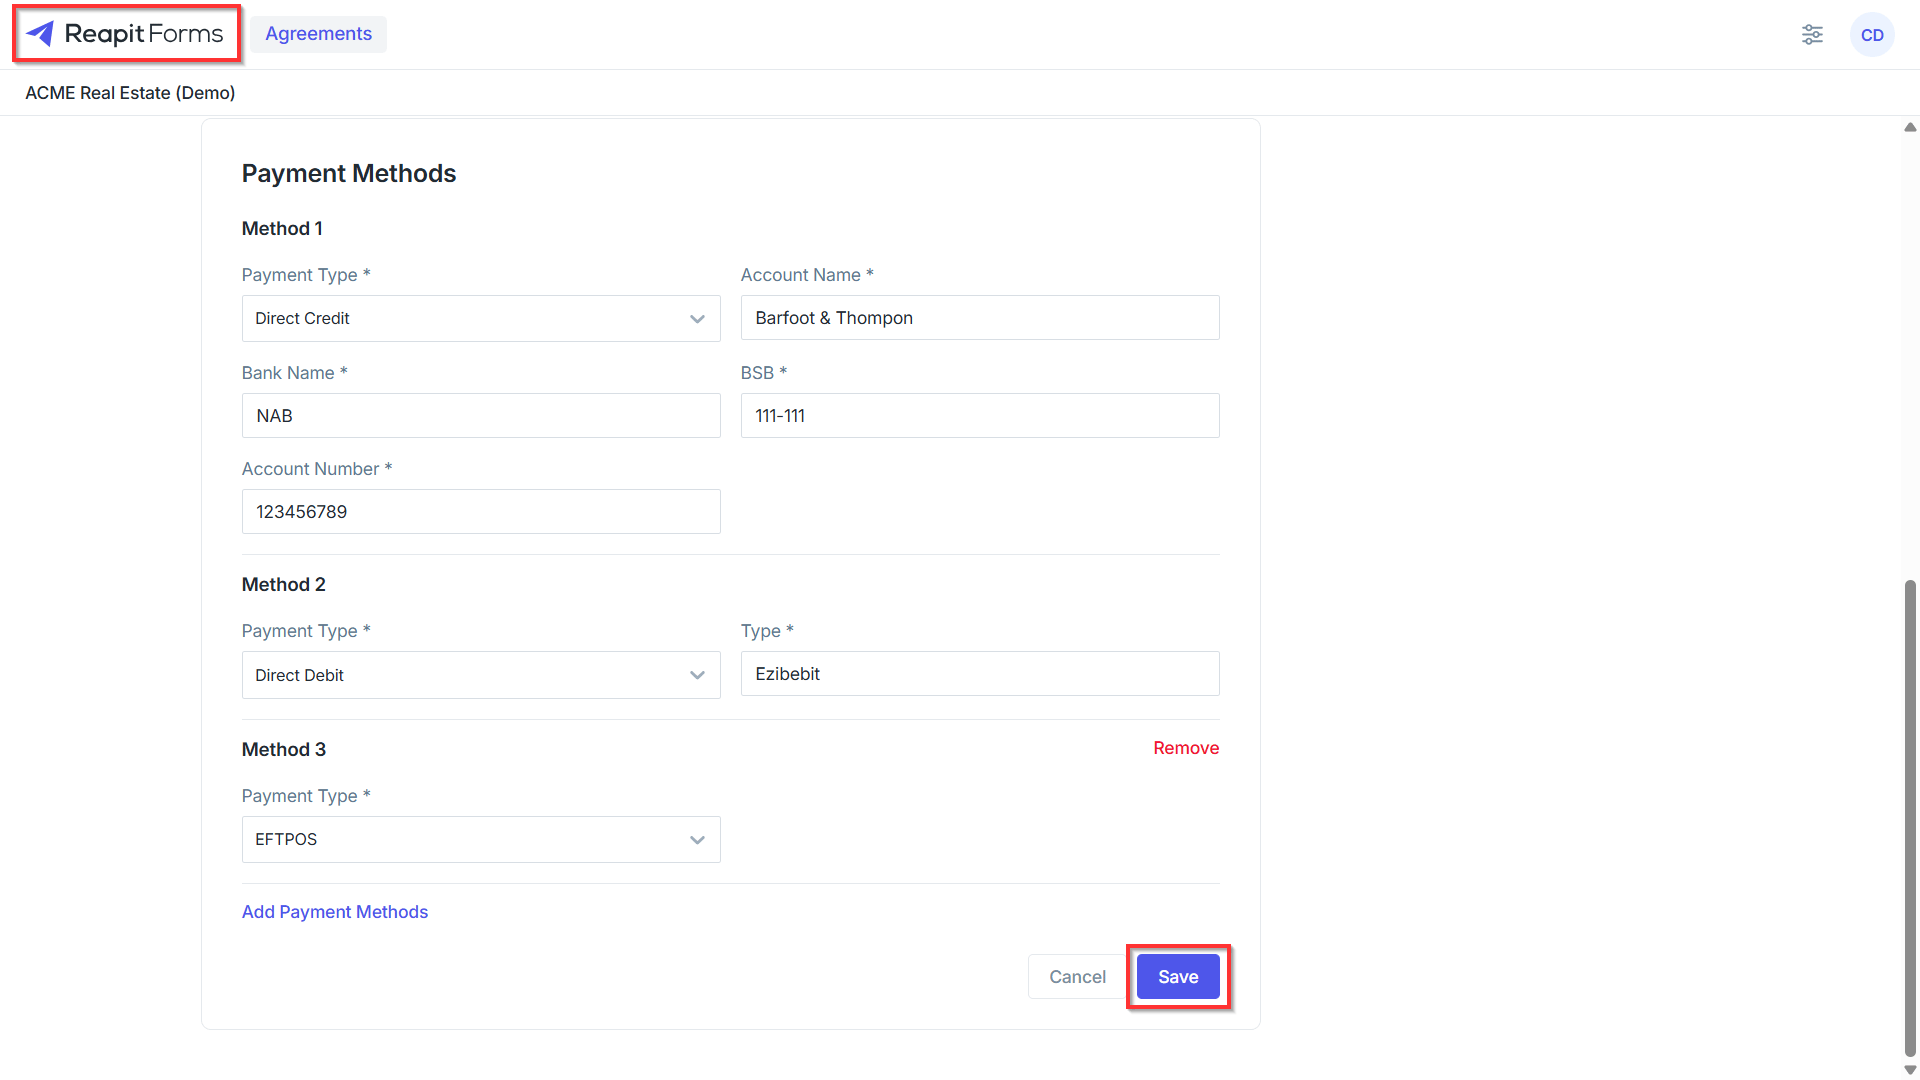
Payment Methods
- Payment Type *
- Account Name *
- Bank Name *
- BSB *
Note: Multiple payment methods can be selected:
- Direct Debit
- Console Pay
- BPAY
- Money Order / Cheque
- Cash
- EFTPOS
- Other
5. Once all fields are saved, click on Reapit forms or the user initials > Agreements to return to the home page.
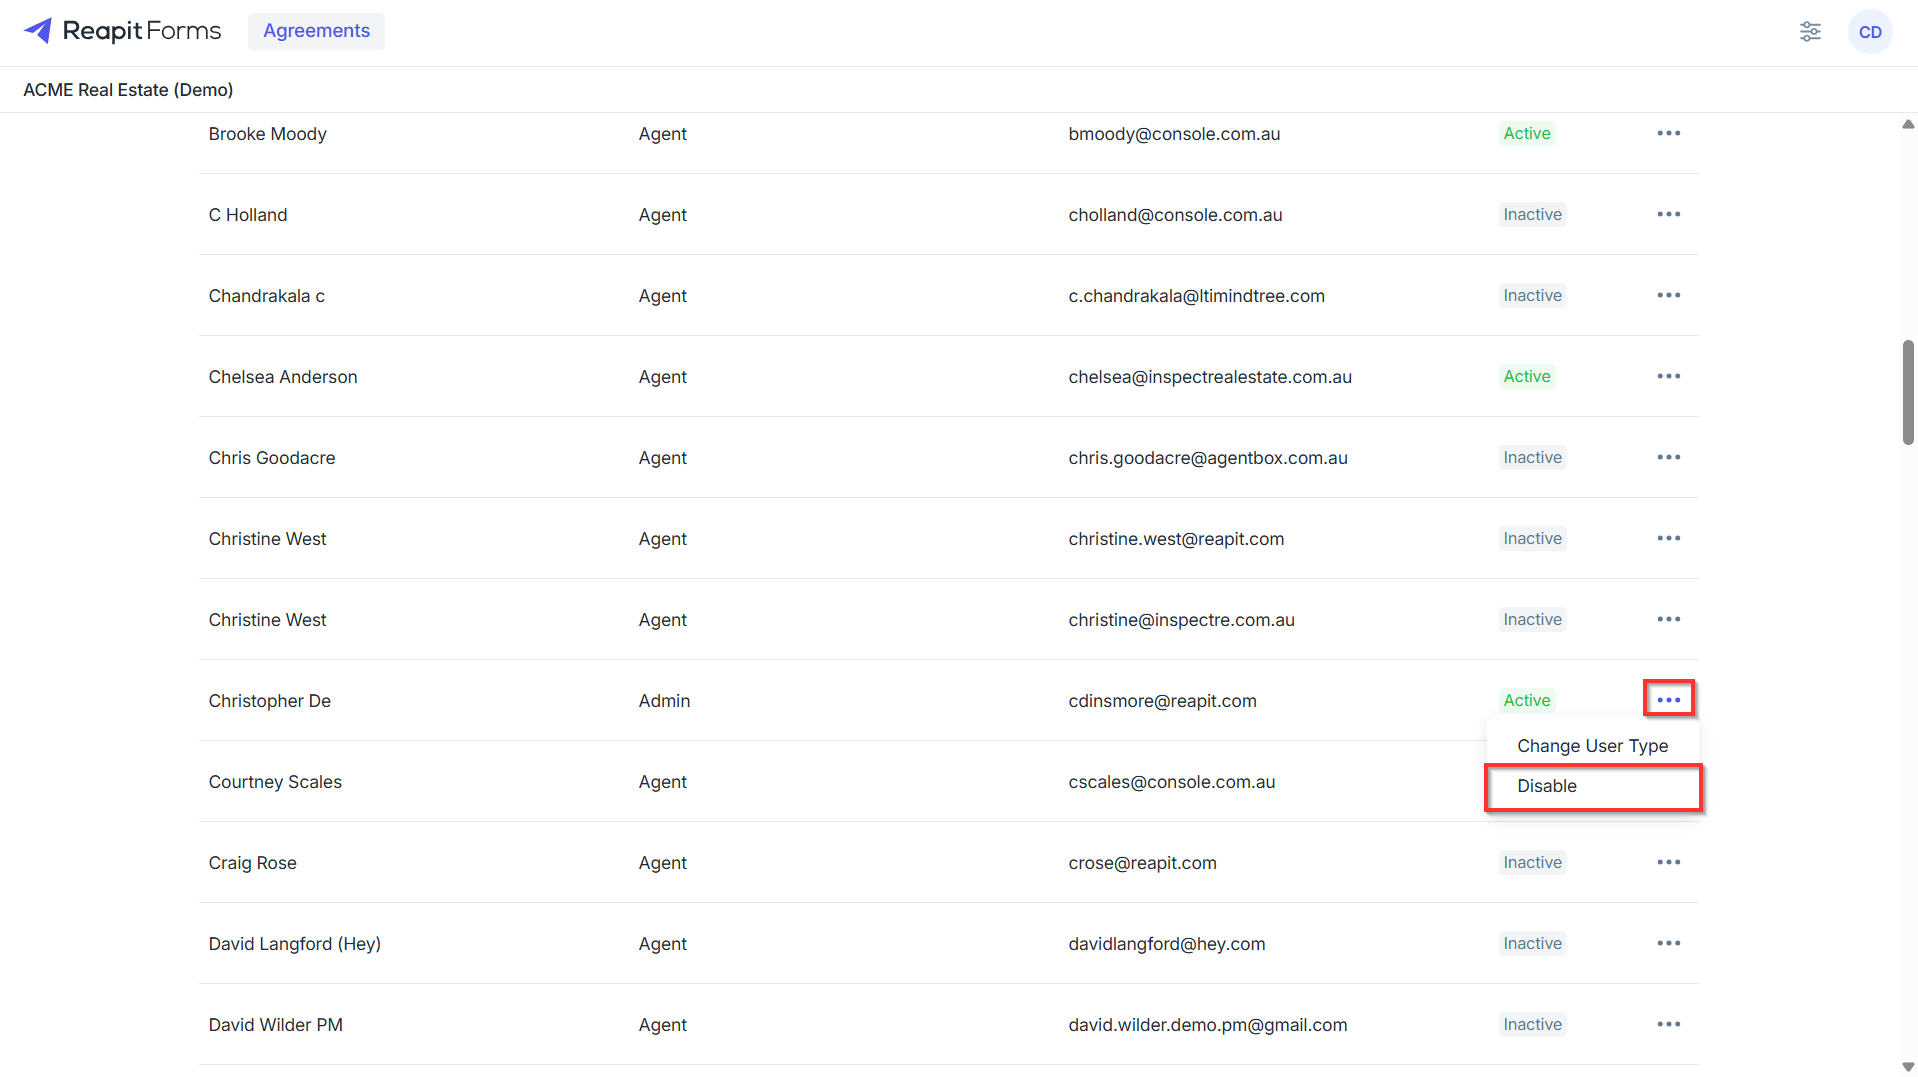
6. To manage users and permissions in Reapit Forms, navigate to Settings and click Users.
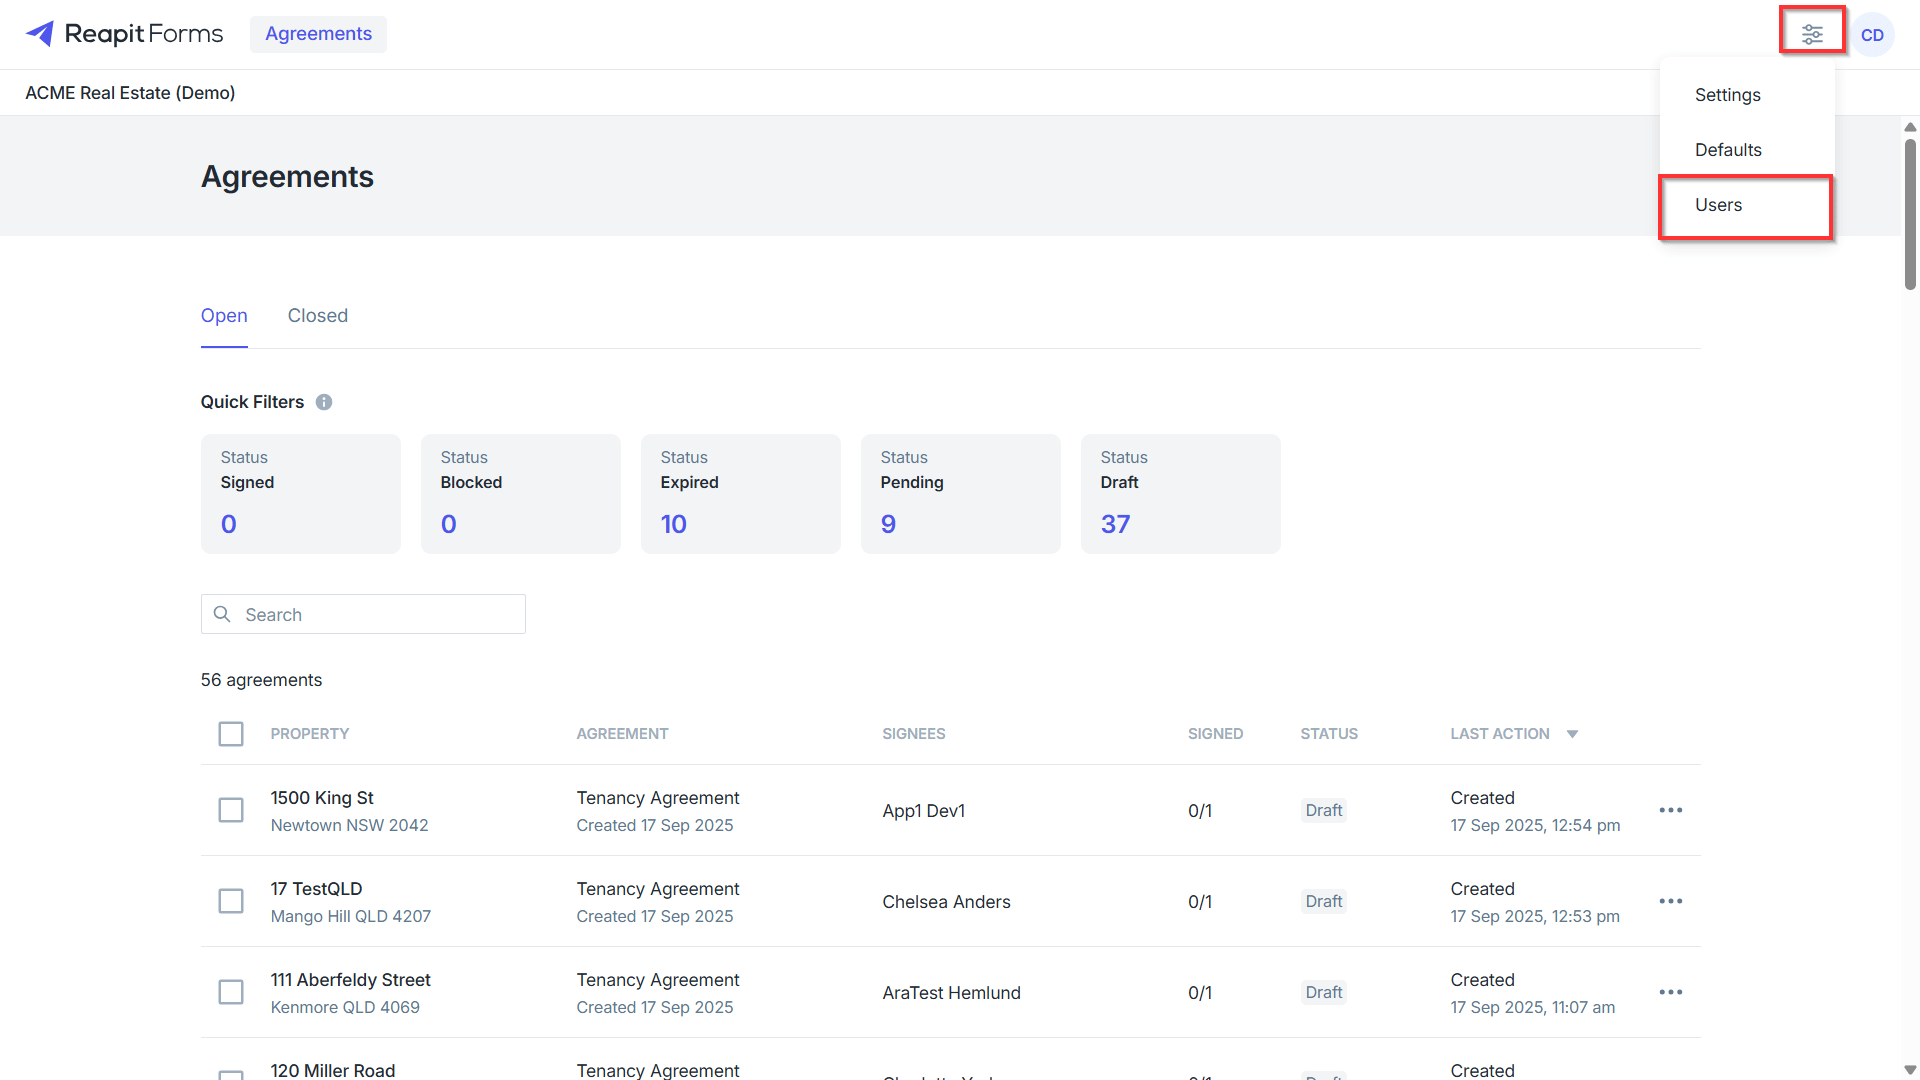
Note: The Users list will come through from Reapit PM into Reapit Forms. User management in Reapit Forms simply involves enabling the relevant users and assigning their access type.
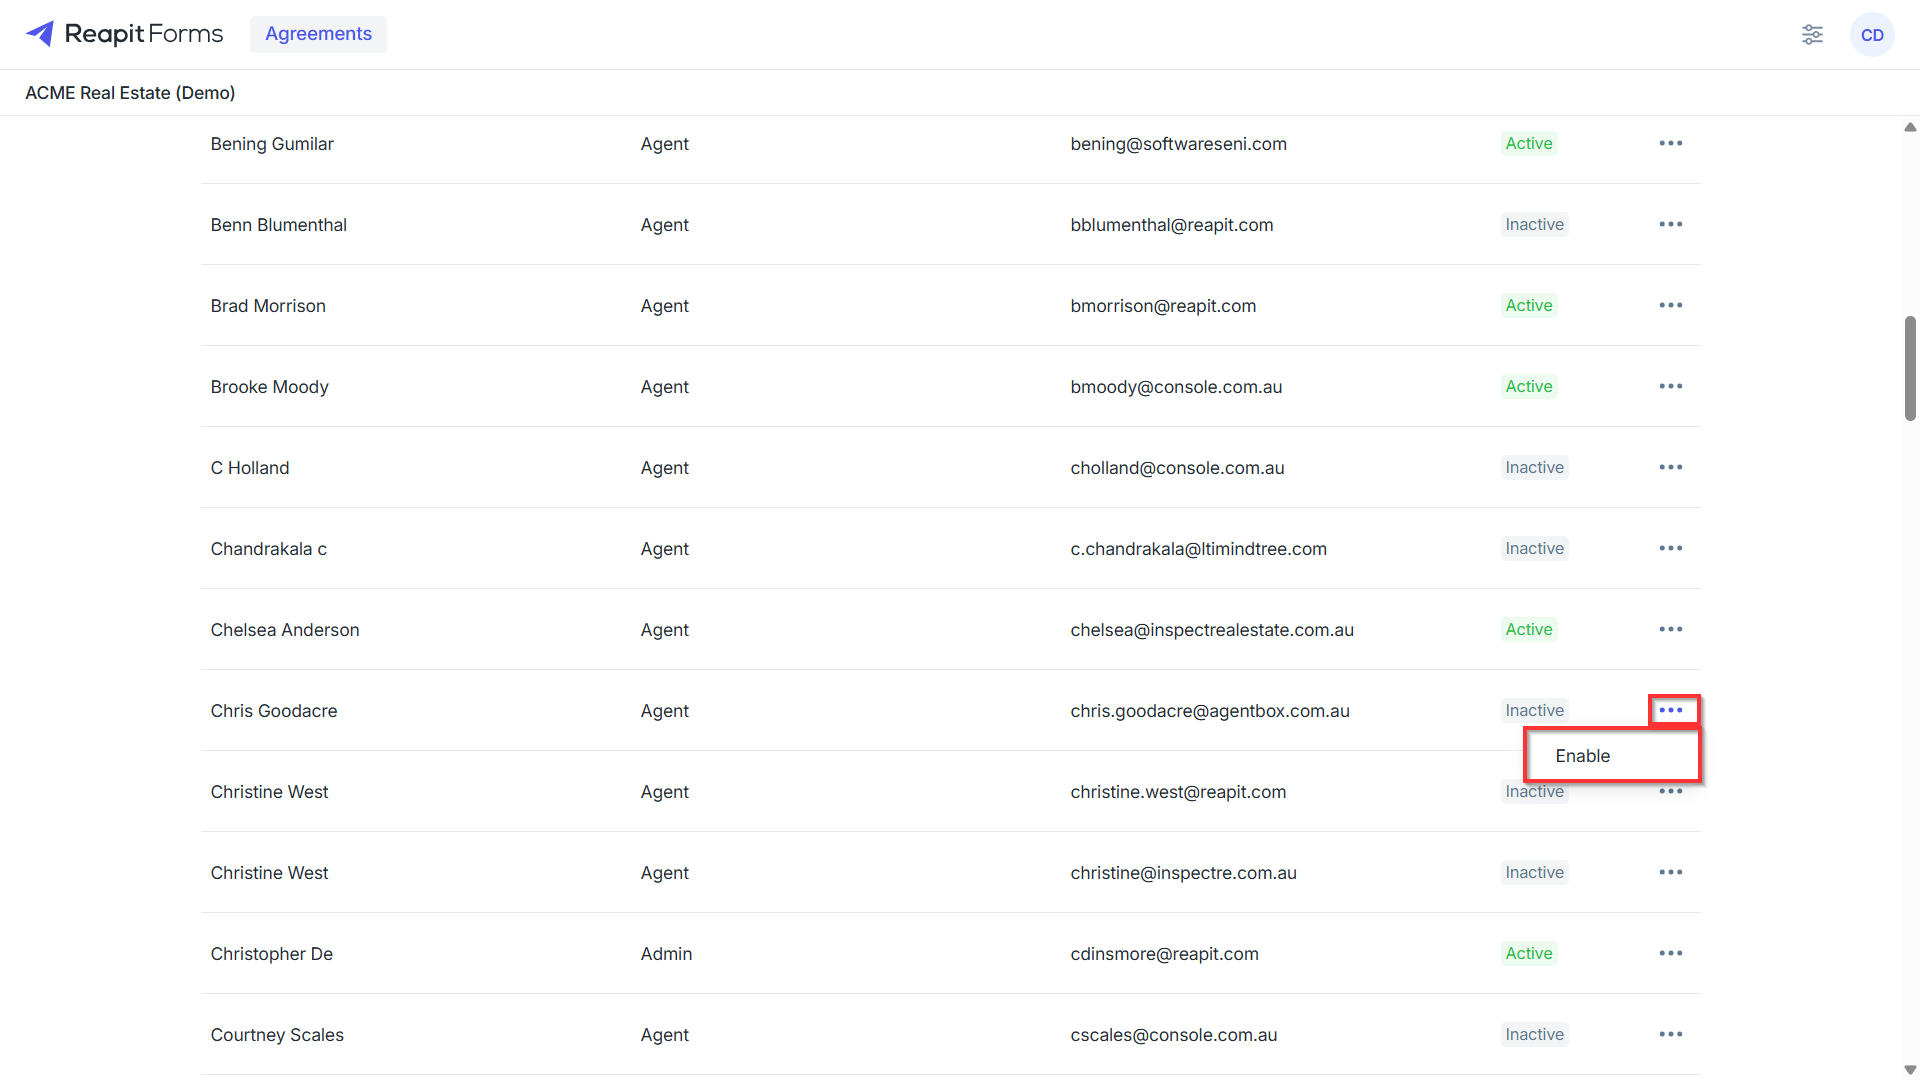
7. The user list will display anyone currently connected with Reapit Connect. To allow a user access to Reapit Forms, click the three dots to the right of the user and select Enable.
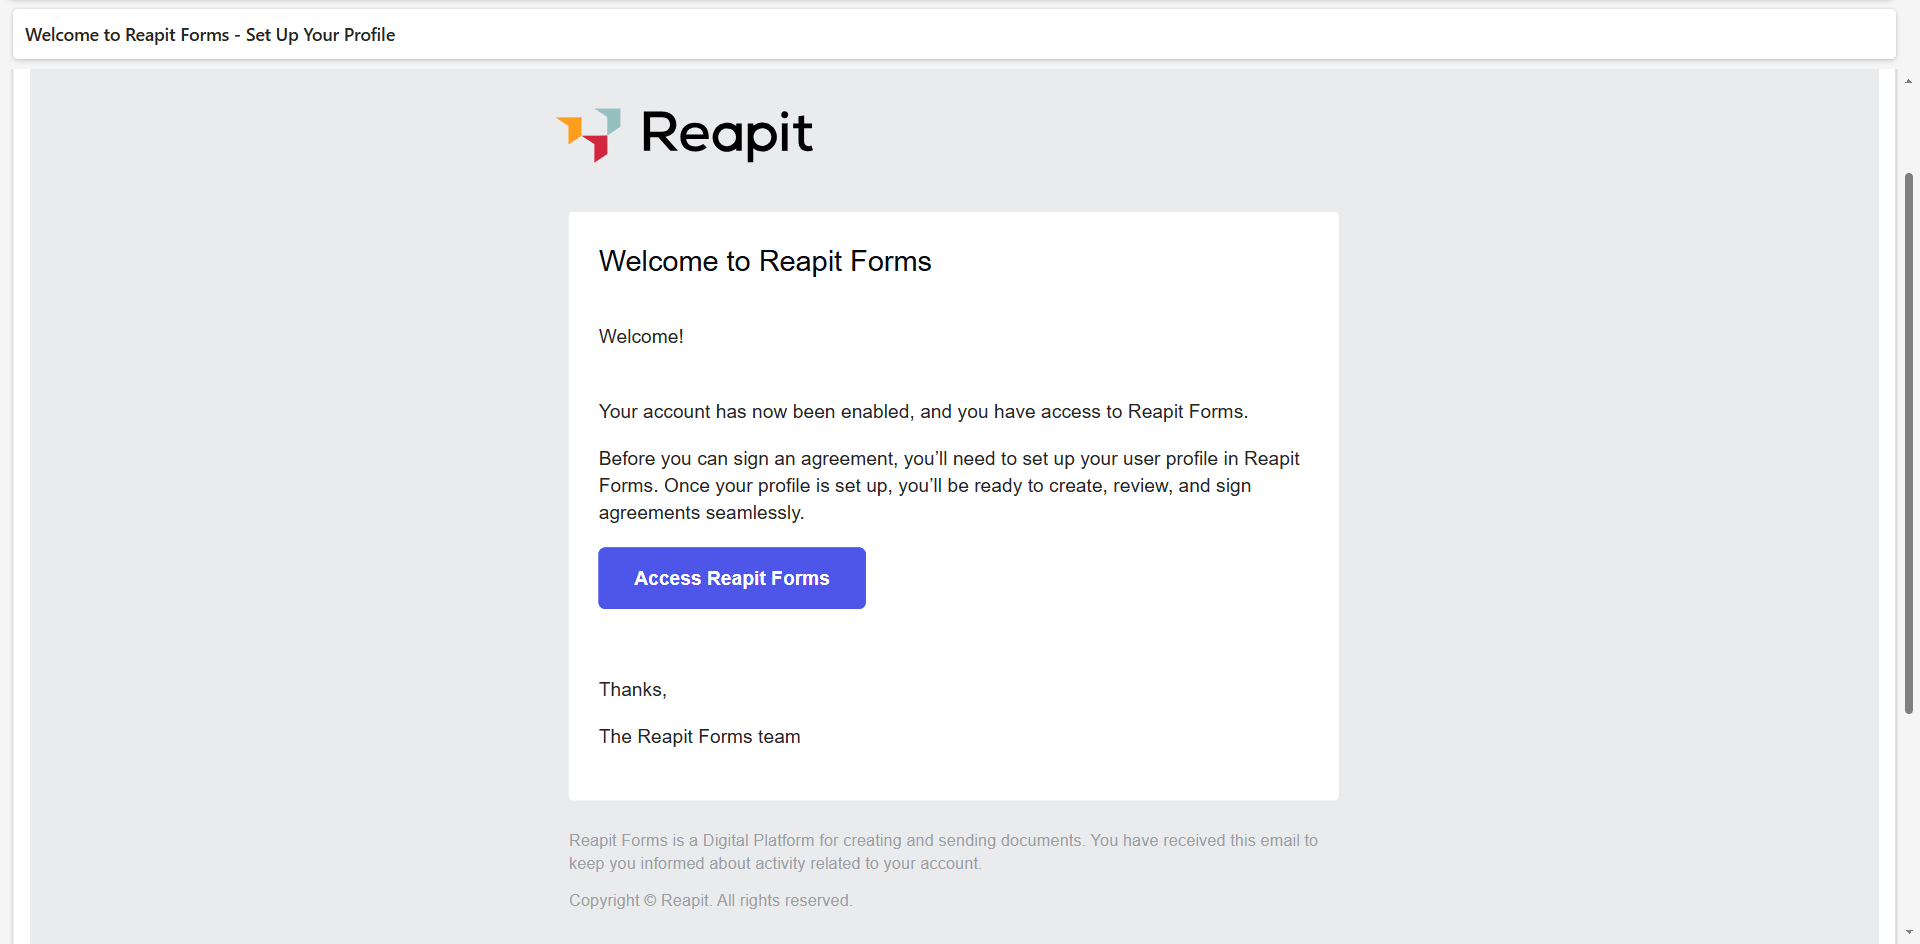
8. Newly enabled users will receive a Welcome to Reapit Forms email, mentioning that before signing any agreements, they will need to set up their user profiles.
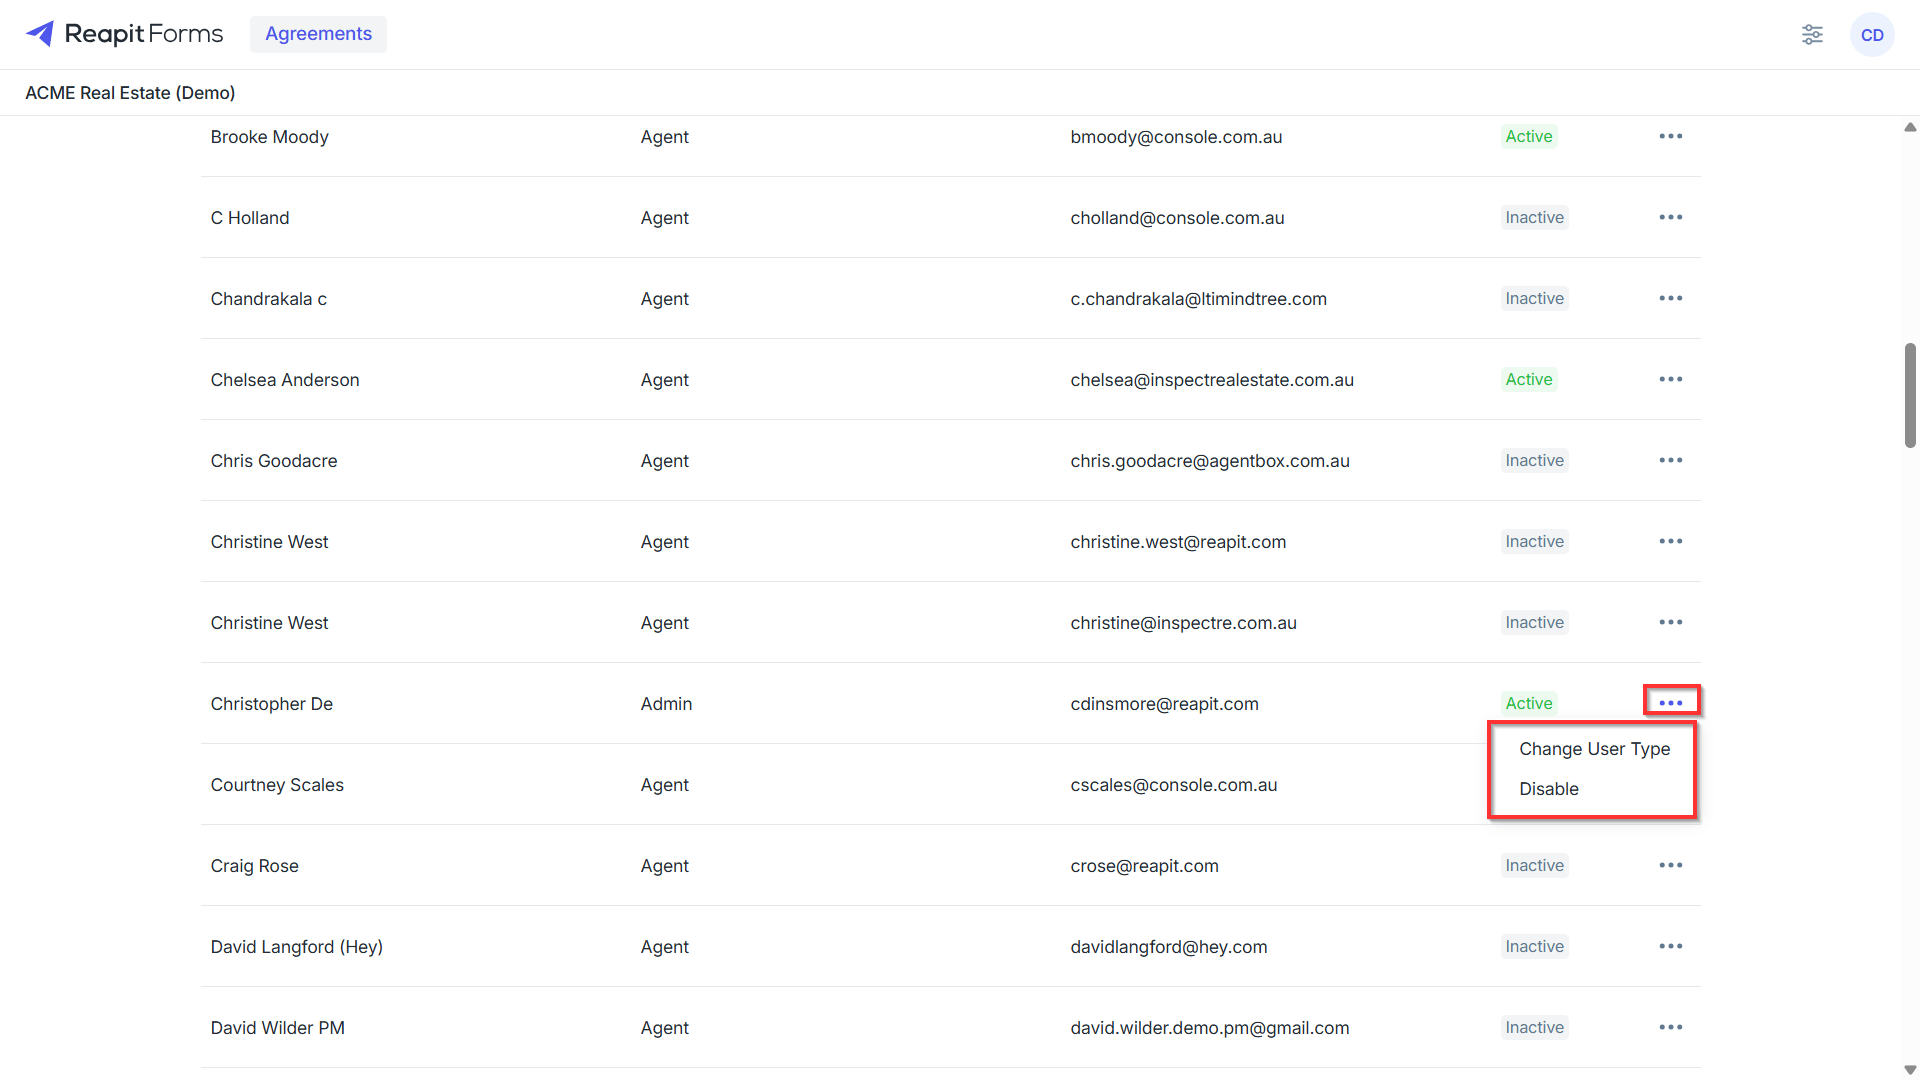
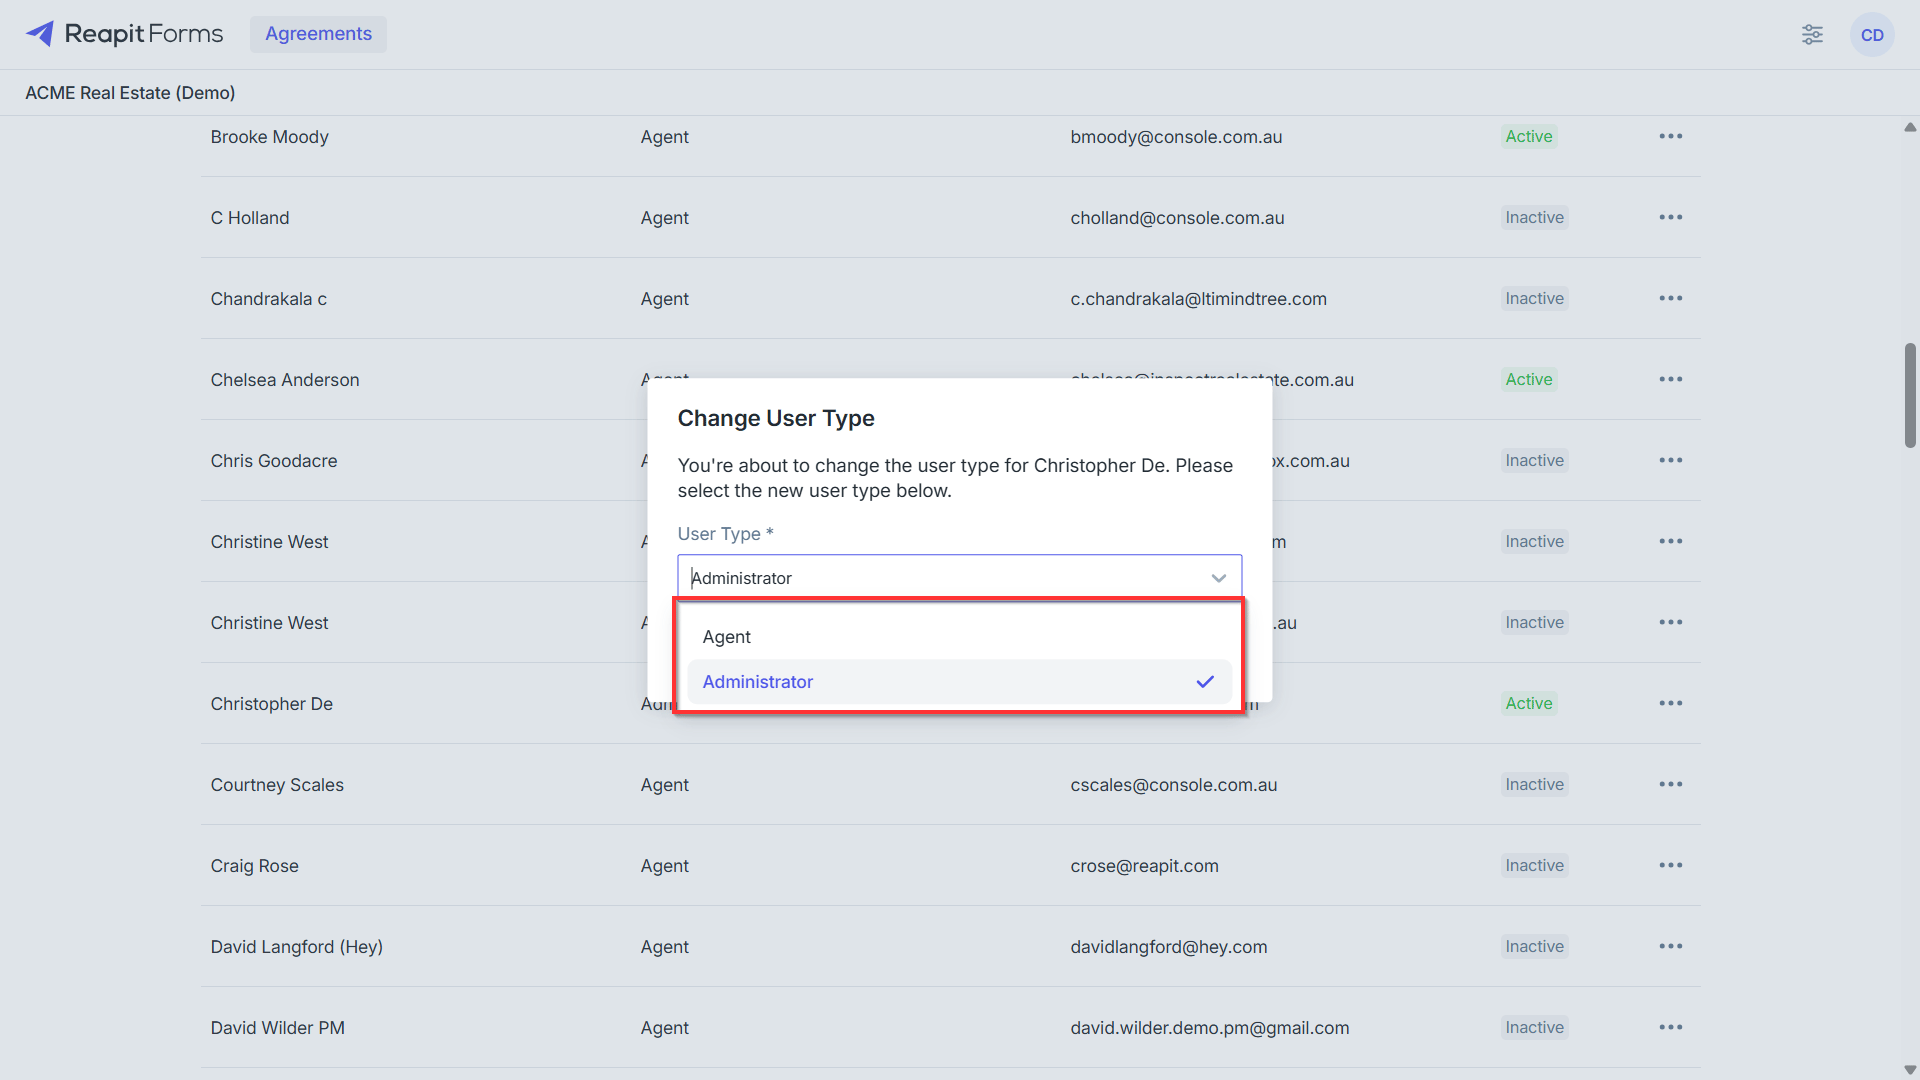
9. To change a user's permission level, once active, click the three dots and select Change User Type.
10. Choose between Agent or Administrator and select Change User Type.
11. To disable a user's access to Reapit Forms, select the three dots and click Disable.