Creating a Form Through the Lease Renewal Workflow Using Reapit Forms
This article will cover the creation of a form with Reapit Forms through the lease renewal workflow in Reapit PM.
Note: Reapit Forms will need to be activated in the Marketplace.
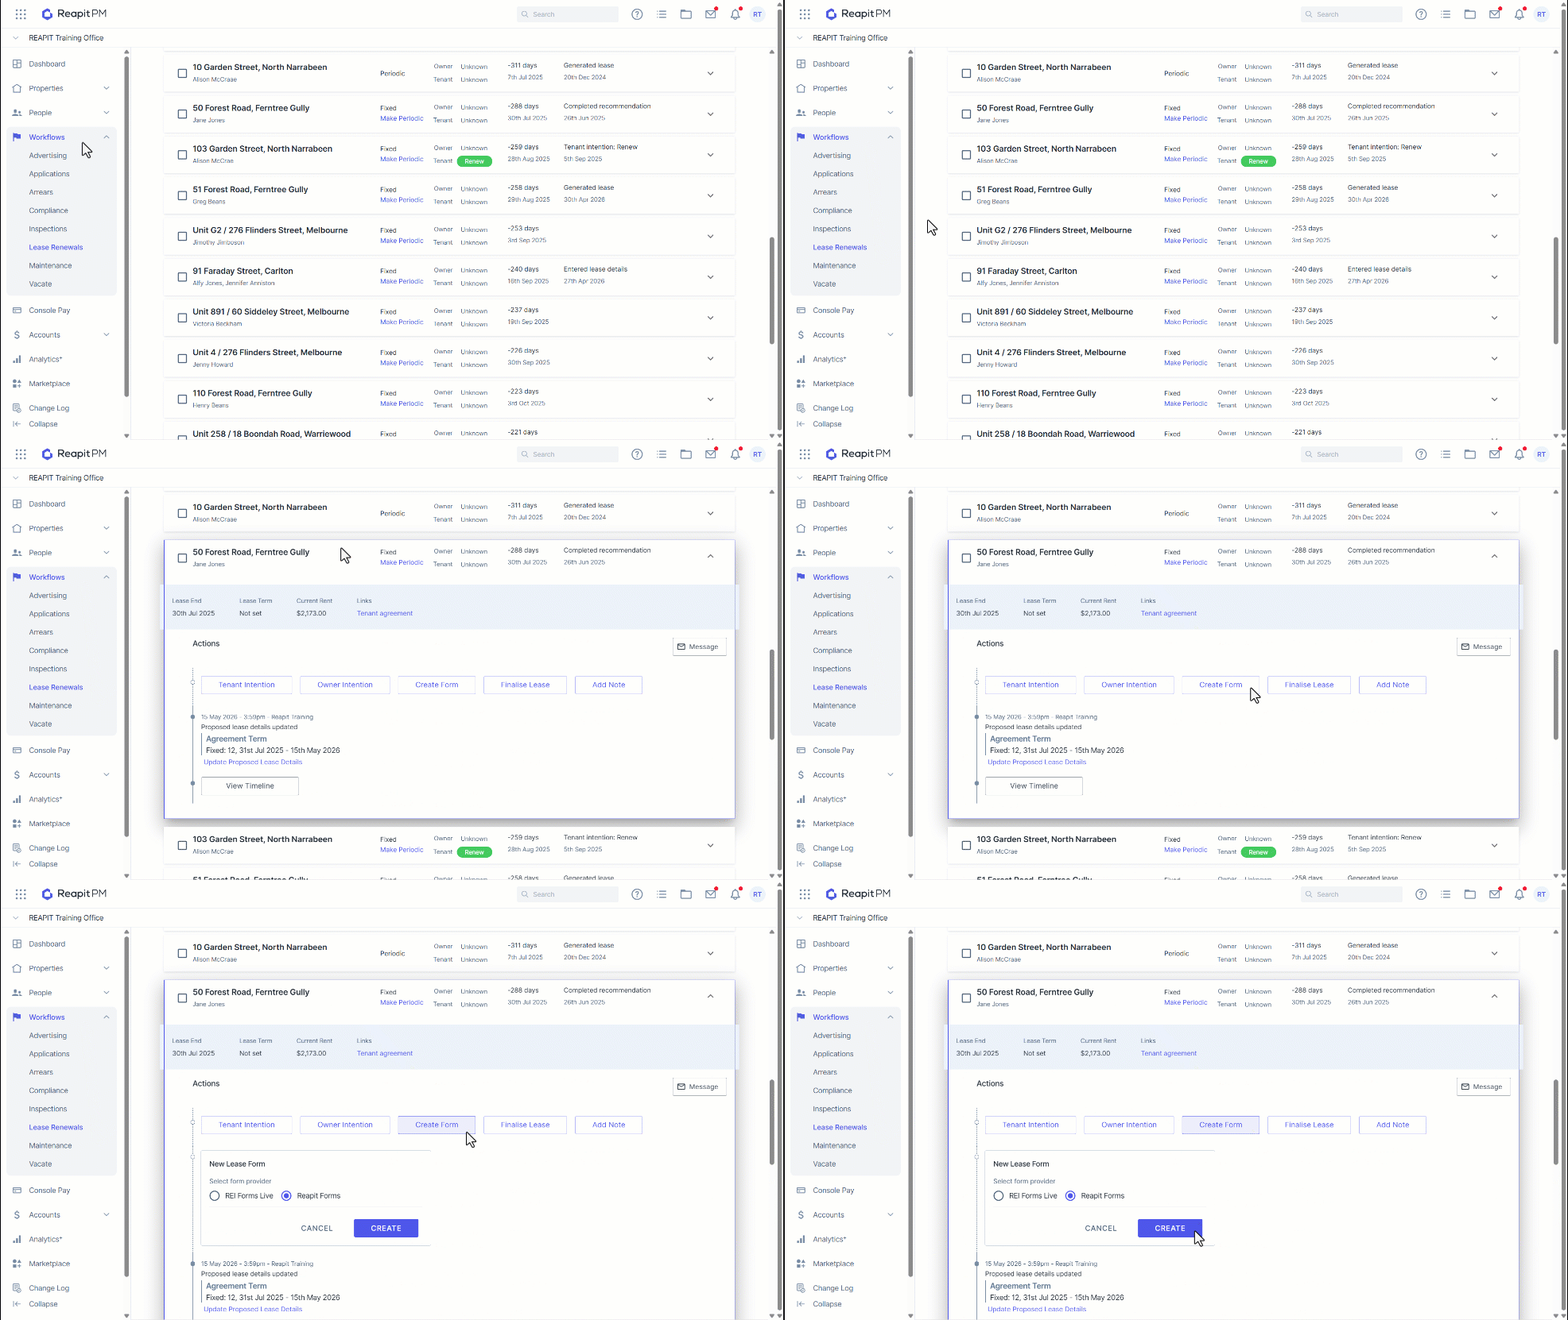
1. Navigate to Workflows.
2. Click Lease Renewal.
3. Select the required tenancy from the list.
Note: The proposed lease details for the new agreement will need to be entered before the option will appear to create the form through Reapit Forms.
4. Click Create Form.
Note: Reapit Forms will be selected as the default form choice, allowing you to select other form providers if required.
5. Click Create.
6. You will be redirected to Reapit Forms.
7. Reapit Forms will open in a new tab, displaying the new form in the draft status.
8. Owner, Property and Tenant agreement details will merge through to the form.
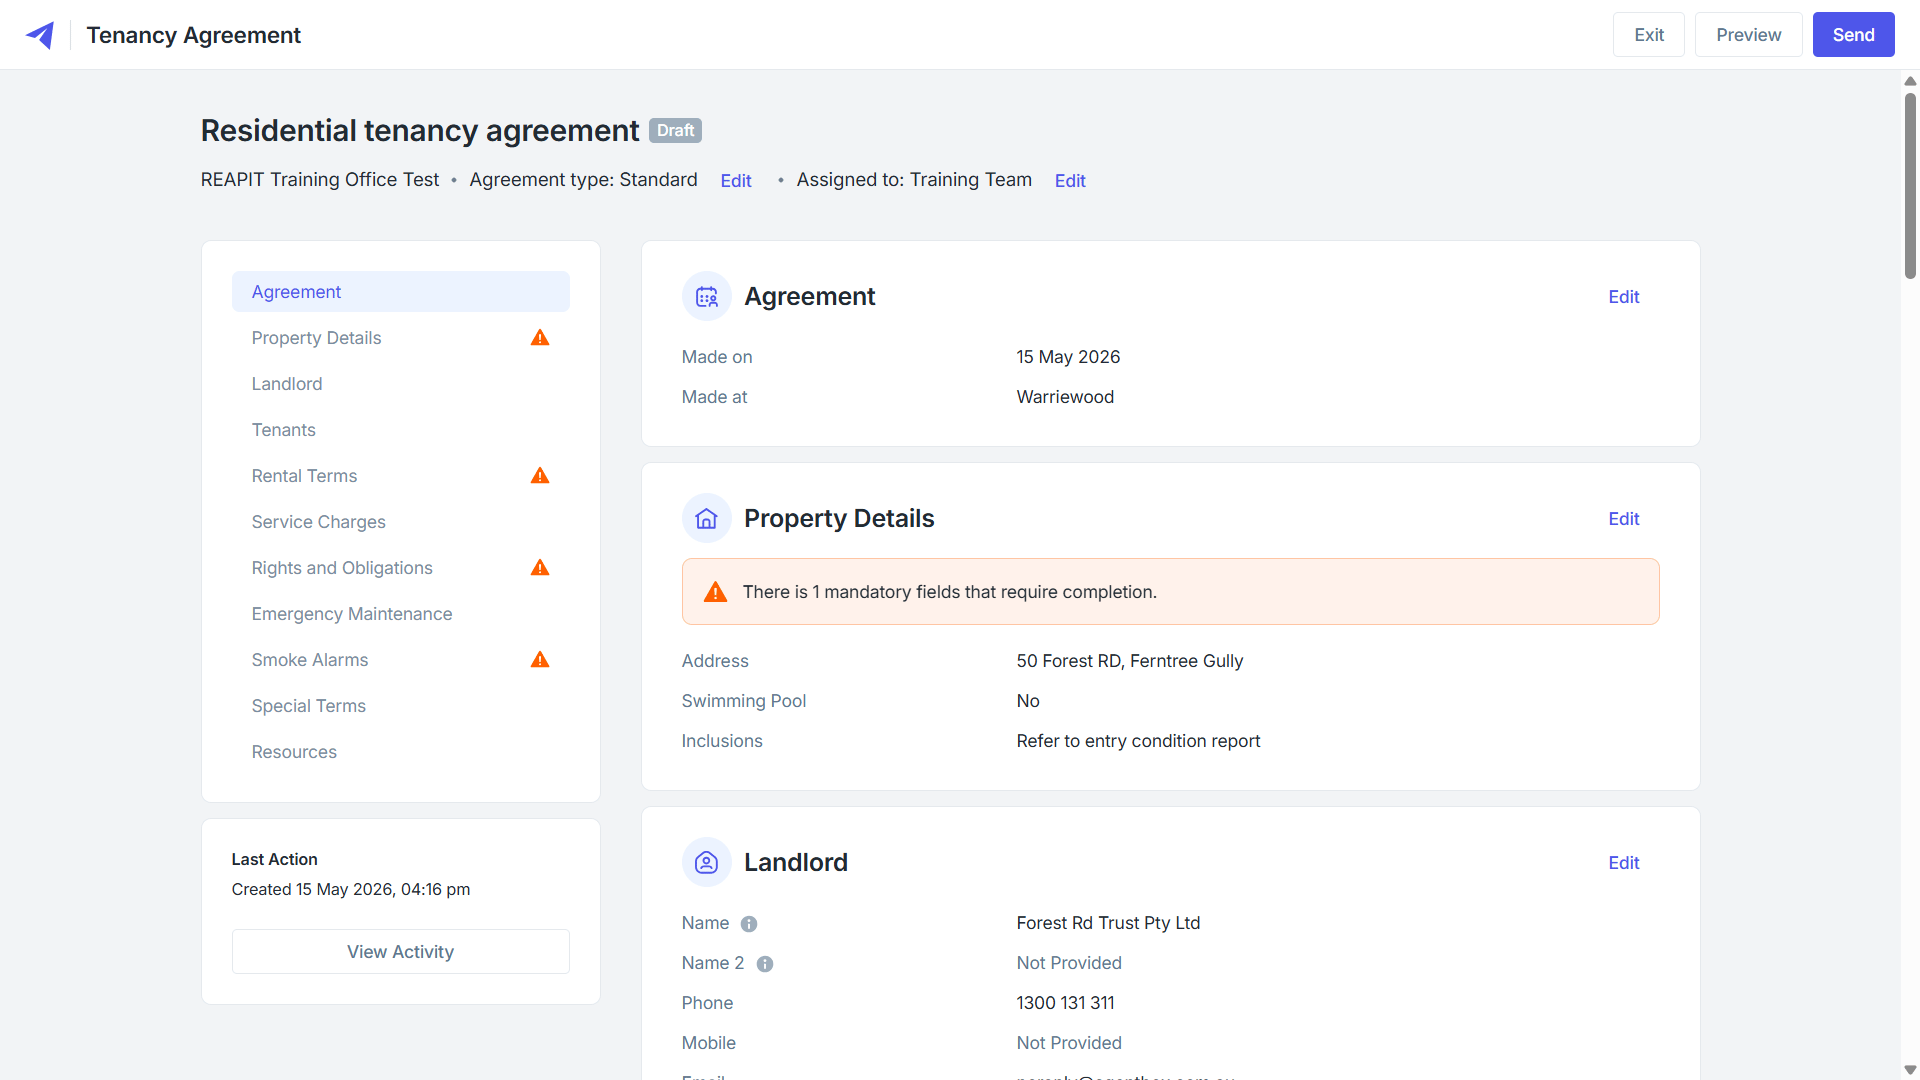
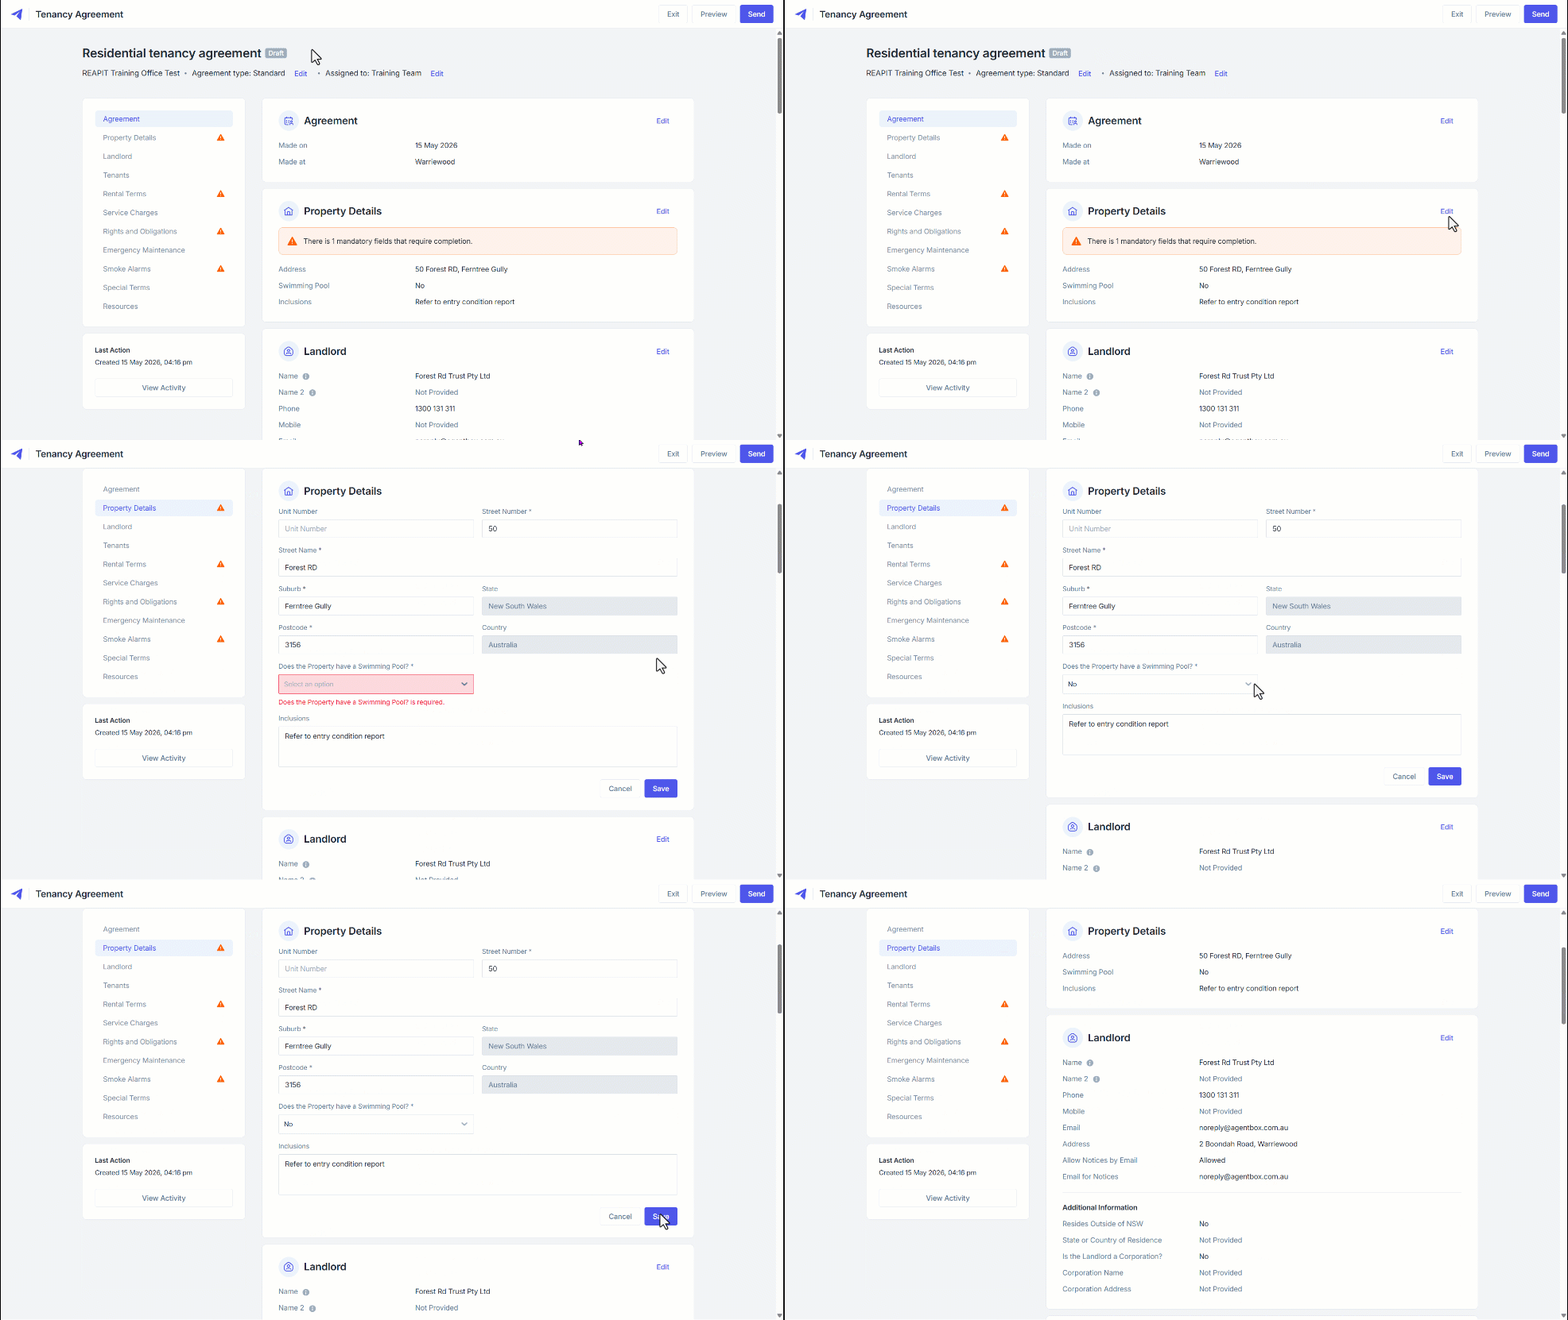
9. While filling out the form, any fields with the alert icon are sections that are still missing mandatory information. Click Edit to add in the required fields.
10. The missing fields will display, showing where information is required.
11. In the Rental Terms section, you’ll see a Yes/No option labelled Future Rent Changes. If you select Yes, an additional set of fields will appear to enter the effective date, the updated rent amount, and the change frequency. Once completed, this information will automatically be included in the generated PDF as an Annexure.
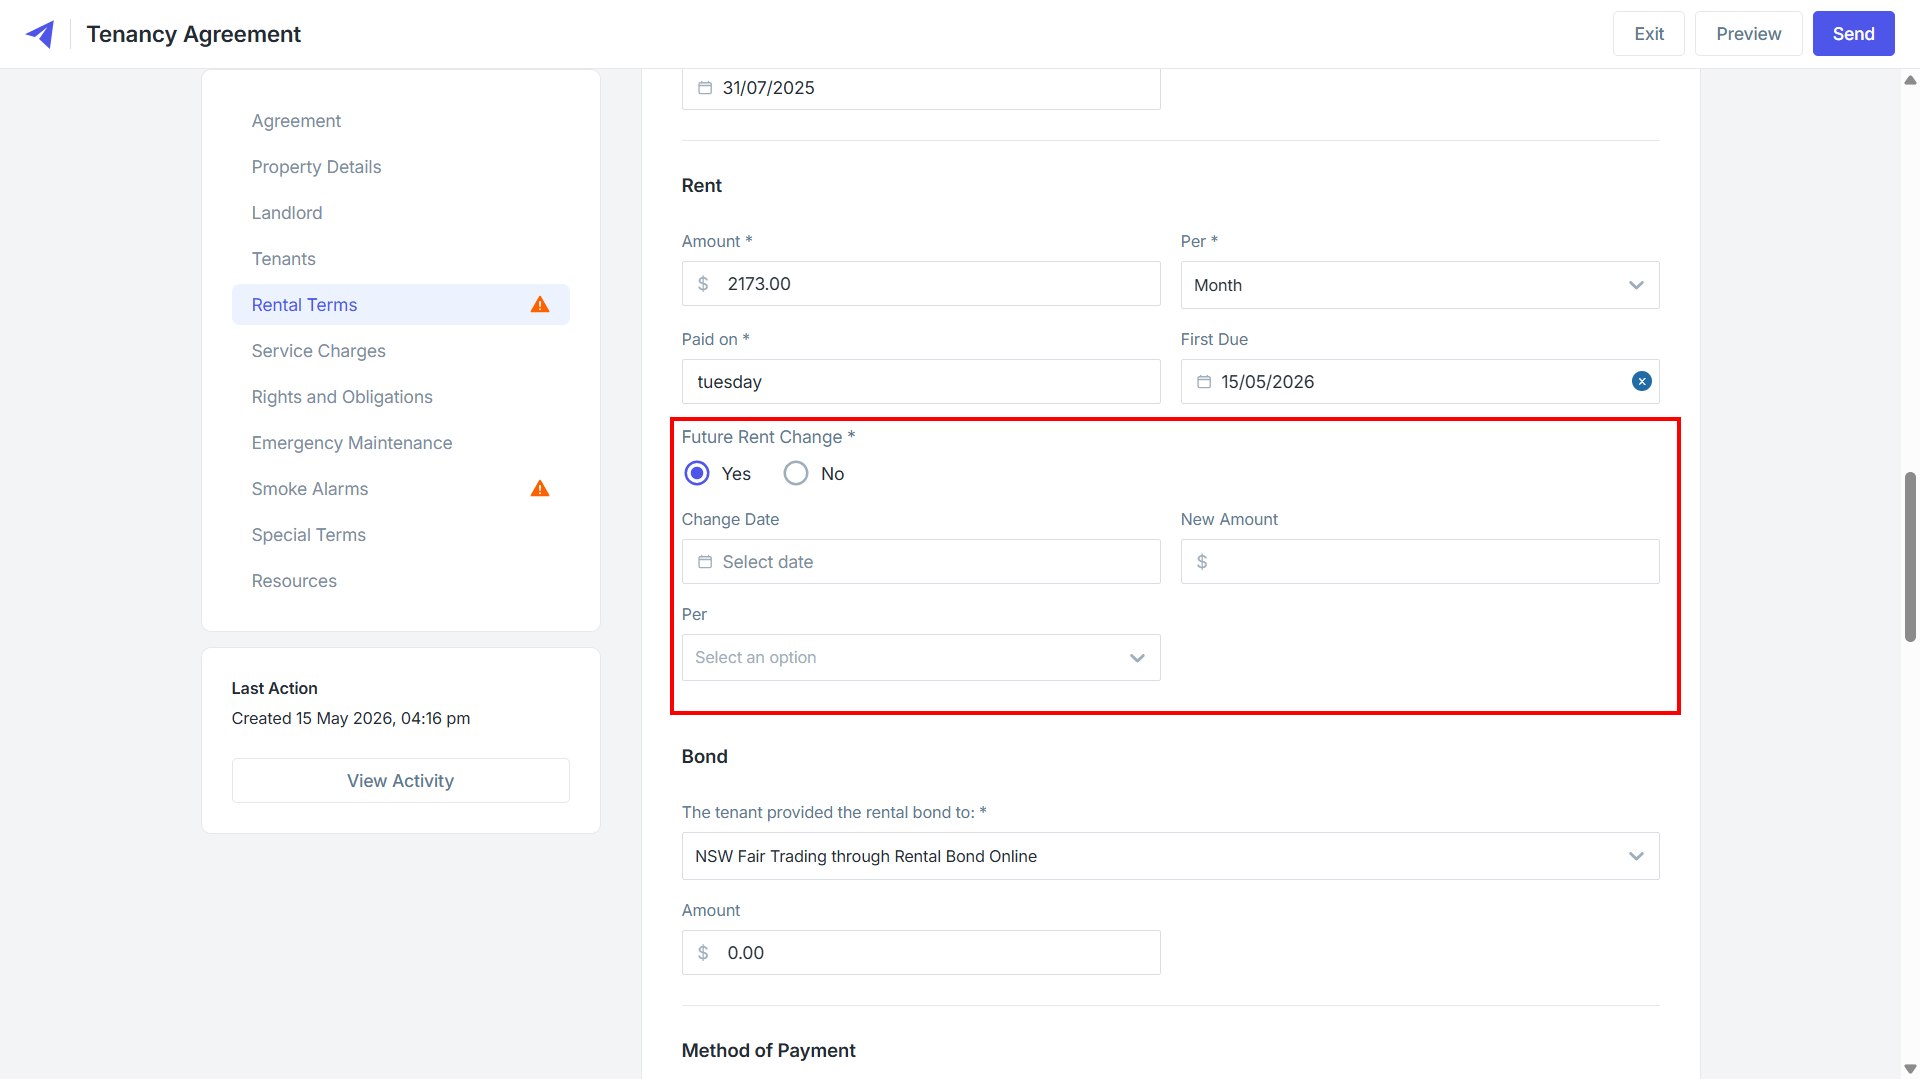
While editing the agreement, users can amend previously entered required fields and apply necessary customisations. Some of these can include:
Adding or modifying special conditions, including one-off clauses
Uploading additional documents, such as strata bylaws or owner instructions
Updating default tradespeople or adding custom contacts if the owner has preferred contacts
12. Enter the information and click Save.
13. The alert icon will be removed. If the icon appears in any other areas, proceed with providing the required information.
14. At any time while in the Draft status, click Preview to display a copy of the form.
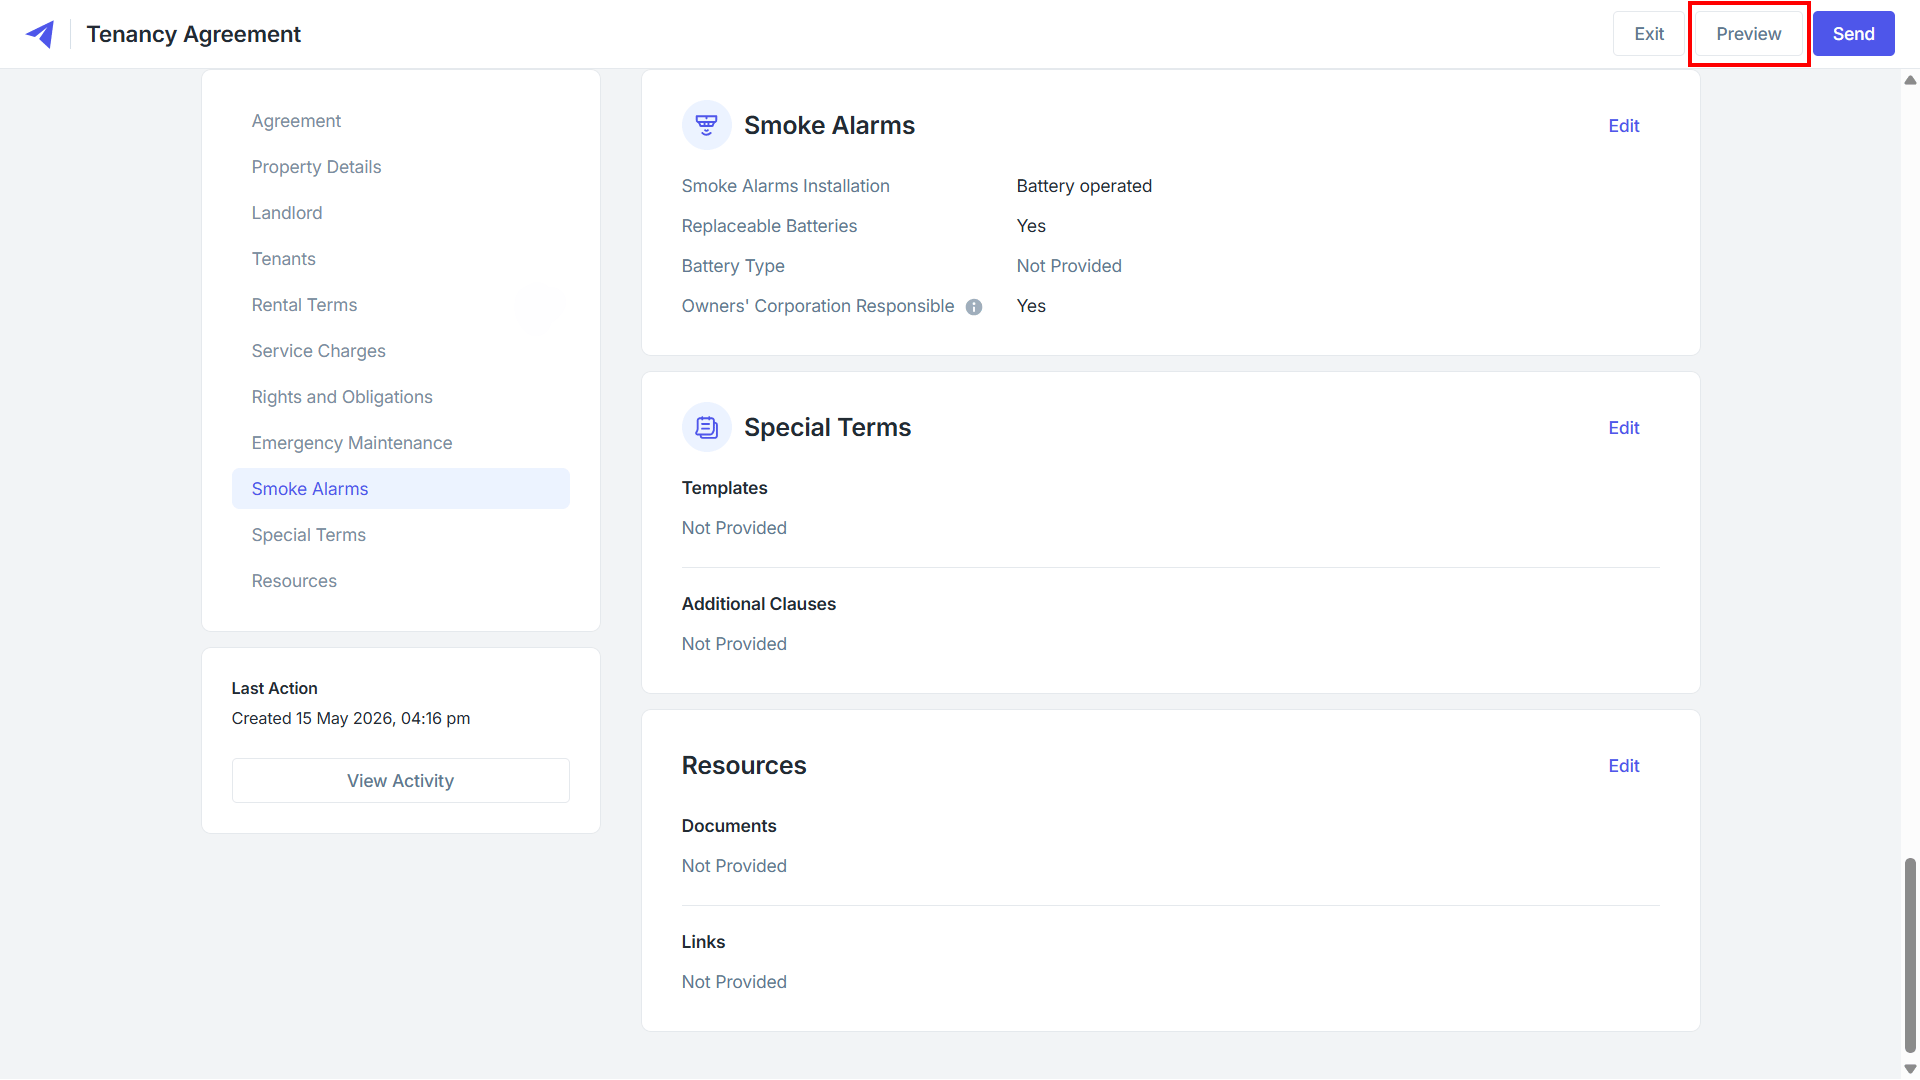
15. This will open in a new window, allowing you to look at how it will be sent in its current state.
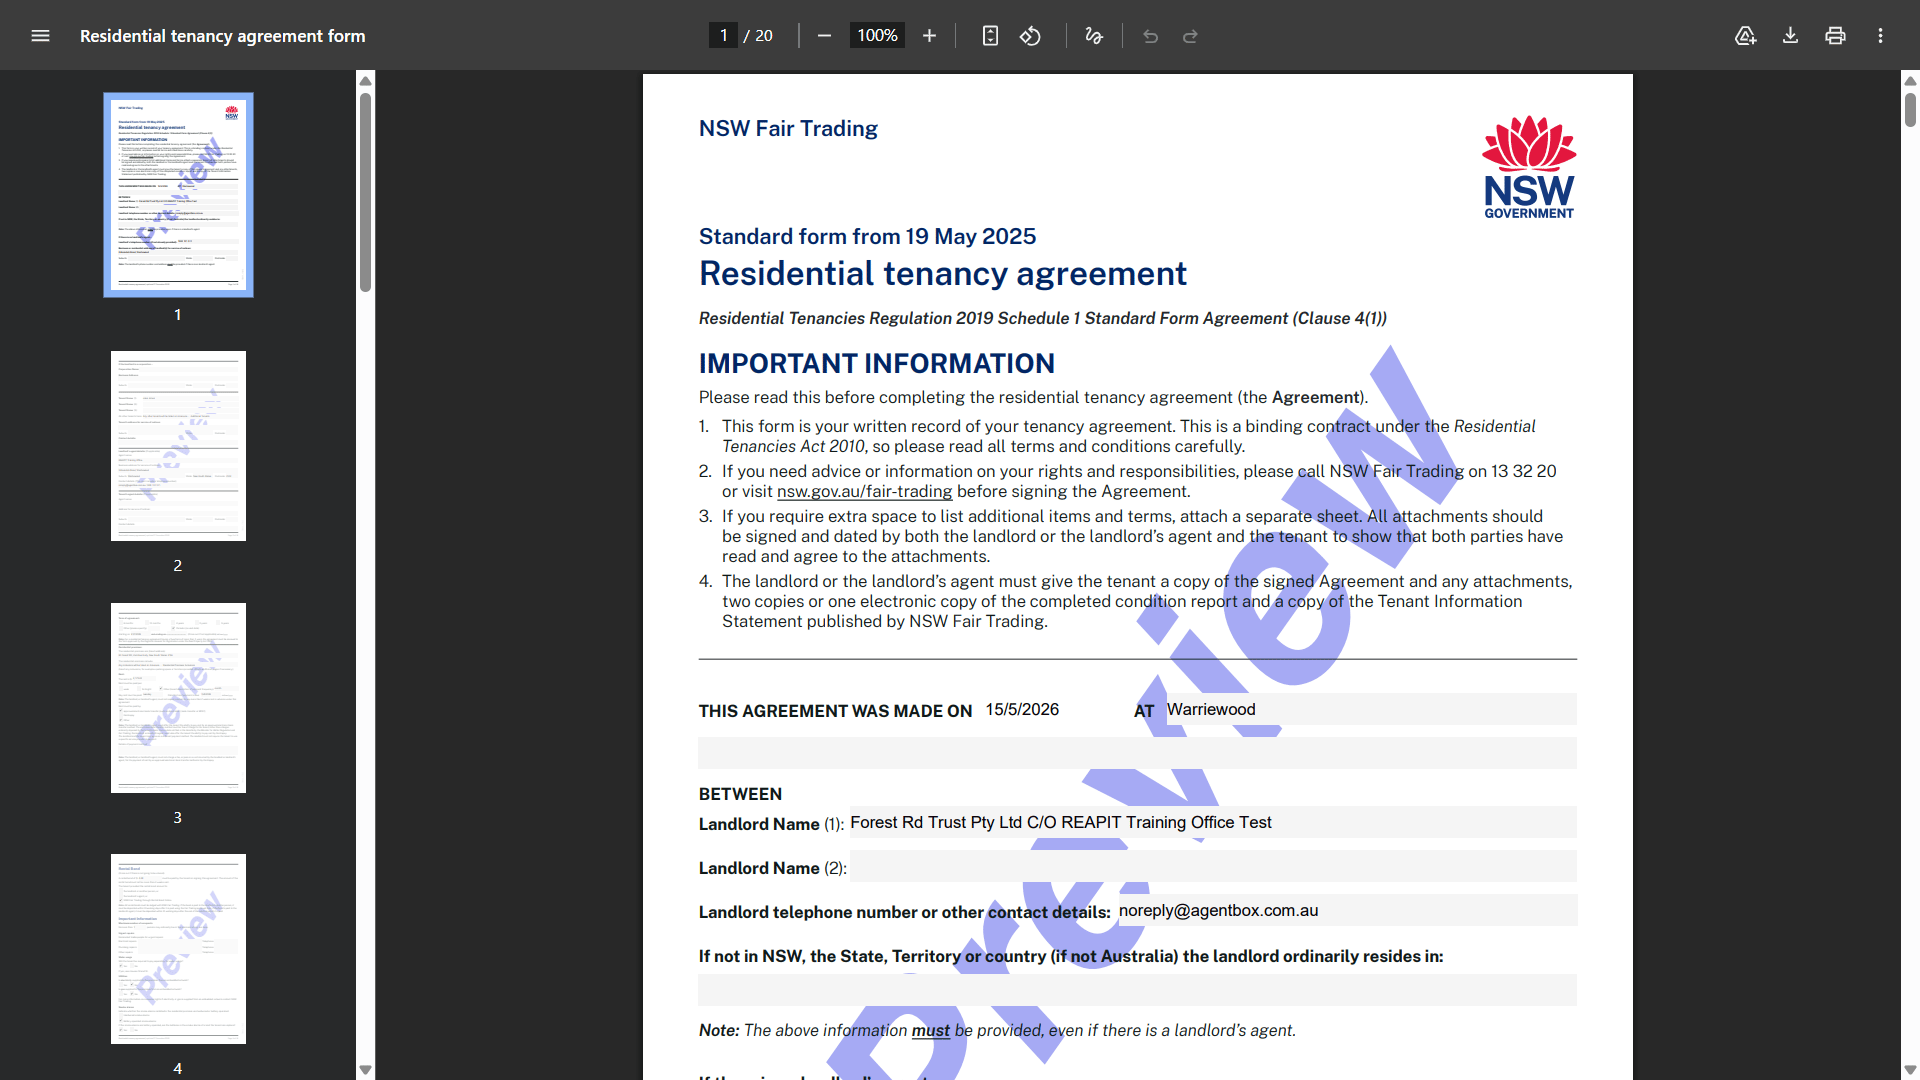
16. Once you have finished filling in the required information, click Send.
17. The Send for Signing pop-up will appear to advise that the tenants will receive the link to the agreement via SMS and Email. Select a duration from the drop-down menu on how long until the link expires.
18. Click Send.
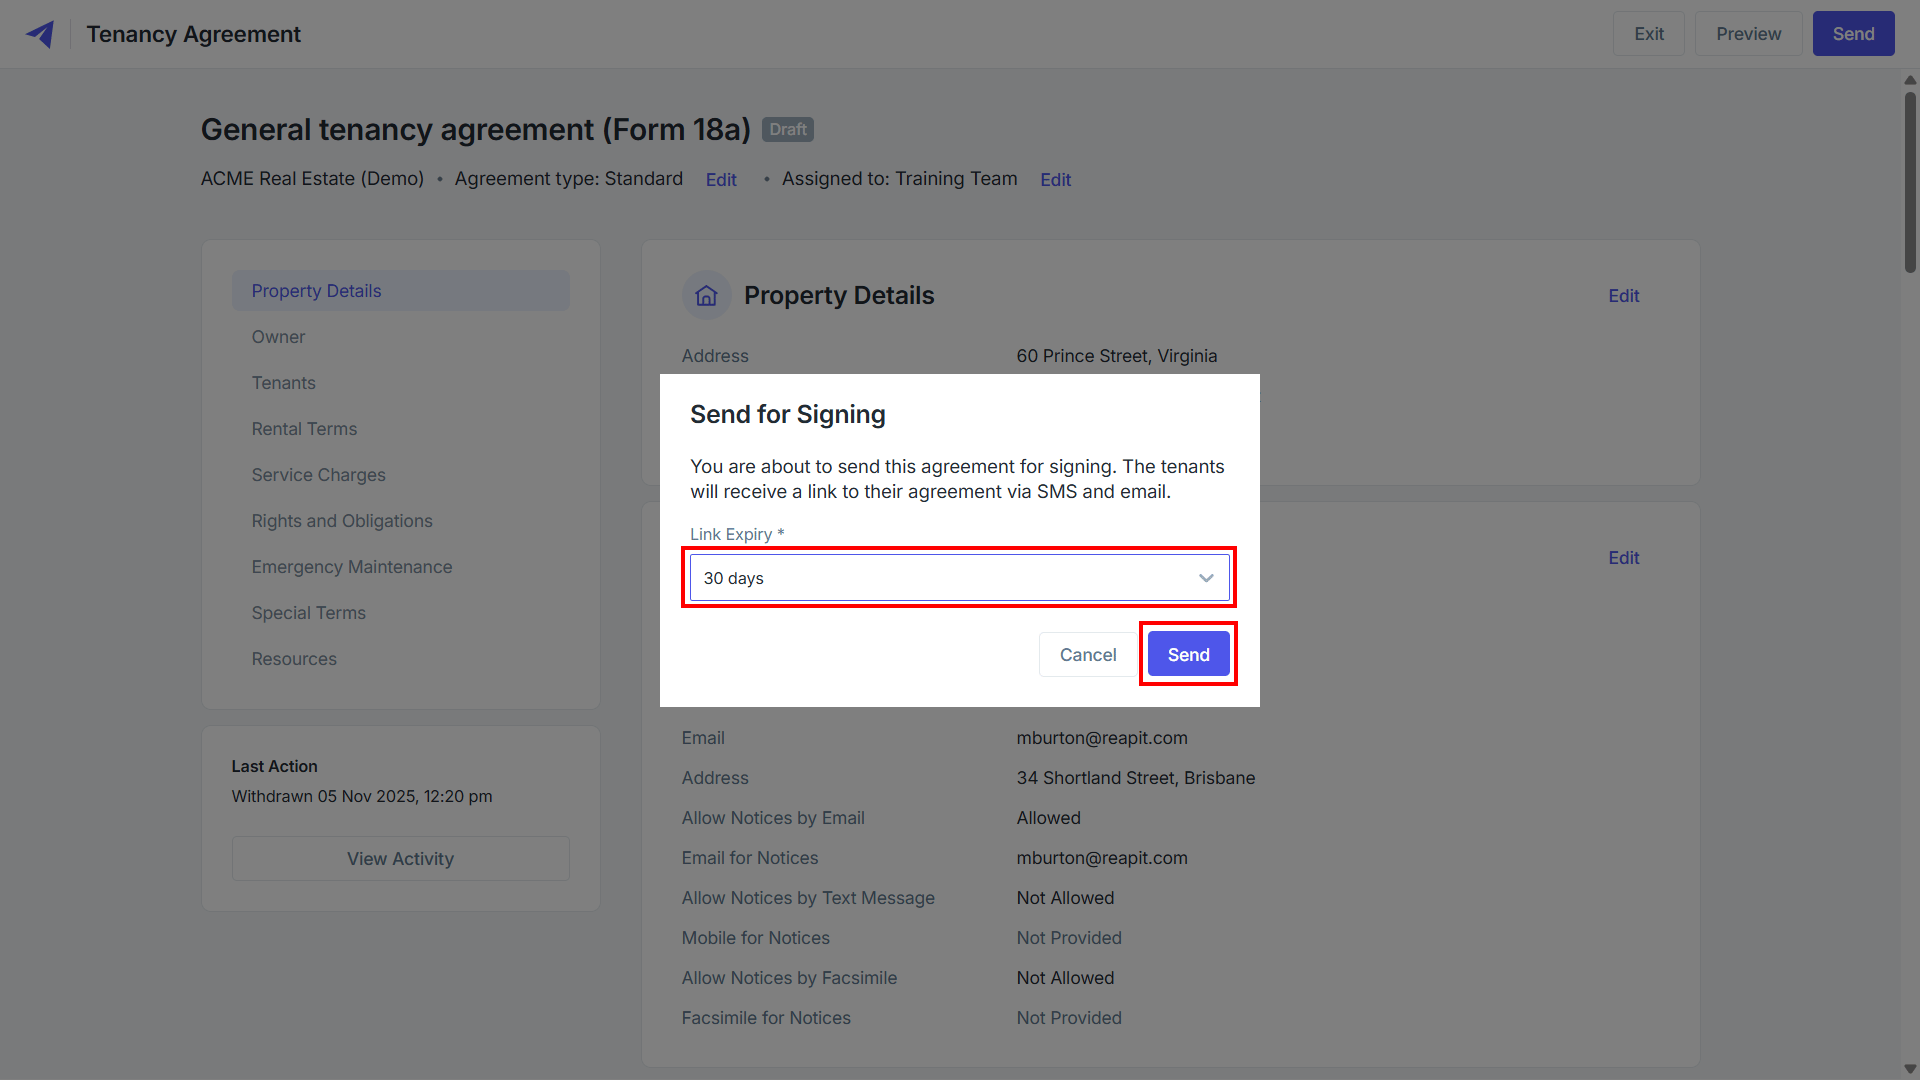
19. Confirmation of the form being sent will be displayed.
Note: Once the form has been sent, you can enable customisable reminders to send recurring reminders to form recipients to ensure they are followed up in time. For more information on customisable reminders, please see – https://help.reapit.com.au/s/article/Customisable-Reminders
20. Once the form has been returned by the tenant and signed by the agent, proceed to the Lease Renewal Workflow and click Finalise Lease.
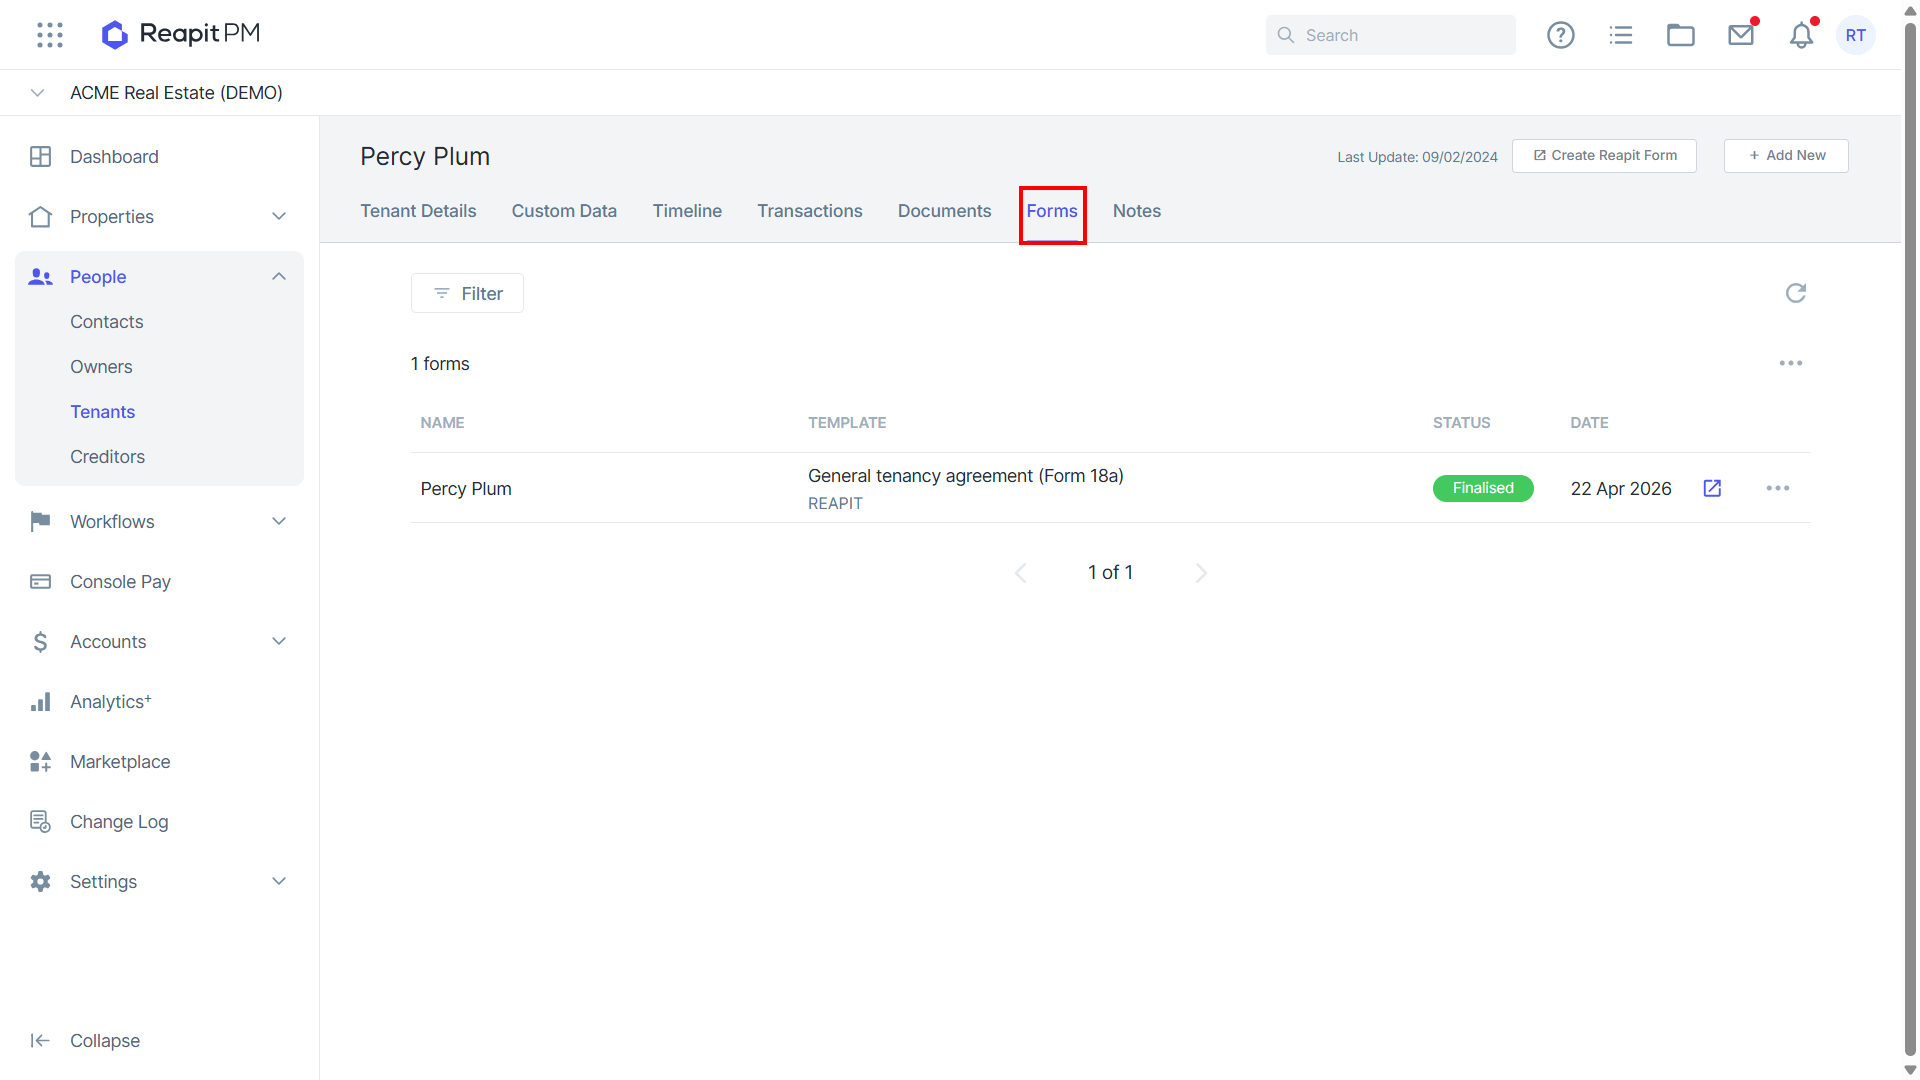
21. A copy of the lease agreement PDF will display in the Owner file under Documents, and on the Tenant file under Forms.
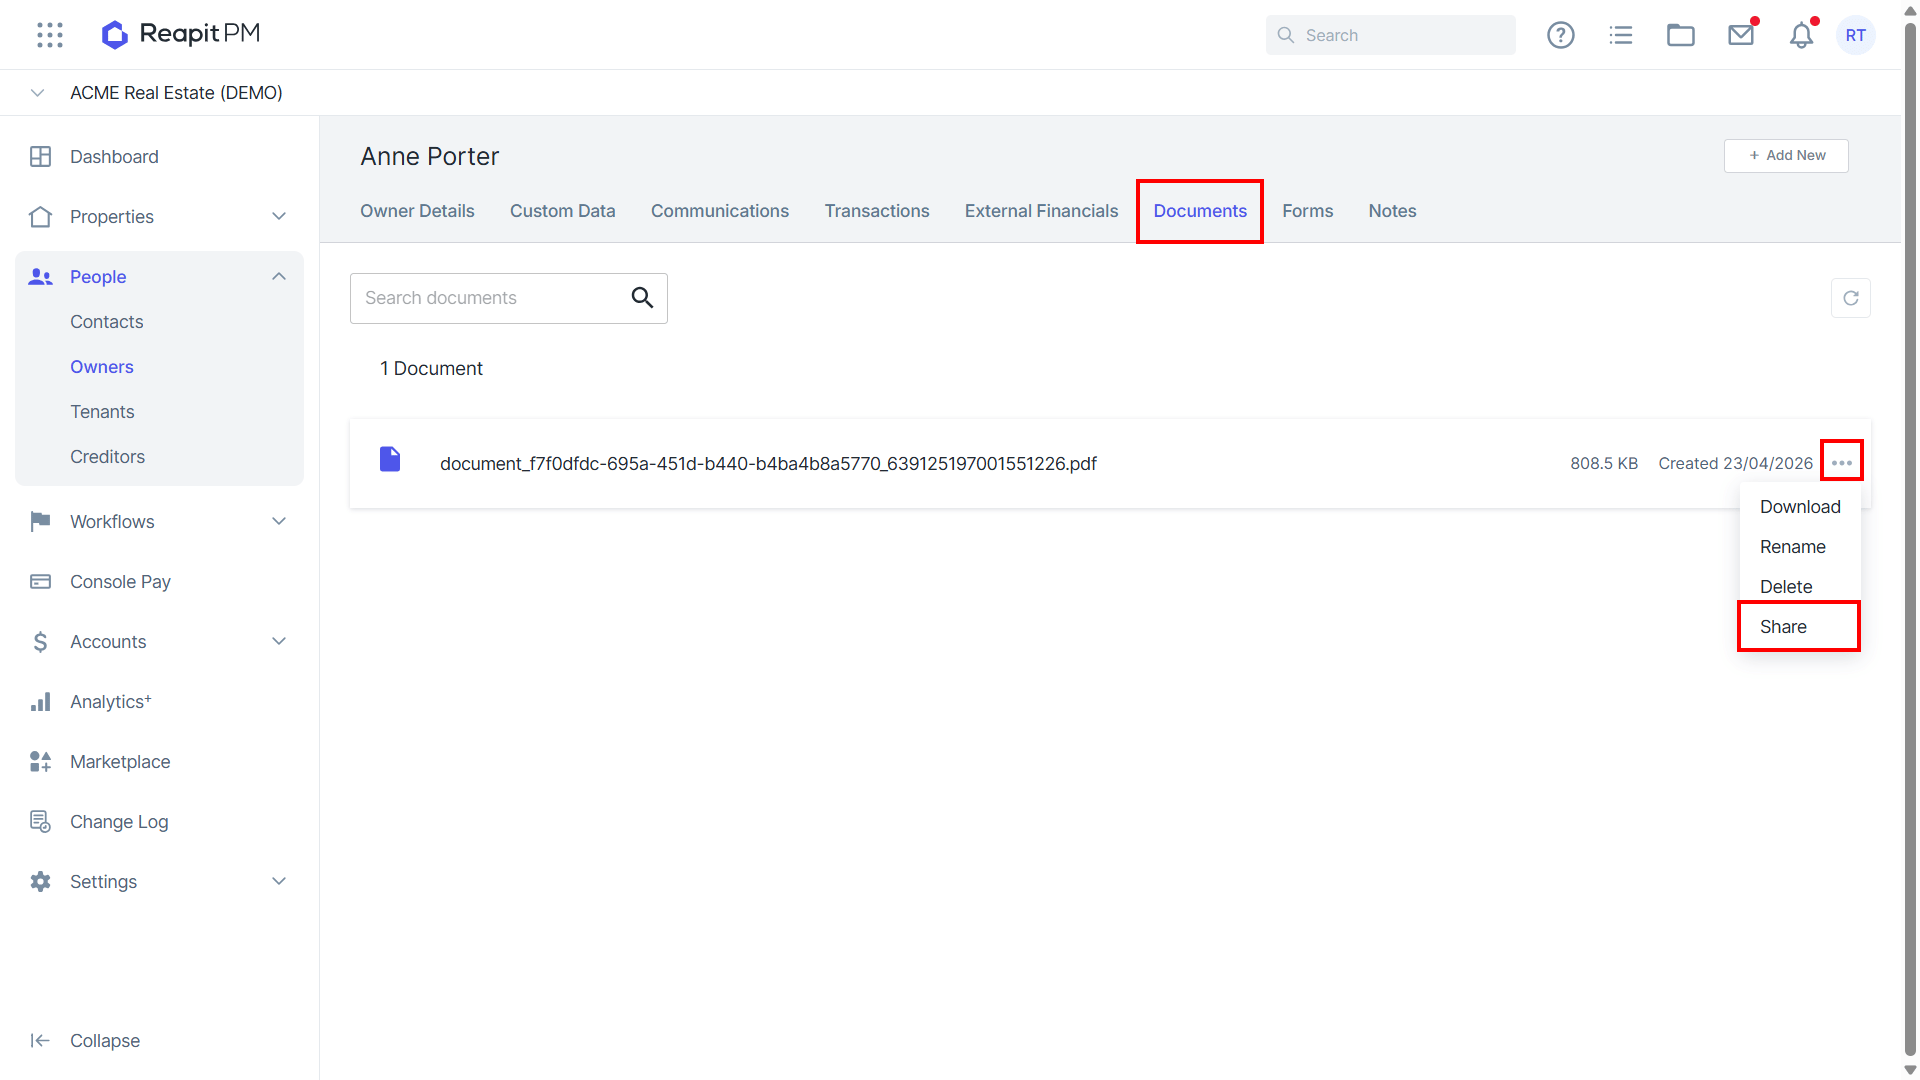
Note: If the Owner is connected to the Owner Portal, you can proceed to Documents and select the three dots to share the file so it will appear in the portal.